
You Can Grow A Steady Supply Of Fresh Ginger At Home Even If You Have Never Grown Anything
Follow us on Google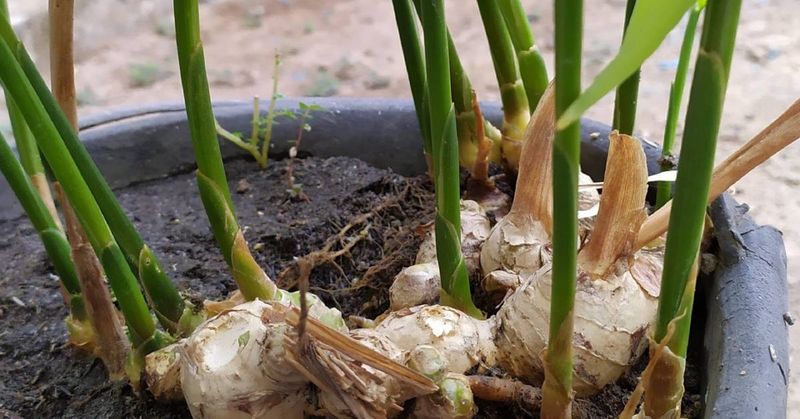
Fresh ginger sitting in a grocery bag can actually become a living plant on your porch or windowsill, even if you’ve never grown anything before.
Zingiber officinale, the edible ginger most people know from cooking, spreads through underground stems called rhizomes, and those knobby pieces at the store already carry tiny growth buds ready to sprout.
The catch is that one piece will not automatically fill your kitchen all year, but with a little planning you can build a repeatable seasonal supply that keeps coming back.
This article walks you through every step, from picking the right piece at the store to saving healthy bits for next season.
One Grocery Rhizome Can Start A Plant—Sometimes
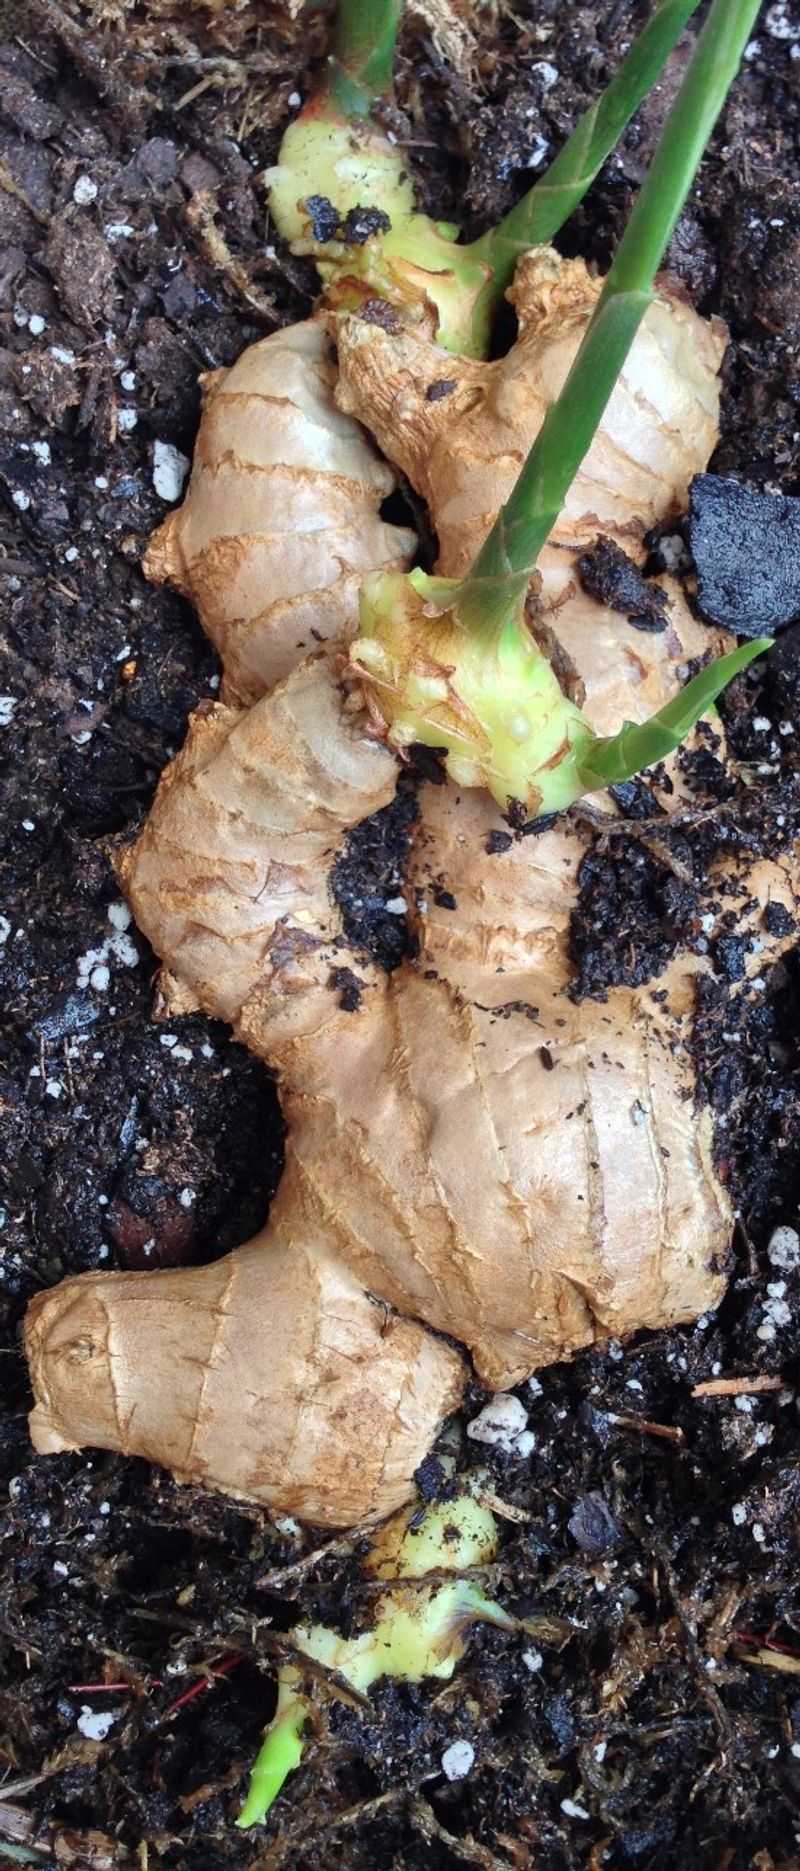
Grab a piece of grocery-store ginger and look closely at the bumpy surface.
Those small, rounded tips are called eyes, and they work the same way potato eyes do: each one can push out a shoot and eventually become a new plant.
What you are holding is not a root in the botanical sense.
It is a rhizome, a modified underground stem that stores energy and produces both shoots above ground and true roots below.
That distinction matters for a practical reason.
Because a rhizome is a stem, any section with a healthy eye carries enough built-in information to start a whole new plant.
University of Georgia Extension guidance on growing ginger at home confirms that ginger is propagated from these rhizome sections, not from seeds.
So the grocery store has already handed you the propagation material, at least in theory.
The honest part comes next.
A selected grocery-store piece may sprout under favorable conditions, but it may also fail.
Store ginger can be old, dried out, or treated with a sprouting inhibitor designed to extend shelf life.
Age and treatment both reduce germination odds, and grocery produce is not certified disease-free the way dedicated planting stock is.
The realistic goal for a first-time grower is to test the method, learn what the plant needs, and potentially build a repeatable seasonal supply over time.
Texas A&M AgriLife Extension notes that ginger generally needs about 8 to 10 months for a mature harvest, so one rhizome will not provide fresh ginger continuously throughout the year.
Think of this first attempt as a low-cost experiment with a useful payoff if it works.
Choose A Firm Rhizome With Viable Eyes
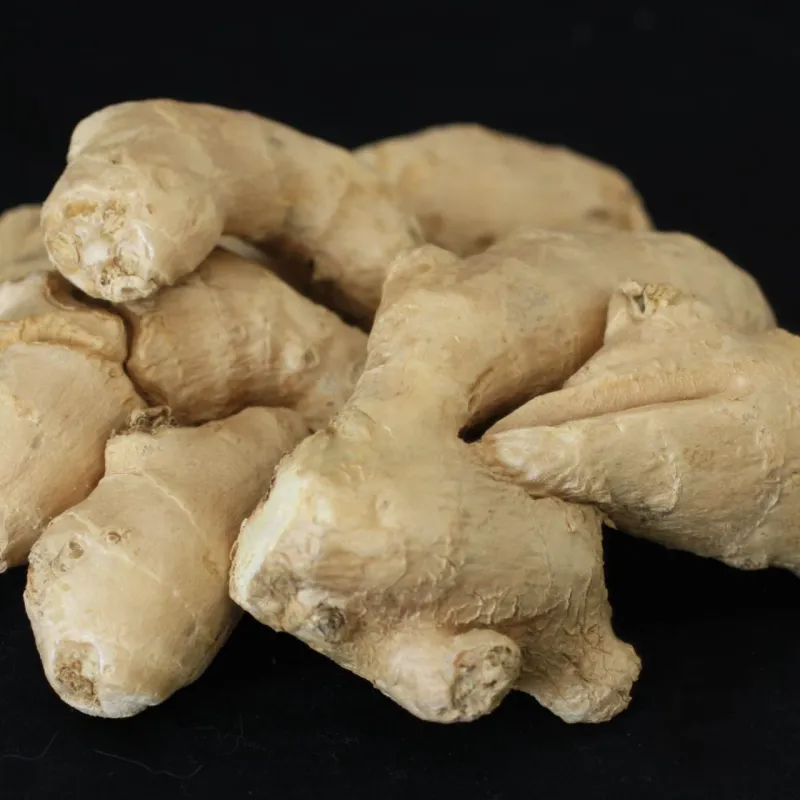
At the produce section, skip the shriveled or soft pieces and look for a rhizome that feels heavy and firm when you press it gently.
Plump skin, minimal wrinkling, and several clearly visible eyes are the signs you want.
A piece with three or more healthy buds gives you more options when you cut it into sections later.
Organic ginger is often suggested because it may be less likely to have received a sprout-inhibiting treatment, though an organic label does not mean the rhizome is certified disease-free.
Penn State Extension’s ginger guide recommends certified, disease-free planting rhizomes from a reputable grower as the more dependable option for anyone who wants predictable results.
Using a certified source is worth considering if your first grocery-store attempt does not sprout.
Once you have your piece, soak it in room-temperature water overnight.
Texas A&M AgriLife Extension recommends this soak as a preparation step, though it is a reasonable attempt rather than a proven way to remove every commercial treatment.
Do not expect a guarantee that the inhibitor is gone or that germination will follow.
After soaking, cut the rhizome into sections roughly 1 to 1.5 inches long, or up to 2 inches if the piece is large.
Every single section must keep at least one viable eye, so plan your cuts carefully before you make them.
Then set the cut pieces on a clean, dry surface for several days.
That resting period lets the cut surfaces form a callus, a dry protective layer that reduces the risk of rot once the pieces go into the ground.
The Royal Horticultural Society notes that supermarket produce intended for eating has not necessarily received the same plant-health checks as material sold for propagation, so monitoring your pieces closely from the start is a sensible habit.
Set Up A Wide Container Before Planting
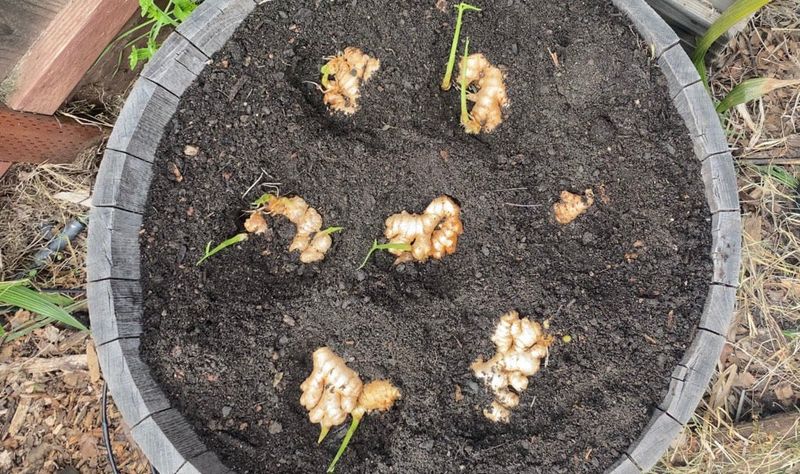
Ginger rhizomes do not grow straight down like a carrot.
They spread sideways through the soil, branching outward as the season progresses.
That growth habit means a wide, shallow-ish container serves the plant much better than a tall, narrow one.
Look for a container with drainage holes and aim for roughly 12 inches of depth and somewhere between 15 and 18 inches of diameter.
Penn State Extension recommends at least 18 inches in diameter for home growing, while Illinois Extension suggests at least 15 inches, so treat those numbers as a reasonable range rather than a rigid rule.
Penn State’s container vegetable gardening guidance also emphasizes that good drainage is one of the four keys to container success, so never skip the drainage holes or set a saucer underneath that traps standing water.
Fill the container with a loose, rich, loamy growing medium.
A quality potting mix with added compost works well.
Avoid dense garden soil pulled straight from a bed, which tends to compact in containers and can cut off the air and water movement that ginger roots need.
The medium should hold moisture without becoming soggy.
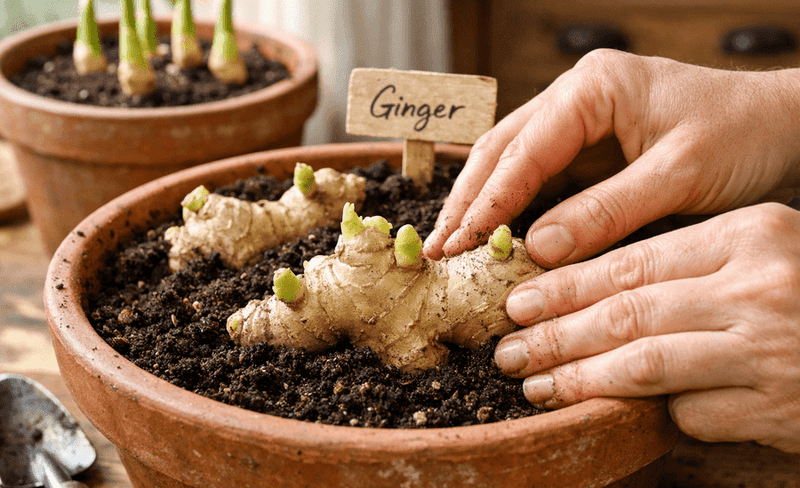
Texas A&M AgriLife Extension recommends planting the rhizome sections approximately 2 to 4 inches deep and about 6 to 8 inches apart, with the eyes pointing upward.
Placing the eyes upward is not optional.
A section planted upside down will still try to find its way, but it wastes energy and may rot before it gets there.
Once your sections are in position, cover them with medium, water gently, and move the container to a warm spot while you wait for shoots to emerge.
Give Ginger Warmth And Filtered Light
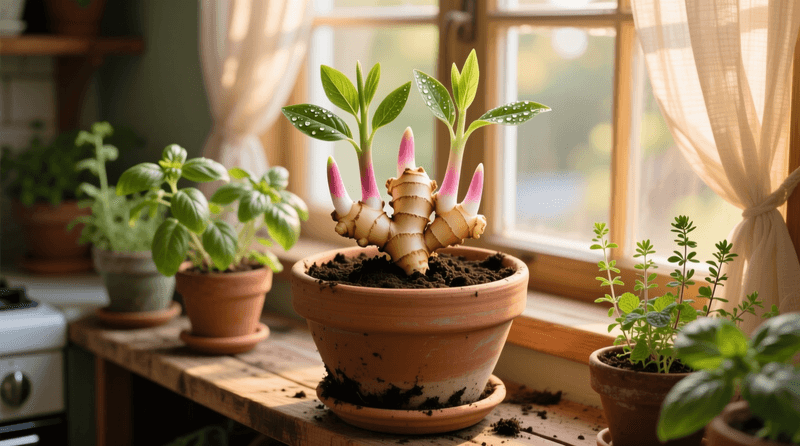
Ginger comes from tropical regions and behaves like a plant that genuinely expects warmth and humidity.
It does not do well in a cold, drafty corner or under harsh afternoon sun that bakes the pot dry within hours.
The sweet spot is partial shade or filtered light, somewhere that receives roughly 2 to 5 hours of direct sunlight per day with some protection from intense midday rays and strong wind.
Texas A&M AgriLife Extension specifically recommends a location with 2 to 5 hours of direct sunlight and shelter from strong winds.
A covered porch facing east or a bright window with a sheer curtain fits that description well for most US homes.
If you move the container outdoors for summer, the east or north side of the house often provides the morning light and afternoon shade that ginger prefers.
University of Florida IFAS Extension describes edible ginger as well suited to partial shade and good-quality soil, which lines up with Texas A&M’s placement advice.
Both sources point toward the same practical choice: avoid full sun and avoid full shade.
Cold exposure is the fastest way to stall this crop.
Ginger will not tolerate frost, and even a chilly night in the 40s can slow growth noticeably.
If the container sits outside and temperatures are dropping, bring it in before the forecast hits anything close to freezing.
Think of the container as the plant’s security blanket, easy to grab and carry inside when the weather turns.
Keep The Medium Moist And Watch Temperatures
During active growth, the goal is steady, even moisture.
Press a finger about an inch into the medium.
If it feels dry at that depth, water until the excess runs freely from the drainage holes.
If it still feels damp, wait another day.
Waterlogged soil is the enemy here, it can rot the rhizomes before they ever produce a harvest.
As the season winds down and the plant’s foliage begins to yellow and die back, that is your signal to pull back on watering.
The plant is moving toward dormancy, and it needs less moisture during that rest period.
Continuing to water heavily at that stage can cause rot rather than help the plant recover.
Timing the outdoor move matters as much as watering rhythm.
Many US growers should start ginger indoors in late winter or early spring, then shift the container outside only after cold conditions have passed.
Virginia Cooperative Extension recommends waiting until soil temperatures exceed 55 degrees Fahrenheit before moving plants outdoors.
Illinois Extension takes a slightly warmer position, suggesting consistent air temperatures around 70 to 80 degrees Fahrenheit and warning that ginger will not survive outdoors below 30 degrees Fahrenheit.
Those are regional examples, not a universal calendar date.
Your actual timing depends on local soil warmth, your last frost date, and how quickly your spring heats up.
A gardener in coastal Georgia may move the container out in March, while someone in the Chicago suburbs might wait until late May.
Penn State Extension notes that containers offer a real mobility advantage for crops like ginger because you can respond quickly to unexpected cold snaps or heavy rain without losing the whole plant.
Harvest Young Ginger Or Wait For Maturity
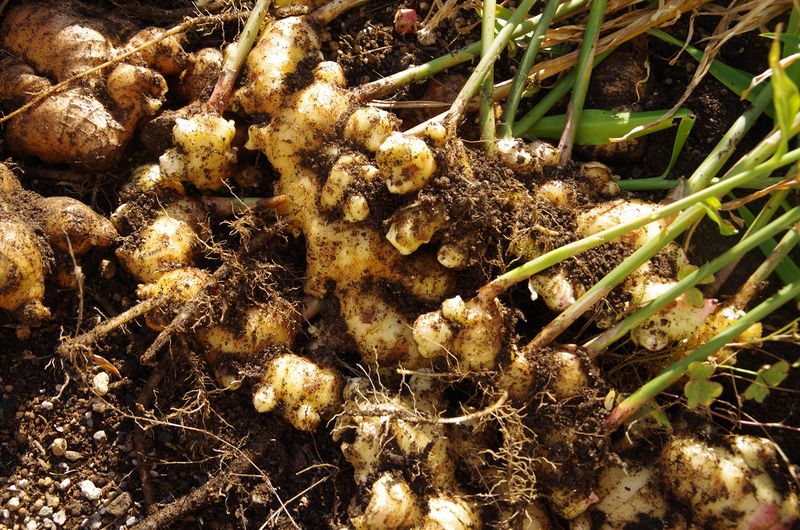
Ginger gives you two harvesting windows, and which one you choose depends mostly on how long your growing season runs.
Young ginger, sometimes called baby ginger, can be dug up earlier in the season, typically around 4 to 6 months in.
It has thinner skin, a milder flavor, and a softer texture that works well fresh or pickled.
Mature ginger is what most people picture at the grocery store, firm, aromatic, and full-flavored.
Texas A&M AgriLife Extension states that mature ginger commonly takes about 8 to 10 months, and the clearest sign that the crop is ready is foliage that yellows and begins to die back on its own.
At that point, tip the container gently, loosen the medium, and lift the root mass with your hands rather than a sharp tool to avoid slicing through the rhizomes.
Cooler US climates present a real limitation here.
A gardener in the upper Midwest or the mountain West may not get 8 to 10 months of warm growing conditions even if they start indoors in February.
In those situations, young ginger is often the realistic harvest rather than a failure, and it is still genuinely useful in the kitchen.
Once you have lifted the plant, brush off the medium gently and separate the rhizomes.
Set aside the pieces you plan to cook with, and keep the plumpest sections with visible buds for replanting.
That step is what turns a one-time experiment into a repeatable cycle.
Build A Repeatable Supply Through Storage And Replanting
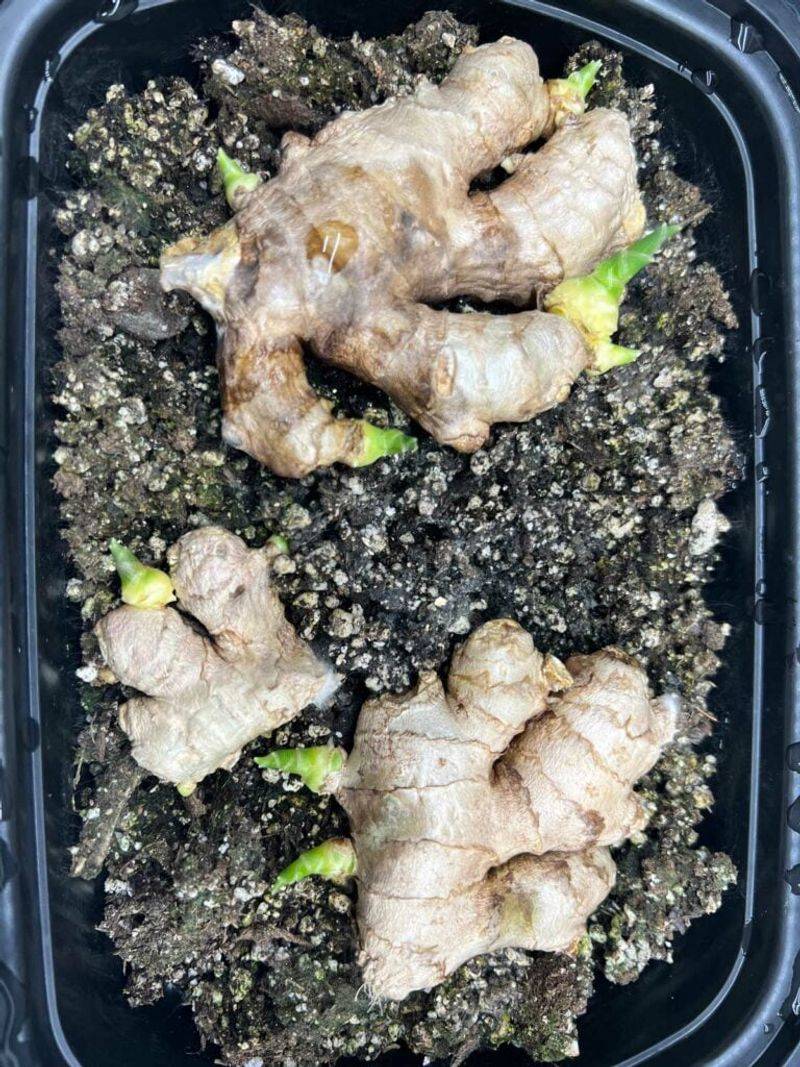
The difference between a one-time harvest and a repeatable supply comes down to what you do with the rhizomes after you dig them up.
If you cook every piece, the cycle ends there.
But if you set aside a few plump sections with healthy eyes before you head to the kitchen, you have next season’s planting stock already in hand.
For cooking ginger, Texas A&M AgriLife Extension says unpeeled ginger can keep for about 3 weeks in the refrigerator or up to 6 months in the freezer.
Freezing works surprisingly well for most cooking uses because the texture softens slightly but the flavor holds.
Wrap it tightly, label it with the date, and grate it frozen directly into soups, stir-fries, or marinades.
Planting rhizomes are a different story.
Do not refrigerate the pieces you plan to replant.
Penn State Extension advises storing dormant planting rhizomes in soil or a cool, dry paper bag rather than the refrigerator, which can damage the buds and reduce sprouting success the following season.
Keep them somewhere that stays above freezing but does not get too warm or too dry.
A more consistent supply across the year comes from staggering your plantings rather than relying on one container.
Penn State’s ginger article supports the idea of using multiple rhizome sections and planning around the growing season.
Start one container in late winter indoors, then start a second a month or two later.
Harvest young ginger from the first while the second continues to mature.
That staggered rhythm gives you more flexibility than waiting on a single pot, though it still does not equal a year-round supply from one original piece.
Isolate Questionable Material Instead Of Spreading It
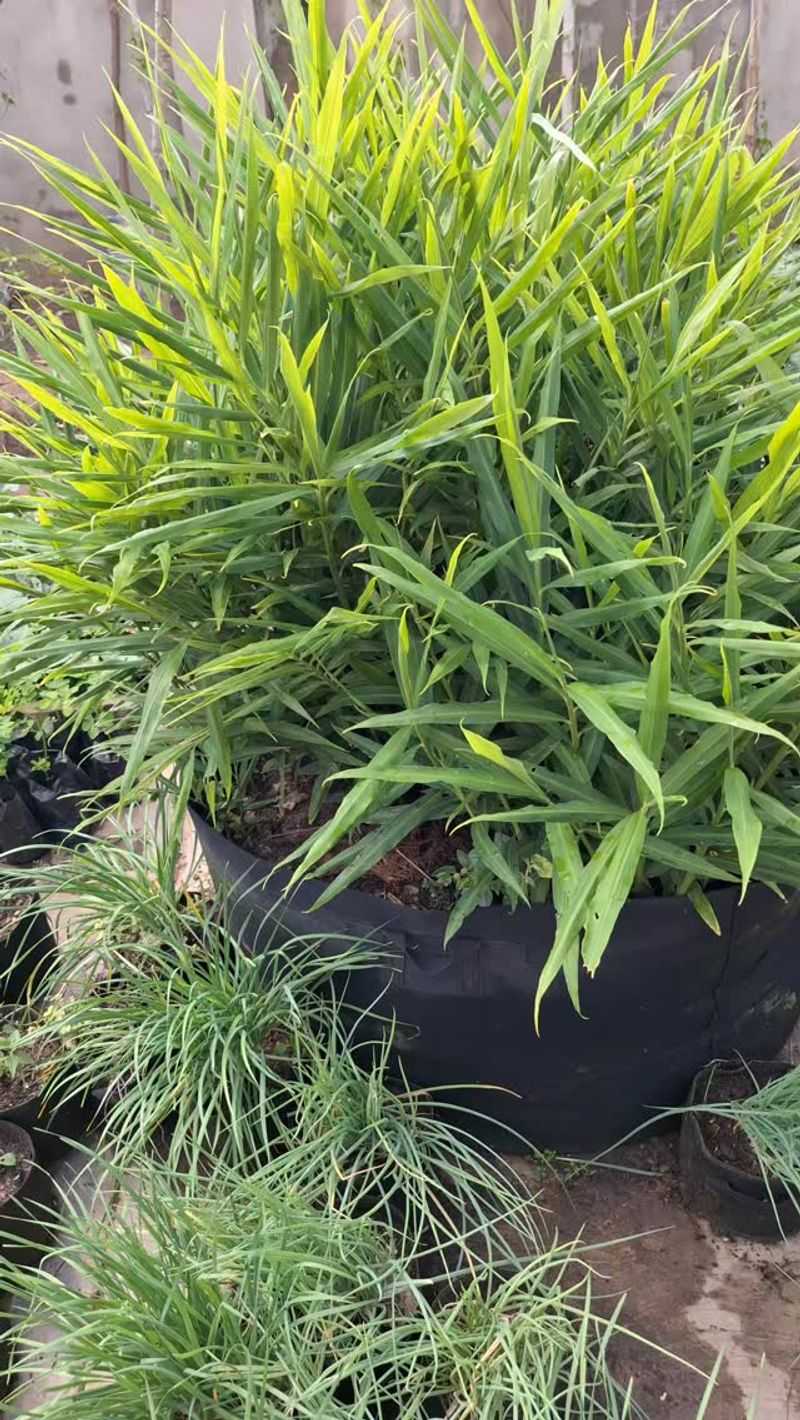
Certified, disease-free rhizomes from a reputable nursery or grower offer more dependable production than a piece of grocery-store produce, and that gap matters most if you plan to expand your planting in future seasons.
The Royal Horticultural Society points out that supermarket produce intended for eating has not necessarily received the same plant-health checks as material sold for propagation, and recommends containers and close monitoring for anyone starting with grocery material.
A container helps you isolate and watch questionable material without putting it directly into a garden bed.
That is its practical value as a safety step, not a guarantee that container growing itself prevents disease or eliminates plant-health risk.
Pathogens can still travel on tools, water, and hands.
Keep your grocery-store ginger container separate from other beds and pots, especially while you are still learning what a healthy plant looks like.
USDA APHIS regulates plant imports precisely because produce and plant material can carry pests and diseases across borders.
That context explains why extension sources are cautious about planting grocery produce directly into open beds without monitoring it first.
If a rhizome shows unusual discoloration, soft rot, strange distortion, or a foul smell, do not compost it or move its growing medium into other garden areas until you understand what you are dealing with.
Set it aside, discard it according to your local plant-health or waste guidance, and avoid reusing that container’s soil in other beds.
This is a reasonable precaution, not a reason to avoid the experiment altogether.
Most grocery-store ginger that fails simply does not sprout, and the honest method here is patient observation: plant it, watch it, keep it contained, and build from what actually works in your hands and your climate.