
The Ultimate Guide To Growing Tall Hollyhocks That Actually Reach Full Height And Bloom
Follow us on Google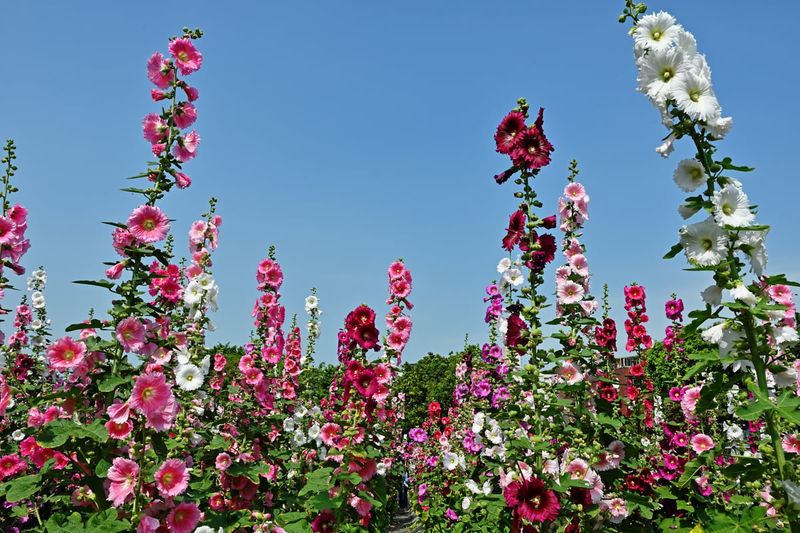
Hollyhocks have a way of stopping people mid-stride when they’re planted along a fence in full bloom, their flower spikes rising head-high with blooms stacked from bottom to top.
But plenty of gardeners plant them and then wonder why their hollyhocks stay stubbornly short or never flower at all.
The good news is that most of those problems come down to a handful of fixable choices made at planting time.
Get those right, and your hollyhocks have a real shot at reaching the height their genetics allow.
A First-Year Rosette Is Usually Normal
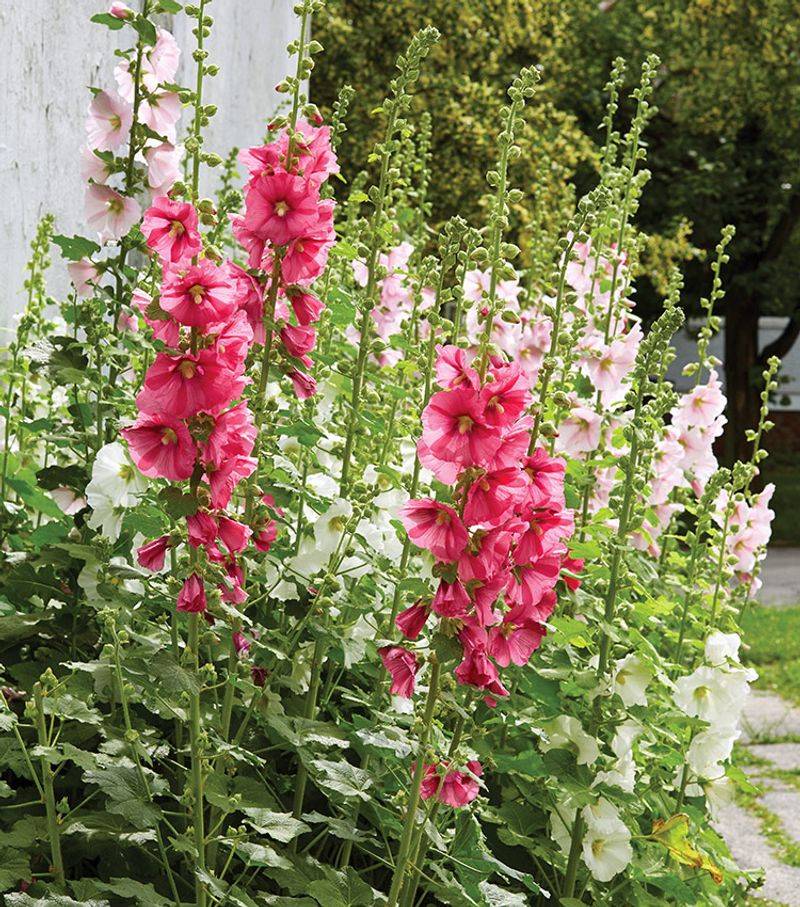
Many gardeners plant hollyhock seed in spring, watch a leafy mound appear, and worry something went wrong.
That mound is the rosette, and for common hollyhock, Alcea rosea, it is exactly what the plant is supposed to do in year one.
Illinois Extension’s hollyhock growing guide describes the typical cycle as a leafy first-year rosette followed by flowering in the second year, and that pattern is the norm, not a sign of failure.
That said, “biennial” is not a rigid rule that every single plant follows.
Some hollyhock forms act as short-lived perennials, returning for more than two seasons.
A planting can also appear perennial over time because hollyhocks self-seed, sending up new rosettes that fill the gap when older plants decline.
Where confusion sets in is when gardeners expect a tall flower spike in the first season and measure success by height alone.
A healthy rosette sitting six inches off the ground is doing its job.
A plant that has produced a flower stalk but seems much shorter than expected is a different situation, one worth examining for crowding, shade, or disease.
Height expectations also deserve a realistic frame.
The RHS lists many Alcea rosea cultivars at roughly 1.5 to 2.5 meters, or about 5 to 8 feet.
Illinois Extension reports a typical US range of 3 to 6 feet, with some cultivars approaching 9 feet.
Those numbers reflect cultivar genetics, not a promise that any individual plant will hit a particular mark.
Think of the first year as the plant building its foundation.
The real goal of this guide is not to force instant height, it is to remove the obstacles that keep hollyhocks from reaching what their cultivar is actually capable of.
Choose Sun, Drainage, And Moderate Fertility
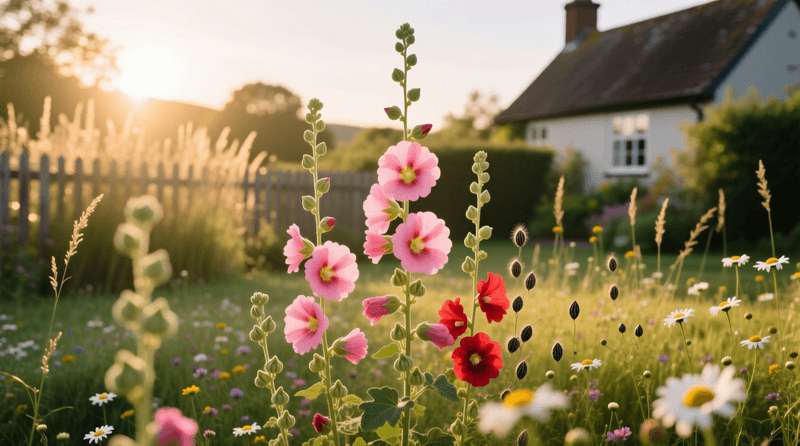
Before you add a single shovelful of compost, the single most important decision you make for hollyhocks is where you put them.
Full sun is the starting point.
Illinois Extension recommends a sunny location and notes that good sun exposure also helps foliage dry faster after rain or morning dew, which matters a great deal because hollyhock rust takes hold when leaves stay wet.
Drainage is just as critical.
Low spots where water pools after a storm are the wrong address for hollyhocks.
Their roots need moisture, but they do not tolerate sitting in soggy soil.
If your yard has a slow-draining clay patch, organic matter can loosen that structure and improve airflow through the soil.
For sandy ground that dries too fast, compost helps hold moisture longer.
But compost is a soil amendment, not a drainage fix.
If the spot floods, no amount of organic matter will save the plant.
Fertility is where many gardeners overcorrect.
Illinois Extension’s general perennial guidance notes that most perennials do not need large amounts of fertilizer when soil has been properly prepared.
Heavy feeding or high-nitrogen fertilizer is not supported as a reliable way to increase hollyhock height, and pushing leafy growth at the expense of root development can leave plants less stable.
Placement along a fence, wall, or the back of a border solves two problems at once.
The RHS Alcea rosea profile supports placing tall plants where their height works with the garden’s structure rather than in an exposed open bed where wind can do real damage.
A fence at the back also gives you a natural anchor for stakes later on.
Give Seeds A Timely, Shallow Start
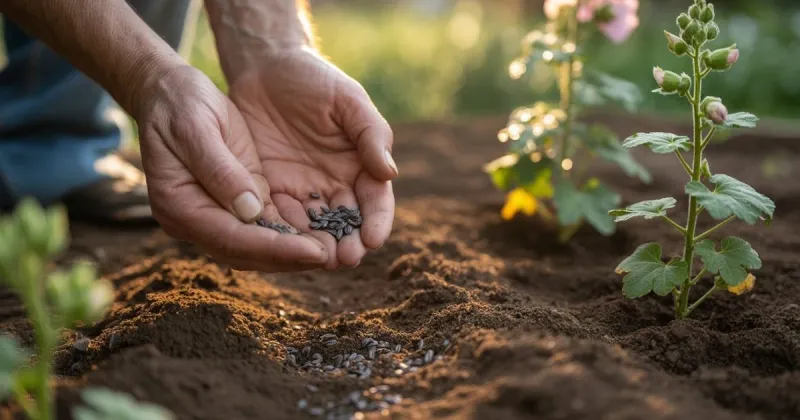
Direct sowing is usually the least disruptive way to start hollyhocks when your season allows it.
Moving seedlings stresses the taproot, and hollyhocks with a damaged taproot often struggle to develop the strong stem that supports a tall spike.
Sowing where the plant will grow cuts that risk entirely.
The RHS hollyhock growing guide reports germination at approximately 16 to 21 degrees Celsius, or 61 to 70 degrees Fahrenheit.
The RHS also describes two timing options: spring sowing in place, and autumn sowing followed by overwintering in a protected spot.
Both approaches can work, and the right one for your garden depends on your local frost patterns, your elevation, and how long your growing season runs.
For US gardeners, that means resisting any single national planting calendar.
A gardener in coastal Georgia and one in northern Minnesota are working with completely different frost windows, and advice that fits one can fail the other.
Check your last expected frost date locally and work backward or forward from there.
Planting depth is worth getting right.
The seed packet should always be your first reference.
When the packet does not give a specific depth, University of Minnesota Extension offers a general rule of sowing seed about twice as deep as the seed is wide.
Hollyhock seed is relatively flat and thin, so shallow planting is almost always correct.
Colorado State University Extension cautions that planting too deep can reduce or entirely prevent emergence, so when in doubt, err on the shallower side.
If you are starting indoors to get a jump on a short season, use biodegradable pots that go straight into the ground, minimizing root disturbance at transplant time.
Space Plants For Airflow And Full Stems
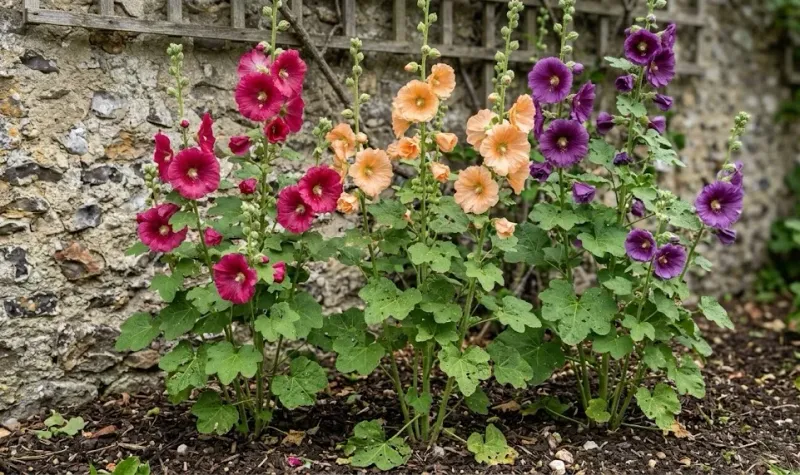
Crowding hollyhocks is one of the quieter mistakes that costs gardeners height and health.
When plants grow too close together, foliage stays wet longer after rain, air moves sluggishly between stems, and rust finds exactly the conditions it needs to spread.
Getting spacing right from the start is one of the simplest ways to tip the odds in your favor.
Penn State Extension lists 12 to 24 inches as a representative spacing range for seed-grown hollyhocks.
That range is useful because it acknowledges that cultivars vary in mature width and that growing conditions are not the same everywhere.
In humid regions or gardens where rust has been a problem in the past, the wider end of that range is the safer choice.
Good airflow between plants lets foliage dry faster, and faster drying means fewer opportunities for rust spores to germinate.
Spacing also shapes how the planting looks from the yard.
Along a fence or the back of a border, hollyhocks with a little breathing room between them still create a full, layered display when they hit their second-year bloom.
Packed too tightly, they may look lush early in the season but thin out and weaken as the summer wears on.
Illinois Extension’s hollyhock guidance supports wind protection as part of site selection, and that connects directly to spacing.
A sheltered back-of-border location with adequate space between plants gives each stem the best chance of standing upright and developing its full length without leaning into a neighbor for support.
No single spacing number is correct for every cultivar or climate, so treat the 12-to-24-inch range as a starting framework and adjust toward the wider end if your summers are humid or your site is partially enclosed.
Water The Soil Without Favoring Rust
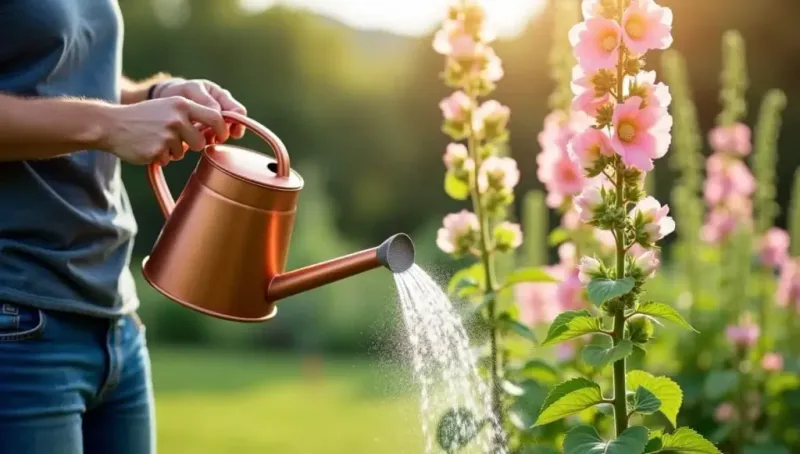
Watering hollyhocks is less about a fixed schedule and more about where the water lands.
University of Minnesota Extension explains that rust spores need a film of water on the leaf surface to germinate, which means a sprinkler that regularly soaks the foliage is doing the disease a favor.
Directing water to the soil at the base of the plant, rather than overhead onto the leaves, removes one of rust’s key requirements.
If leaves do get wet, morning is the best time for it to happen.
Foliage that gets splashed in the morning has hours of sun and warmth to dry before evening.
Wet leaves sitting through a cool night are far more hospitable to fungal spores than leaves that dried by noon.
How often you water depends on factors that vary widely across the country.
Sandy soil in a hot, dry Southwest summer drains fast and may need more frequent attention.
Heavy clay in the humid Midwest holds moisture longer.
A hollyhock growing in a container dries out faster than one growing in the ground with established roots reaching deeper soil.
Rainfall, heat, humidity, elevation, and local conditions all shape the answer, so check the soil rather than the calendar before you reach for the hose.
Illinois Extension’s hollyhock care advice reinforces early-day watering if leaves become wet, connecting that timing directly to disease prevention.
Avoiding low spots where water collects, giving plants enough space for air to move between them, and watering at the base rather than overhead all work together as a risk-reduction approach rather than a guarantee against rust.
Think of watering as one layer of a wider strategy.
Soil moisture keeps the plant healthy; technique keeps the foliage dry enough to resist disease.
Protect Tall Stems Before They Break
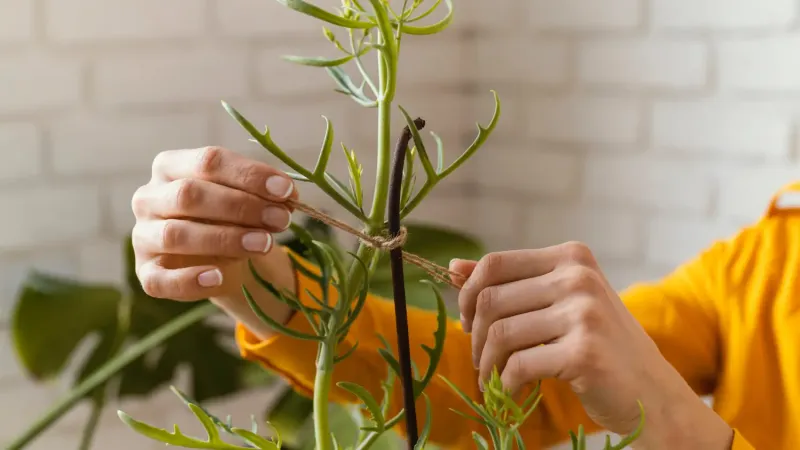
A sheltered planting site and a physical stake are not the same thing, and hollyhocks often need both.
Positioning plants along a fence or wall reduces how much wind reaches the stems, but a cultivar that climbs toward 6 feet or beyond can still develop enough top weight to lean or snap under its own load, especially during summer storms.
Penn State Extension identifies tall-stemmed plants like hollyhocks as candidates for physical support, and the timing of that support matters as much as the support itself.
Installing a stake after a stem has already started leaning means you are correcting a problem.
Installing it while the stem is still upright and growing means you are preventing one.
Push stakes into the ground early in the season, before the spike becomes heavy, and tie stems loosely so they can move slightly without being strangled by the tie.
Bamboo canes work well for individual stems.
For a row of hollyhocks along a fence, a simple system of horizontal twine strung between posts at two or three heights gives each plant something to lean against without individual staking.
Illinois Extension notes that early pinching can produce bushier, shorter plants that are less likely to need staking.
That is a legitimate tradeoff if sturdiness matters more to you than maximum height, but it works in the opposite direction from the goal of a tall spike.
Pinching is a choice for a different kind of plant, not a technique for making hollyhocks taller.
If height is the goal, skip the pinch and invest in a good stake instead.
Recognize And Manage Rust And Insect Damage
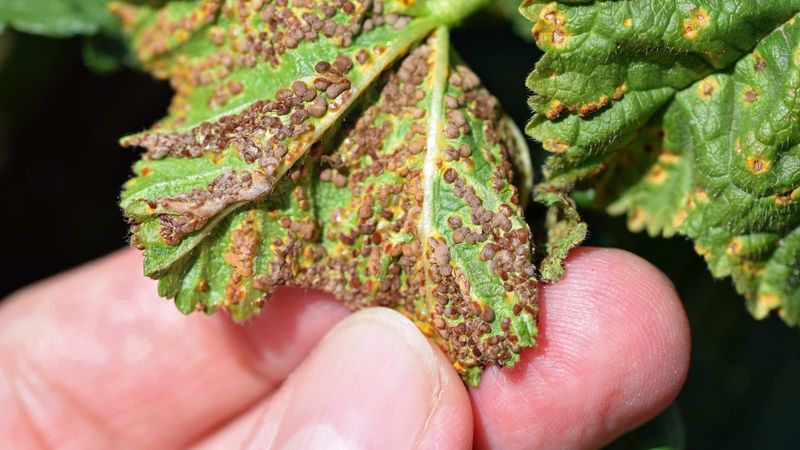
Rust is the reason many hollyhocks that start the season strong look ragged by midsummer.
The symptoms are recognizable once you know what to look for: yellow, orange, or reddish spots appearing on the upper surface of leaves, often starting on the lower foliage first, followed by rust-colored powdery pustules on the undersides.
Illinois Extension’s plant disease profile for hollyhock rust describes how a light infection may have limited effect on a plant’s overall vigor, but a severe case can cause leaves to shrivel and die, weakening the stem and cutting the season short.
When you spot infected leaves, remove them promptly.
But there is a limit to how aggressively you should defoliate at one time.
University of Minnesota Extension advises removing no more than one-third of the plant’s foliage at a single session.
Stripping too many leaves at once stresses the plant further, which is the opposite of what you want when it is already fighting a disease.
At the end of the season, cut severely infected plants to soil level and deal with the debris carefully.
UMN specifies that infected material should either go to a municipal compost facility or into a home compost pile that reliably reaches 148 degrees Fahrenheit.
Leaving infected stems and leaves on the ground invites the same problem next spring.
Fungicides deserve a clear-eyed description.
University of Missouri Extension describes fungicides as preventative tools that can limit the spread of rust rather than cure tissue that is already damaged.
Applied before infection appears or very early in its development, they can slow the disease.
Applied after visible symptoms are widespread, they cannot reverse the damage already done.
Always follow the current product label and check your state’s requirements before using any fungicide.
Two insects also cause trouble worth knowing.
Hollyhock weevils damage buds and seed pods from the inside, and the recommended response is removing and destroying infested pods before the insects can complete their cycle.
Japanese beetles skeletonize leaves by eating the tissue between the veins.
Hand-picking beetles in the early morning works for small infestations, and a labeled insecticide applied according to directions is an option when populations are larger.
Both problems are manageable when you catch them early.
Match The Cultivar To Your Conditions
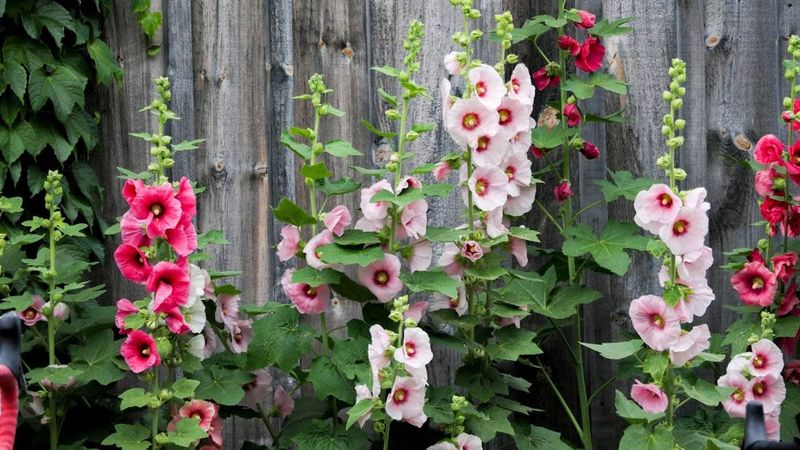
Genetics set the ceiling, and no amount of good care can push a plant past what its cultivar is built to do.
That makes cultivar selection one of the most practical decisions in this whole process.
Before you buy seed or transplants, it is worth asking whether the variety you are choosing actually suits your local heat, humidity, rainfall, elevation, and growing-season length.
University of Minnesota Extension identifies Russian hollyhock, Alcea rugosa, and figleaf hollyhock, Alcea ficifolia, as more resistant to rust than common hollyhock, Alcea rosea.
Neither species is immune, and a wet summer with dense plantings can still bring rust pressure even on resistant varieties.
But starting with a less susceptible species can reduce how much time you spend managing the disease mid-season.
Flower form is another choice that matters depending on your goals.
The RHS hollyhock growing guide identifies single flowers as better for attracting bees and butterflies than double-flowered forms.
Double flowers can be visually striking, but their densely packed petals often limit pollinator access to nectar and pollen.
If supporting bees and butterflies along your fence line matters to you, single-flowered cultivars are the more useful choice.
Colorado State University Extension notes that hollyhock can self-seed and may spread in warm climates.
New seedlings from hybrid or named cultivars may not match the parent plant in color, height, or flower form.
If you want to keep a specific look, deadhead spent blooms before seeds mature.
If you are happy with some variation, letting a few seed heads develop can keep the planting going year after year without replanting.
Illinois Extension’s hollyhock guide frames the second-year flowering timeline as the realistic expectation for most plants grown from seed.
Plan your garden with that in mind, and the wait feels like part of the process rather than a problem.
The hollyhocks that reward patience tend to be the ones that actually look like the picture on the seed packet.