
Grow A Full Salad Bar On One Sunny Stoop And Stop Buying Bagged Greens
Follow us on Google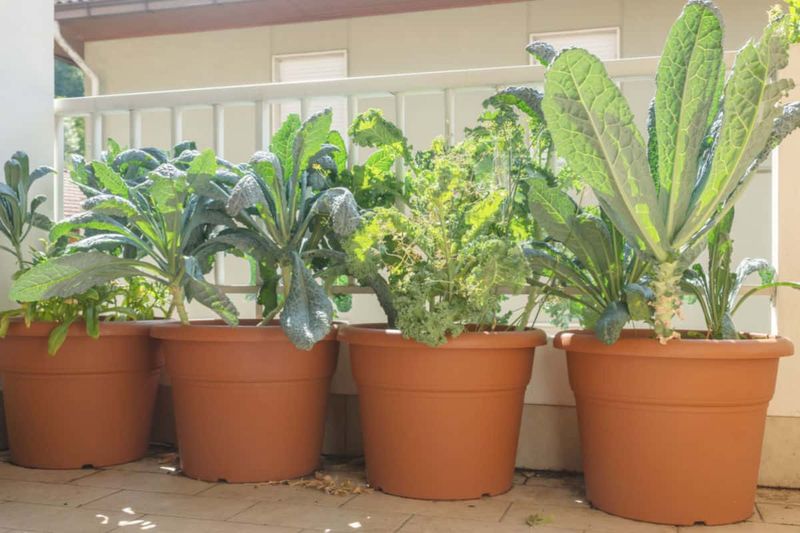
Bagged salad greens are one of those quiet grocery-store habits that add up fast, and a single broad container on a sunny stoop can genuinely cut into that habit.
You won’t eliminate every grocery run, but you can harvest fresh baby leaves several times a season and reach for the store bag less often.
The system that works combines the right container, a smart crop mix, dense sowing, and a harvesting rhythm that keeps young leaves coming.
Getting those pieces right is what this article is about.
Set Up One Broad, Stable Growing Bed
Forget the idea that a row of little pots will do the job.
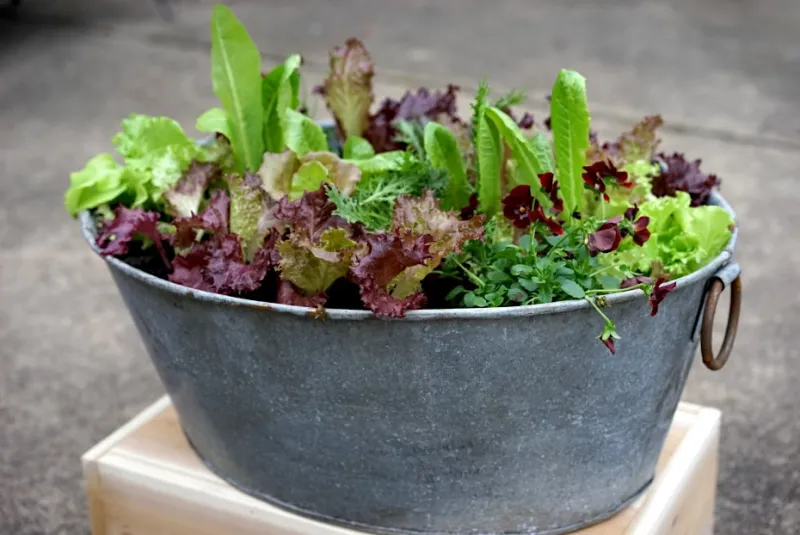
One broad, well-drained container gives your greens far more root room and holds moisture steadily enough that you aren’t watering twice before lunch.
Colorado State University Extension guidance on container salad greens recommends a container at least 18 inches across and 6 to 12 inches deep for mixed salad greens.
That footprint gives you a real planting surface without demanding a sprawling porch.
University of Maryland Extension notes that wider containers are less top-heavy and more stable in breezy locations, which matters on an exposed stoop where a tall narrow pot can tip in a summer storm.
A half-gallon volume is their listed minimum for leaf lettuce, while Swiss chard needs at least 2 gallons.
If you’re mixing crops, the wider, deeper option covers both without a second container to manage.
Fill the container with a commercial potting mix, not garden soil or topsoil.
Oregon State Extension’s container vegetable guidance is direct on this point: ordinary soil compacts in a pot and drains poorly, which can suffocate roots.
Every container needs drainage holes, and the pot should rest on feet, bricks, or risers so water can actually escape rather than pooling beneath it.
One practical note before you haul anything up the steps: a large container full of wet potting mix is heavy.
Check that your stoop can support it, position the planter where it will not block a handrail, step, or clear walking path, and consider where drainage water will run so it doesn’t stain masonry or create a slip hazard.
One stoop container used well can supplement your household’s salads, but the setup has to be safe and manageable first.
Lettuce is the obvious choice, but a container planted with lettuce alone is a container that goes quiet the moment temperatures climb.
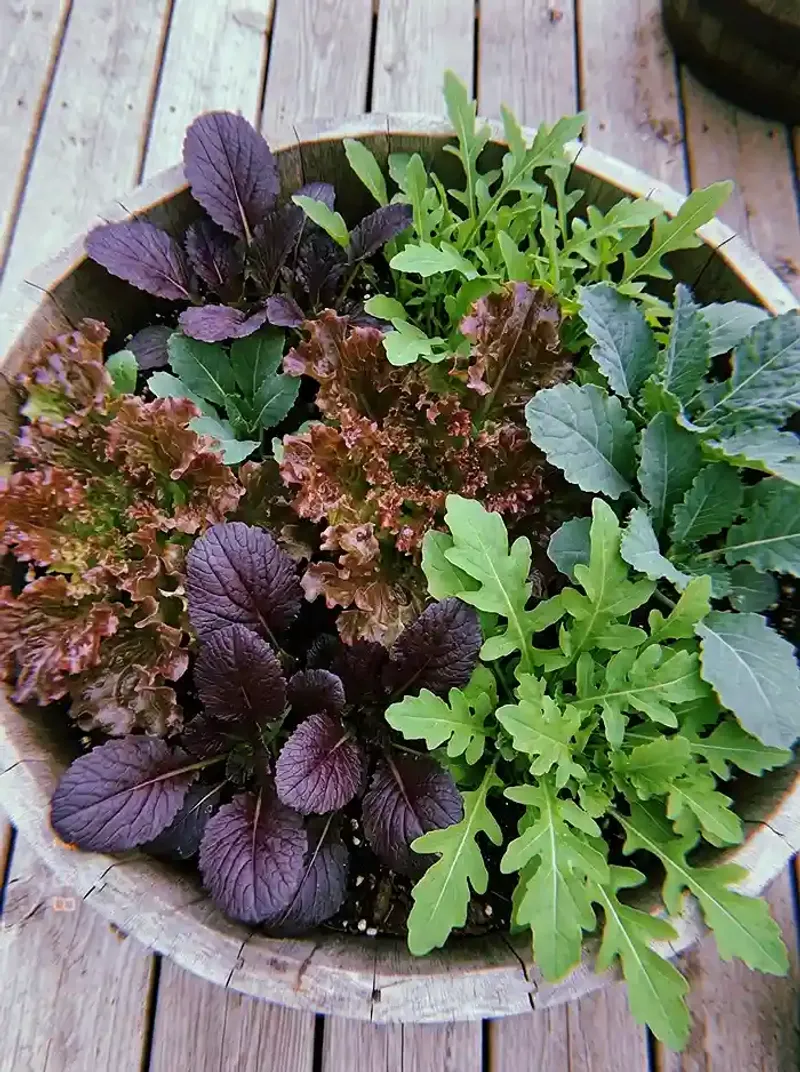
Building a mixed crop plan gives you backup when one green fades and variety in the bowl when everything is thriving.
University of Maryland Extension’s salad greens crop list for salad tables and boxes includes loose-leaf lettuce, arugula, mizuna, mustard greens, kale, spinach, Swiss chard, endive, komatsuna, and leafy amaranth.
That range is not decorative.
Each crop has a slightly different tolerance for heat, cold, and soil moisture, so a mixed planting spreads your risk across the season.
Lettuce (Lactuca sativa) and spinach (Spinacia oleracea) are the workhorses of spring and fall.
They germinate quickly, produce tender leaves fast, and taste best when nights are cool.
The trouble is that both can bolt, meaning they shift energy from leaf production to flowering, when daytime heat rises.
Once a plant bolts, the leaves often turn bitter and the harvest window closes.
Kale (Brassica oleracea, Acephala group), Swiss chard (Beta vulgaris subsp. vulgaris), collards, and many Asian mustard greens such as mizuna and komatsuna are more useful for bridging the gap between spring and fall.
Illinois Extension’s leafy greens overview confirms that these crops can handle warmer conditions better than lettuce, though none of them are fully immune to extreme summer heat.
Think of them as a relay team: cool-season crops carry the early laps, heat-tolerant greens bridge the middle, and cool-season crops return in fall.
Arugula (Eruca vesicaria) is worth including for its fast germination and peppery flavor, though it too will bolt in high heat.
Oregon State Extension’s garden newsletter on leafy crops notes that variety selection and timing matter as much as species choice when managing a small container through a full season.
Sow Baby Greens Densely
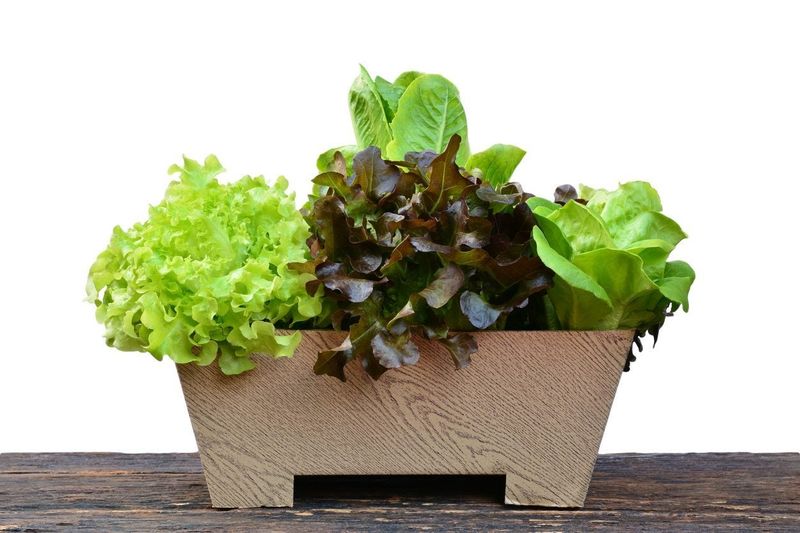
Baby greens are planted more like a lawn than a garden row.
The goal is a dense, even stand of seedlings that you cut young, before they need the personal space that mature plants require.
Getting the sowing right sets up every harvest that follows.
University of Maryland Extension’s container and salad table guide recommends making furrows about 4 inches apart across the container, placing seeds roughly 1 to 2 inches apart within each furrow, and covering them with about one-quarter inch of potting mix.
Press the surface gently after sowing so seeds have good contact with the mix, then water carefully so you don’t wash seeds into a pile at one end of the container.
An alternative method from Colorado State University Extension’s container salad greens resource is to scatter seeds roughly one-half inch apart across the surface without furrows, then cover them with about one-quarter inch of mix.
Both approaches work.
The furrow method gives you more control over spacing, while broadcasting is faster for small containers.
Either way, the seed packet for your specific variety should take priority over any general guideline.
Germination time, ideal soil temperature, and preferred spacing vary by crop, and the packet reflects what the seed supplier actually tested.
A note on spacing that trips up new growers: dense sowing suits baby greens because you harvest them at 4 to 8 inches tall, long before they compete seriously for space.
If you plan to let any plants grow to full size, the math changes entirely.
Illinois Extension’s lettuce growing guide gives about 4 inches between leaf lettuce plants and 10 to 12 inches between head lettuce transplants.
Growing full heads in a small container is possible, but it leaves far less room than a baby-green planting and produces fewer total harvests from the same footprint.
Harvest Carefully For A Possible Second Flush
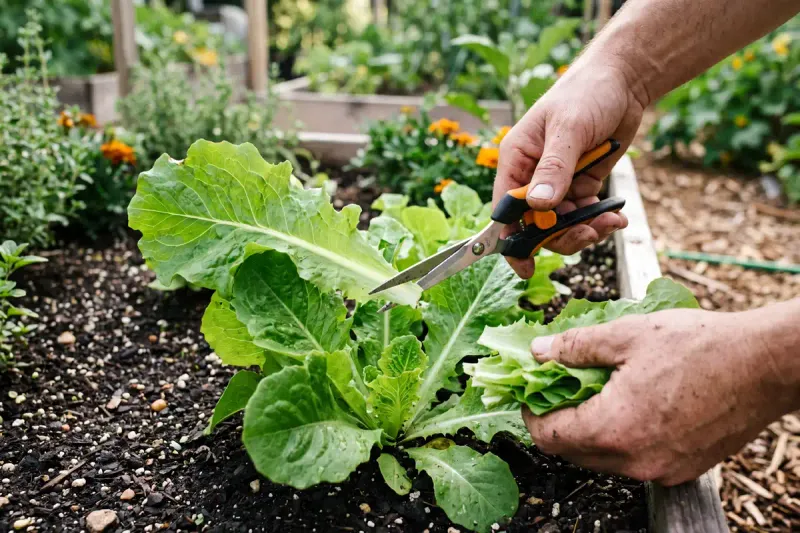
The moment baby greens reach roughly 4 to 8 inches tall, you have a decision to make.
Cut too low and you remove the growing points the plant needs to recover.
Cut too high and you leave so much leaf behind that the bowl feels half-empty.
Getting the height right is what turns one planting into a possible second harvest.
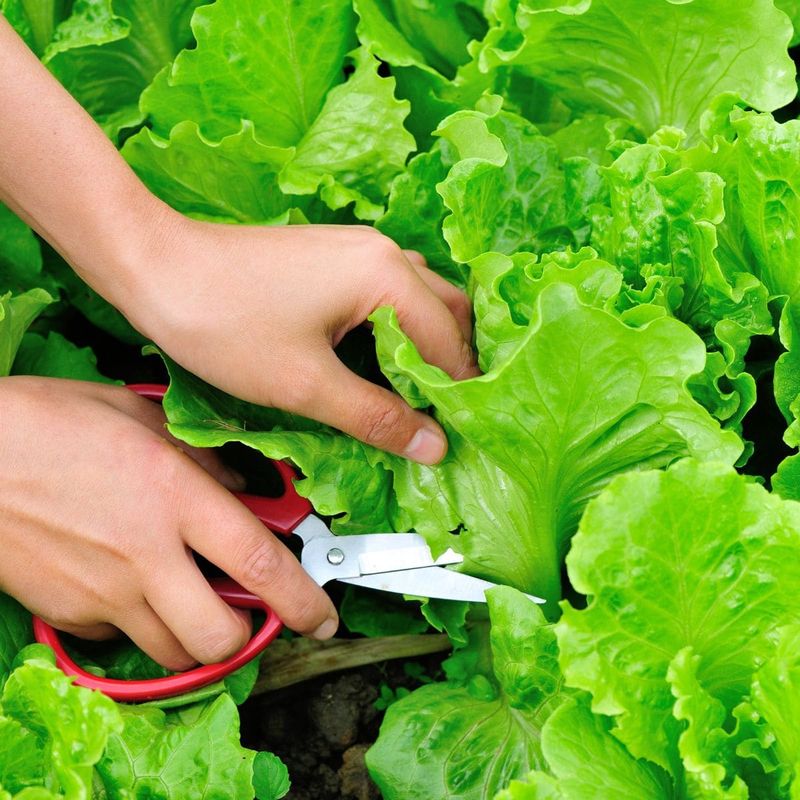
University of Maryland Extension’s harvesting guidance for salad tables and boxes recommends cutting with clean scissors about 1 inch above the potting mix, leaving the base and any tiny emerging leaves intact.
That stub is not a leftover, it is the plant’s recovery engine.
New leaves may be ready for another cutting in about 25 to 30 days, though that timeline assumes the plants have enough water, nutrients, and reasonable temperatures to keep growing.
A second approach skips batch cutting entirely.
You can thin plants to roughly 4 to 6 inches apart and then pick outer leaves individually as they reach a usable size, leaving younger inner leaves to keep developing.
Maryland Extension’s container growing guide describes both methods, and neither is strictly better.
Batch cutting is faster and works well for dense baby-green plantings.
Individual leaf picking suits a smaller number of plants grown slightly larger.
What you should not expect is that the plant will keep producing indefinitely.
Heat, drought, disease, crowding, nutrient shortages, and natural aging can all prevent recovery after the first or second cut.
Maryland describes a third harvest as sometimes possible, not reliably likely.
When plants stop producing leaves of useful size, turn bitter, or start to bolt, the honest move is to pull them and start a fresh sowing rather than wait for a flush that may not come.
Stagger Plantings To Keep Harvests Moving
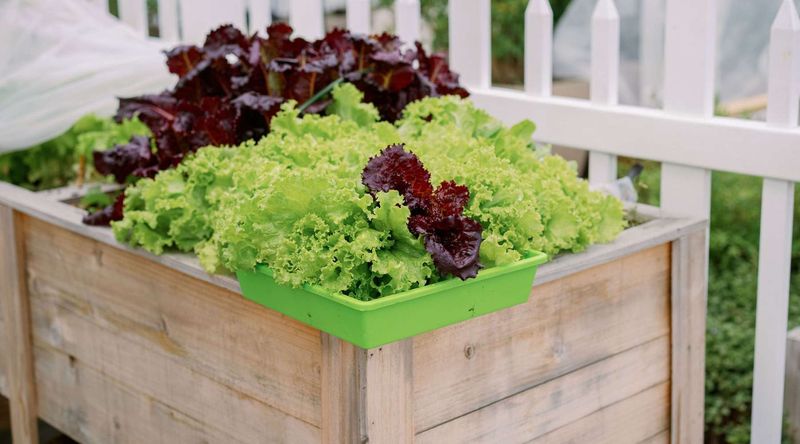
Relying on one batch of greens to keep refilling itself is the single biggest reason stoop gardens go quiet in midsummer.
The plants give you two good cuttings, sometimes three, and then they slow down or bolt.
Succession planting is the fix, and it works by keeping plants at different ages rather than waiting for one container to perform indefinitely.
Illinois Extension’s container vegetable guide recommends starting a second round of seeds 1 to 2 weeks after the first, then another planting about a week after that.
Illinois Extension’s lettuce guide suggests successive plantings every 10 to 14 days for a continuous supply.
The exact interval depends on your local heat, how fast your crops mature, and how much space you can manage.
The way it plays out in practice: while you’re cutting from the first planting, the second batch is still growing.
By the time the first planting has given its second flush and starts to fade, the second batch is ready.
A third sowing, started about a week after the second, carries you further into the season.
The stagger is the supply chain.
University of Maryland Extension reports that baby greens are typically ready for a first harvest in about 25 to 40 days, with a second cutting possible in roughly 25 to 30 more days.
Under their conditions, a smaller salad box produced about 3 to 6 ounces per cutting, while a standard salad table produced about 1 to 2 pounds per cutting.
Maryland Extension’s harvesting resource presents those figures as examples under specific conditions, not promises for every garden.
What your stoop produces will depend on container size, sunlight, heat, watering consistency, pest pressure, and how many people are eating from it.
A well-managed stoop container can reduce how often a small household reaches for a bag of greens, especially during active spring and fall harvests.
Expecting it to replace every grocery purchase is a different and harder goal.
Adjust The Sunny Stoop For Summer
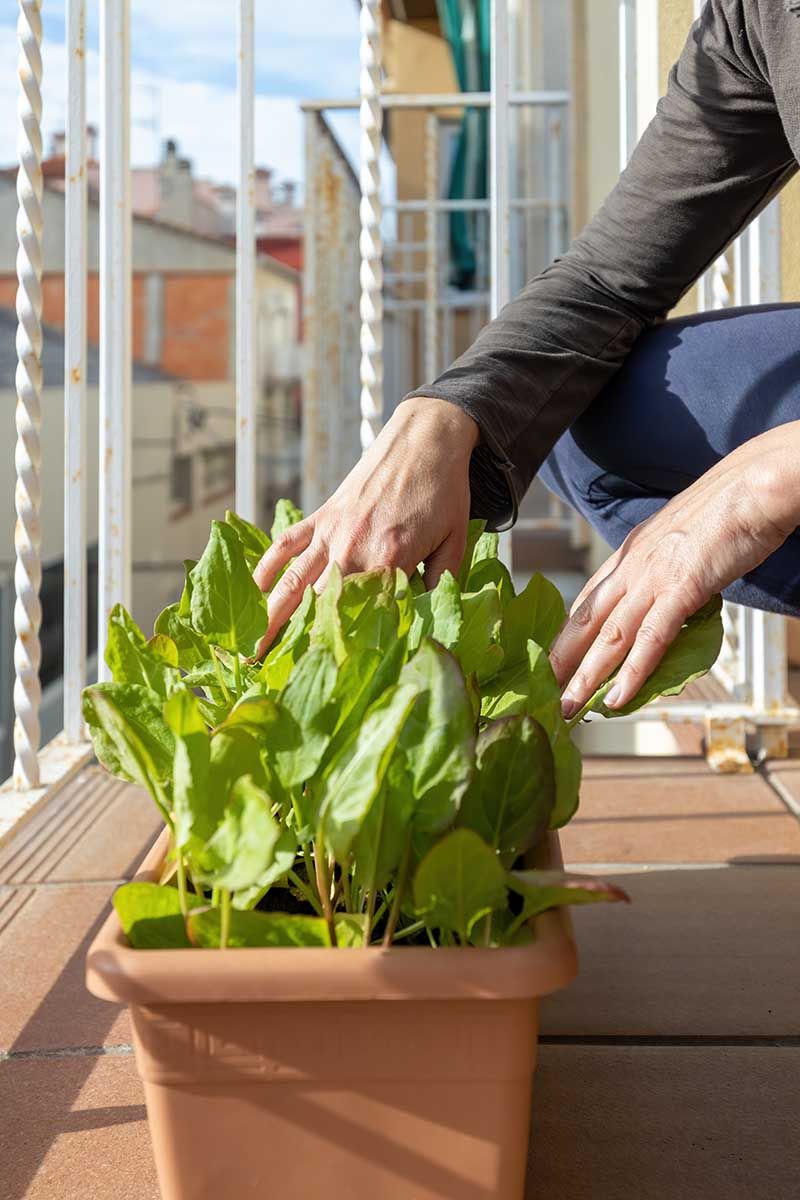
A south- or west-facing stoop in July can feel like a frying pan.
Masonry absorbs heat during the day and radiates it back at night, pushing soil temperatures well above what the air thermometer reads.
That is the environment your lettuce is trying to survive in, and often it cannot.
Illinois Extension’s spring greens guide notes that cool-season greens prefer an average daily temperature around 60 to 70 degrees Fahrenheit.
Oregon State Extension’s salad greens publication warns that lettuce may bolt above about 80 degrees Fahrenheit.
Once bolting starts, the plant sends up a flower stalk, leaves turn bitter, and the harvest is essentially over.
Colorado State Extension research on heat-trapping surfaces confirms that masonry and pavement can create localized hot spots several degrees warmer than the surrounding yard.
Your stoop may be running hotter than any regional average suggests, especially if it faces south or west and has a wall behind it reflecting additional heat.
University of Maryland Extension recommends 4 to 8 hours of direct sun during cooler spring and fall periods, then moving containers to a mostly shaded or indirectly lit location during the hottest part of summer.
A shade cloth rated for 30 to 50 percent light reduction can help where relocation isn’t possible, though it is a partial fix rather than a complete solution.
The seasonal timing of all this varies by where you live.
Illinois Extension’s lettuce page and Illinois Extension’s fall salad greens guidance both emphasize using local frost and heat patterns to time plantings, rather than applying one national calendar date.
A gardener in coastal Oregon faces a very different summer than one in central Texas or suburban Chicago.
Check your local Cooperative Extension office for the heat and frost windows that apply to your area, and plan your crop mix and container location around those real conditions.
Water And Feed According To Conditions
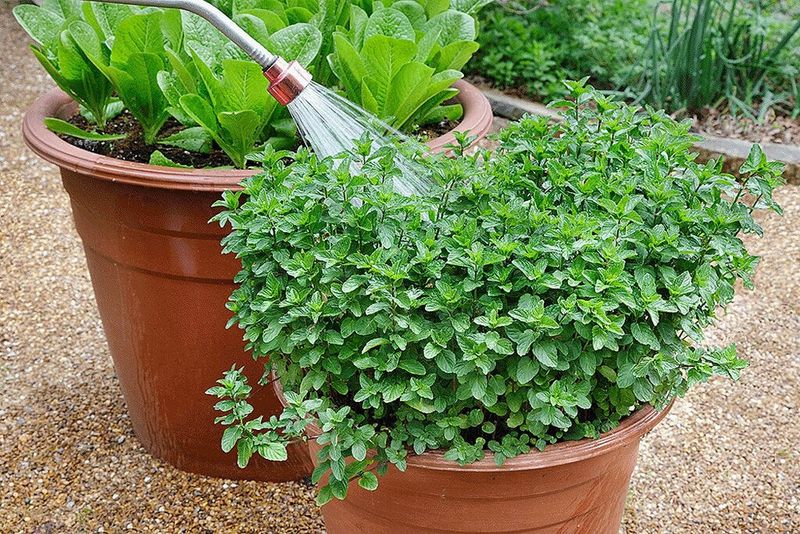
Container plants are thirsty in a way that in-ground plants simply are not.
The potting mix has no surrounding soil to borrow moisture from, so what’s in the pot is all there is.
On a hot, breezy summer day, that mix can go from damp to bone dry faster than you’d expect.
Penn State Extension’s container vegetable gardening guide notes that watering may be needed at least once daily during hot summer weather.
The right approach is to water thoroughly until you see drainage coming from the holes at the bottom, which confirms that water reached the full depth of the root zone.
Then stop.
Leaving the mix saturated invites root rot, which will end a planting faster than a dry spell.
Oregon State Extension’s container gardening resource recommends checking soil moisture regularly rather than watering on a fixed schedule.
Cooler days, cloudy weather, higher humidity, and a deeper container all slow moisture loss.
Wind speeds it up.
You’re adjusting to conditions, not following a timer.
Fertilizing follows similar logic.
Illinois Extension’s container vegetable guidance recommends working a slow-release fertilizer into the potting mix at planting, then supplementing with a soluble fertilizer every 2 to 4 weeks during the growing season, always following the product label for rates and timing.
Greens are not heavy feeders, but a container that gets harvested repeatedly will eventually exhaust the available nutrients, and plants will show it in pale, slow-growing leaves.
Feed according to the label and the crop, not according to a one-size routine.
Replace Spent Plants And Handle Greens Safely
A plant that has bolted, turned bitter, stopped producing leaves of useful size, or looks diseased is not a failure.
It is a signal that the cycle is complete and the next sowing is overdue.
Pulling spent plants is not giving up, it is the move that keeps the whole system running.
When you remove a tired plant, you free up potting mix for the next succession sowing you already have waiting.
University of Maryland Extension’s harvesting guide describes replacement as a normal part of the salad table and salad box cycle, not an exception.
Maryland Extension’s container growing resource is clear that plants eventually become weak, bitter, or unproductive and need replacing, even with good care.
Treating that moment as routine rather than disappointing is what keeps a stoop garden productive across a season.
One stoop container used this way can reduce how often a small household reaches for a bag of greens, especially during active spring and fall harvests.
It cannot guarantee a full, year-round supply or eliminate grocery purchases, and the output will vary with container size, sunlight, heat, watering, and how much your household eats.
Food safety matters just as much with homegrown greens as with purchased ones.
Raw leafy greens can carry harmful germs regardless of where they were grown.
CDC food safety guidance and University of Minnesota Extension’s produce washing guidance both recommend washing hands and cleaning food-contact surfaces before handling produce, rinsing greens under cool running water, and refrigerating cut produce promptly.
Minnesota Extension advises using properly refrigerated cut greens within 7 days as a quality recommendation, not a universal safety guarantee for all situations.
If pests become a problem, any product you use must be labeled specifically for the food crop or crop group you are growing and applied exactly as the label directs.
EPA guidance on reading pesticide labels and EPA pesticide labeling questions and answers are both clear that washing does not make an off-label application acceptable.
A stoop garden that feeds your table deserves the same care at harvest time as it does at planting, and that care is what makes the whole effort worth it.