
Got Daylilies? The Tasks You Do In Late Summer Set Up Blooms Bigger Than Ever Next Year
Follow us on Google
Late afternoon sun sits warm on your neck by the back fence, and your daylily patch is winding down for the year.
A few faded blooms hang on, and green seed pods are quietly stealing energy you want saved for next summer.
The good news is that a handful of simple jobs right now can hand you a much bigger show next season.
No fancy chemicals, no whole weekend lost.
Just a few smart snips, some gentle digging, and a well-timed snack for the roots.
Grab your pruners, and let’s set your Hemerocallis up to outdo itself.
1. Snip Spent Blooms Before They Steal Energy
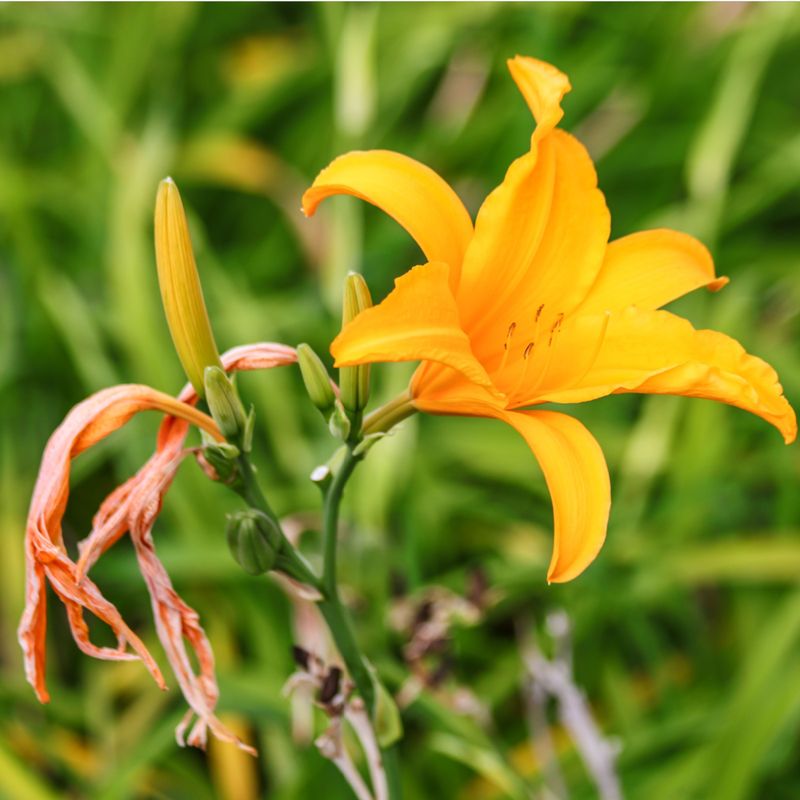
A daylily flower opens for a single day, then wilts into a soggy little knot.
Left alone, that spent bloom turns into a plump green seed pod, and pods are quiet energy thieves.
Picture your daylily as a busy bakery.
When you let it make seeds, it stops baking pastries and starts milling flour, a whole side project that drains the pantry.
You want that pantry stocked for next year instead.
The fix takes seconds.
Pinch off withered flowers with your fingers every day or two, and snap off any green seed pods before they brown and split.
Both jobs keep the plant tidy and stop it from spending on seeds it does not need.
When an entire flower stalk, called a scape, finishes and shows no new buds, cut it clean at the base with sharp pruners.
Take care not to nick the surrounding leaves.
This small habit pushes the plant to pour effort into its roots and hidden reserves.
That underground bank account is genuinely what funds next summer’s flush of blooms.
2. Dividing Crowded Clumps Wakes Up Bigger Flowers
Daylilies are generous to a fault.
Over a few years, one tidy plant swells into a dense mat of fans all elbowing each other for room.
Think of a family dinner where everyone crowds a tiny table.
Eventually nobody gets enough to eat.
When your blooms shrink or thin out, overcrowding is usually the reason.
Late summer or early fall, after the main bloom has passed, is one of the best windows to fix it.
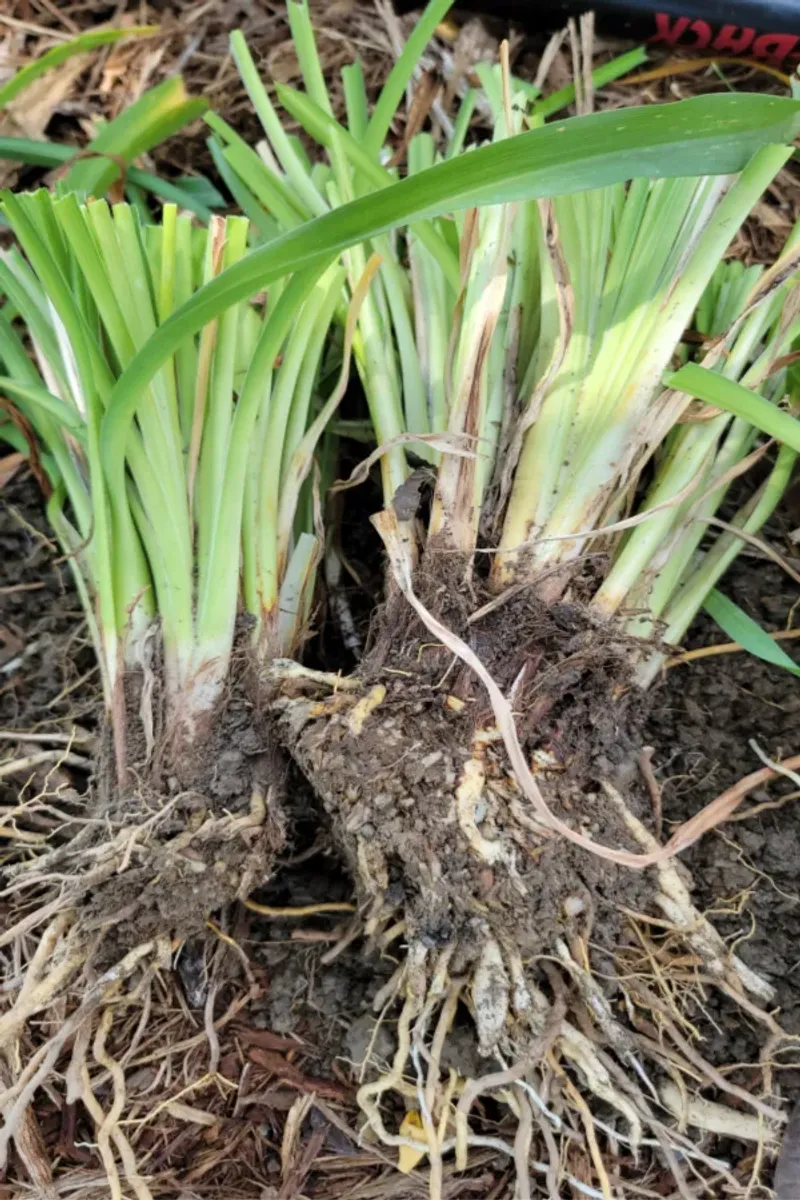
Dig 8 to 10 inches out from the base with a spade or fork, circling the clump to loosen the roots.
Lift the whole thing, then shake or rinse off the soil so you can see what you are doing.
Pull or cut the clump into pieces.
A dense one may need a sharp knife.
Aim for at least 2 to 3 fans of leaves and healthy roots per division.
Trim the foliage back to about 6 to 8 inches and the roots to around 4 or 5 inches to spark fresh growth.
Replant right away, spacing divisions 18 to 24 inches apart, with the crown about 1 inch below the soil.
Water them in well.
3. A Late Summer Snack Fuels Spring’s Show
After a long season of blooming, your daylilies are running on a lighter tank.
A well-timed feeding refills it, especially if your soil is poor or you just divided a clump.
The goal is not to force tender new leaves right before cold weather.
It is to give roots what they need to store energy for dormancy and load up for spring growth.
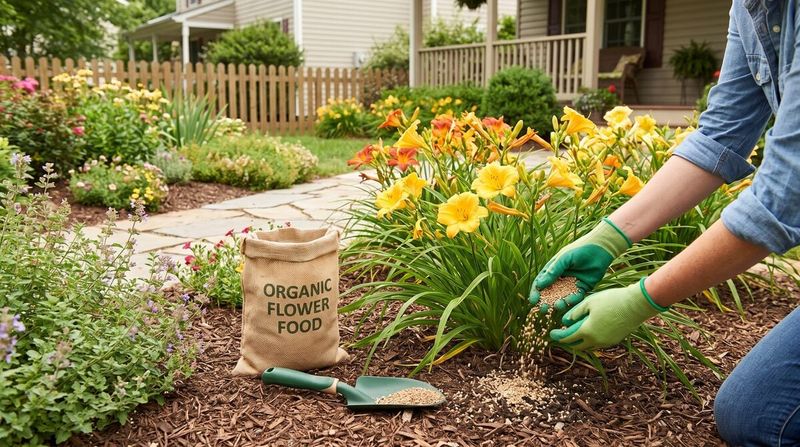
Reach for a balanced granular fertilizer such as 5-10-5, 6-6-6, or 10-10-10.
Those three numbers are the percentages of nitrogen, phosphorus, and potassium.
A balanced blend supports the whole plant without pushing too much leafy top growth when the plant should be working underground.
Scatter the granules around the base, keeping them off the leaves so they do not scorch.
Then water it in.
Many gardeners find established clumps do fine with a spring feeding alone.
But a late summer meal helps plants in tired soil and fresh divisions.
You can also top-dress with a couple inches of compost or composted manure, which releases nutrients slowly and feeds the soil life too.
4. Deep Drinks Now Build Stronger Roots
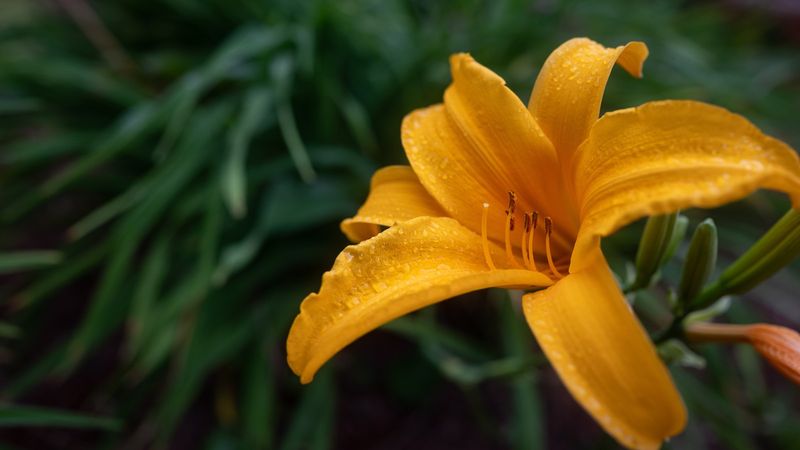
Everyone praises daylilies for shrugging off drought, and they do handle dry spells once settled in.
But there is a difference between surviving and performing.
Try running a marathon on half a water bottle.
You might finish, but not at your best.
Your daylilies feel the same, especially while recovering from blooming or division and rebuilding energy.
They like soil that stays moist but drains freely.
During a long late summer dry stretch, give established clumps an occasional deep soaking rather than a daily sprinkle.
Watch for wilting or dull, discolored leaves as a thirsty signal.
Water in the morning so the foliage dries before dark.
Wet leaves overnight invite fungal trouble.
Fresh divisions need more attention.
Water them every few days for the first 1 to 2 weeks, then cut back to once or twice a week through their first season.
Push the water deep into the root zone instead of wetting only the surface.
As a rough target, daylilies do well on about 1 inch of water per week from rain or the hose.
A cheap rain gauge takes the guesswork out.
5. Cut Back Or Leave It, Blooms Won’t Mind
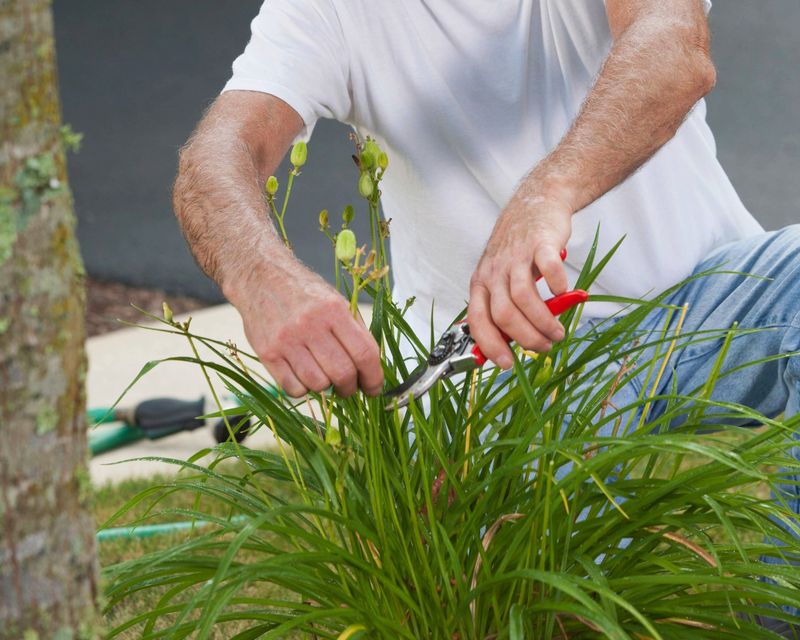
By August, daylily leaves often look like they pulled an all-nighter.
Many Midwest gardeners notice their clumps turn yellow and bedraggled well before frost.
Here is the relief.
Whether you tidy up now or leave the foliage standing, it will not genuinely change next year’s bloom count.
The choice is about looks and cleanup, not flower power.
If you want neat beds, cut the leaves back to about 6 to 8 inches after they yellow or after a hard frost knocks them down.
A trim also removes hiding spots where some pests and diseases try to overwinter, denying them shelter near the crown.
Climate changes the plan.
In milder areas such as parts of South Central Texas, some daylilies stay semi-evergreen.
For those, just pull the yellowed leaves and save a bigger trim for early spring before new shoots push up.
If you leave the old foliage on for winter, that is fine too.
Just clear it off in early spring so fresh growth gets full sun.
Either way, the plant does the important work below ground while you decide how tidy you feel.
6. A Blanket Of Mulch Protects Your Investment
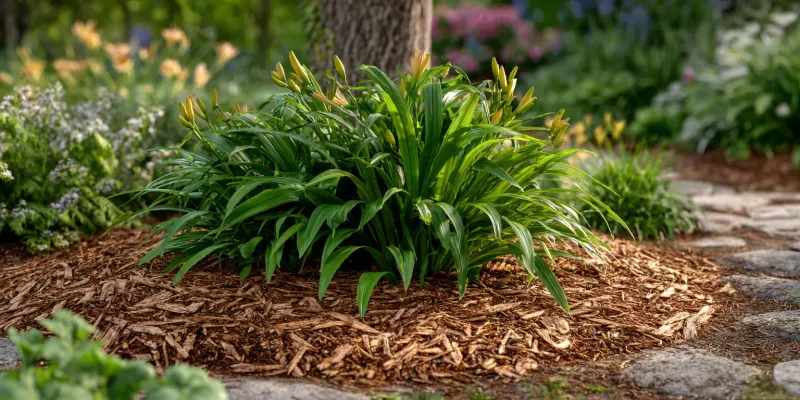
Think of mulch as a cozy blanket you tuck around your daylilies before the cold rolls in.
It is one of the easiest ways to protect the roots and set up strong blooms next year.
Mulch steadies soil temperature, cooler in summer heat and warmer as fall slides toward winter.
It also locks in moisture, so you water less, and it smothers weeds that would otherwise fight your plants for food and drink.
Spread an organic mulch like shredded bark, pine needles, or compost around the base.
Aim for a layer 2 to 3 inches thick, and keep it pulled back a little from the crown so the plant does not sit damp and rot.
Fresh divisions benefit most, since their new roots need extra cover while they settle.
In colder regions, a slightly thicker layer adds real insulation against harsh freezes and helps guard the tuberous roots.
Even where winters stay mild, mulch earns its keep by holding moisture steady and keeping weeds down.
That frees your daylilies to spend their whole budget on the biggest, brightest show they can throw next spring.
7. Weeding Around The Crown Frees Up Food
Weeds are the freeloaders of the flower bed.
While your daylilies rebuild for next year, crabgrass and creeping intruders quietly siphon off the water and nutrients you meant for the roots.
Late summer is a smart time to clear them, because pulling weeds before they set seed saves you a much bigger battle next spring.
A weed that drops seed now becomes dozens of new ones later.
Work gently around the crown, the spot where roots meet shoots, so you do not tear at the shallow feeder roots.
Damp soil after a rain or a watering makes weeds slide out whole, roots and all.
For stubborn perennial weeds tangled into the clump, a hand fork helps you tease them free without ripping the daylily.
Get the whole root when you can, since broken pieces of some weeds simply regrow.
Once the bed is clean, that layer of mulch you added holds the ground.
Fewer weeds means more of every drink and every feeding goes straight to your plants, which is exactly where you want it heading into fall.
8. Scouting For Pests Before They Settle In
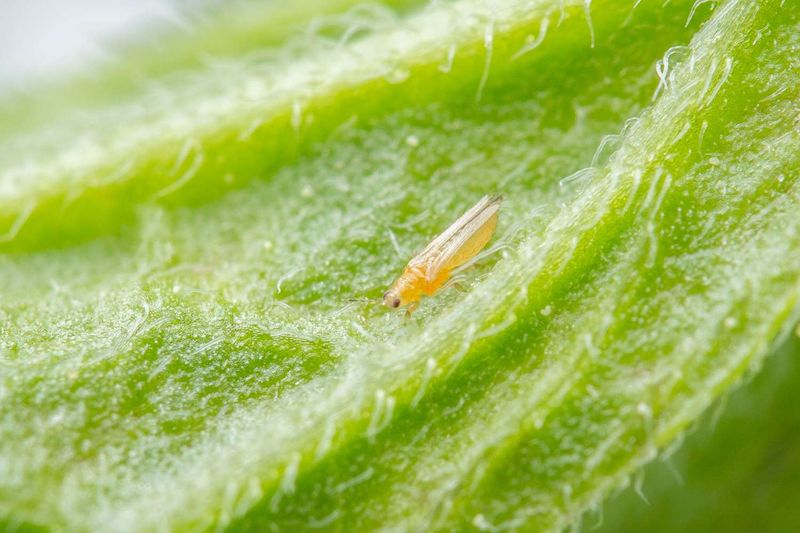
Flip a daylily leaf over in late afternoon and you might catch tiny hitchhikers you would rather not host.
Aphids cluster on tender growth, and thrips leave silvery streaks and deformed buds behind.
Late summer scouting matters because pests that overwinter near the crown come back hungry in spring.
A quick look now saves next season’s buds from arriving chewed or twisted.
Start with a strong blast of water from the hose, which knocks many aphids clean off.
For heavier trouble, insecticidal soap sprayed on the undersides of leaves can reduce soft-bodied pests, though you often need to repeat it every 5 to 7 days.
Daylily rust and leaf streak are two diseases worth watching too.
Clearing spent foliage and giving plants room for airflow helps limit both, according to Cooperative Extension guidance on garden sanitation.
Do not expect one spray to solve everything.
Think of pest control as layers, good spacing, morning watering, cleanup, and spot treatment working together.
Handle the small problems now, and you walk into next summer with clean fans ready to bloom instead of playing catch-up.
9. Labeling And Notes Pay Off Next Season

Picture next April, standing over a bed of look-alike green fans, trying to remember which one was that knockout ruffled bloom.
Without a note, that memory fades faster than a single day’s flower.
Late summer, while the show is still fresh in mind, is the moment to write things down.
It is the quiet task that turns this year’s guesswork into next year’s smart plan.
Tuck a weatherproof marker beside each variety, or better yet, sketch a simple map of the bed in a notebook.
Jot which clumps bloomed heavily, which ran thin, and which ones you divided and where the new pieces went.
Note the color, the height, and roughly when each opened.
That timeline helps you spread bloom across the season next year instead of everything peaking the same week.
None of this makes a single extra flower on its own.
But it turns you into the gardener who knows exactly what to feed, move, or replace, and that confidence is what carries a patch from good to genuinely impressive.
Set down your pen, take one last look at the fading blooms, and know the real work for next summer is already done.