
The Backyard Bloomers Gardeners Quietly Trade Every Year Because They Multiply On Their Own
Follow us on Google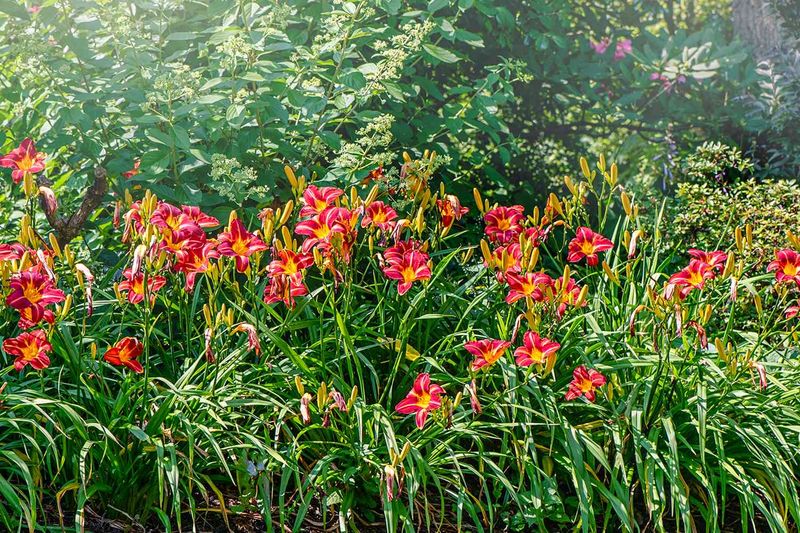
It’s a warm July evening, and your neighbor is crouched in her front bed with a shovel, prying up a chunk of orange blooms she wants to hand you over the fence.
That’s how most folks meet the plant that seems to show up in every yard on the block without anyone spending a dime.
Daylilies (Hemerocallis) multiply so fast that gardeners have been quietly passing them along for generations.
Here’s how to spot when yours are ready, split them the right way, and keep the free plants coming without one variety taking over your whole garden.
1. Why Gardeners Keep Passing Daylilies Along
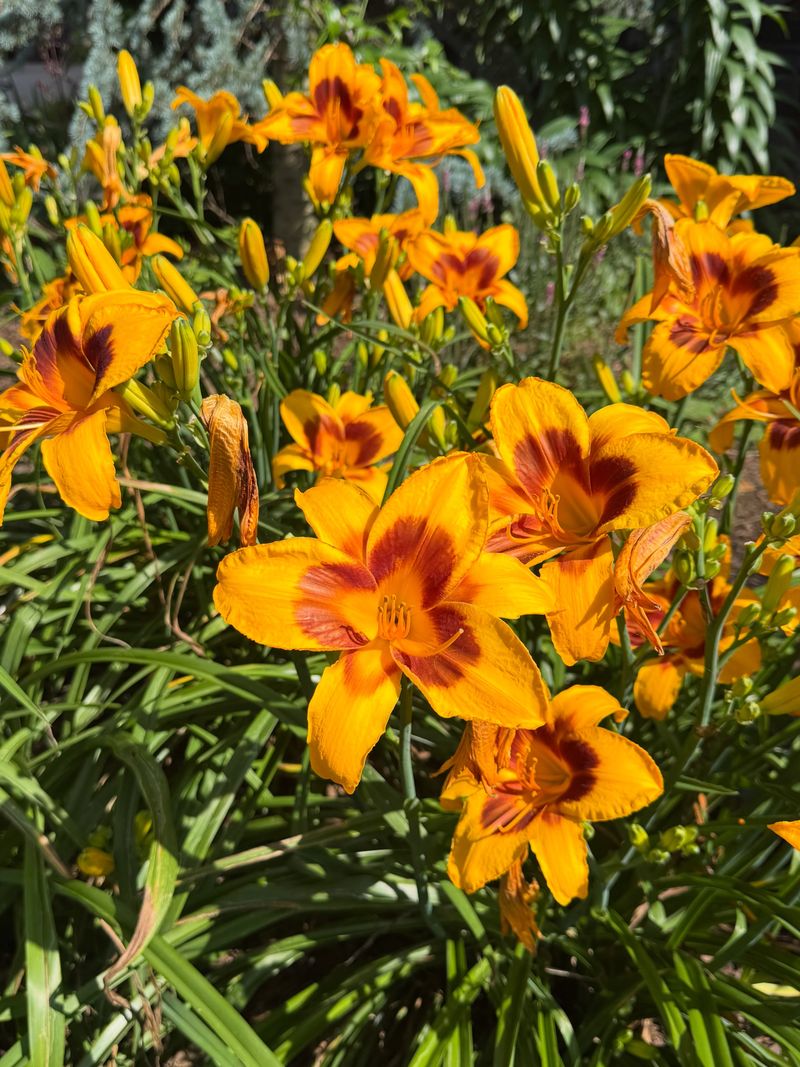
A single daylily plant almost feels like it’s plotting to become twenty.
Gardeners love that.
One small starter, called a fan, can grow into a clump of 8 to 12 fans in just two years.
By year three, that one purchase might give you 20 or more separate plants.
So instead of buying a whole bed, many folks fill their yards for free through swaps with friends, family, and neighbors.
The payoff is real.
Daylilies bloom for weeks, shrug off many common diseases, and ask for very little in return.
That combination is why they show up in porch beds and mailbox corners across the country.
One quiet warning comes with the generosity.
The common orange ditch lily (Hemerocallis fulva) spreads aggressively and can become invasive in some regions.
Most modern hybrids behave like tidy clumpers instead.
So when someone offers you a division, ask what type it is before you plant it.
2. Smaller Blooms Are Your Clumps Crying For Space
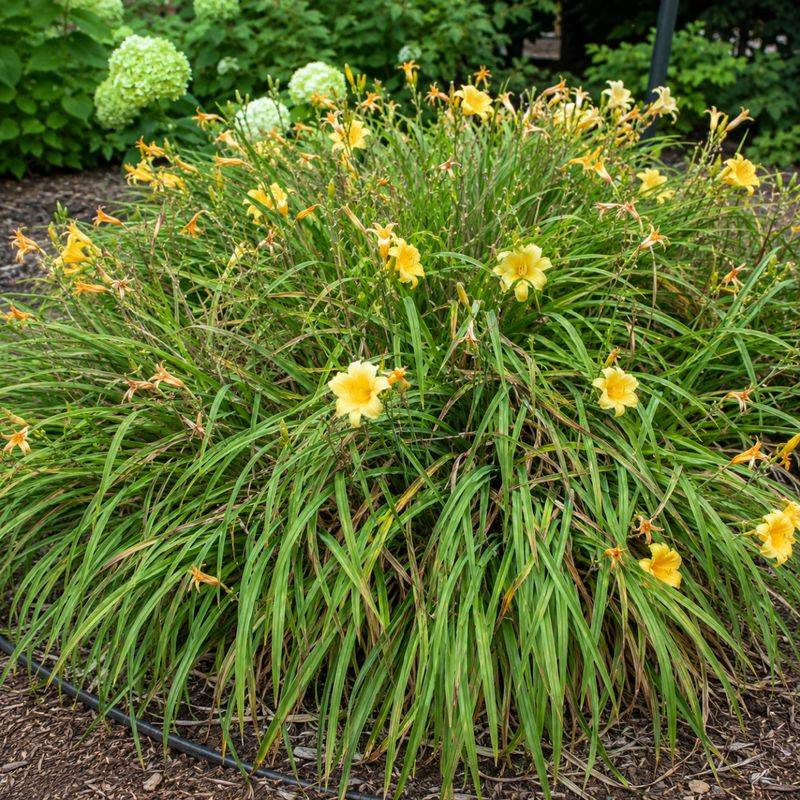
You settle onto the porch as the light fades, glass in hand, and glance at the daylily patch you were once so proud of.
Something looks off.
The flowers seem smaller, and the middle of the clump has gone thin and bare.
That empty center is the plant telling you it’s crowded.
Daylilies multiply by forming thick, tuberous roots that keep pushing out new fans until they run out of room.
As those clumps pack tighter, the plants fight each other for water and nutrients.
Fewer flowers show up, and the ones that do arrive look tired.
Dividing every three to five years genuinely wakes them back up.
The Missouri Botanical Garden notes that rejuvenating old clumps helps them hold their vigor and bloom power.
So think of division as less of a chore and more of a reset button.
You get stronger plants, better flowers, and a pile of free divisions to share, all from noticing one sad-looking center.
3. Timing The Split Around Your Local Season
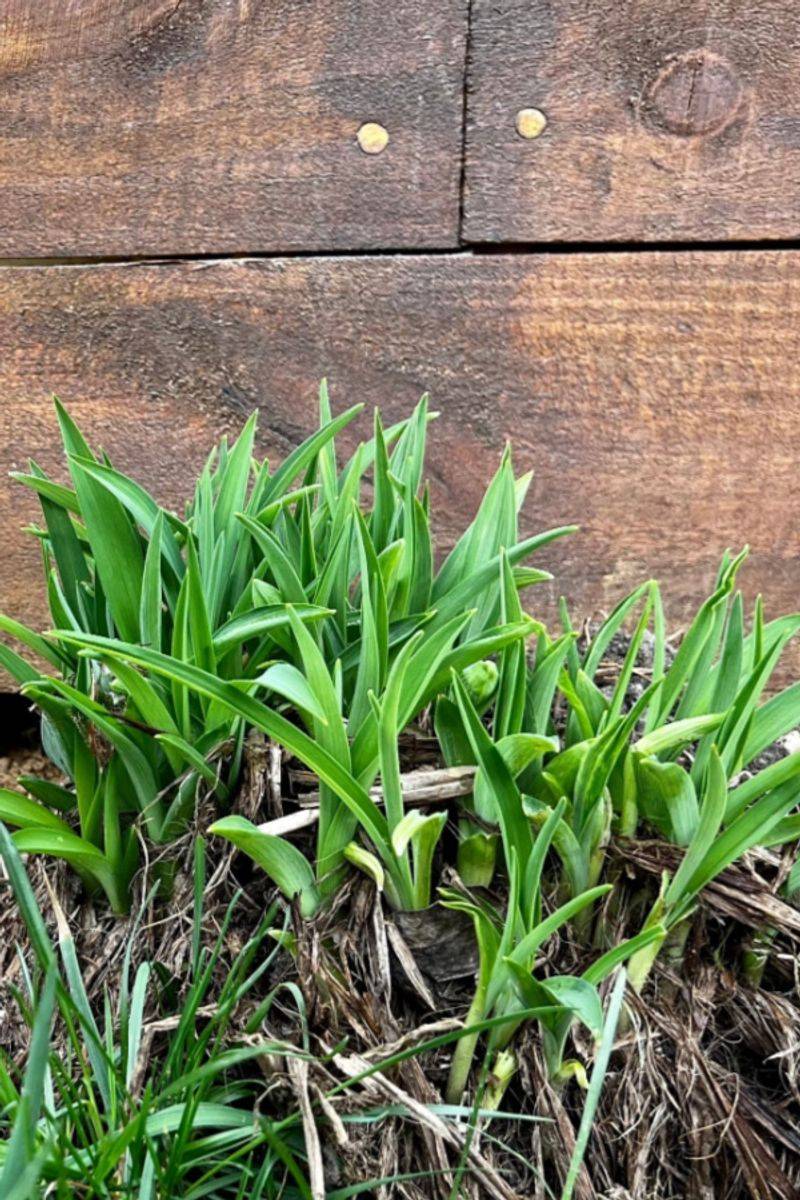
Grab your calendar before your shovel.
The best moments to divide daylilies are early spring, when new growth reaches about six inches tall, or late summer into early fall after the last flowers fade.
Both windows land during cooler stretches, which is the point.
Cooler soil means less stress on the plant, giving it time to grow fresh roots before summer heat or hard cold arrives.
Where you live changes the math.
In a mild fall region like much of the Pacific Northwest or parts of the Southeast, you get a longer autumn window to work with.
Up north, the ground can freeze hard by late November, so a colder-state gardener should aim earlier.
Divisions want six to eight weeks to settle before a deep freeze.
Weather is the antagonist here, and timing is how you outsmart it.
Pick the cool shoulder of your season, and the plants do the rest.
4. Lifting The Clump Without Wrecking The Roots
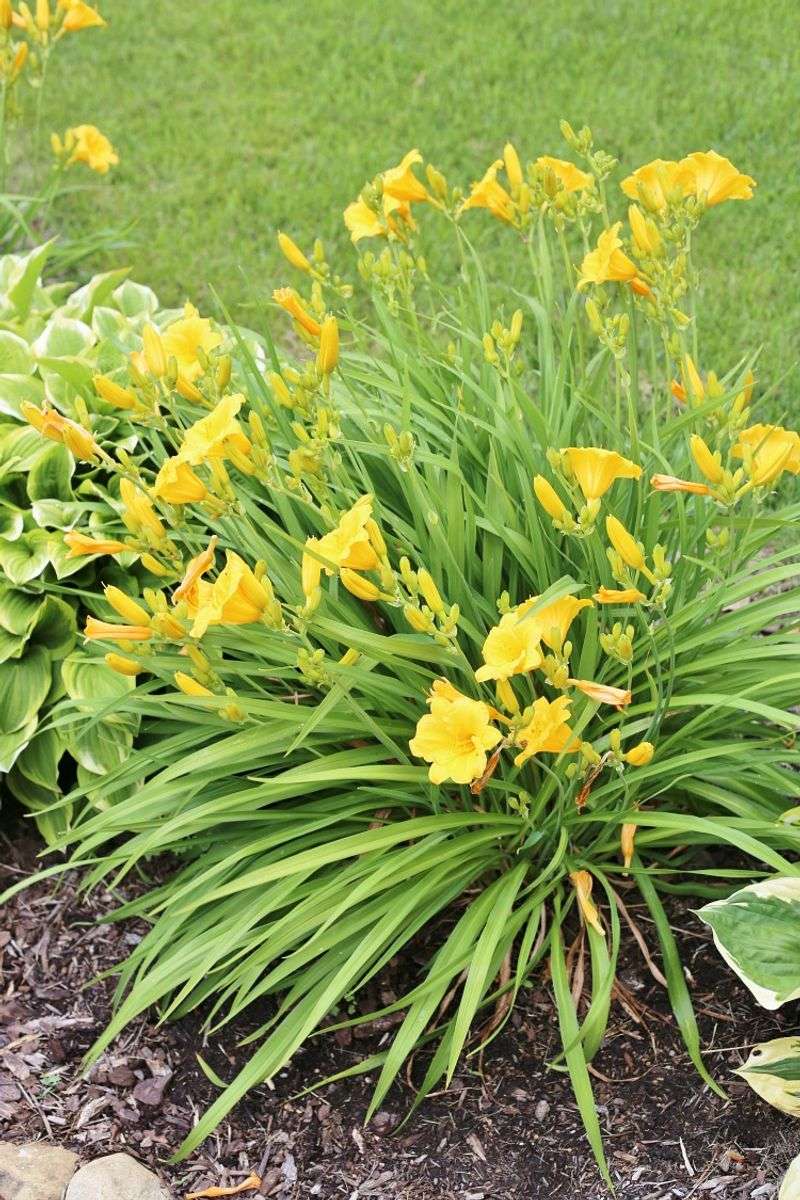
Digging up a daylily feels a little like moving a sleeping dog.
Do it gently, and everyone stays happy.
Rush it, and you tear things you did not mean to.
Set out your tools first: a sturdy garden fork or shovel, a sharp knife or pruning shears, and a good pair of gloves.
Having them ready keeps the job quick.
Start your dig about 8 to 12 inches out from the base of the clump.
That buffer protects the fibrous roots from getting sliced.
A garden fork often beats a shovel here because it loosens soil around the roots instead of cutting straight through them.
Work your way all the way around the clump, prying up bit by bit.
Once it lifts free, shake off the loose dirt or rinse the roots with a hose.
Clean roots make it far easier to see the individual fans you are about to separate.
5. The Two-Fork Trick For Stubborn Root Masses
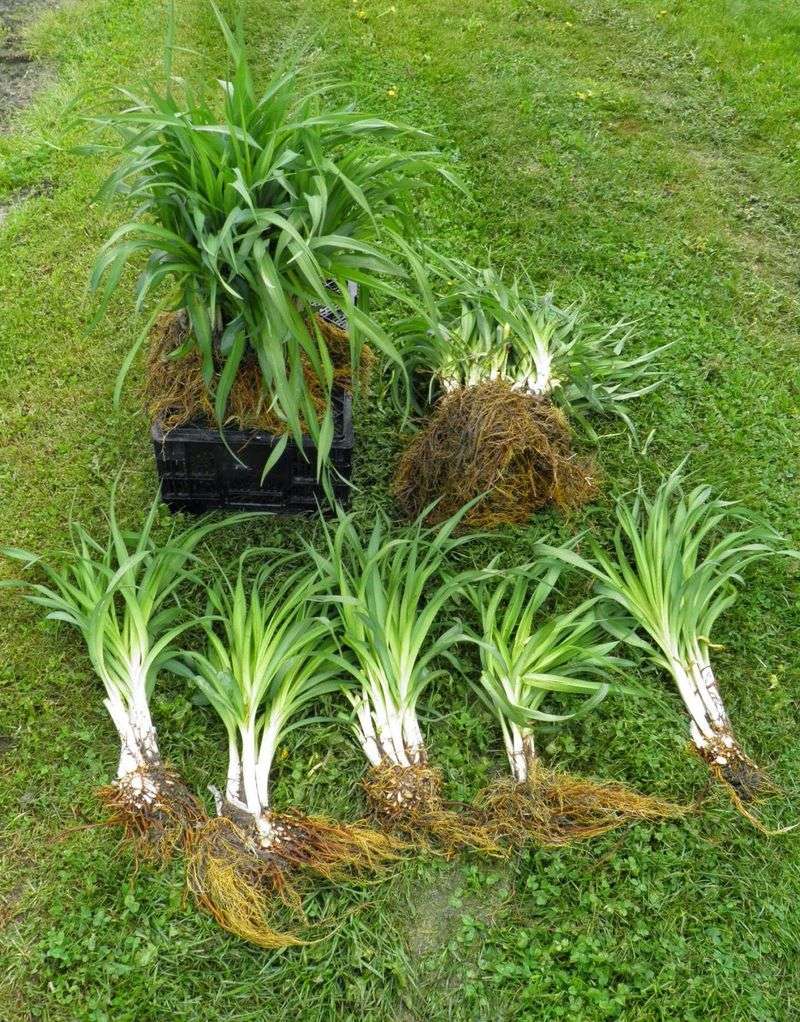
Here comes the fun part, where one plant turns into many.
Daylily roots grow into a dense, tangled mass of tubers that can feel welded together.
For big, stubborn clumps, try the two-fork trick.
Push two garden forks back-to-back into the center, then lever the handles apart to pop the root mass in half.
Smaller or younger clumps often give up without a fight.
You can simply tease the individual fans apart with your hands.
When roots stay packed tight, a sharp knife or even a pruning saw cuts through with little harm done.
Do not be shy, these plants are tougher than they look.
Aim for each new division to carry at least two to three healthy leaf fans plus a solid chunk of its own roots.
Divisions that size establish faster and bloom sooner.
So you end up with more plants that actually perform, not just survive.
6. Planting Divisions So They Bloom Fast
A freshly split division is basically a plant with a to-do list.
Your job is to make that list short.
Start by trimming the leaves down to about half their height, especially with fall divisions or tall foliage.
That haircut sounds harsh, but it helps.
The plant pours its energy into new roots instead of holding up a big leafy top it cannot yet support.
Dig each hole a little wider than the roots, and mix in some compost, which pays off most in newer beds.
Spread the roots out as you set the plant in.
Now the detail people miss: keep the crown, where leaves meet roots, no more than one inch below the surface.
Plant it too deep, and flowering slows down.
Space clumps 18 to 24 inches apart so they have room to multiply again.
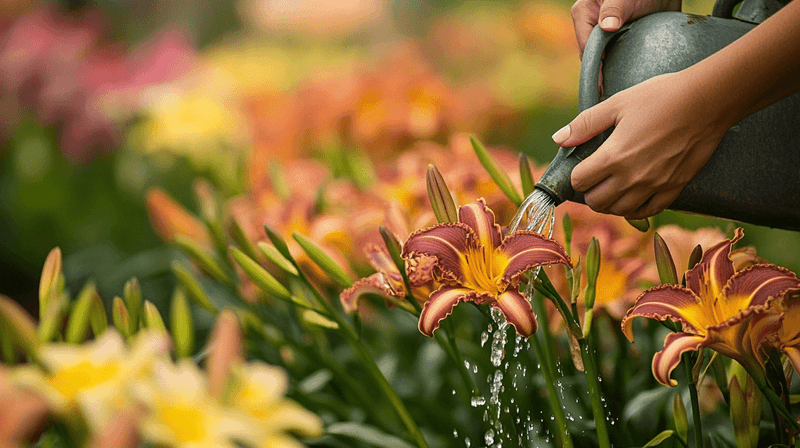
Backfill, firm the soil to close air pockets, then water it in well.
7. Full Sun And Steady Water Build The Best Show
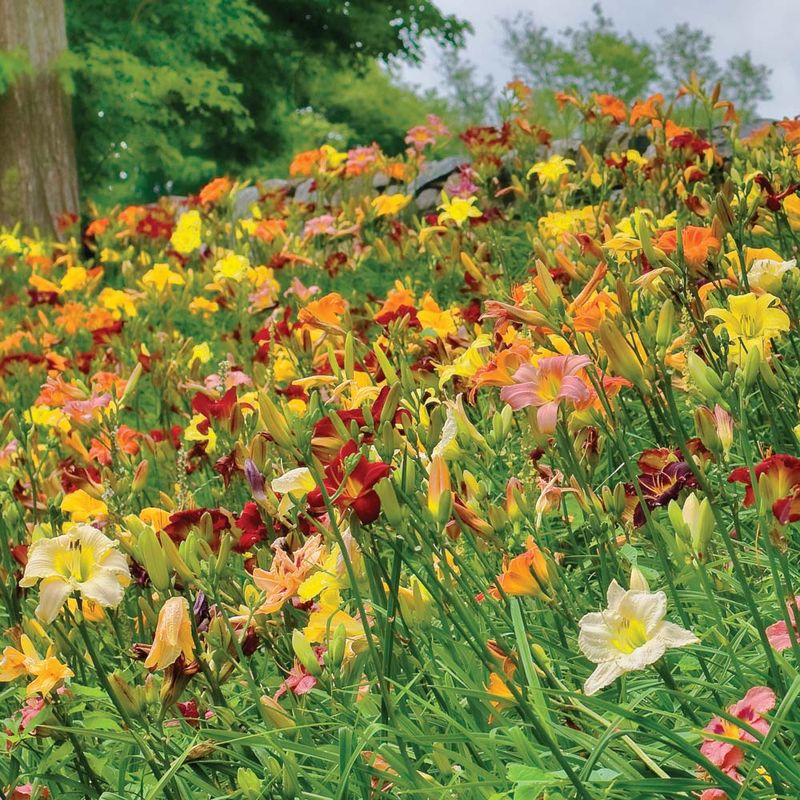
Toughness is the daylily’s calling card.
They are hardy across USDA zones 3 through 9 for winter cold, and they take most soils in stride.
Still, they put on their best show in full sun to part sun with well-drained ground.
Six or more hours of light usually means more buds per stem.
The first season after planting or dividing is when they need you most.
Water regularly while the roots take hold, which takes about six to eight weeks.
After that, they turn surprisingly drought-tolerant, a nice break for your summer water bill.
But do not read that as no water ever.
If midsummer plants look yellow or worn out, that is often a thirst signal, or a hint the clump has aged and wants dividing again.
Read those cues, and you close the loop back to a fuller, freer patch.
8. Keeping The Ditch Lily From Taking Over
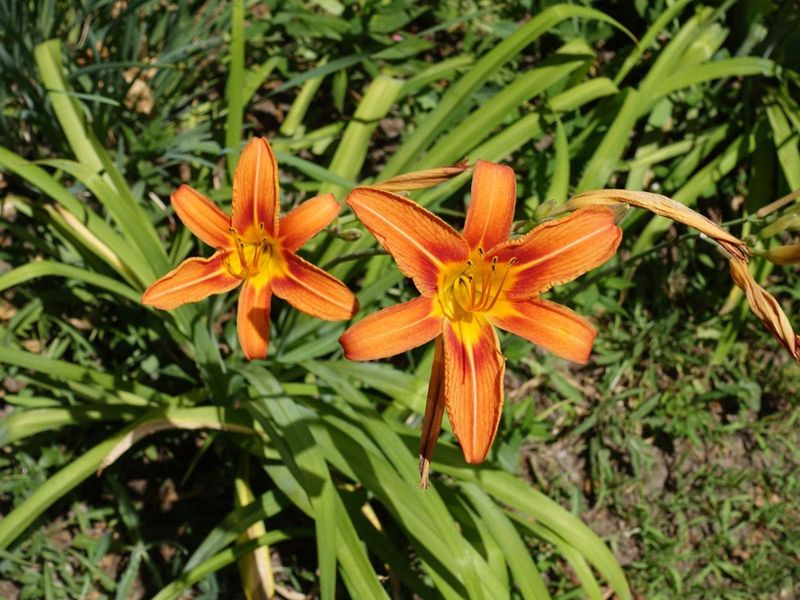
That classic orange daylily blanketing roadside ditches has a split personality.
Gardeners love the free color, but the common ditch lily (Hemerocallis fulva) runs on underground stems and can crowd out other plants.
In some regions it is flagged as invasive, so it is worth knowing before you accept a shovelful.
A neighbor’s generosity should not turn into a decade of yanking runners out of your beds.
The simple fix is to ask what you are getting.
Named modern hybrids stay put as clumps, growing wider but not wandering across the yard.
If you already have ditch lily and like it, corral it.
Plant it where mowing or a bed edge stops the spread, like along a fence line away from your good perennials.
Container growing works too, keeping the roots from marching off.
That way you enjoy the free, cheerful blooms without handing your garden over to one bully.
9. What Else Actually Helps Your Free Plants Multiply
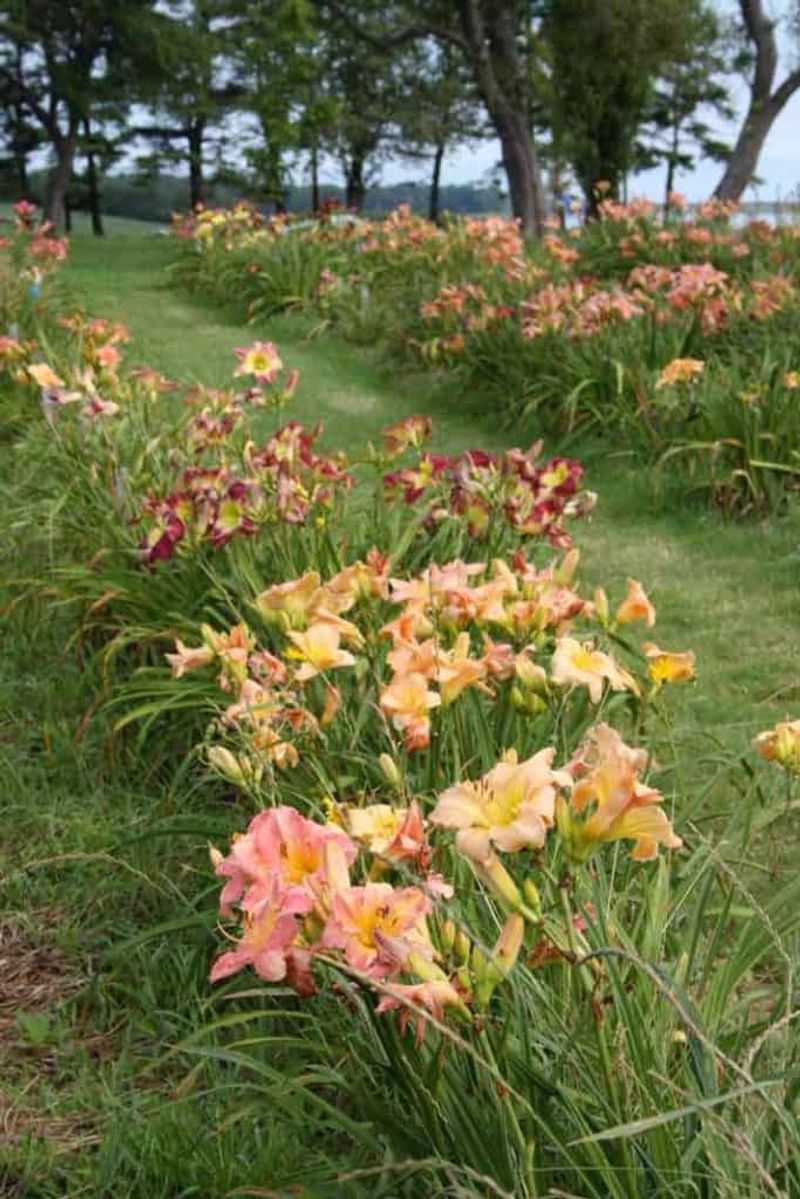
The real magic of daylilies is how far a single plant can travel.
One fan today becomes a clump you split, share, and split again, spreading around your whole block over a few seasons.
Snapping off spent blooms and old flower stalks keeps things tidy and pushes energy into next year’s fans.
A light spring feeding helps too, though these plants rarely demand much.
Label your divisions as you dig, since bare roots all look alike in a wheelbarrow.
A scrap of tape with the color saves confusion at planting time.
When you hand a division to a friend, pass along the type name and the depth tip.
That one crown-below-an-inch note is the difference between quick blooms and a year of waiting.
So the next time you spot a full clump with a bare center, you will know exactly what to do.
Lift it, split it, share it, and watch one plant quietly turn your yard, and a few neighbors’ yards, into something fuller every single year.