
Your Tomatoes Hang Green For Weeks In This Heat, But The Fix Is A Care Habit You Repeat Every Day
Follow us on Google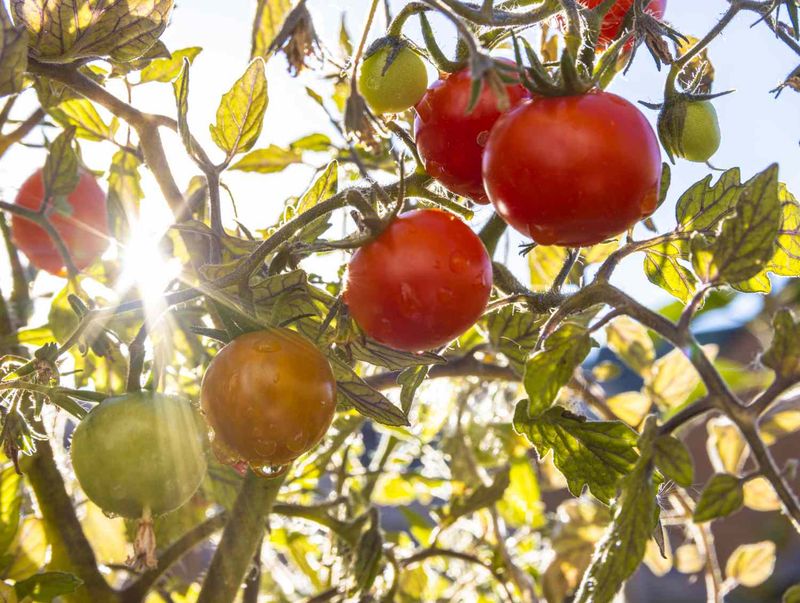
You walk out to the garden expecting color and find the same stubborn green fruit that was there last week, and the week before that.
It is not your imagination, and it is probably not one single mistake you made.
Summer heat can genuinely slow the ripening process inside the tomato itself, and no single daily habit can override what the weather is doing.
Understanding why the fruit stalls, and which care choices actually help, puts you back in control of the harvest.
Heat Can Pause Red Color Even In Full Sun
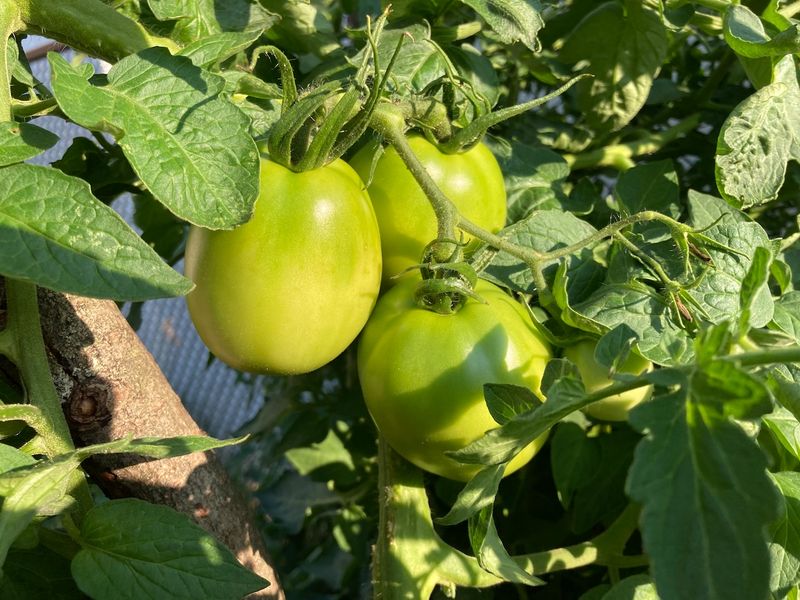
Plenty of gardeners assume their tomatoes are staying green because something is missing, too little sun, wrong soil, a skipped watering.
The actual explanation is often simpler and more frustrating: the air is too hot for the fruit to change color.
University of Illinois Extension research on stalled green tomatoes confirms that sustained high temperatures can slow or stop the production of lycopene and carotene, the two pigments responsible for turning traditional red tomatoes red.
Red color develops best when ripening temperatures stay somewhere around 68 degrees F to 77 degrees F.
Once temperatures climb above roughly 85 degrees F and hold there for days at a stretch, pigment formation slows noticeably.
Different extension sources use slightly different cutoffs, 86 degrees, 90 degrees, even 92 degrees, so there is no single magic number.
What matters is the pattern: persistent, unrelenting heat is the antagonist, not a gap in your routine.
Tomatoes (Solanum lycopersicum) need strong, direct light to grow and produce fruit well.
The problem is not the sun itself but the heat that comes with it.
Minnesota Extension guidance on heat and vegetable gardens notes that sustained daytime temperatures above 85 degrees F combined with nights above 70 degrees F can also cause flower abortion, which means the heat wave may be stalling both the fruit already on the vine and the new blossoms trying to set.
You can reduce plant stress with smart watering, mulch, and feeding habits, and those steps genuinely help.
But no daily habit guarantees that a tomato will turn red on a schedule while a heat wave is still running.
Patience, combined with good care, is the honest answer.
Pause Unnecessary High-Nitrogen Feeding
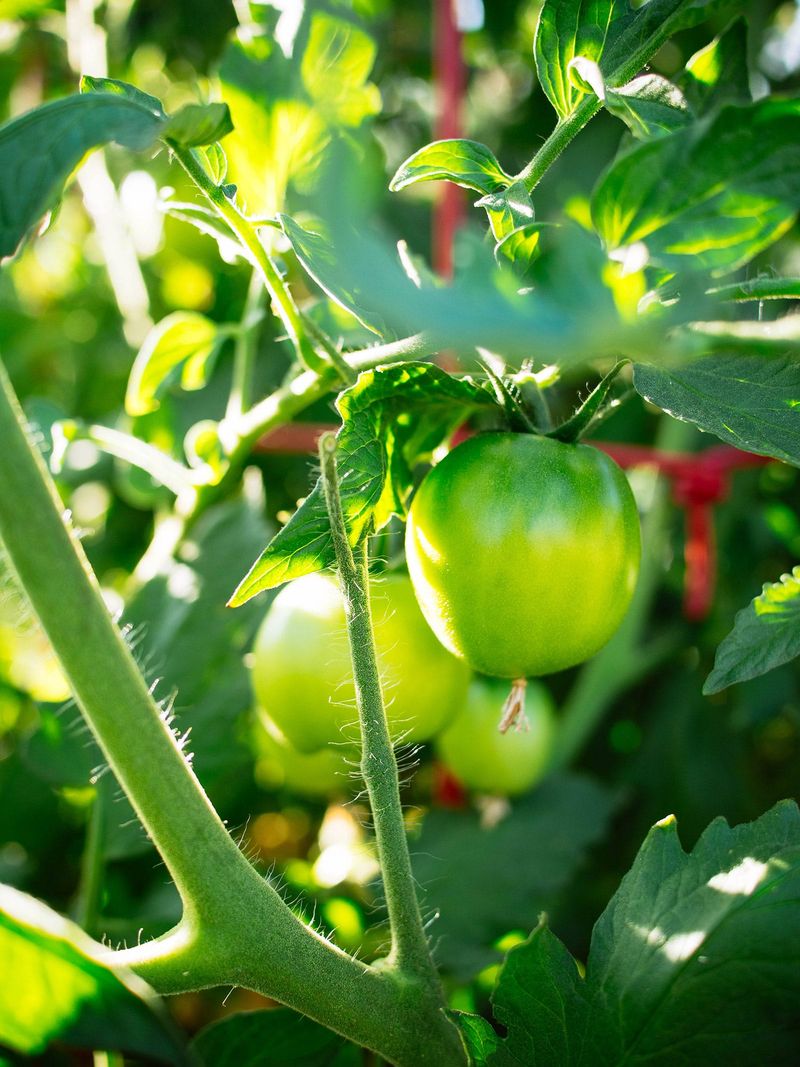
Reach into the shed, pull out the fertilizer, and read the label before you do anything else.
Applying extra nitrogen to a tomato plant that is already full-sized and loaded with green fruit is one of the care mistakes that can genuinely work against you, though it is not the explanation for every case of heat-stalled color.
Oregon State University Extension’s tomato growing guide explains that excess nitrogen encourages the plant to keep pushing leafy vine growth instead of putting energy into maturing its fruit.
Think of the plant as a manager with a limited budget: flood it with nitrogen and it spends that budget on new leaves and stems, not on finishing the tomatoes already hanging on the vine.
Penn State Extension makes a similar point, noting that high-nitrogen fertilizer can produce lush foliage with delayed flowering and fruiting as a consequence.
The practical step here is to pause applications you cannot justify.
If you have been feeding on a fixed weekly schedule simply because the fruit is still green, stop and assess first.
Green fruit during a heat wave is not automatically a sign of a nitrogen shortage.
Adding more fertilizer in that situation can make the delay worse.
This advice does not mean you should abandon all fertilization.
Early in the season, before the plant is established and fruiting, nitrogen supports healthy growth.
The question is whether additional feeding is actually needed right now, and a soil test is the most reliable way to know.
Penn State Extension’s soil fertility guidance recommends matching fertilizer rate, timing, and source to what the crop actually needs, not to a calendar or a hunch.
Follow product labels, get the soil tested if you are uncertain, and resist the urge to add nutrients as a response to color that simply has not arrived yet.
Water According To Conditions, Not A Rigid Schedule
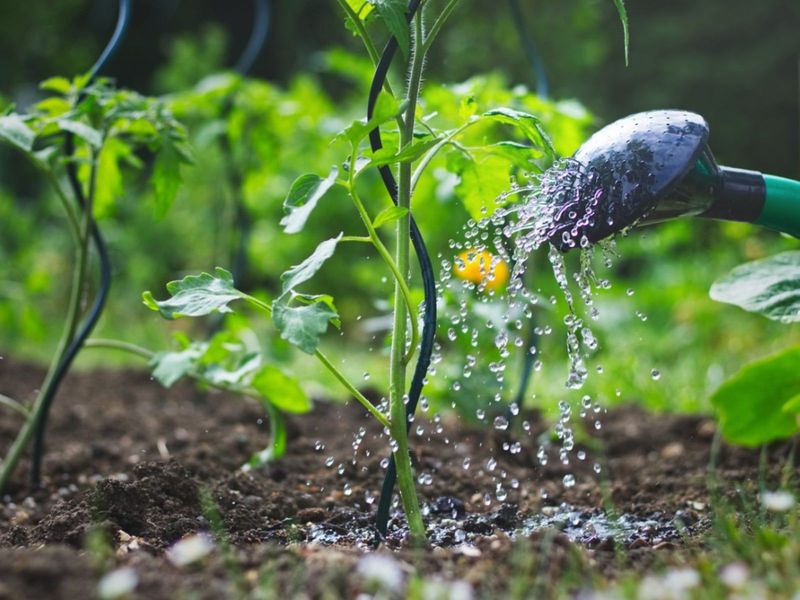
A lot of watering advice sounds simple until you are standing in your yard at 7 a.m. wondering whether to turn the hose on again.
The honest answer is that frequency depends entirely on your specific conditions, not on a universal rule.
Minnesota Extension’s tomato growing guide gives about 1 inch of rain or irrigation per week as a general starting point.
But that number shifts quickly based on your soil type: an inch of water soaks into sandy soil to roughly 10 inches deep, while the same amount may only reach about 6 inches in heavy clay.
Sandy soil dries out faster and needs more frequent attention.
Raised beds with fast drainage, windy sites, and containers all dry out more quickly than an in-ground garden in loamy soil.
During a genuine heat wave, with daytime temperatures above about 90 degrees F and nights staying above 70 degrees F, Minnesota Extension’s hot-weather gardening advice recommends watering daily or every other day based on how fast the soil is actually drying.
Containers may need a check every single day and sometimes twice a day when it is that hot.
Telling every gardener to cut back to every three days would be genuinely harmful advice for someone growing tomatoes in a pot on a south-facing patio in July.
The technique matters as much as the schedule.
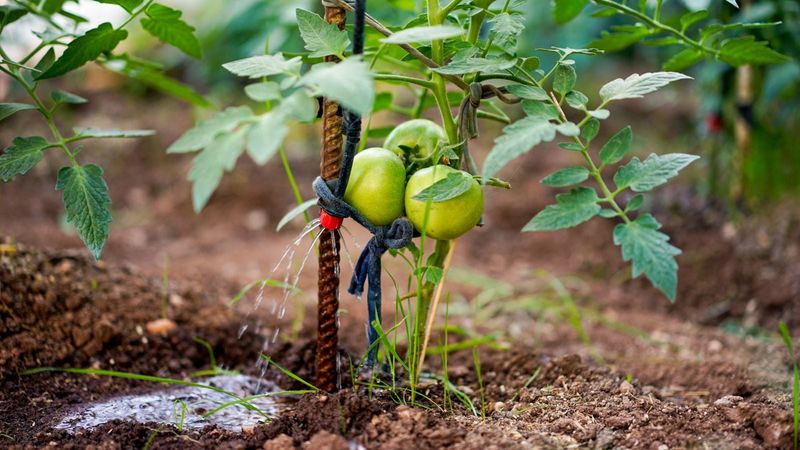
Wet the root zone thoroughly rather than giving the plant a quick sprinkle across the surface.
Repeated shallow sips keep roots near the top of the soil where heat stress is worst.
Deep, thorough watering encourages roots to grow down where the soil stays cooler and more stable.
Water in the morning when possible, aim for the soil rather than the leaves, and use drip irrigation or a soaker hose if you have access to one.
Wet foliage invites disease, and midday overhead watering wastes a significant amount of water to evaporation.
Use Mulch And Leaf Cover Against Heat Damage
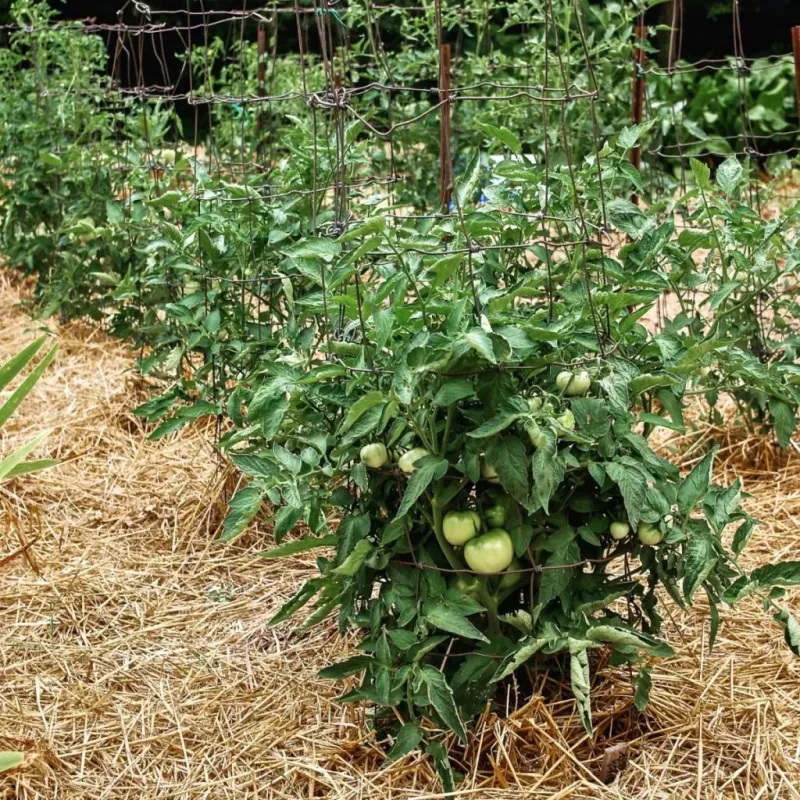
Mulch is one of those tools that works quietly in the background while you are not looking.
Spread it around your tomato plants and it starts doing three things at once: slowing evaporation so the soil stays moist longer, moderating soil temperature so roots do not bake, and reducing the splashing that spreads soil-borne disease onto lower leaves.
For garden-grown tomatoes, Minnesota Extension recommends an organic mulch layer about 3 to 4 inches deep around the base of the plant as a full-season practice.
During an active heat wave, the same guidance suggests refreshing the top inch or two if the existing mulch has compacted or dried out.
Those are two slightly different jobs: the deep layer is a seasonal investment, and the top-off is a heat-response move.
Straw, wood chips, and shredded leaves all work well.
The leaf question is where many gardeners make a costly mistake.
It feels logical to remove some foliage so the fruit gets more sun, but during extreme heat that logic backfires.
Penn State Extension’s guidance on tomato fruit disorders explains that direct exposure to intense sun and heat can cause sunscald, yellow shoulders, and internal whitening, all conditions that make fruit unmarketable and unpleasant.
Healthy foliage acts like a natural sunshade for the fruit beneath it.
Avoid aggressive pruning while a heat wave is running.
If you need to remove suckers or damaged growth, keep it minimal and wait for a cooler stretch to do more significant work.
Mulch and intact leaf cover cannot stop heat from affecting pigment formation inside the fruit, but they reduce the extra stress that compounds the problem and protects the fruit from surface damage that no amount of ripening can undo.
Identify The Problem Before Adding A Remedy
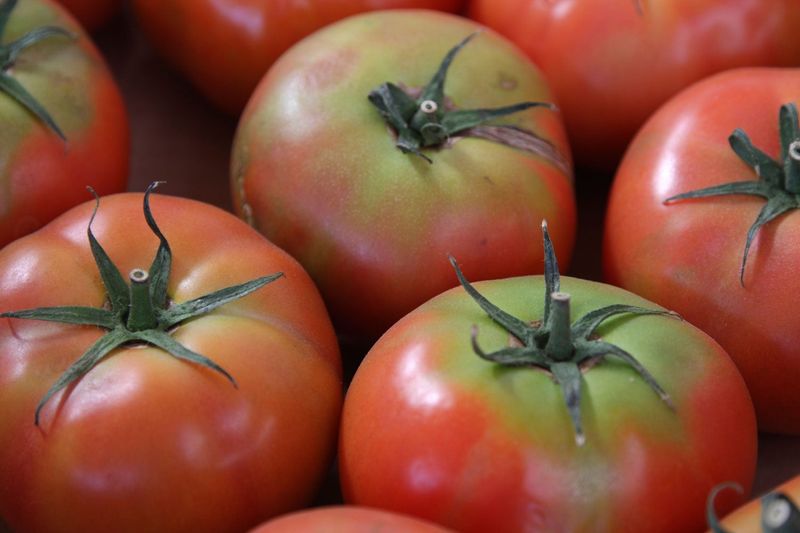
Not every tomato problem looks the same up close, and treating the wrong problem can make things worse.
Before you reach for a calcium spray, a new fertilizer, or a different watering schedule, spend a few minutes actually looking at the fruit and the plant.
A tomato that is fully sized, glossy, and uniformly green is in a different situation than one with a leathery dark patch at the bottom, which is blossom-end rot.
Blossom-end rot, cracking, yellow shoulders, and internal whitening are each distinct conditions with their own causes, and they can occur alongside heat-stalled color or completely separately.
Penn State Extension’s breakdown of tomato fruit disorders is clear that blossom-end rot is rarely caused by a simple lack of soil calcium.
Heat, moisture stress, soil salinity, and impaired root uptake are more common contributors, which means adding a calcium supplement automatically is not a reliable fix and may not address the real issue at all.
Yellow shoulders, where the top of the fruit stays yellow or green while the rest ripens, are often a heat and sun exposure problem rather than a nutrient deficiency.
Internal whitening, visible only when you cut the fruit open, can result from similar causes.
Cracking usually follows uneven watering after a dry spell.
The most useful thing you can do before changing your care routine is inspect the plant from the roots up: check soil moisture at root depth, look at the oldest leaves for deficiency patterns, and observe whether problems are scattered across the plant or concentrated in one spot.
Penn State’s soil fertility guidance recommends a soil test before correcting suspected nutrient problems, because adding phosphorus, potassium, or calcium without evidence of a deficiency can create new imbalances rather than solving the original one.
Harvest Mature-Green Tomatoes For Indoor Ripening
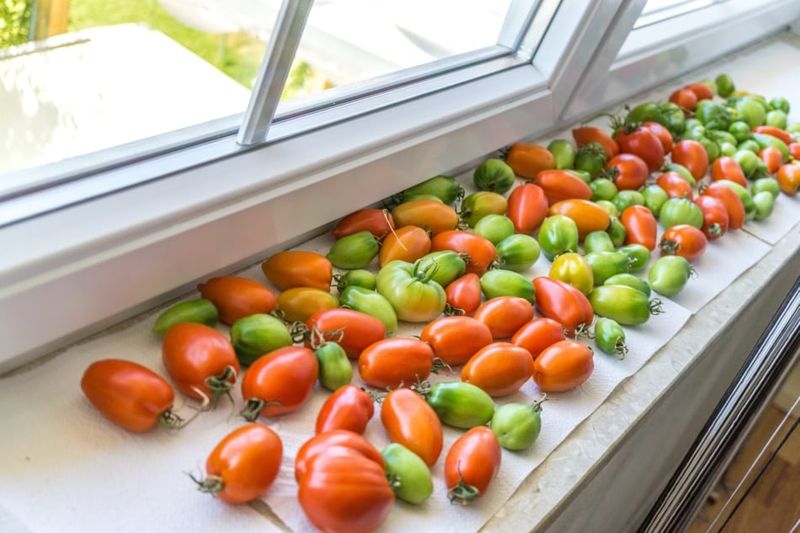
Sometimes the most practical move is to bring the tomatoes inside rather than waiting for outdoor conditions to cooperate.
This works, but only if you harvest at the right stage.
A mature-green tomato is not the same as an immature one.
Colorado State University Extension describes mature-green tomatoes as fully sized, with shiny skin and a white to light-green star visible at the blossom end.
Minnesota Extension confirms that mature-green fruit generally ripens satisfactorily indoors, while truly immature, matte-green tomatoes may stay green, develop poor flavor, or never reach a color worth eating.
The shine and size of the fruit are your two most reliable clues.
A breaker-stage tomato, one that has already started to show a blush of pink or yellow at the blossom end, is an even safer candidate for indoor finishing.
Once you bring the fruit inside, store it at room temperature with some air circulation around each tomato and keep it away from direct sunlight.
UC Davis postharvest research on tomatoes identifies around 68 degrees F as an optimum indoor ripening temperature and notes that fruit ripened above 77 degrees F tends to turn more yellow and less red.
A kitchen counter away from a sunny window usually works better than a spot near the stove or a warm appliance.
Do not put green tomatoes in the refrigerator.
Cold temperatures below about 55 degrees F damage cell structure and prevent normal ripening.
Light is not necessary for indoor ripening, so a shaded counter or a cool pantry shelf is fine.
Colorado State Extension’s guide to indoor ripening reinforces that the goal is steady, moderate warmth rather than sunlight exposure.
Indoor ripening is a practical fallback, not a guarantee, and cultivar differences mean some fruit will color up beautifully while others stay a little pale.
Follow A Simple Heat-Response Checklist
When everything feels like it needs fixing at once, a short mental checklist keeps you from overcorrecting.
Work through these questions in order before changing anything about your routine.
First, check whether you have been applying high-nitrogen fertilizer to a plant that is already vigorous and fruiting.
If yes, pause those applications and follow label guidance before resuming.
Oregon State Extension’s tomato guide is direct: unnecessary nitrogen on a fruiting plant favors vine growth over fruit maturation.
Second, assess root-zone moisture by pushing a finger or a thin probe about 3 to 4 inches into the soil.
Dry at that depth means water thoroughly today.
Wet and dense means check your drainage before adding more water, because waterlogged roots cannot take up nutrients efficiently.
Third, look at your mulch layer.
If it has thinned below an inch or two, top it off to help the soil hold moisture and stay cooler.
Fourth, resist the urge to prune heavily right now.
Healthy foliage is protecting your fruit from direct heat and sun exposure, and removing it during a heat wave trades one problem for another.
Fifth, check your containers daily.
They dry out faster than anything else in the garden and may need water every morning during a heat wave.
Illinois Extension’s article on stalled green tomatoes reminds gardeners that a heat wave can delay color even when every care step is sound, so the goal is reducing stress, not forcing a schedule the weather will not allow.
Finally, check fruit maturity daily as temperatures begin to moderate.
Cultivar, fruit stage, and nighttime temperatures all set limits on how quickly color follows.
The gardener who observes carefully and adjusts in small steps almost always gets more tomatoes than the one who overhauls everything at once.