
You Can Grow A Full Crop Of Potatoes By Understanding One Thing Happening Underground
Follow us on Google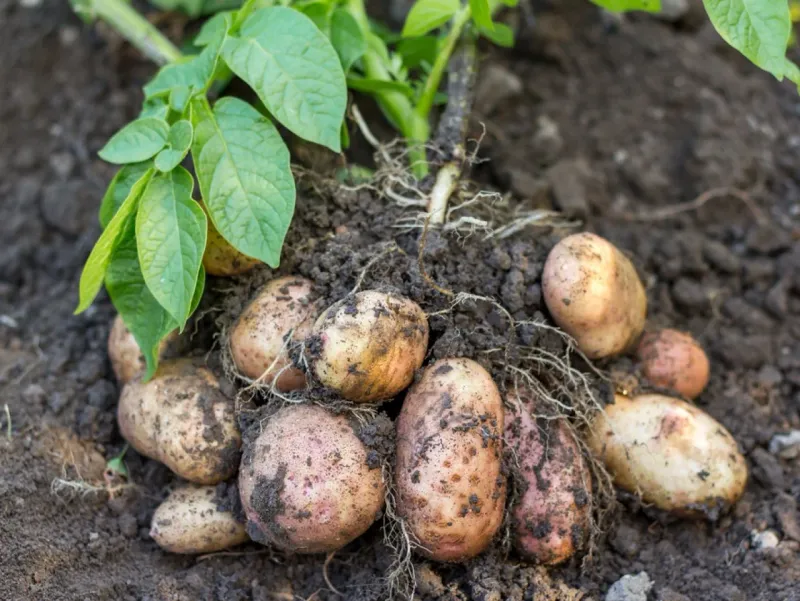
Most people think of potatoes as something that just shows up in the dirt, but the real story starts weeks earlier with a quiet process happening beneath your feet. Every potato you dig up began as a swollen tip on a buried stem, not a root, and knowing that changes how you plant, water, hill, and harvest.
Understanding the underground sequence from buried stem to stolon to tuber is the key organizing idea behind a well-managed potato patch. It won’t guarantee a perfect crop on its own, but it will help you make smarter decisions at every step.
The Crop Starts With a Buried Stem
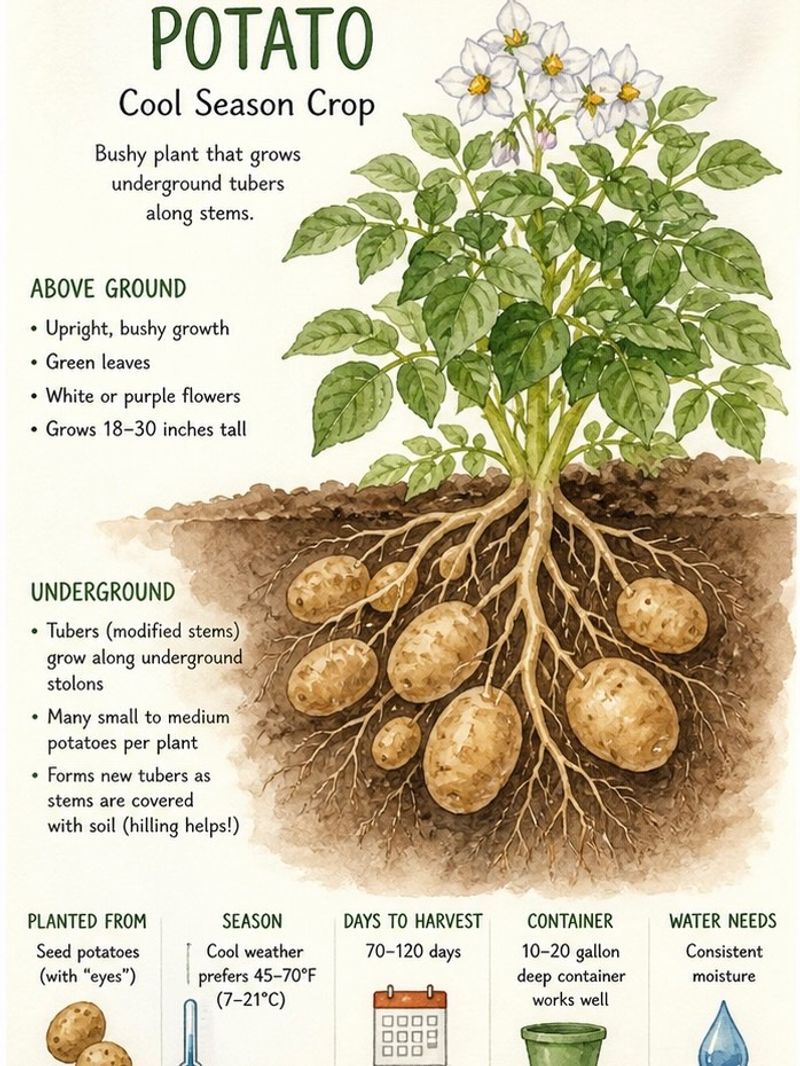
Potatoes are not grown from seeds you buy in a packet. Solanum tuberosum, the common potato, starts from a seed tuber or a cut piece of one, and what happens after you bury it is the whole game.
The edible potato you eventually dig up is a modified underground stem called a tuber, not a root. Roots anchor the plant and pull in water and nutrients; tubers store starch and energy, and they form in a completely different part of the plant.
That distinction matters more than it sounds. When gardeners think of potatoes as root vegetables in the traditional sense, they sometimes manage the soil the wrong way, watering too deeply, cultivating too aggressively, or planting too shallow.
University of Maryland Extension guidance makes clear that the potato tuber is a swollen stem, complete with the small buds called eyes that will eventually sprout the next generation of plants.
From the moment you set a seed piece in the ground, the plant begins a five-stage underground sequence: sprout development, vegetative growth, tuber initiation, tuber bulking, and skin maturation. Each stage calls for something slightly different from you as the gardener.
Get one stage wrong and the others suffer for it.
Understanding this sequence is genuinely the most useful lens for managing a potato patch. But it is not a single trick that guarantees a full crop.
Variety, seed health, soil drainage, temperature, fertility, spacing, disease pressure, and steady moisture all shape what you pull out of the ground at harvest. The underground story is where you start, not where you stop.
Stolons Turn Into the Potatoes You Harvest
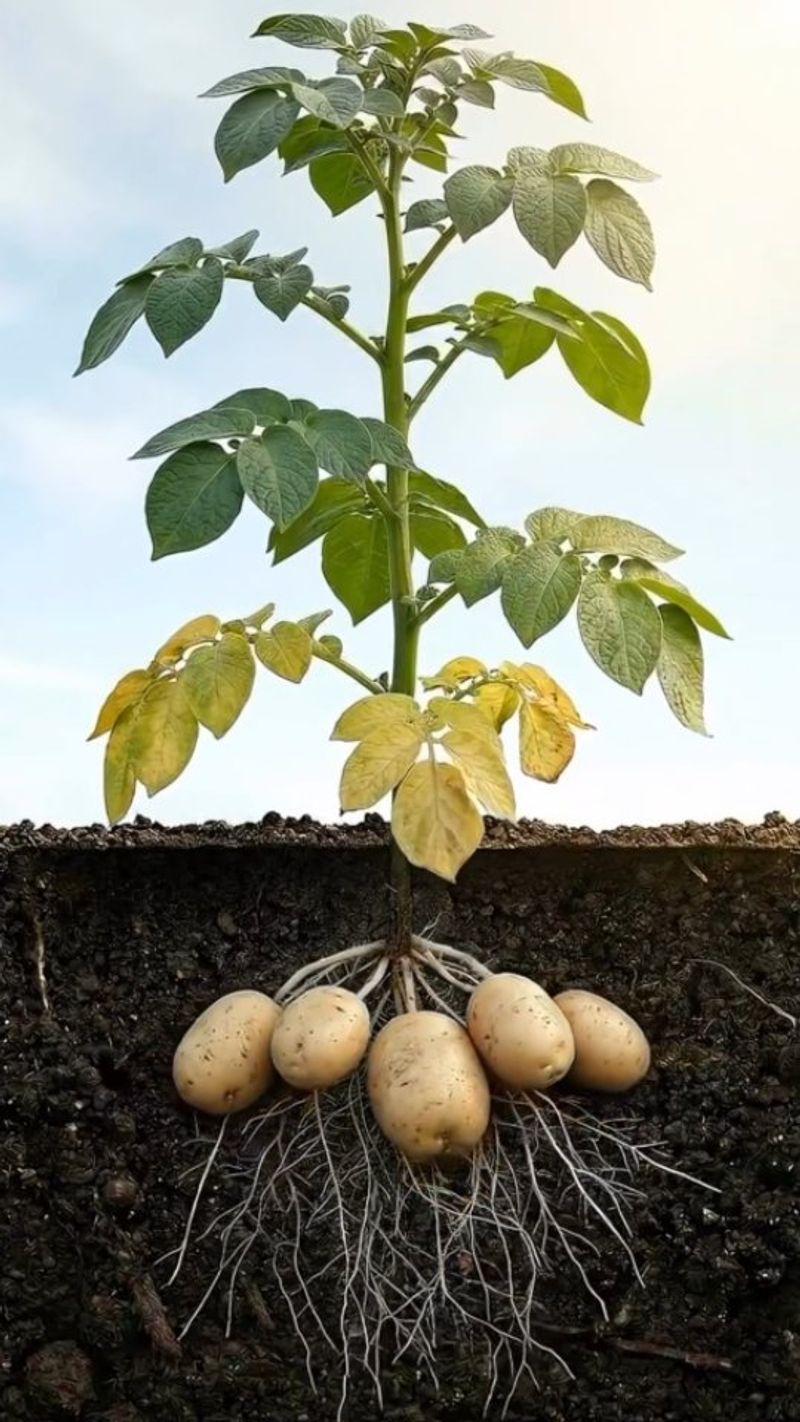
A few days after you plant a seed piece, small sprouts push out from the eyes and reach upward toward the soil surface. At the same time, the buried section of stem begins growing horizontal side shoots called stolons.
Think of stolons as the plant’s underground arms, reaching outward through the soil with their tips pointed like small searching fingers.
Those tips are where your potatoes come from. When the plant receives the right signals, mainly related to day length and temperature, the stolon tips stop growing outward and start swelling.
They accumulate starch, expand, and become the tubers you eventually dig up. University of Florida IFAS Extension explains this process clearly: potatoes do not form on roots but on the tips of stolons arising from buried stem tissue.
Many of those stolons originate from stem sections above the original seed piece, which is part of why planting depth and hilling both matter so much. Ohio State University Extension notes that most stolons extend from stems above the seed tuber, though some may reach below it depending on variety, seed-piece size, planting depth, soil conditions, and how the plant is managed.
Because stolons run shallow and horizontally through the soil, they are easy to damage. Aggressive hoeing, deep cultivation, or rough hilling can sever them before the tubers have a chance to form.
Keep that in mind every time you work the soil around a growing potato plant. The stolons are doing the real work just a few inches down, and they deserve a gentle hand.
Timing Changes What Happens Underground
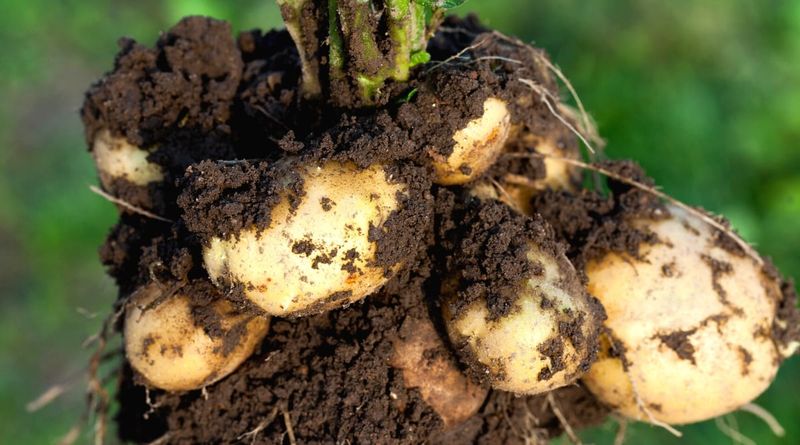
Potato plants move through their underground stages on a schedule that shifts with variety, planting date, temperature, and day length. A Florida Extension model offers one useful framework: sprout development from roughly 0 to 30 days after planting, vegetative growth from about 30 to 55 days, tuber initiation beginning around 55 to 70 days, tuber bulking running from roughly 60 to 120 days, and then maturation as the foliage dies back and skins toughen.
Those numbers come from a warm-season Florida context and are not a national timetable. The Florida IFAS model is a helpful illustration of the sequence, but an early-season variety in a Minnesota garden or a late-season variety in the Pacific Northwest will move through these stages on a different clock.
What stays consistent is the order, not the calendar.
During the first two stages, your job is mostly to stay out of the way. The seed piece supplies much of the plant’s early energy, and the roots and leaves are establishing themselves.
Watering matters, but the plant is not yet building the tubers you want to eat.
Tuber initiation is the moment things get serious underground. Stolon tips begin to swell, and the plant starts shifting resources toward storage.
From that point through bulking, consistent soil moisture and protection from light become your two most important tools. Anything that stresses the plant during bulking, whether drought, extreme heat, or physical disturbance, can reduce tuber size, cause irregular shapes, or cut the harvest short.
Maturation arrives when the foliage yellows and falls. The plant is telling you that the tubers are setting their skins and getting ready for storage.
Rushing the harvest before that happens means thinner-skinned potatoes that bruise easily and do not store well.
Cover the Tubers, Not the Whole Plant
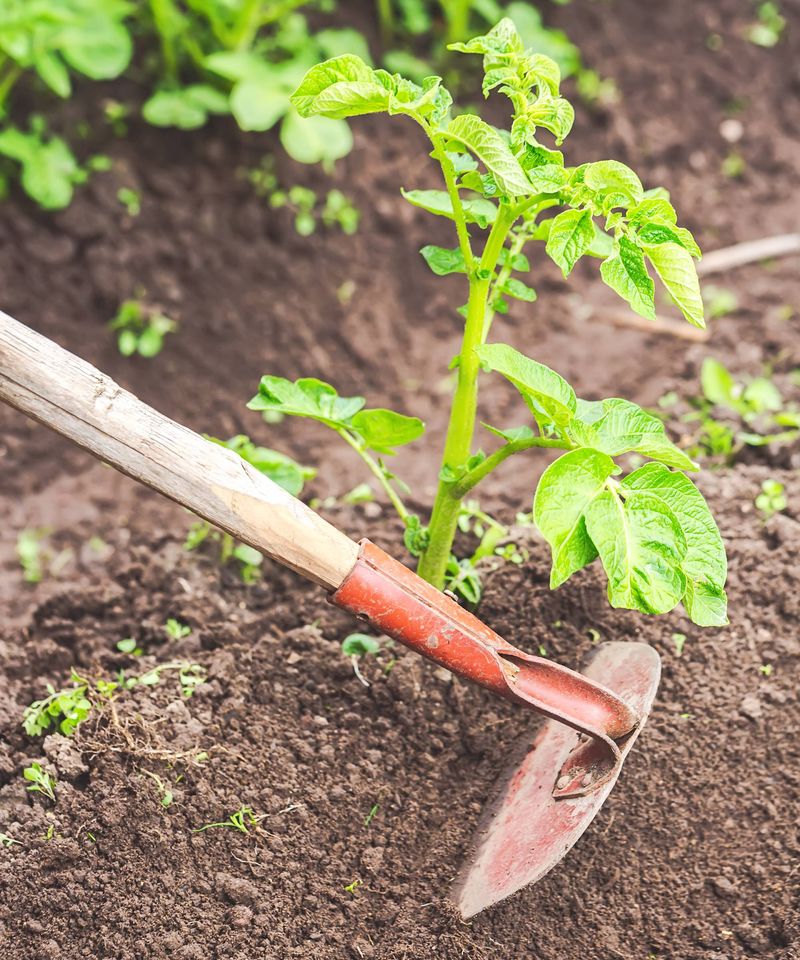
Once you understand that tubers form just below the soil surface on shallow stolons, hilling stops being a mysterious ritual and starts making obvious sense. Sunlight hitting a developing tuber triggers the production of chlorophyll and compounds called glycoalkaloids, which turn the skin green and make that section of the potato bitter and potentially harmful.
Keeping a few inches of soil or mulch between the tubers and the sun is the clearest, most consistently supported reason to hill.
University of Minnesota Extension recommends beginning to hill when stems reach about 6 to 12 inches tall, then adding soil in stages as the plant grows, with total added cover commonly reaching around 6 to 8 inches over the course of the season. The goal is not to bury the whole plant but to keep the lower stem section and any developing tubers covered and away from light.
Hilling can also help with weed control, improve drainage around the base of the plant, and make harvest a bit easier since tubers tend to cluster in the hilled mound. In some regions, a light hill in spring can offer modest protection if a late frost threatens young stems.
These are real benefits, but they are secondary to the main job of blocking light.
What hilling does not reliably do is guarantee a bigger yield by creating extra layers of potatoes. Ohio State Extension notes that whether additional buried stem sections produce more tubers depends heavily on variety and growing conditions.
Penn State Extension points out that straw, mulch, and other light-blocking materials can substitute for soil in some situations, which reinforces the point that covering tubers from light is the core purpose.
Piling on soil carelessly or excessively can damage the shallow stolons you are trying to protect, complicate harvest, and compact the root zone. Add soil in stages, work gently around the base of the plant, and stop when the lower stem and tuber zone are well covered.
Moisture Matters Most While Tubers Enlarge
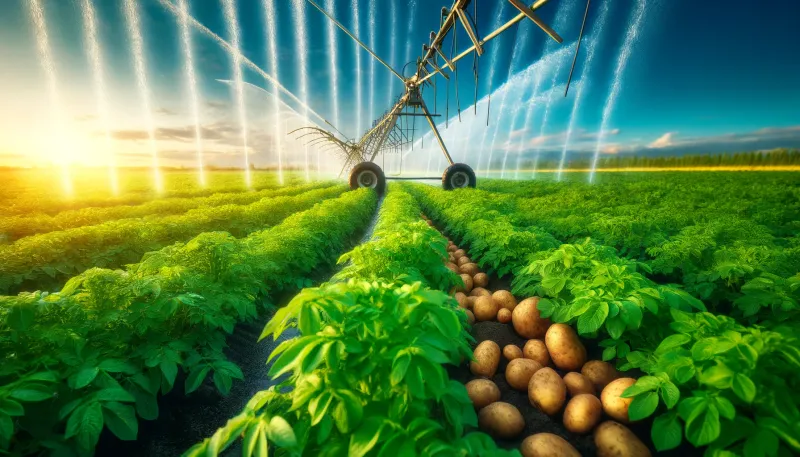
Water and potatoes have a complicated relationship. Too little during tuber initiation and bulking, and the plant cannot move starch into the developing tubers fast enough.
Too much, or water that pools and sits, and the soil turns hostile to roots and opens the door to rot. The target is evenly moist, well-drained soil, not constantly wet ground.
University of Minnesota Extension suggests roughly 1 inch of water per week as a general reference point for home gardens, while some Washington State guidance recommends up to about 2 inches per week after emergence depending on weather and soil type. Those numbers are not contradictory prescriptions meant for every garden.
They reflect different soils, climates, and seasons, and your situation may fall anywhere in between.
Sandy soils drain fast and may need more frequent, lighter irrigation to stay consistently moist. Heavy clay soils hold water longer and can become waterlogged with the same schedule that works fine for loam.
Container-grown potatoes dry out faster than in-ground beds and often need more attention during hot weather.
Uneven moisture during tuber bulking is one of the most common causes of quality problems at harvest. Oregon State University Extension connects irregular watering to knobby growth, pointed ends, surface cracking, and hollow heart, a condition where the center of a large tuber collapses into an empty cavity.
These are not cosmetic issues. They signal that the tuber’s growth was interrupted or rushed.
Reduce irrigation as the plant begins to die back naturally. Wet soil at harvest makes digging harder and increases the chance of tubers sitting in damp conditions after you unearth them.
Let the soil dry down a bit in the final weeks, then dig on a dry day when the ground is workable.
Seed and Soil Set the Ceiling
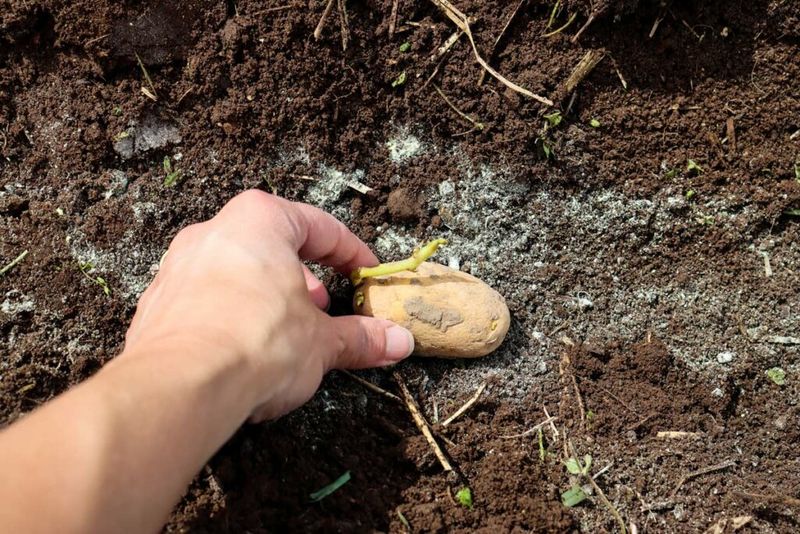
Every management decision you make during the growing season is working within limits set before you plant the first seed piece. Certified seed potatoes are the safest starting point for a home garden crop.
They are grown under inspection programs designed to reduce the risk of common viruses and diseases that can silently cut yields without showing obvious symptoms until it is too late.
Grocery-store potatoes may sprout, but they are often treated to delay sprouting and can carry diseases that certified seed is tested to avoid. University of Minnesota Extension recommends certified seed for dependable results.
Each seed piece should have at least one healthy eye, though two or three eyes give the plant a stronger start. Cut larger tubers into pieces roughly 1 1/4 to 1 1/2 inches across, then let the cut surfaces dry and form a protective layer at about 60 to 70 degrees Fahrenheit for several days before planting.
Planting time depends on local soil conditions, not the calendar alone. University of Maine Cooperative Extension ties planting to soil warmth and frost risk rather than a fixed date.
Cold, wet soil encourages seed-piece decay before the plant can establish. A general target is soil that has reached around 45 to 50 degrees Fahrenheit, though some western regions use daytime air temperatures around 60 degrees as a guide.
Common spacing runs about 8 to 12 inches between seed pieces, with rows 24 to 36 inches apart and a planting depth of roughly 3 to 5 inches. Closer spacing tends to produce more, smaller tubers, wider spacing favors fewer but larger ones.
Adjust based on your variety, soil type, and whether you plan to hill later.
Potatoes perform best in full sun with well-drained, loose soil. Illinois Extension notes that maximum tuber formation tends to occur when soil temperatures stay around 60 to 70 degrees Fahrenheit, with poor development when soil warms above 80 degrees.
A soil test before planting is worth the small investment. Aim for a pH in the range of about 5.0 to 6.5, and resist the urge to add lime, wood ash, or heavy fertilizer by guesswork.
Excess nitrogen pushes the plant toward lush foliage and away from tuber production, which is the opposite of what you want.
Maturity Tells You When to Dig
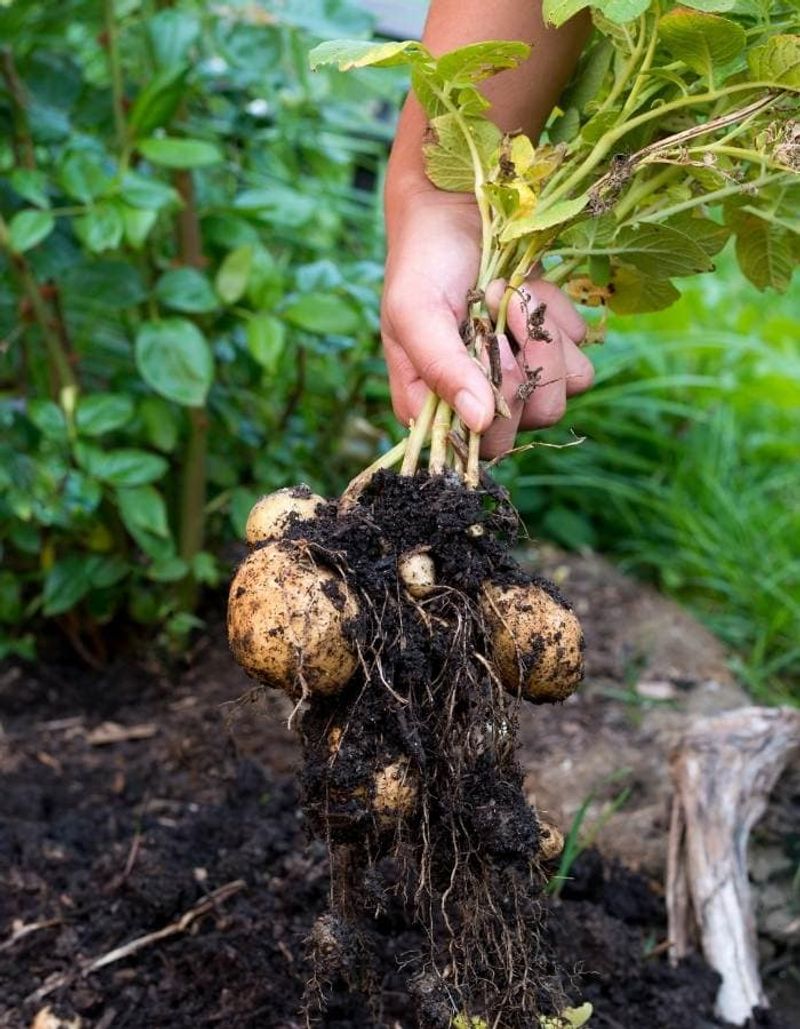
The potato plant announces its own harvest window if you know how to read it. As the foliage yellows, wilts, and begins to fall over, the plant is pulling its remaining energy into the tubers and allowing the skins to toughen.
That skin set is what makes storage potatoes hold up in a cool cellar or basement for months without shriveling or rotting quickly.
Tender new potatoes are a different harvest entirely. Some northern Extension programs suggest you can begin carefully feeling around the edges of the hill for small tubers around 7 to 8 weeks after planting, while the plant is still green and flowering.
These early potatoes have thin, delicate skins and should be used within a few days. University of Minnesota Extension recommends waiting until after the tops have died back for potatoes meant for longer storage, then confirming readiness by rubbing the skin with your thumb.
Skin that resists rubbing is ready; skin that slips off easily needs more time.
After digging, potatoes intended for storage benefit from curing at roughly 60 to 65 degrees Fahrenheit for about 10 days or more. Curing lets minor cuts and bruises heal over with a protective layer, reducing the chance of rot in storage.
Green skin is a food-safety concern that deserves a direct answer. Green color on a potato signals elevated glycoalkaloids, compounds that occur naturally in the plant and can cause illness in sufficient amounts.
Poison Control advises tossing potatoes that have turned green or sprouted heavily. Health Canada guidance on glycoalkaloids notes that cooking does not reliably destroy these compounds, so peeling alone is not always a safe fix for extensive greening.
Potatoes with heavy sprouting, significant damage, or signs of rot should also be discarded. The foliage, flowers, sprouts, and any small green fruits produced by the potato plant contain higher concentrations of these compounds and should never be eaten.
The Underground Lesson Is Not the Whole Crop
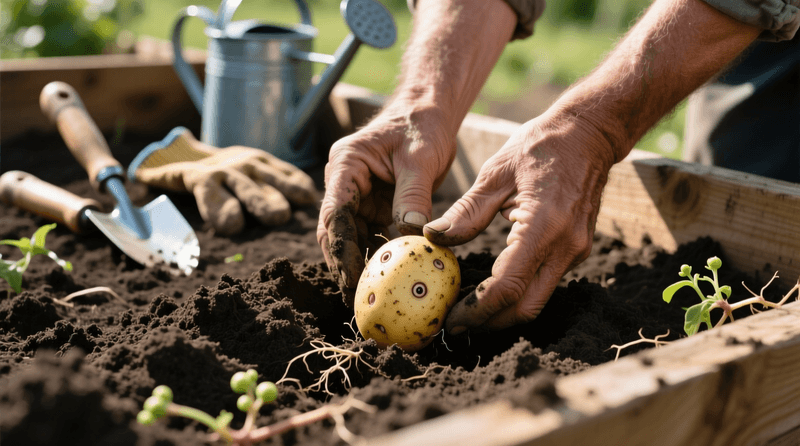
Knowing how stolons become tubers is genuinely the most useful single idea for managing a potato patch. But a crop is not grown by one idea alone.
Dependable results come from stacking good decisions across the whole season, and the underground story is the thread that connects them rather than a shortcut around the rest of the work.
Healthy seed, suitable variety, correct planting time, well-drained loose soil, appropriate spacing, steady moisture, and attentive pest monitoring all shape what ends up in your harvest basket. Penn State Extension and University of Minnesota Extension both emphasize crop rotation as a practical, low-cost disease prevention step.
Avoid planting potatoes where potatoes, tomatoes, peppers, or eggplants grew in the previous two to three years. Those crops share several serious pests and diseases, and rotating away from them reduces the buildup of problems in your soil.
You do not need raised beds or elaborate towers to grow potatoes well. Straw mulch, opaque containers with drainage holes, and in-ground rows all work when they meet the same two requirements: tubers stay covered from light, and the root zone stays evenly moist without becoming waterlogged.
The method matters less than the conditions you create.
Early-season varieties mature faster and may suit shorter growing seasons or gardens where summer heat arrives quickly. Late-season varieties need more time but can produce larger tubers when the season allows.
Matching variety to your local conditions is one of the simplest ways to start a season with the odds in your favor.
Manage the soil around hidden stems at each stage of growth, not just at planting or harvest, and you will understand your potato patch the way it actually works. The real crop is built underground, a few inches at a time, long before you ever pick up a fork.