
Your Coneflower Heads Are Drying Brown Right Now, And That Is Your Free Seed For Next Year
Follow us on Google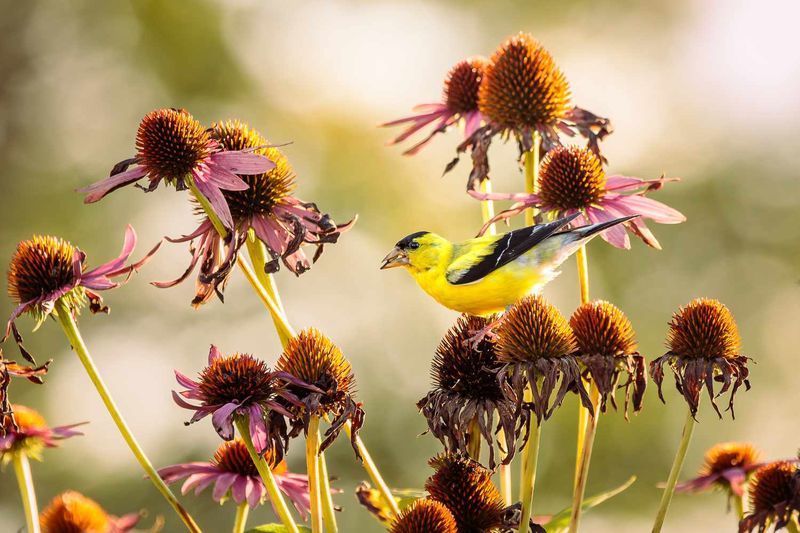
Walk out to your garden right now and look at your purple coneflowers.
If the flower heads are turning brown and prickly, you may be looking at next year’s plants for free.
Those drying cones hold seeds that wind, rain, and goldfinches will scatter if you wait too long.
Catching them at the right moment takes about ten minutes and costs nothing.
Brown Heads Offer A Seed-Saving Opportunity
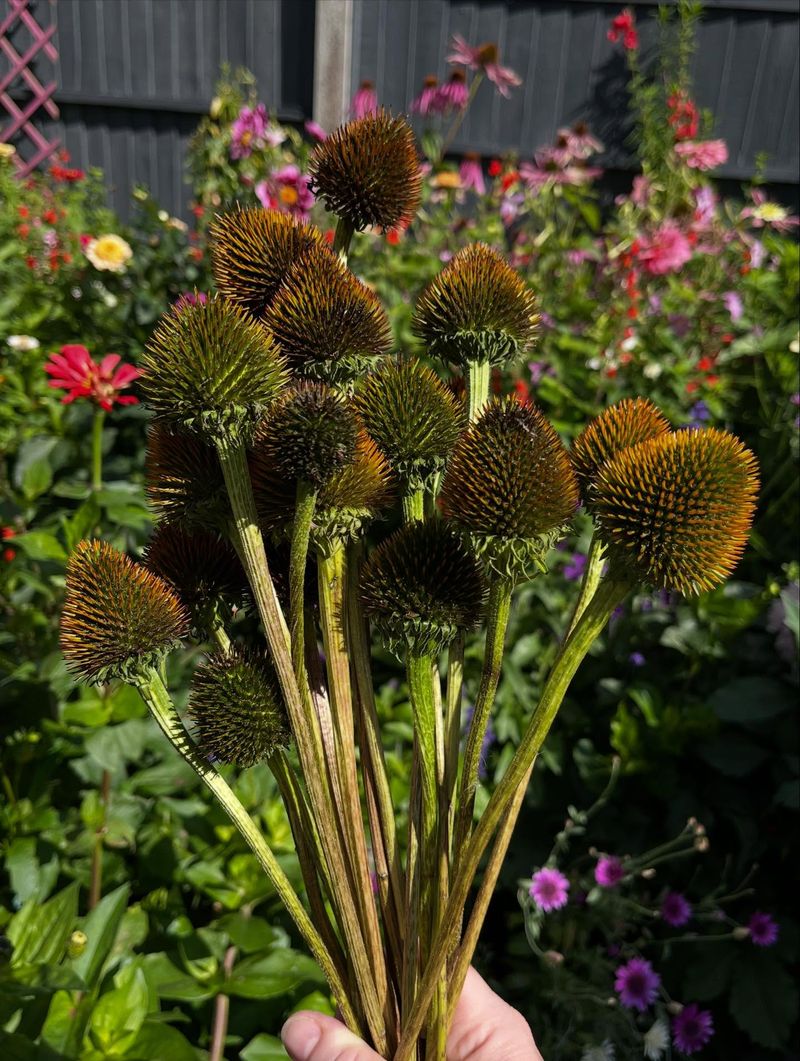
Purple coneflower, Echinacea purpurea, is a North American native found across the eastern and Midwestern United States, including Illinois, Indiana, Ohio, Pennsylvania, Virginia, and nearby states.
Not every plant sold as a coneflower is this species.
Pale purple coneflower, narrow-leaved coneflower, and dozens of named hybrids are all sold under similar labels, and their seed requirements can differ, so confirm what you have before following any single set of instructions.
A brown, dry, shriveled cone is a normal part of purple coneflower’s end-of-bloom stage, not a sign that something went wrong.
Rutgers New Jersey Agricultural Experiment Station lists eastern purple coneflower seed collection in late summer to early fall, describing the method as combing seeds from dried heads.
That window is a general guide, not a nationwide deadline.
Local bloom timing, your summer weather, and whether your plant is a straight species or a cultivar all shift the actual date when your heads are ready.
Before you cut anything, run a quick readiness check.
The whole head and the stem below it should feel dry and look brown.
Press a few seeds with your fingernail: mature seeds are hard, not soft or green.
Then rub or comb the cone lightly and see whether some seeds loosen on their own.
Illinois Extension guidance on harvesting native perennial seeds notes that collecting too early risks immature seed, while waiting too long means wind, rain, or birds beat you to it.
One more thing to check: is the browning normal?
Ordinary mature cones turn brown and dry.
Worry more when flowers stay green and distorted, when leaf-like structures push out from the cone, or when the whole plant is stunted and yellowing.
Those symptoms can point to aster yellows, a disease spread by leafhoppers, and Illinois Extension’s aster yellows guidance recommends removing and disposing of affected plants rather than saving seed from them.
Plain end-of-season browning, with no distortion and no green cone tissue, is a healthy sign.
Harvest Selected Heads Before Seed Scatters
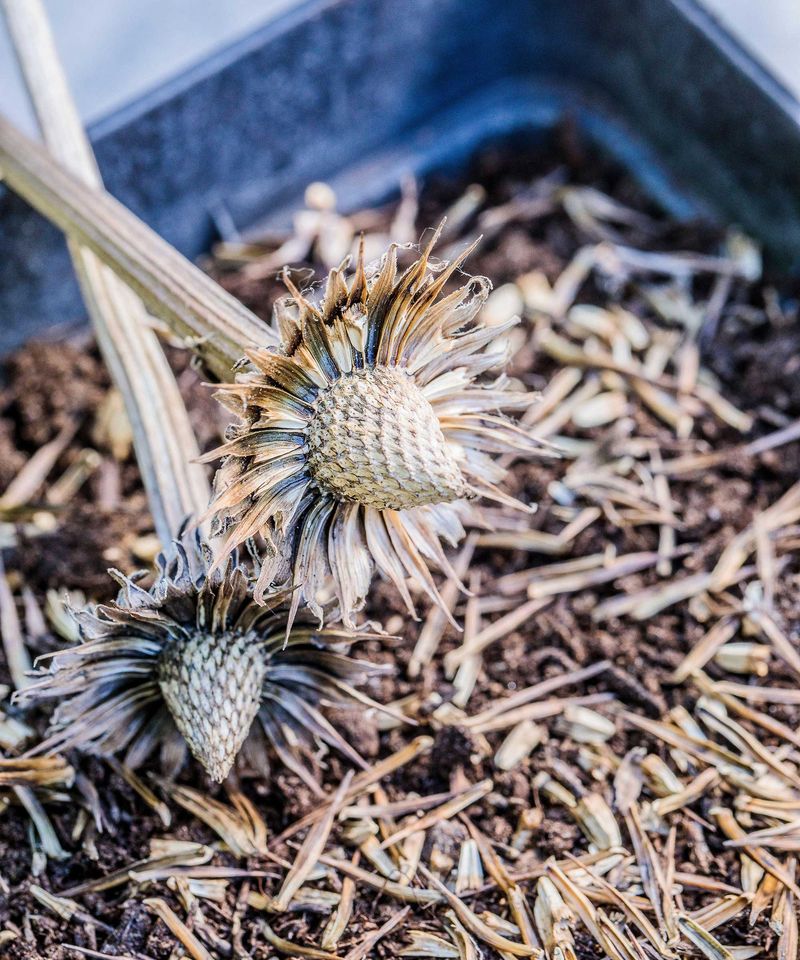
Pick a dry morning after the dew has burned off.
Wet seed heads hold moisture against the seeds, and you want to start with material that is already as dry as possible.
Bring clean scissors or pruners, a few paper bags, and a marker.
Cut selected heads with several inches of stem still attached.
That extra stem gives you something to hold without disturbing the cone, and it helps the head stay upright if you are drying it further at home.
Illinois Extension’s seed-saving guide recommends placing harvested heads in paper bags that allow moisture to escape rather than sealing them in plastic right away.
If a head is already shedding seeds as you cut, drop it directly into the bag so you do not lose what is already loose.
Choose only some of the healthiest, driest heads.
Purple coneflower acts like a pantry for local birds, and goldfinches in particular work through standing seed heads from late summer well into fall and winter.
Stripping every cone off your plants removes that food source and reduces the shelter value of standing stems.
A practical rule is to collect from the heads that look most mature and most complete, and leave the rest alone.
The birds will handle cleanup on the ones you skip, which is a fair trade.
Think of harvest day as triage, not a total harvest.
You are rescuing the heads most likely to scatter before you get another chance, not trying to collect every possible seed the plant produced.
That mindset keeps the job small, keeps the garden useful to wildlife, and keeps your expectations realistic about how much seed you actually need for a home planting.
Dry And Clean The Seed Without Trapping Moisture
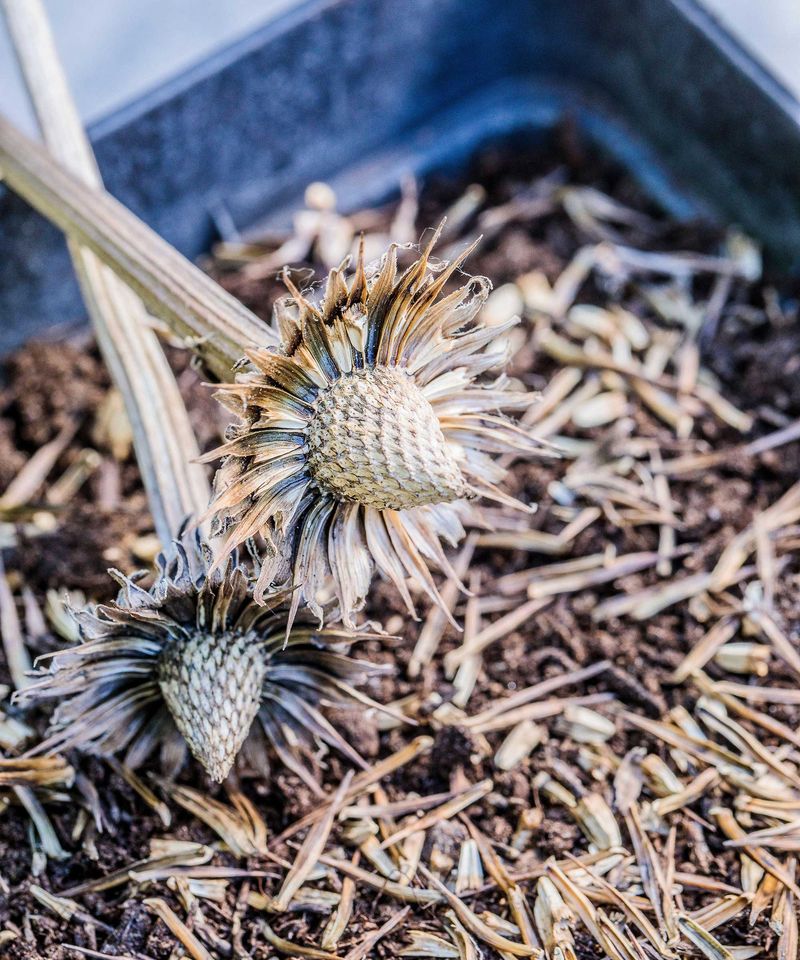
The heads you brought inside are probably not quite ready to clean yet.
Even a head that feels dry in the garden can hold a little residual moisture in the center of the cone.
Give it more time before you try to separate the seed.
Two methods work well at home.
The first is to stand the cut stems upright or lay the heads loosely inside labeled paper bags, then leave them in a cool, well-ventilated room for several days to a few weeks.
Paper breathes, so moisture escapes instead of pooling.
The second option is to spread the heads on a window screen or a piece of hardware cloth in a shaded, airy spot like a garage or a covered porch.
Illinois Extension’s seed-saving guidance supports both screen-drying and paper-bag drying as appropriate home methods.
When the heads feel completely dry and brittle, hold one over a bowl or a sheet of paper and rub or shake it gently.
The firm, dark seeds will fall free.
Chaff, which is the spiny cone material and empty husks, will come along too.
You do not need to remove every bit of chaff for home sowing, but you can separate heavier seeds from lighter debris by tilting the bowl and blowing gently across the surface.
Keep the seeds that stay put.
Do not use an oven, a food dehydrator, or any other heat source to speed drying.
Penn State Extension’s seed-saving advice is clear that excess heat can reduce seed viability.
And never seal damp material in a plastic bag or container.
Trapped moisture encourages mold, and moldy seed is generally not worth planting.
The endpoint you want is seed that feels hard, dry, and slightly rough to the touch, with no softness or stickiness anywhere.
Label And Store A Small Seed Reserve
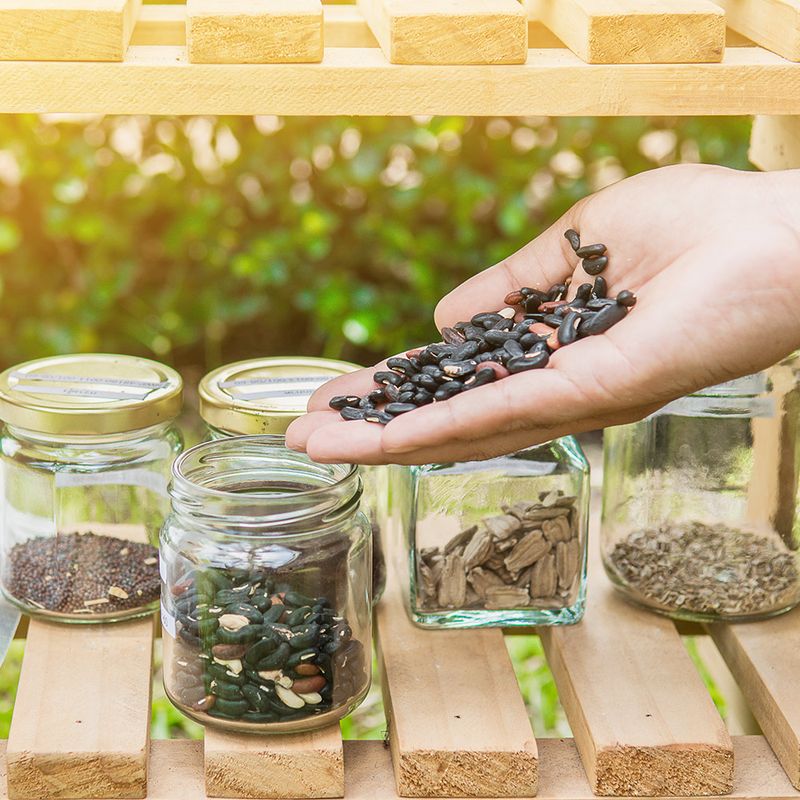
Fully dry seed needs a home that keeps it that way.
A paper envelope is the right first container because it continues to let any remaining trace of moisture escape.
Plastic bags and sealed plastic containers can trap humidity, especially if the seed was not perfectly dry when you packed it.
Write on the envelope before you fill it.
Record the plant name, the variety or cultivar if you know it, the harvest date, and where the plant was growing.
That information sounds like overkill right now, but next March when you are looking at six envelopes on a shelf, the label is the only thing that tells you what you saved and when.
Penn State Extension lists complete labeling as one of the most commonly skipped and most commonly regretted steps in home seed saving.
Once the envelope is filled and sealed, you can slip it inside a glass jar with a tight lid for extra protection against humidity and pests.
Store the jar in a cool, dry, dark place away from temperature swings.
A basement shelf, a lower kitchen cabinet away from the stove, or an interior closet all work.
Avoid the garage if your winters bring big temperature swings there.
Plan to sow the seed the following spring rather than holding it for several years.
Seed viability can decline over time, and home storage conditions vary enough that a one-year plan is the safest bet.
Treat your small reserve as a single-season experiment, not a long-term seed bank, and you will go into spring with the right expectations already in place.
Test Untreated Seed Against Cold-Stratified Seed
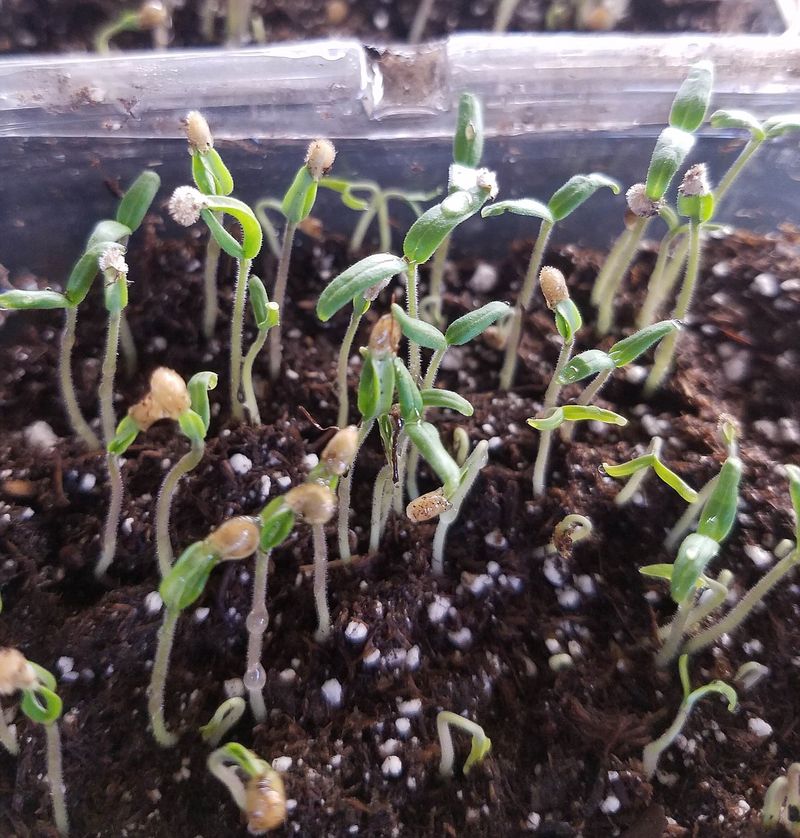
One of the most common pieces of advice about coneflower seed is that it must be cold-stratified before it will germinate.
That is not quite the full picture.
UMass Extension horticulture notes report that Echinacea purpurea can germinate without any pretreatment, while one to three months of cold, moist conditions may improve germination speed or percentage for some seed lots.
The difference between those two outcomes depends on the seed source, the growing conditions, and a certain amount of luck.
The most practical approach is to split your saved seed into two portions and treat them differently.
Sow the first portion directly in spring without any pretreatment, just as you would plant most annual seeds.
Give the second portion a cold-stratification treatment: dampen a paper towel, spread the seeds across it, fold it over, slip it into a labeled plastic bag, and place it in the refrigerator at around 40 degrees Fahrenheit.
Leave it there for 30 to 90 days, checking occasionally to make sure the towel stays moist but not soggy.
Rutgers Extension recommends 90 days of moist cold stratification at 40 degrees Fahrenheit followed by germination at approximately 70 degrees Fahrenheit for purple coneflower.
That is the more conservative end of the range, and it is worth trying if you have enough seed to spare for the experiment.
Research published in peer-reviewed journals, including a study on Echinacea seed dormancy and germination, confirms that seed source and species can substantially change how dormancy behaves, which is another reason to run both treatments side by side rather than betting everything on one method.
Neither treatment is guaranteed to work perfectly.
Germination from saved home-garden seed can be uneven, and a batch that germinates at 60 percent is still a useful result for a free experiment.
Track which tray does better so you have a reference point for next year.
Give Spring Seedlings A Good Start
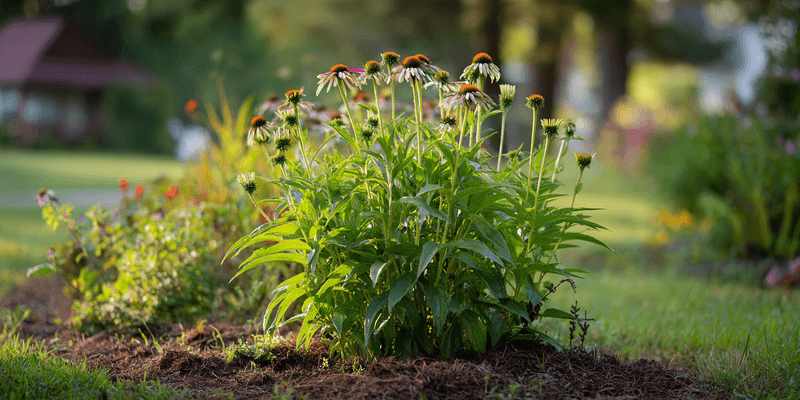
When the cold-stratification period ends or when your last frost date has passed in spring, the seed is ready for the ground.
Pick a spot that gets full sun and has well-drained soil.
Purple coneflower tolerates average or even lean soil reasonably well, but it does not like wet feet.
A raised bed, a slope, or a spot that dries out between rains is better than a low area that holds water.
Prepare the planting area by loosening the top few inches of soil and pulling any weeds.
Weed competition is one of the main reasons seedlings fail in the first season, so a clean bed gives your seeds a fair start.
Scatter the seed across the surface or press individual seeds lightly into the soil.
Cover them with only a thin layer of fine soil or just barely press them in, since coneflower seed needs light to germinate well.
Keep the surface evenly moist until seedlings are a couple of inches tall and look established.
Illinois Extension describes purple coneflower as a full-sun plant that reaches about 2 to 4 feet tall.
Penn State Extension lists it for USDA Zones 3 to 9, which describes winter cold tolerance only and says nothing about your summer heat, rainfall, or soil type.
A plant rated for Zone 5 can still struggle in a drought year or in heavy clay.
Set patient expectations before the seeds even go in the ground.
UMass Extension notes that seed-grown perennials may take more than one season to become substantial or flower well.
Some Echinacea purpurea plants can bloom in their first year under good conditions, but many put most of their energy into root development in year one and flower more freely in year two.
A seedling that looks small in August is not a failure, it is a plant building a foundation.
Expect Variation From Saved Seed
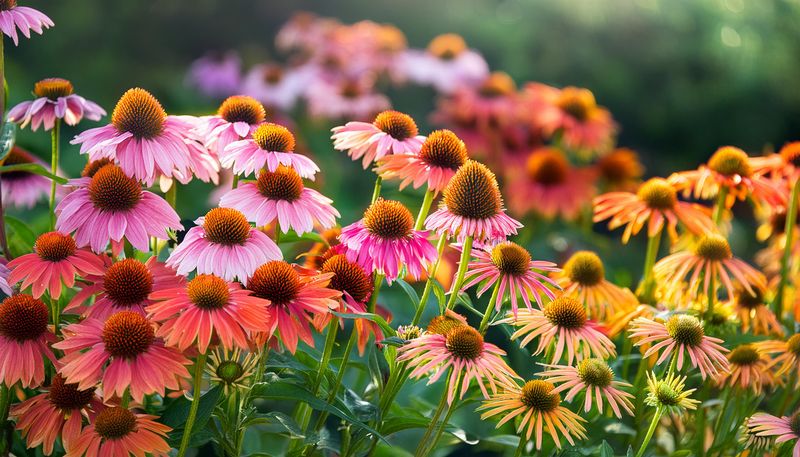
Saving seed is genuinely satisfying, but it does not produce a photocopier result.
The seedlings that come up next spring may look a little different from the plant you harvested.
That is not a flaw in your technique, it is how open-pollinated plants work.
Purple coneflower is insect-pollinated, which means bees and butterflies carry pollen from one plant to another, sometimes from a neighboring plant of the same species and sometimes from a related Echinacea growing nearby.
Penn State Extension’s seed-saving basics explains that cross-pollination is the main reason saved seed can produce offspring that differ from the parent in flower color, height, form, or overall vigor.
Seed from a straight species or a known open-pollinated plant has a better chance of producing something recognizable, but even then, some variation is normal.
The gap widens when the source plant is a hybrid or a named cultivar bred for a specific trait, like a double flower, an unusually deep color, or a compact habit.
Penn State Extension’s master gardener seed-saving resources note that highly bred cultivars may not reproduce their distinctive traits reliably from seed, and some are propagated vegetatively for exactly that reason.
Check the plant tag from your original purchase if you still have it.
If it lists a cultivar name and describes a very specific ornamental trait, treat the saved seed as an experiment in variation rather than a reliable copy.
Variation is not necessarily a disappointment.
A seedling that comes up a slightly lighter pink or grows a few inches taller than its parent is still a free, locally adapted purple coneflower.
Treat the whole batch as an inexpensive trial, keep the plants that appeal to you, and compost the ones that do not fit your space.
Save Some Seed And Leave Some Cones
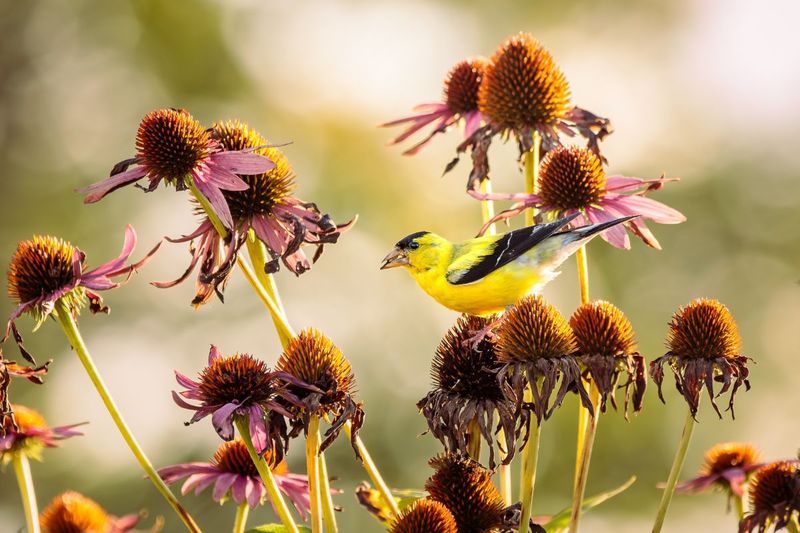
Collecting seed and supporting wildlife do not have to be competing goals.
The key is leaving enough cones in place to feed the birds that depend on them through fall and winter.
Goldfinches are the most visible visitors, working through standing seed heads from September well into January in many parts of the country.
Other sparrows and small songbirds follow the same food source.
Illinois Extension and Penn State Extension both note that standing coneflower stems provide fall and winter wildlife value beyond just seed.
The stems themselves offer shelter and overwintering habitat for beneficial insects, including native bees that nest in hollow or pithy plant material.
Cutting everything down in September removes that resource before it has been used.
A workable approach is to collect from the healthiest, driest heads that look most likely to scatter soon, then leave the rest standing until late winter or early spring cleanup.
You get your seed reserve, the birds get their pantry, and the insects get shelter.
Illinois Extension’s guidance on harvesting native perennial seeds suggests a conservation-minded rule of taking no more than 50 percent of available seed when making broader native-plant collections, and that principle translates well to a home garden planting too.
One more distinction worth keeping in mind: collecting from your own garden is straightforward.
If you ever want to gather seed from plants growing in a park, a natural area, or on someone else’s land, check the rules first, take only small amounts, and collect from multiple healthy plants rather than stripping one.
Private gardens and wild populations deserve different levels of care.
Your backyard coneflowers are yours to manage, and a selective harvest there is a good habit that costs you nothing and gives you something worth planting.