
A Sunken Conversation Pit Turns A Backyard Into The Place Nobody Wants To Leave
Follow us on Google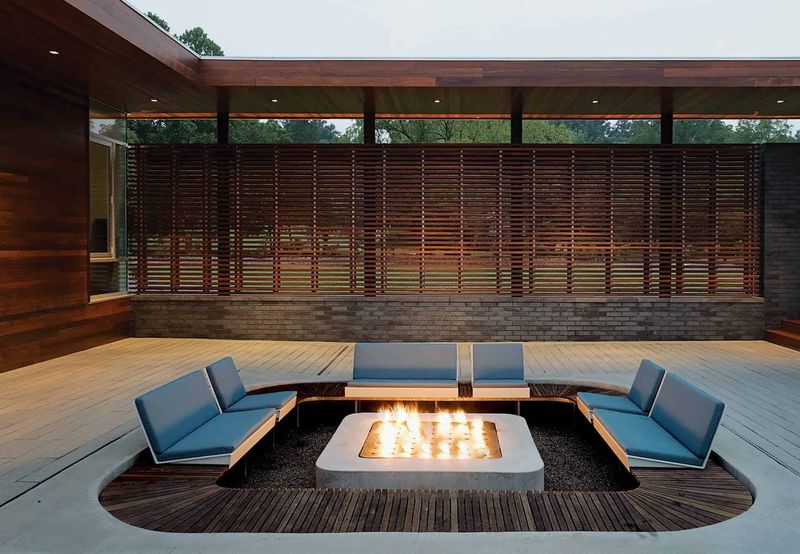
Most backyard patios sit at grade level, which means you’re always looking out at the yard from its edge, never really inside it.
A sunken conversation pit flips that feeling by dropping the seating area below the surrounding lawn or garden, so the plants and walls rise around you instead of sitting in the distance.
The effect can be genuinely immersive, like pulling up a chair inside the garden rather than next to it.
Whether that feeling lasts depends on how well the design handles drainage, access, shade, planting, and a handful of local rules that apply before the first shovel breaks ground.
The Pit Brings the Garden Around You
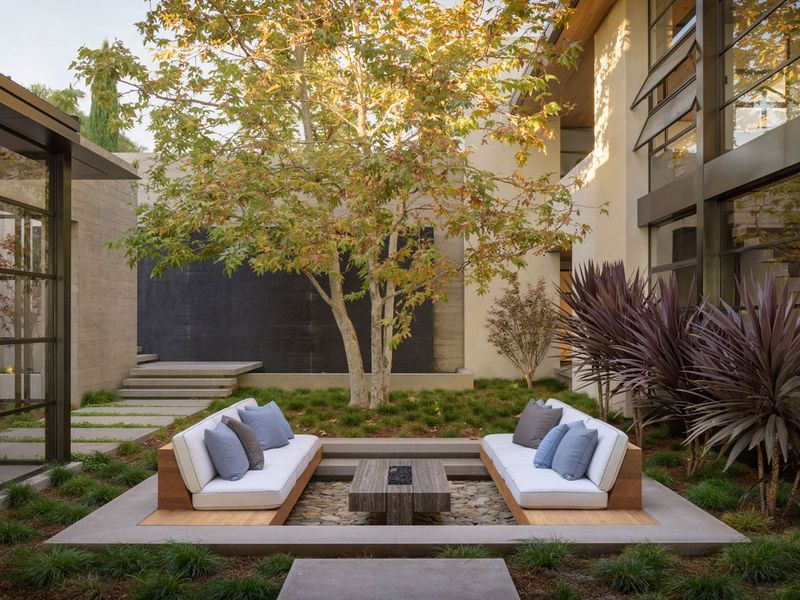
Sitting inside a sunken seating area feels different from sitting on a flat patio, and the difference is mostly about what your eyes land on.
At grade level, you look across the yard and see the fence, the neighbor’s roofline, or the edge of the lawn.
Drop the seating area 18 to 24 inches below the surrounding garden and your sightline shifts.
The tops of ornamental grasses, low shrubs, and perennial beds sit at or just above eye level, and the yard wraps around you instead of spreading out in front of you.
That tucked-in quality is the real appeal of the design, and it comes from a combination of factors working together.
University of Delaware Cooperative Extension guidance on sustainable landscape planning recommends organizing outdoor spaces around specific uses, such as entertaining and relaxation, and combining enclosure, seating, shade, and planting to define each area.
A sunken pit takes that idea literally, using grade change as the wall.
Some design researchers describe this preference for sheltered spaces with outward views using prospect-refuge theory, the idea that people may feel at ease when they can see their surroundings from a protected position.
A recent study in the Journal of Environmental Psychology found that refuge can influence how people rate outdoor spaces, though a meta-analysis of environmental preference research concluded that the evidence is mixed and not strong enough to make universal design claims.
The pit may feel sheltered and immersive for many people, but it does not automatically make guests more social, more comfortable, or likely to stay longer.
The garden connection has to be built in deliberately.
Comfortable seating, shade overhead, planting at the outer edge, and a clear view toward something worth looking at are what make the space feel like a destination.
The excavation alone does not do that work.
Choose the Sunken Form Your Site Can Support
Not every yard calls for the same approach, and “sunken conversation pit” can describe three very different projects.
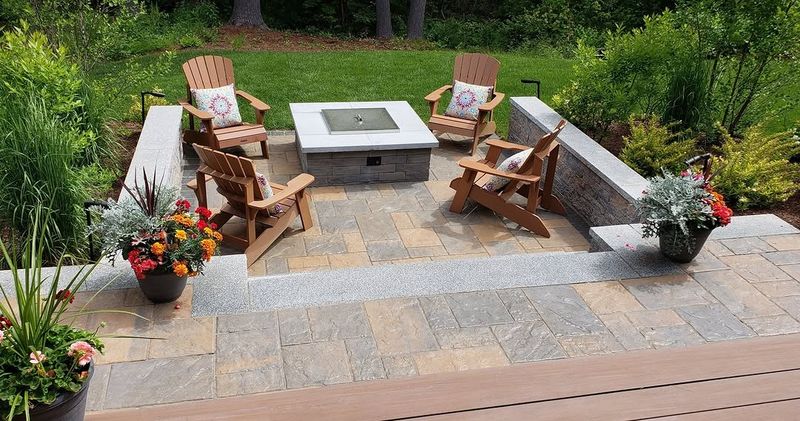
The first is a shallow patio cut into a natural slope, where the hillside does most of the enclosure work and excavation stays modest.
The second is a fully excavated pit in a flat or gently graded yard, surrounded by retaining walls on all sides.
The third uses low walls built up around a patio that sits at or slightly below grade, creating the visual impression of being recessed without deep digging.
These three forms have different drainage demands, structural requirements, cost ranges, and maintenance realities.
Colorado State University Extension’s water-wise landscape design guidance recommends analyzing slope, low spots, standing water, erosion risk, shade patterns, and wind before changing grade.
A yard with a natural slope of 2 to 5 percent may allow a cut-and-fill design where soil removed from the high side fills or grades the low side, reducing the total material hauled away.
That approach can be more straightforward and less expensive than excavating a flat yard to create a below-grade room from scratch.
A flat yard with heavy clay soil, a high water table, or regular freeze-thaw cycles is a different conversation.
Those conditions do not automatically make the project impossible, but they may require site-specific drainage engineering, deeper footings for retaining walls, or a different design form altogether.
A low-wall design that creates the sunken feeling with minimal excavation may be the most practical starting point when the soil or water conditions are uncertain.
Before settling on a form, walk the yard during or after a heavy rain.
Note where water pools, where it moves, and where the ground stays wet longest.
Those observations, combined with a local soil evaluation if needed, will tell you more about which design your site can actually support than any general rule will.
Keep Planting and Views in the Composition

A sunken pit surrounded by bare concrete walls and no planting is just a hole in the yard.
The garden connection that makes the design feel immersive comes from what grows at the outer edge, what you see from the seats, and how shade falls across the space during the hours you actually use it.
Seat orientation matters more than most people expect.
Position the seating so guests face a planting bed, a specimen tree, or a longer view across the yard rather than a fence or a wall.
That view becomes the focal point of every conversation, and it changes with the seasons in a way that a fence never does.
Cooperative Extension landscape planning guidance supports layering plants, seating, shade, lighting, and privacy screens to organize outdoor living areas, and the same principles apply here at a smaller scale.
Layered planting around the pit’s perimeter, using low perennials or grasses at the inner edge, mid-height shrubs behind them, and taller plants or a tree canopy overhead, creates enclosure without sealing the space off.
UF/IFAS guidance on outdoor living spaces recommends combining privacy planting with seating and shade, but also notes that hedges require regular maintenance and that trees and evergreen shrubs can take several years to provide meaningful screening.
Dense planting pushed right up against the seating edge creates its own problems.
Moisture trapped between thick foliage and cushions encourages mold.
Overhanging branches drop debris into the pit.
Shrubs that are not pruned regularly can block the sightlines that made the design appealing in the first place.
Think of planting as one layer of enclosure, not a fast privacy fix, and leave enough open space between the seats and the nearest foliage for air to move through.
Solve Water Before You Finish the Retreat
Rain does not care how carefully you chose the cushion fabric.
A sunken seating area is a natural collection point for water, and if the design does not include a deliberate path for that water to leave, the space will be wet, slippery, and unusable after every storm.
Drainage is the first technical question for any below-grade project, not a detail to sort out at the end.
The Certified Commercial Property Inspectors Association notes that poor drainage in below-grade areas can create safety hazards and interfere with access, and the same holds true for residential sunken patios.
Snow and ice add to the problem in colder climates, where water that pools and freezes becomes a fall risk on steps and walking surfaces.
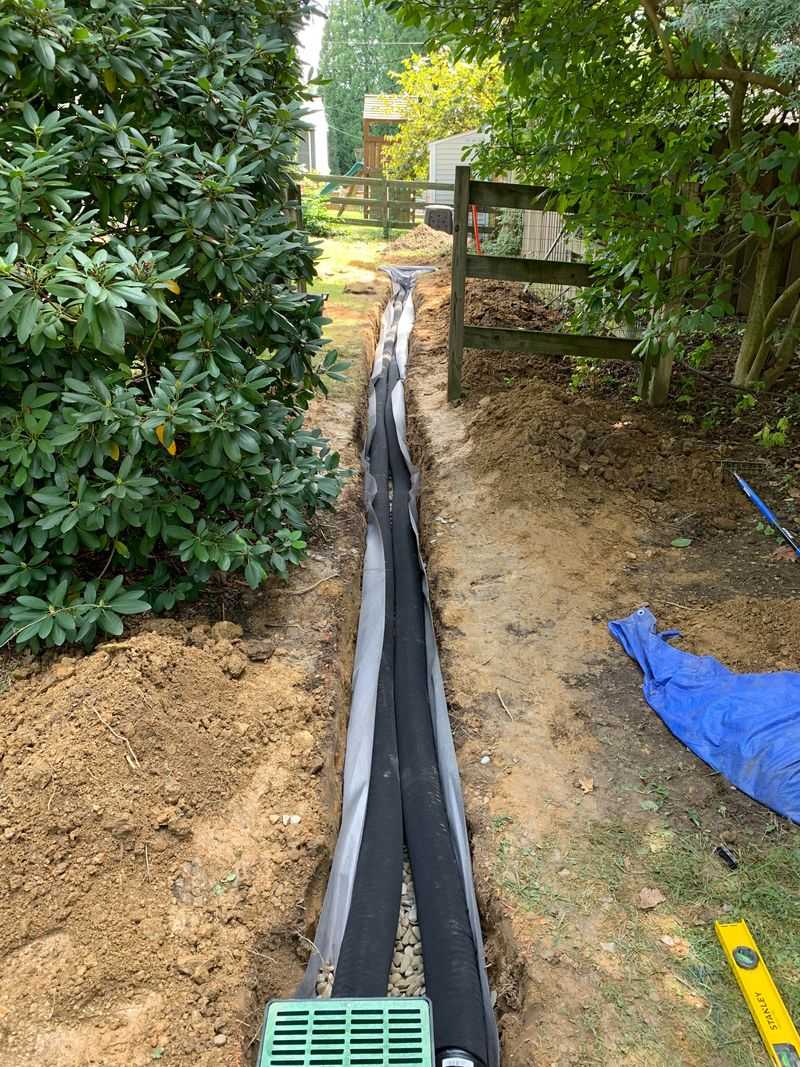
A complete drainage system needs more than a layer of gravel under the patio surface.
Gravel creates a reservoir, but water still needs somewhere to go once that reservoir fills.
The design should identify a legitimate outlet, such as a properly sloped drain connected to a dry well, a sump system, or a drainage path that moves water away from the pit and toward an approved outlet.
Routing water toward a foundation, a neighbor’s property, a septic area, or an unapproved storm system creates new problems and may violate local drainage codes.
Some homeowners ask whether the pit can double as a rain garden.
University of Delaware Cooperative Extension describes rain gardens as shallow depressions specifically designed to capture stormwater and allow it to gradually infiltrate into the soil, with appropriate sizing, overflow planning, and moisture-tolerant plants.
A conversation pit intended to stay dry and comfortable is a different design goal entirely.
Combining the two functions without proper planning usually means the space is too wet to sit in after rain and too dry to support rain garden plants during dry stretches.
If a rain garden connection is part of the plan, treat it as its own separate design element with its own sizing and overflow requirements.
Design Retaining Walls and Steps for Daily Safety
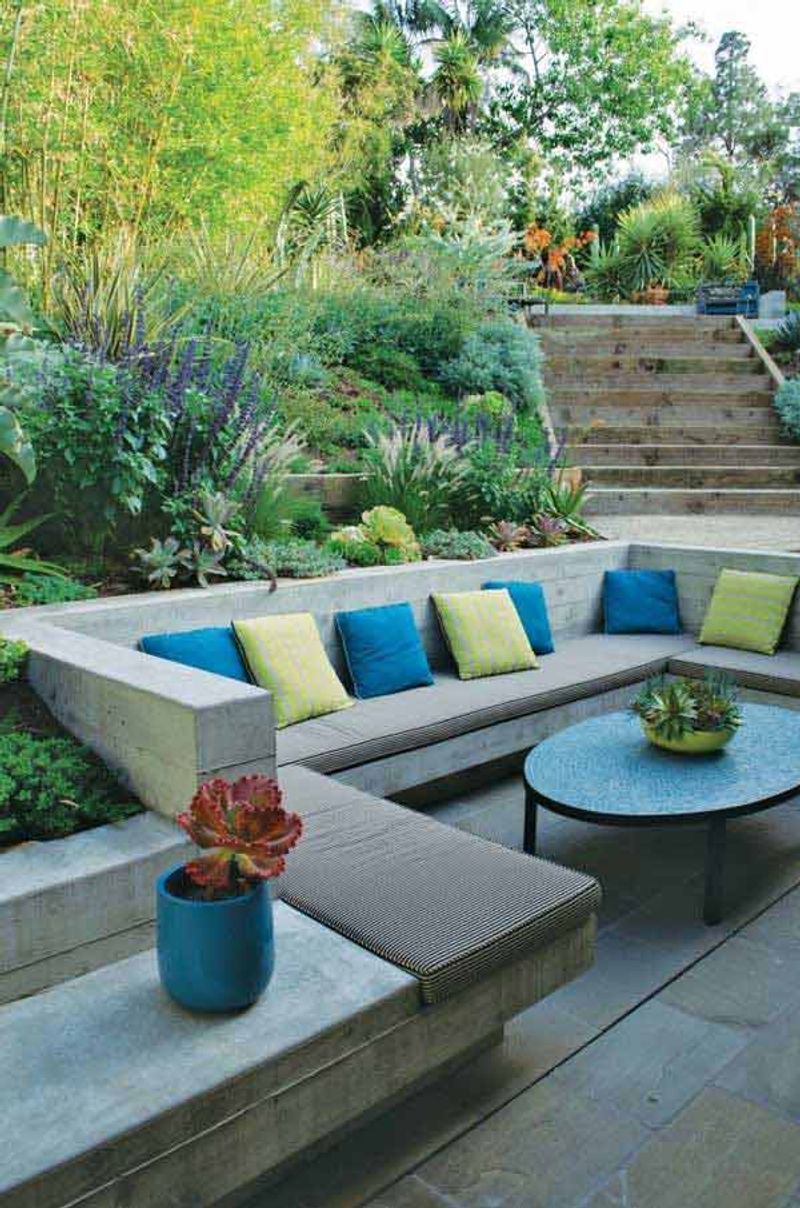
Every retaining wall in a sunken pit is holding back soil, and soil is heavy.
A wall that looks solid on day one can shift, crack, or lean over time if it lacks proper drainage behind it or was not built to handle the load it carries.
CSU Extension specifically advises contacting the local building department for retaining wall design criteria, and that step is worth taking even for walls that seem modest in height, because local rules about when engineering is required vary widely.
Drainage behind the wall matters as much as the wall itself.
Water that cannot escape the soil pushes against the wall from behind, and that pressure increases dramatically after heavy rain or snowmelt.
A properly built wall includes a drainage layer, usually gravel backfill and a perforated pipe, with an outlet that moves water away from the structure.
Steps into the pit create their own daily safety considerations.
Consistent riser heights, a surface that sheds water rather than holding it, and adequate lighting at each step are the basics.
Access Board guidance on outdoor stairs recommends designing approaches and stair surfaces so water does not accumulate on walking surfaces, which is useful safety practice even when formal accessibility standards do not apply to a private backyard.
For handrail and guard requirements, the 2021 International Residential Code includes provisions for handrails on stairs with four or more risers, guards near walking surfaces more than 30 inches above the grade below, and common handrail heights of 34 to 38 inches.
Those figures are a useful starting point, but your local jurisdiction may have adopted a different code edition or added amendments, so local verification is required before building.
Stairs do not provide a step-free route for people with mobility limitations.
If the space needs to be usable by someone who cannot navigate steps, a shallow, flush outdoor-room design or a separate accessible path around the grade change is a better solution than wider stairs.
Check Utilities and Local Approvals Before Digging
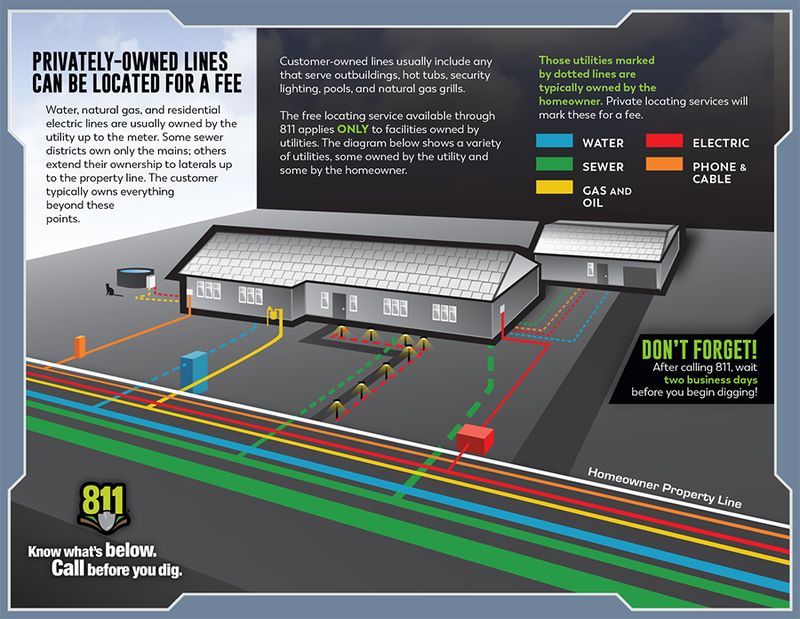
Excitement about a design can make it tempting to grab a shovel and start moving dirt.
That impulse is worth slowing down, because underground utility lines, gas pipes, water mains, electrical conduit, and fiber cables run through residential yards more often than most homeowners expect, and hitting one is dangerous and expensive.
The timing required before you can legally dig varies by state, so check your state’s specific process rather than assuming a standard window applies everywhere.
The call is free, and the locate service is free.
Beyond utilities, a sunken pit project may trigger several different local approvals depending on what it includes.
Excavation depth, retaining wall height, new stairs, drainage connections to a storm system, outdoor electrical work for lighting, gas lines for a fire feature, and the fire feature itself can each fall under separate permit categories.
Some jurisdictions require inspections at multiple stages of construction, not just at the end.
As a local example of how permit rules work in practice, Portland’s residential permitting guidance requires permits for outdoor residential stairs.
That rule applies in Portland and cannot be read as a nationwide standard, but it illustrates why checking with your own building department before construction begins is the right move.
Your city or county may have similar requirements, different thresholds, or additional categories that apply to your specific project.
Contact your local building department, utility locator service, and fire authority before breaking ground.
Those three conversations will tell you what the project actually requires in your jurisdiction, and they may also surface site conditions or local restrictions that change the design.
Treat Fire as a Separate Design Decision
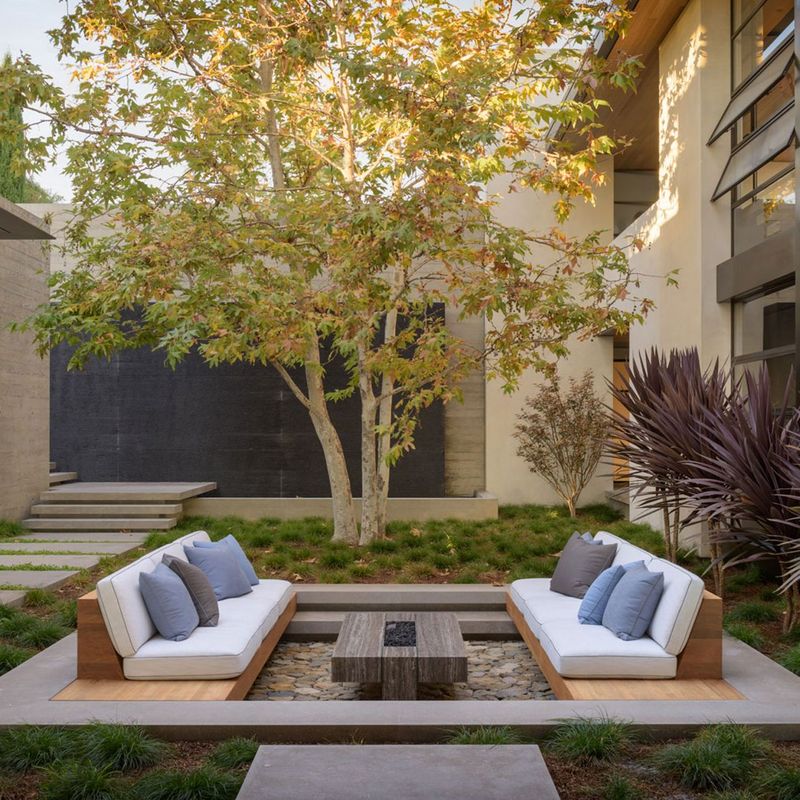
A sunken conversation pit and a sunken fire pit are often shown together in the same magazine photo, and that pairing leads many homeowners to assume the two are the same project.
They are not, and treating them as one decision can create real safety and permitting problems.
A seating pit works perfectly well without any fire element.
Remove the flame and you also remove the spark, smoke, radiant heat, combustible clearance, and child-access concerns that come with it.
Many well-used conversation pits rely instead on string lights, lanterns, a patio heater, or simply the ambient warmth of a summer evening.
If a fire feature is part of the plan, it needs to be designed on its own terms.
Fire Administration recommends placing outdoor fire pits, chimineas, and fireplaces at least 10 feet from a home or anything that can burn, using a metal spark screen over wood-burning fires, supervising children closely around any open flame, and fully extinguishing the fire before leaving the area.
That 10-foot guidance is a general safety message, not a legal minimum.
Local fire codes may require 15, 20, or 25 feet of clearance, or may prohibit open burning entirely during dry conditions.
A lowered fire feature is not inherently safer than one at grade.
Sparks still travel, radiant heat still radiates outward, and a fire sitting inside a pit can be harder for adults to monitor from a standing position and easier for small children to approach without being noticed.
Before adding any fire element, check with your local fire authority about required clearances, permit requirements, fuel type restrictions, and seasonal burn bans.
Those rules vary significantly from one municipality to the next and can change based on current fire weather conditions.
Choose the Version That Will Stay Inviting
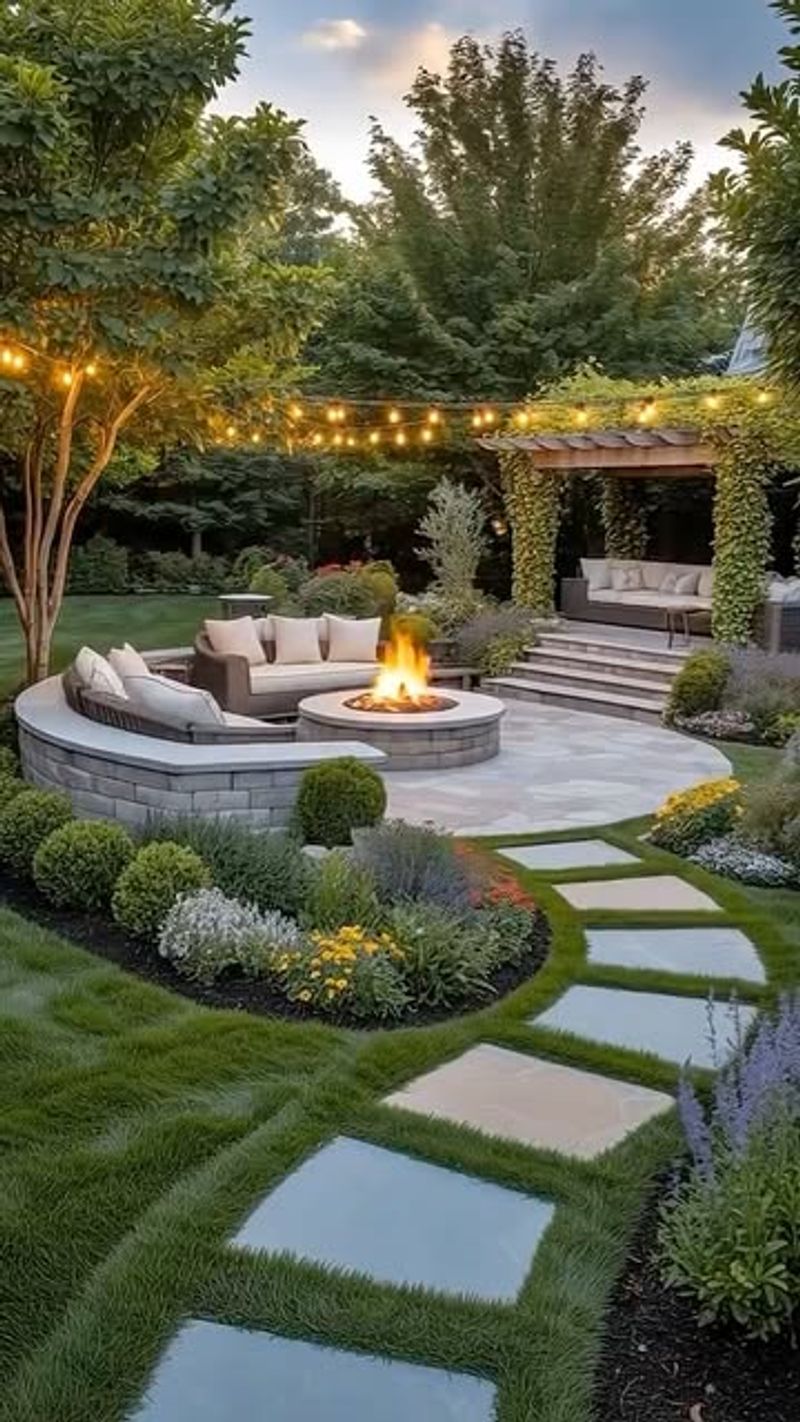
After working through drainage, retaining walls, utilities, permits, planting, and fire safety, the most useful question to ask is a simple one: what is the least amount of excavation that delivers the feeling you are after?
A shallow cut into a slope with two low walls and good planting can feel just as immersive as a fully excavated pit with four retaining walls, and it will likely cost less, drain more easily, and require less ongoing maintenance.
The University of Delaware Cooperative Extension framework for outdoor living spaces focuses on matching the design to the specific use, the site conditions, and the household’s actual maintenance capacity.
That principle applies directly here.
A sunken pit that works well is one that stays dry, stays accessible, stays safe after dark, and stays comfortable through the range of weather your yard actually experiences, not just on a warm July evening.
Seating comfort, shade coverage, surface drainage, step lighting, and planting maintenance all affect whether the space gets used regularly or quietly becomes a problem to manage.
UF/IFAS guidance on outdoor living areas connects usability to the combination of seating, shade, lighting, privacy, and clear circulation, not to the depth of the excavation.
Those elements can be adjusted and improved over time in ways that retaining walls cannot.
Plan for the maintenance the design will need from the start.
Cushions need storage or covers.
Drains need clearing after leaf fall.
Steps need lighting that actually works in January, not just in August.
Planting at the edge needs pruning before it closes off the sightlines you designed around.
The best version of this project feels tucked into the garden, quiet, and worth staying in.
A poorly planned one becomes a wet, shadowed hole that collects leaves and excuses not to go outside.