Watering Plants From The Bottom: How And Why?
Follow us on Google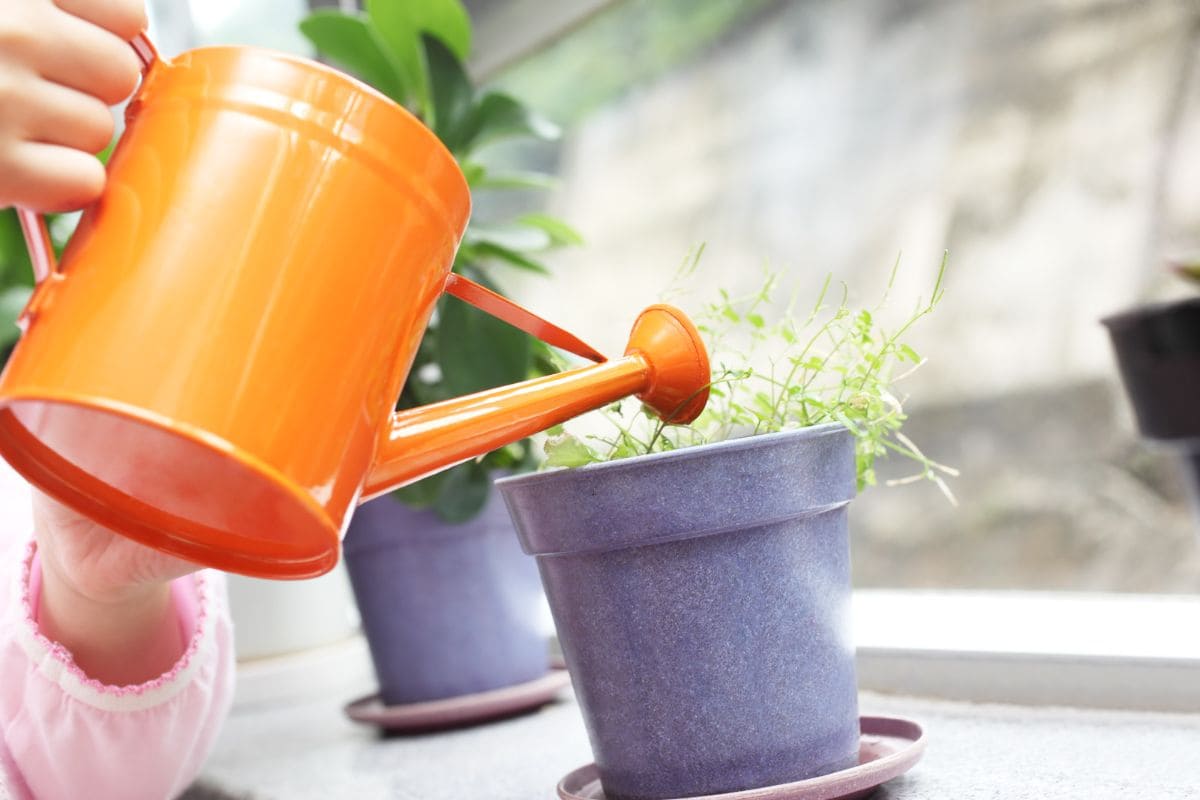
Watering plants from the bottom is a bit more complicated than you think. But also, it is less complicated than you would expect. So, why should you water plants from the bottom? What’s the difference between top watering and watering from the bottom?
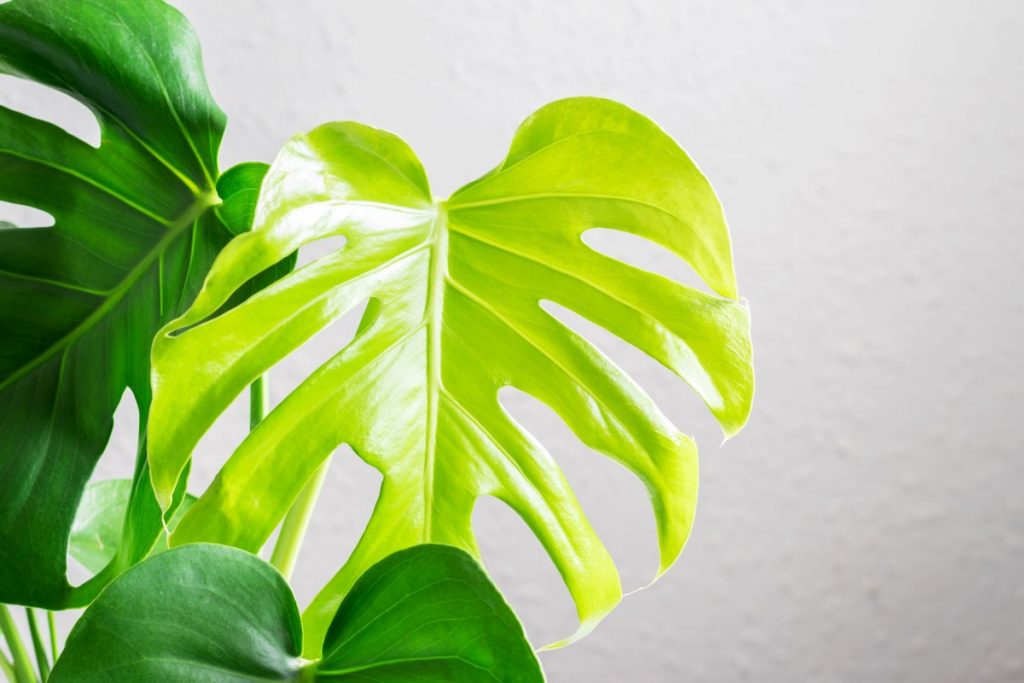
If you have a potted plant that doesn’t like getting its leaves wet such as African violets or snake plants, then you should consider watering plants from the bottom. A plant sit in moist soil most of the time when water from the top.
But when you make a drainage hole in the pot and use the benefits of it this type of watering, your medium-sized plants indoors will be very happy. What potting soil to choose in those moments? Don’t worry, we got you.
Below, we will talk about the techniques and skills of watering plants from the bottom.
What Is Bottom Watering?
When plants sit in the water for 10 to 15 minutes is what botanists call the bottom watering plants technique. No matter what plant the soil you have or if are you planning to water larger plants, smaller plants, or medium-sized plants, you can use this way of watering.
It is, however, usually applied for dry soil plants. Another benefit is that you don’t have to choose a special water type unless your plants demand so. Most of the plants are bottom-watered with tap water.
Put aside your watering can, and say hello to the drainage trays, plastic washtubs, and plant containers.
We should also remind you that plant babies aren’t really a good option for this way of watering.
Plant roots at a young age, before maturity very sensitive, and sitting in water isn’t the best option.
Plant parents, however, the mature plants absorb water much faster and most plants you have at your home now are surely mature plants. Let’s see why should we use this reverse watering and what are its benefits then.
Why Should You Use This Technique?
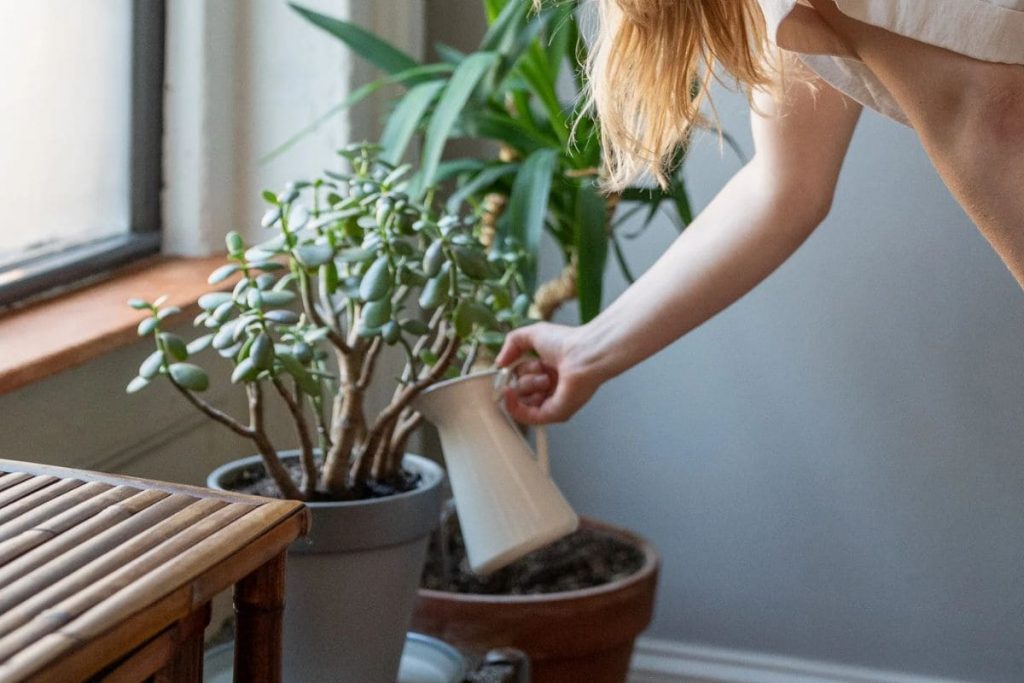
When you pour water from the bottom, plants roots and plant’s leaves are much less “endangered” when watered from the bottom.
Soil’s surface/top the soil will also be dryer much faster if the water even gets there when watered from the bottom.
One of the reasons why is called reverse watering isn’t just because you water them from the bottom. It is also because the reverse watering technique is very beneficial to the plant’s roots, unlike the top watering.
You may think that plants’ roots are in danger that way much more, but once you’re done, people get rid of the excess water and the plant gets only the water it needs.
Watering your plants from the bottom will help your plant in many ways and below you’ll learn more about it in detail.
How To Bottom Water Your Plants? 3 Ways Of Watering Plants From The Bottom
I’m sure you have many questions about watering plants from the bottom such as;
- How could I do it?
- Can I use cold water?
- Am I using pouring water for this way of watering?
- When can I say that I used enough water for my plants?
- Should there be water sitting after I’m done?
- Can fungus gnats appear when applying this way of watering?
- How do I release water later on?
- What is the right moisture level?
- Is it bad if the surface of the soil stays dry?
- Is it important which potting mix I’m using at the time?
If you asked yourself some of these questions above, below we bring you 3 ways of watering plants from the bottom after which you’ll learn everything, you might’ve asked yourself about this. Shall we begin then?
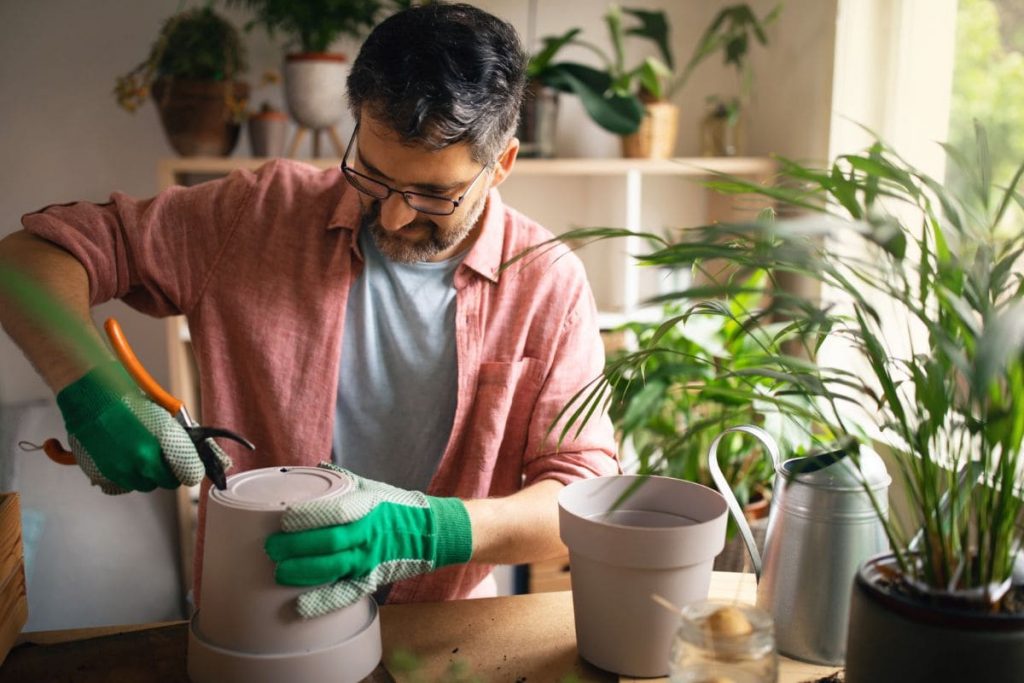
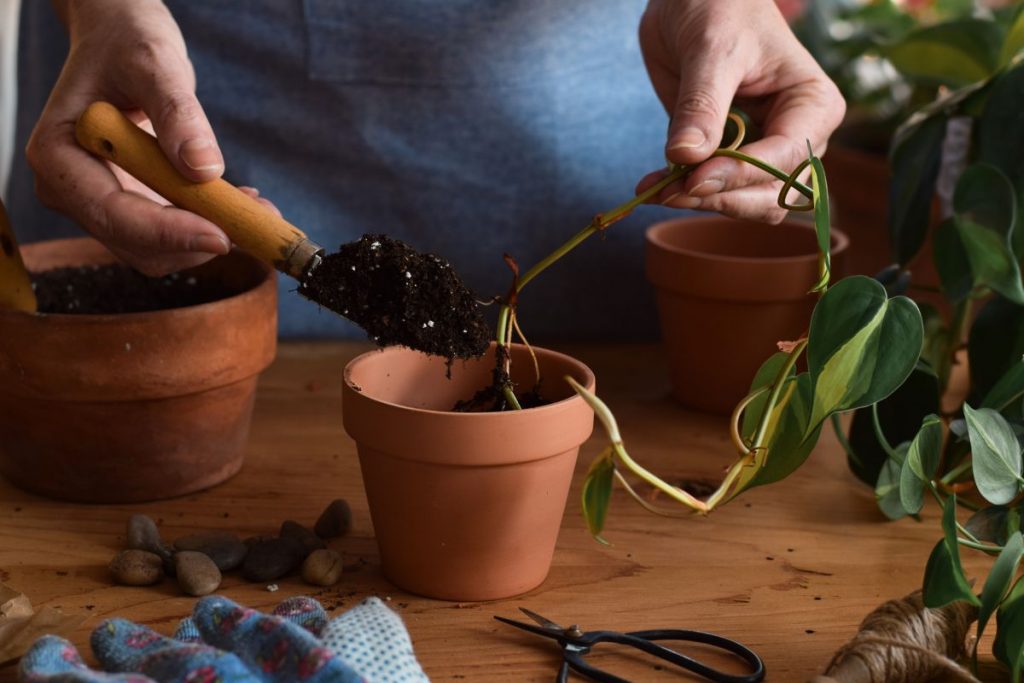
1. First Of All – Make Drainage Holes
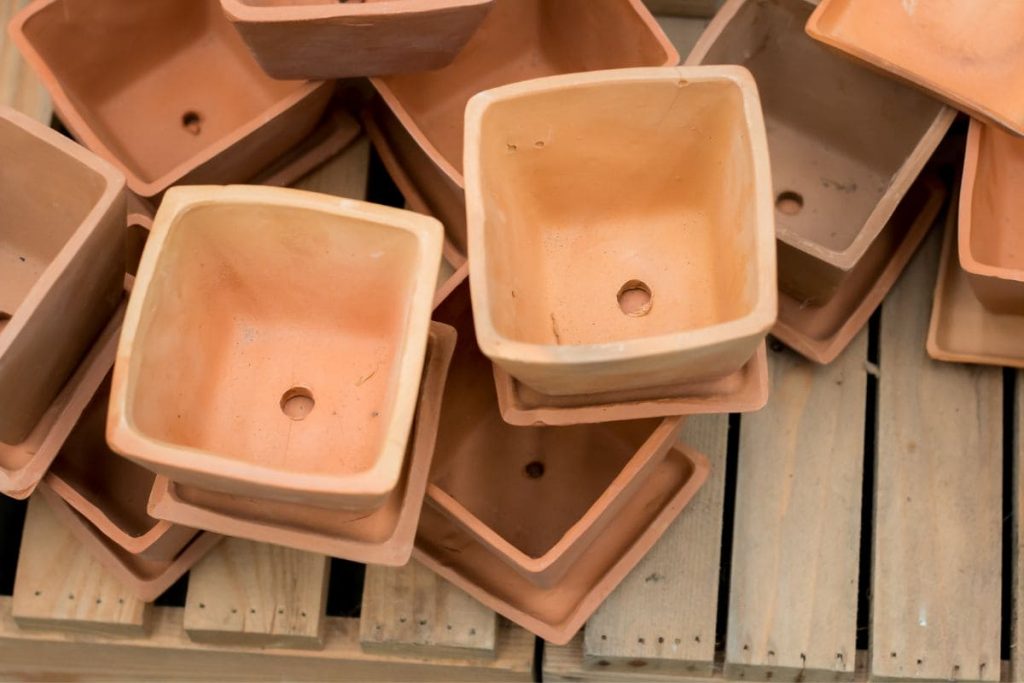
When watering plants from the bottom, you have to be extra careful. As much water, you pour into your plant’s pot plant will absorb only as much as it can.
The rest of the water that the roots don’t absorb will stay in the soil and the roots will sit in that water.
Because of that, it is very important that you have drainage holes. When you make drainage holes for your plant, excess water will go into the plant’s pot tray and you won’t have to worry if you water your plant more.
However, it is always best to measure the moisture levels, but we’ll talk more about that below.
Bottom water plants only when you considered everything that might be problematic for this way of watering. Say goodbye to the wet leaves issue with this method.
Drainage holes are the first thing you need to cross off your list when using this watering method.
After you solve this and you’re ready to water your plants from the bottom, what else you should consider then? We bring you the answers below.
Buy the drainage rocks
If you are wondering first of all what drainage rocks are, they are stones that are made of special materials. This material is usually gravel material. Their role is to manage the flow of water in a drain.
You must have seen whitish stones in a plant pot at a neighbor’s or friend’s house. These stones are exactly the stones for the drainage of the plant.
With good soil and the correct way of watering, your plant will grow excellently and will not have problems with water.
They are usually around 1.5 inches big and they are suitable even in small pots. Some people place them on the soil’s surface, and some people still put these stones under the surface up to 5 inches.
These stones are also great for a newly planted lawn. They will look decorative in your garden and will serve their purpose very well. These stones will also stop puddles in your garden after the rain.
Buy a moisture meter
A moisture meter is used to detect moisture content in materials. If there is too much moisture in your plant, i.e. in its soil, then you should find a way to remove the excess moisture.
It is measured from 0-100. Zero is therefore very, very dry soil that has suffered a severe period of drought, and 100 is a plant whose soil is poorly drained.
The root of such a plant must have already collapsed and you can throw it away.
But for plants whose scale shows a middle number, there is hope and you should save it. We recommend that you use this moisture measurement method every time you think or are not sure if your plant is over- or under-drained.
Set the timer on
Reverse watering does not mean that you will leave the plant overnight in a container for bathing plants. No way, such moisture would cause damage to your plant very quickly.
If you accidentally forget about your plant and it remains in that state for several hours, immediately remove excess water from the container and soil.
Pay attention to the size of the plant
Depending on the size of the plant, the longest the plant should stay in the container is half an hour. That is plenty of time for water to enter the pot of the plant and for the roots to absorb that water.
This also applies to the amount of water you will use for your plant, not just the time the plant spends in the water. Small plants need less water, and large plants need more water, this is quite logical.
Choose The room temperature water for potted plants
Like any topic, this topic carries with it myths that are not true. Some claim that it is good to use extremely cold water when using this method. However, we do not recommend excessively cold water.
Room temperature water is best. Cold water will shock the roots of your plant and then a problem arises. Use water at the same temperature as you would drink after training in the winter.
2. Drainage Trays And Plastic Washtub
If you ever used flushing on your plants, I’m sure you wondered at first how to flush plants without overwatering them. It’s the same for watering the plants from the bottom for some people. You want to find the best way that won’t do any damage to your plant and you want to learn in its detail.
Well, these two ways are pretty easy to water plants with reverse watering. What you’ll need to do is to buy a plastic washtub or use the drainage tray you already have for sure.
A drainage tray is usually already under the pot for most people who have houseplants. Of course, where would the excess water through the drainage holes otherwise go?
If it is deep enough, and most of them are very shallow, you can fill it with water. For large plants, the drainage tray will not be deep and large enough for the amount of water you need for a 3/4 foot plant, for example. For smaller plants, drainage trays are ideal. It will give your plants exactly the amount of water they need.
In case you don’t have drainage holes or a drainage tray, first make these holes, and then buy bathtubs for plants.
They are often 11-12 inches deep and will be great for your plants, especially large ones. You can get them in various sizes depending on the size of your pot.
The depth of these bathtubs is always the same. Their prices are very cheap and you can get them on Amazon for $10-12.
Fill them with water right under the surface but in a way that you don’t soak the plant’s soil surface and leave the plants in them for 10-30 minutes depending on the plant size.
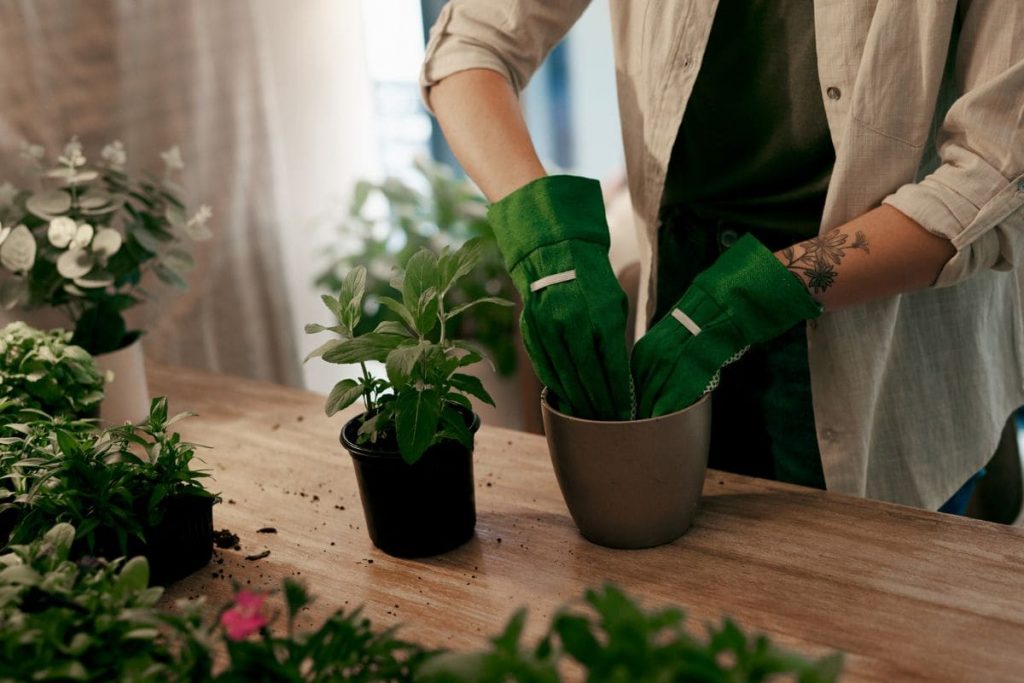
3. Let Them Sit In The Plant Container Large
If you have an unused plant container, and it fits the size of the pot, this is another way you can water your plant from below.
If you don’t have cube pots, you will immediately have to write off this method, because most containers for plants are in the shape of a cube or rectangle.
Anyway, if it fits, use them. Fill them with water so much that the water does not exceed the edges of the pot of the plant you put inside. Therefore, it should be above the level of the middle of the pot.
Drainage holes will take care of the rest. You can think about the type of water. If your plant is salt intolerant, then use distilled water, if the type of water is not important, pour tap water at room temperature.
Get rid of the excess water when the plant is done soaking
This type of watering will sometimes provide your plant with more water than it needs, and the plant will expel the excess water into drainage holes. But if you throw it into the drainage hole, your plant still hasn’t gotten rid of that water.
After placing your pot in its water container, check the water level in that container after 20 to 30 minutes.
If more water came out of your plant through the drainage holes, i.e. excess water, spill that water from the container.
That water would end up back in the soil of that plant and eventually, the roots would absorb too much water. What causes this? Problems of course. Always do these after the bottom watering process.
Make Sure You Finger Check The Soil
This refers to checking the soil after this watering of the plant. This refers to checking the soil before. If your soil is still wet from the last watering, there will be a problem.
You add water to the wet soil, which your plants will absorb for 10-20 minutes. This can be extremely disastrous for your plant and therefore every time, before any watering, check the moisture of your soil with your finger.
Cons Of Watering Plants From The Bottom
This method of watering has excellent benefits, but sometimes it can cause problems if you don’t pay attention to the little things.
In addition to the problems, we will list some other “disadvantages” that not everyone likes and may avoid this method of watering plants. What are the disadvantages, let’s check below.
Root Rot
Root rot can occur when using any watering method. If you do not remove the excess water from the container under the pot, your plant will have serious problems.
Root rot will appear between 7 and 10 days after your plant has been sitting in water for too long or excess water has remained in the soil.
This happens when you irrigate soil that is not dry again. The biggest mistake with this type of irrigation is that people don’t check the container under the pot afterward.
It releases excess water from the soil that was not absorbed by the roots, and then the roots try to receive that water as well.
When it receives all that water, the plant has too much water that it has nowhere to store it. Some will go to the leaves, some to the plant, some to the soil, and some to the roots, but the excess will still exist.
Always, but always, after 20 minutes, check the plate under the pot and spill the water from it. This way you will save your plant and successfully water it from below.
Yellowing Leaves
Yellow leaves are caused by a lack of water and excess water. Much more often, excess water is to blame for the yellow tips, and even for the entire yellow leaves of your plant. Its roots weaken, and before the root collapses, your plant will give you signals that way.
First, the top half inch of your leaf will be yellow then it will spread up the stem that yellowing of the leaf. When that leaf turns completely yellow, it will fall off because it is dry.
But you can save the rest of the plant, so don’t ignore the problem. Pay attention to it, remove excess water from the soil of the plant and save it.
It Will Flush Away The Salts
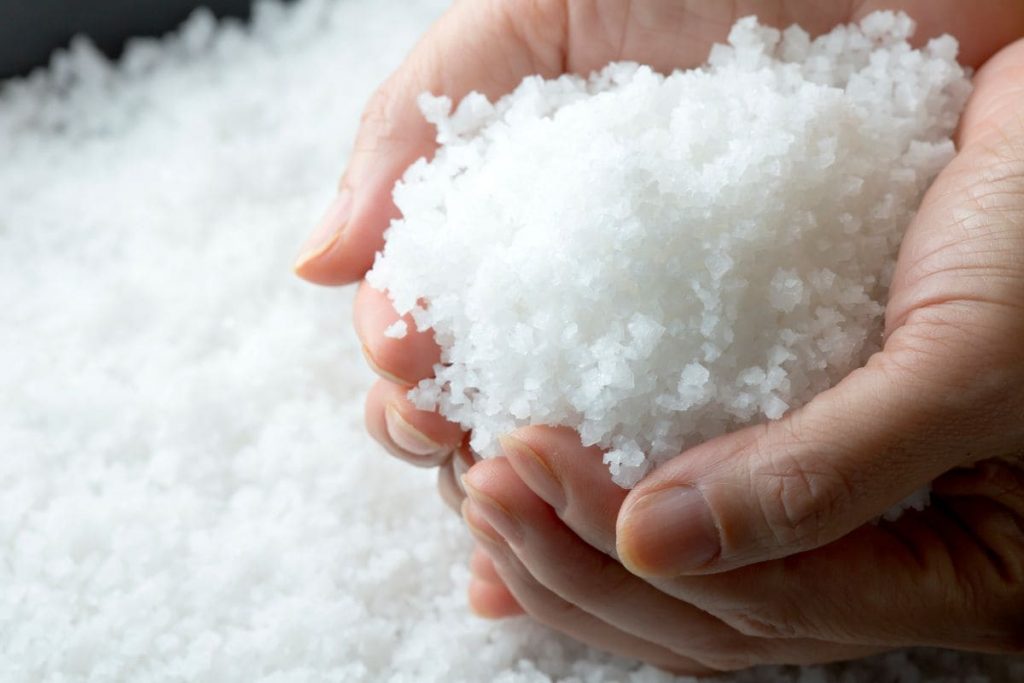
This method of watering the plant will sometimes remove the salt found in the soil of the plant. There are certain plants for which salt is not good, but today we are not focusing on that.
Some plants are tolerant of salt and need salt as a nutrient. When the plant is watered like this, the water will stay in the saucer under the pot for a long time, and then you will spill that water later.
In this way, the water with salt inside will be removed, and the plant will lose a little more salt from the soil than it would otherwise.
It will also lose salt when you drain the soil later because the water will be closer to the drainage holes than to the top of the soil.
Mineral Deposits
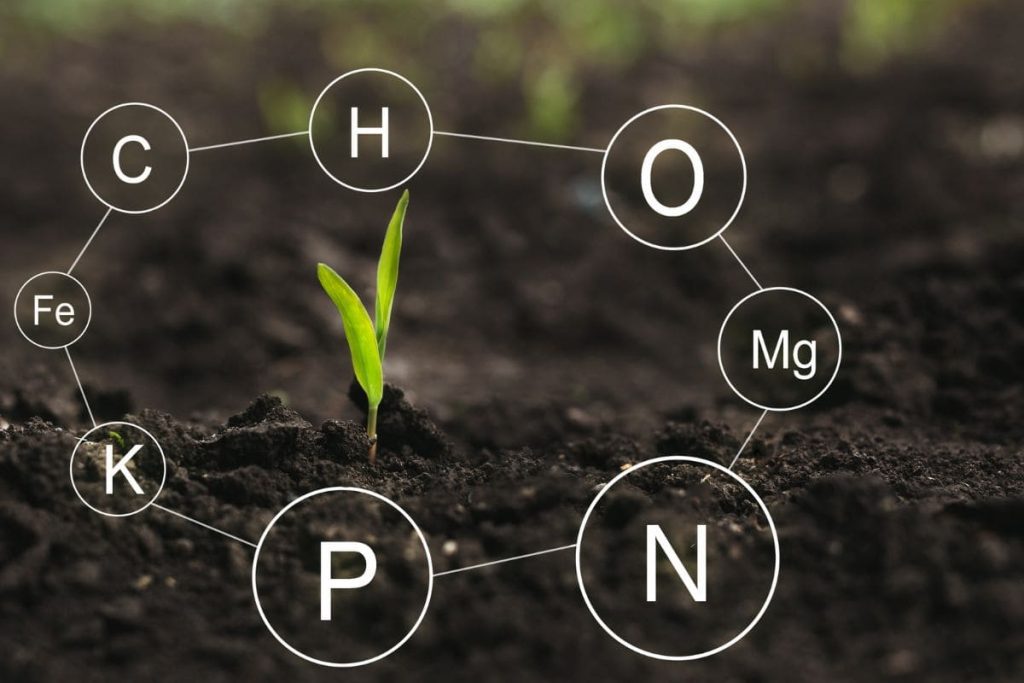
When you water the plant in this way, the water will also wash away the excess minerals from the soil.
This is by no means good, especially for plants that love minerals and need them for development.
Pay attention to the amount of water you use for this form of watering so that your plant does not lose too many minerals.
It Takes More Time

Unfortunately, what is important to modern people today, especially those with children is time. the time you will spend on something. Watering the plant regularly is easy. Pour water into the bucket, water the plant and that’s it.
Repeat the same in 7 or 10 days. But when it comes to this form of watering, you will have to go through some things.
You have to transfer the plant somewhere where you will lower it into the bathtub for plants, it must be in it for 10, 20, or 30 minutes.
After that, you have to wait a little longer before removing the excess water from the saucer of the pot. After that, you will return the plant to its old place.
All this takes about 40 minutes because you have to wash the container you used, etc. For people who don’t have much time during the day, this method of storage is not ideal.
Wrapping Up The Bottom Watering Plants
How to fill your plant’s soil with water unless watered from the top? Well, today you’ve learned the skills of watering plants from the bottom.
The bottom of the pot will soak the water through the drainage holes and the water will go to the roots.
You’ve also learned that soil type for this watering method isn’t so important either. Every plant, no matter which soil is in the pot liked being watered from the bottom.
We brought you 3 ways of watering plants from the bottom and we sincerely hope it was helpful for you. You are finally skilled in this watering technique.
That would be all for today, see you soon with similar topics!