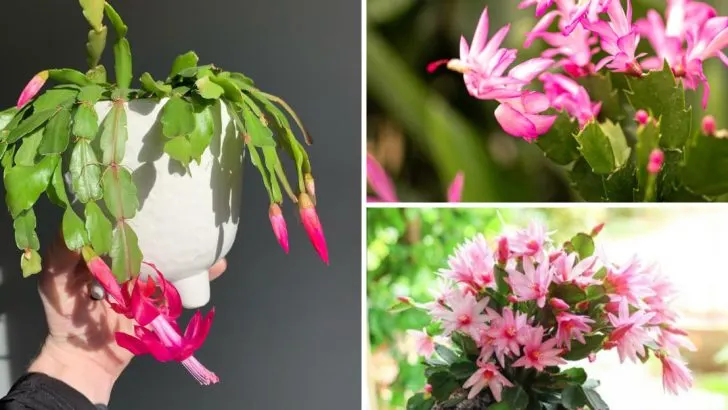
The Christmas cactus is a beloved houseplant, known for its vibrant blooms and ability to brighten any space during the holiday season. But did you know that with a little effort, you can turn a single plant into an entire collection?
Propagating Christmas cacti is easier than you might think, and it’s a great way to share the joy of this plant with friends or expand your own indoor garden.
In this guide, we’ll walk you through 7 simple steps to propagate your Christmas cactus. With these techniques, you’ll soon have a thriving collection of these festive plants to enjoy year-round.
Prepare Your Tools
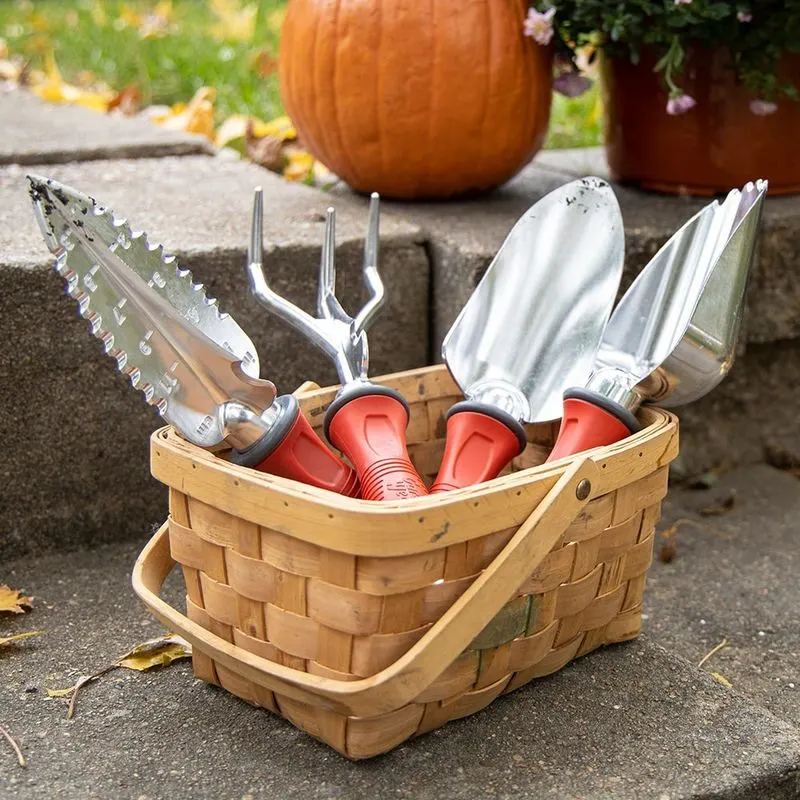
Before starting, gather essential tools: clean pruning shears, small pots, cactus soil, and gloves. Ensuring your tools are clean reduces the risk of disease transmission.
Consider using sterilized shears by wiping them with alcohol. Choose pots with drainage holes, as proper drainage is vital for cactus health.
Cactus soil mix is preferred due to its excellent drainage properties. Prepare your workspace in a well-lit area with enough room to handle the cactus safely. Having everything ready keeps you focused and makes the process smoother.
Select Healthy Cuttings
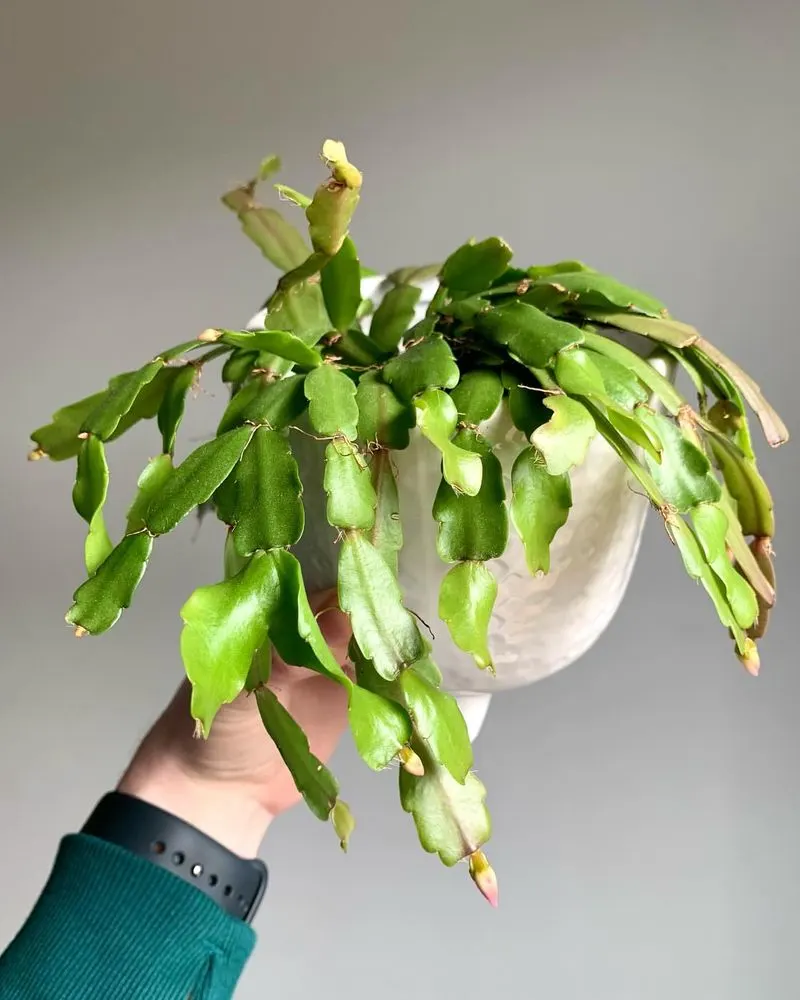
Identify the healthiest parts of your cactus. Look for vibrant segments, typically at the tips, that are firm to the touch. Avoid sections showing signs of damage or discoloration.
A healthy cutting generally consists of three to five segments. Use your sterilized shears to cut just above a node. This ensures the parent plant remains healthy and encourages new growth.
Handle the cuttings gently to avoid bruising, as this can affect their ability to root later. Selecting strong cuttings is a crucial step in successful propagation.
Allow Cuttings to Callous
After cutting, let the segments dry and form a callous. Place them on a paper towel in a warm, shaded spot for about 1 to 2 days.
This process prevents moisture loss and deters rot when planted. Check the cuttings for any soft spots, which indicate incomplete callousing.
Rot is less likely to occur if the callous forms properly. This drying time is essential, especially in humid climates, to ensure the cuttings are ready for planting. Patience here leads to healthier root formation.
Choose the Right Soil
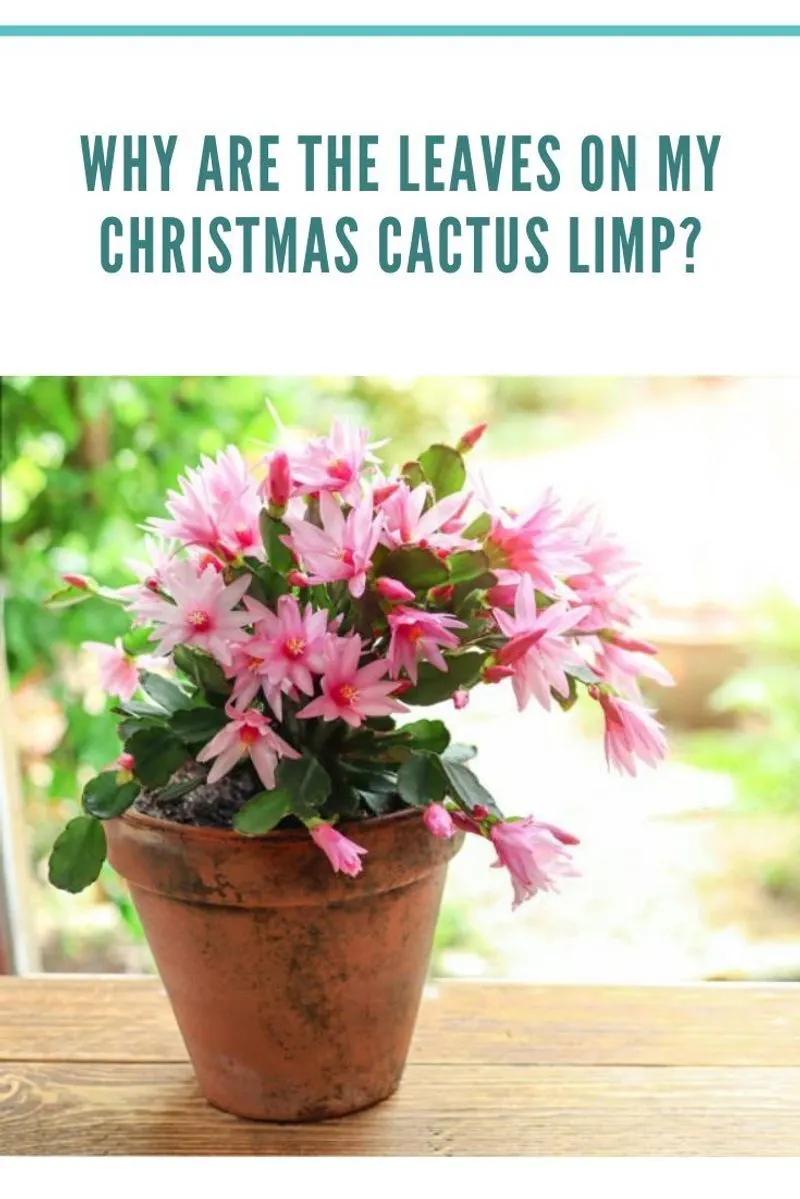
Select a high-quality cactus soil mix. These mixes are designed to provide excellent drainage and aeration, crucial for preventing root rot. Avoid regular potting soil, as it retains too much moisture, posing a risk to your cactus.
Consider adding perlite or sand to enhance drainage further. Fill the pot about three-quarters full, leaving space for the cutting. Gently firm the soil to eliminate air pockets, which can hinder root growth. Proper soil choice is key to the success of your new plants.
Plant the Cuttings
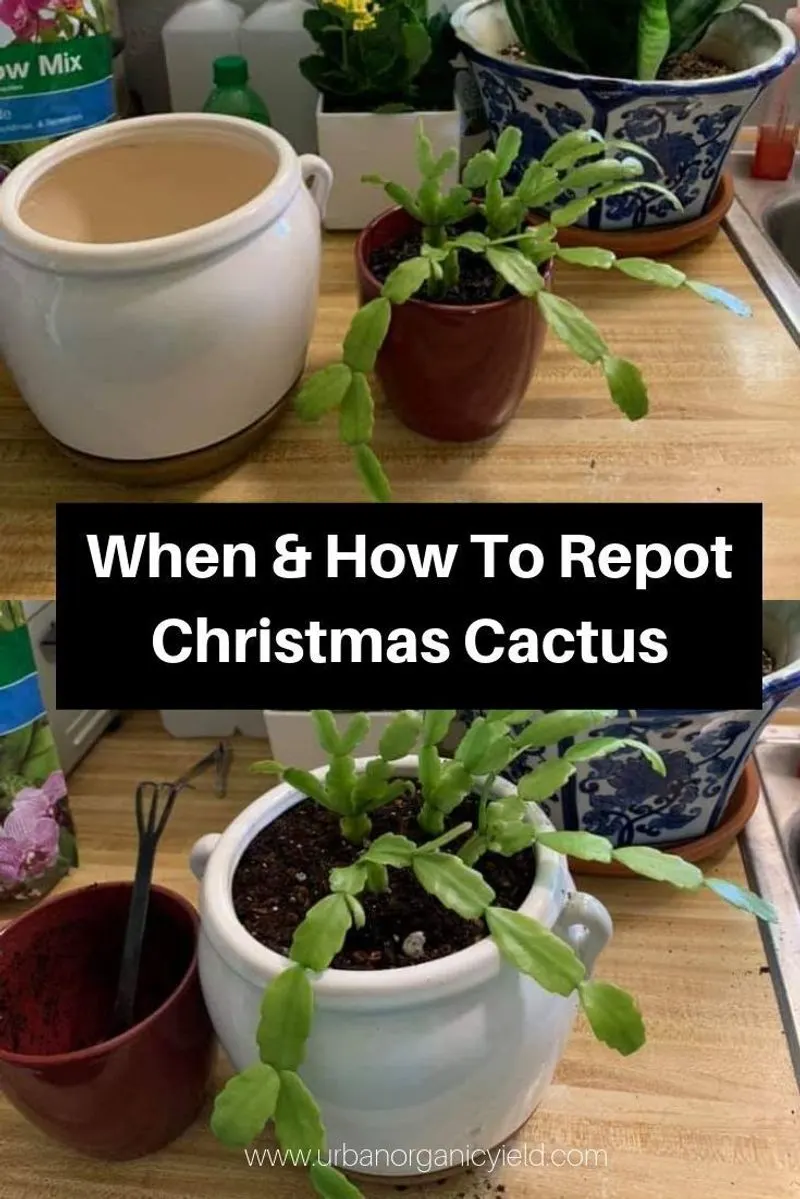
Insert the calloused end of each cutting into the soil at least one inch deep. Ensure they stand upright and are evenly spaced if sharing a pot.
Gently firm the soil around each piece to secure them. Place the pot in indirect sunlight, avoiding harsh direct rays that can stress the young plants.
Water lightly, ensuring the soil is dry between waterings. Overwatering is a common mistake that leads to root rot. Proper planting techniques set the stage for successful growth.
Monitor Watering and Light
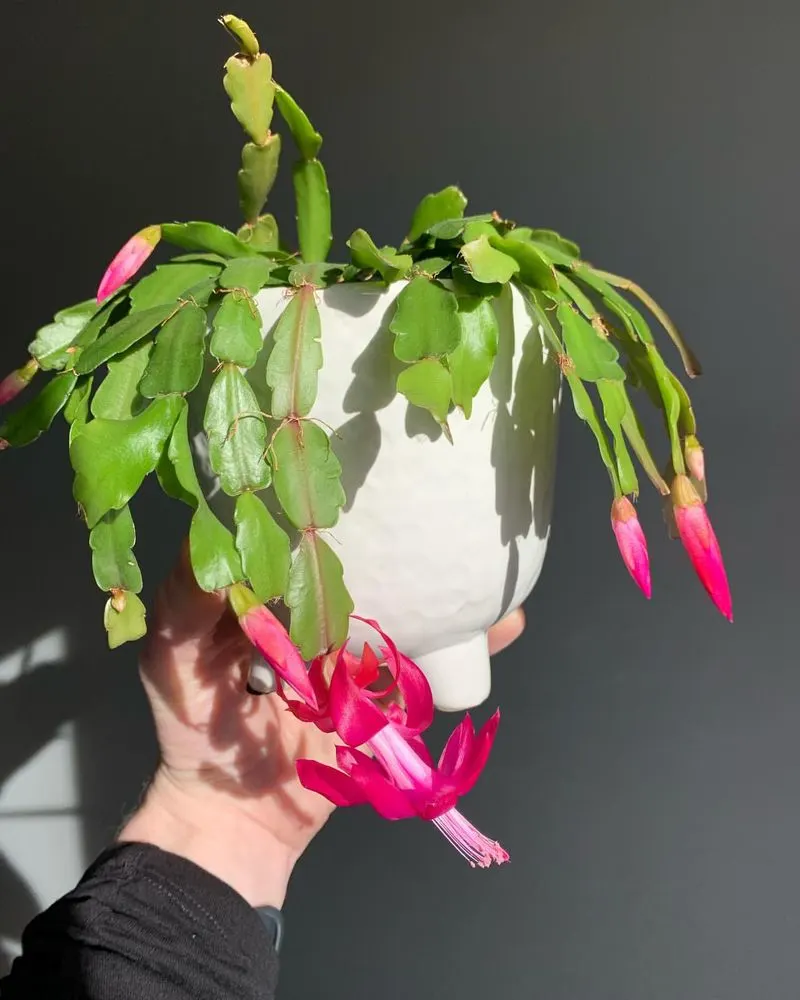
Keep an eye on your new plants. Allow the soil to dry completely between waterings. Overwatering is a frequent cause of failure in cactus propagation.
Place the pots in a location with bright, indirect light. Too much direct sunlight can scorch the tender cuttings, while too little hampers growth.
Adjust their position as needed, especially during seasonal light changes. Maintain a consistent care routine to encourage robust development and flowering. Monitoring these factors will ensure healthy, thriving plants.
Encourage Root Development
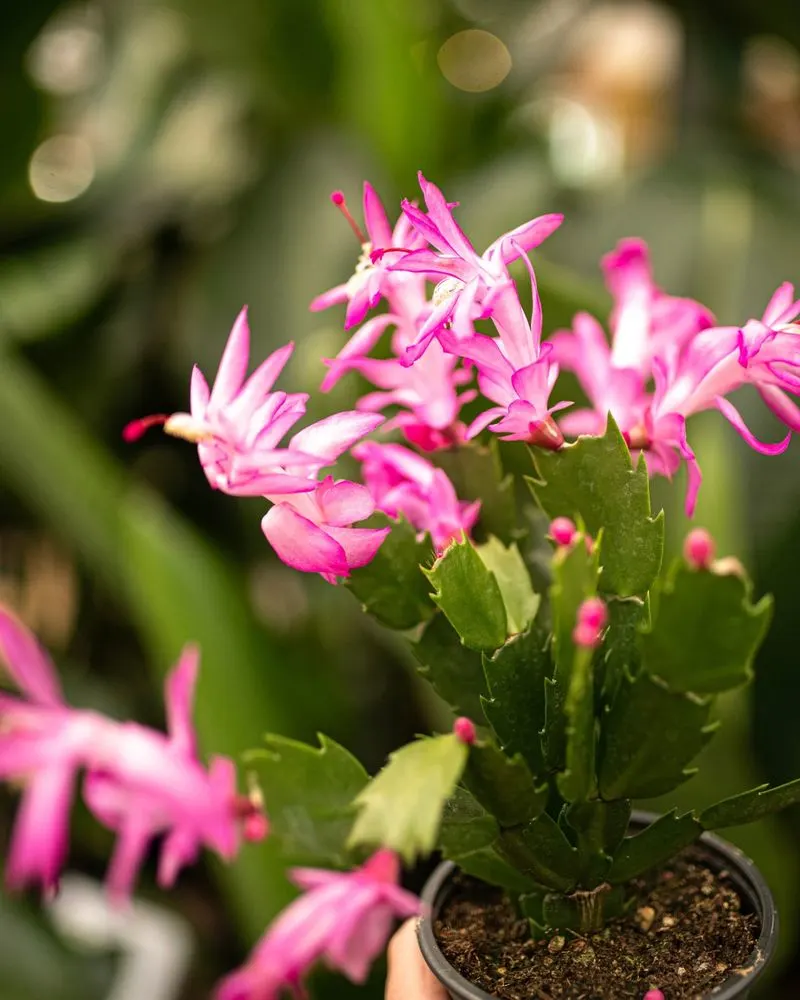
After a few weeks, gently check for root development by tugging slightly on the cuttings. Resistance indicates successful rooting. If roots are not yet visible, continue with your current care routine, as disturbing them too early can hinder growth.
Once roots establish, consider repotting into larger containers to accommodate their growth. Regularly inspecting your plants ensures they are thriving and allows for timely interventions. Encouraging root development is the final step in multiplying your cactus collection.

