
The Right Way To Trim Florida Plumeria So The Blooms Come Back Bigger And More Fragrant
Follow us on Google
You walk out to your plumeria on a warm February morning and realize it has gotten leggy, lopsided, or still shows blackened stems from last winter’s cold snap, and you wonder if a good trim is all it needs.
Pruning can genuinely help, but not in the way most people expect.
The honest answer is that where and when you cut determines whether next season’s flower clusters survive the shears, and that matters more than how much you cut.
This guide walks Florida gardeners through a selective, step-by-step approach to pruning plumeria (Plumeria rubra and its relatives) so healthy flowering tips stay on the plant and structure improves without empty promises about flower size or scent.
Protect The Tips That Can Carry Flowers
Most gardeners pick up the pruners and start cutting before they know where the flowers actually come from.
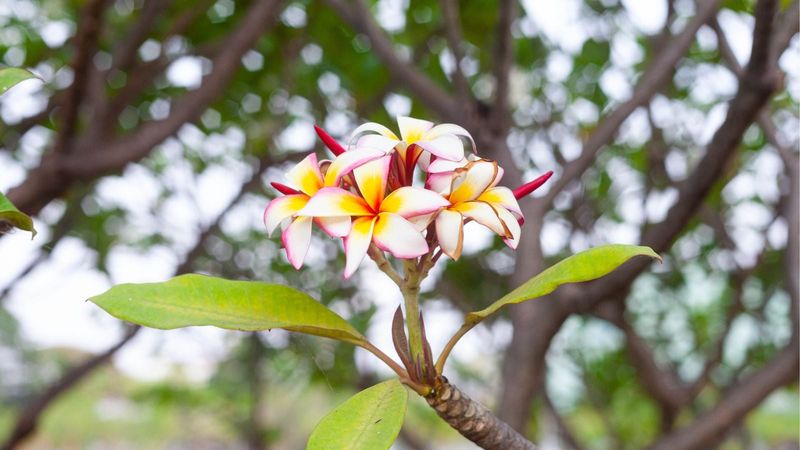
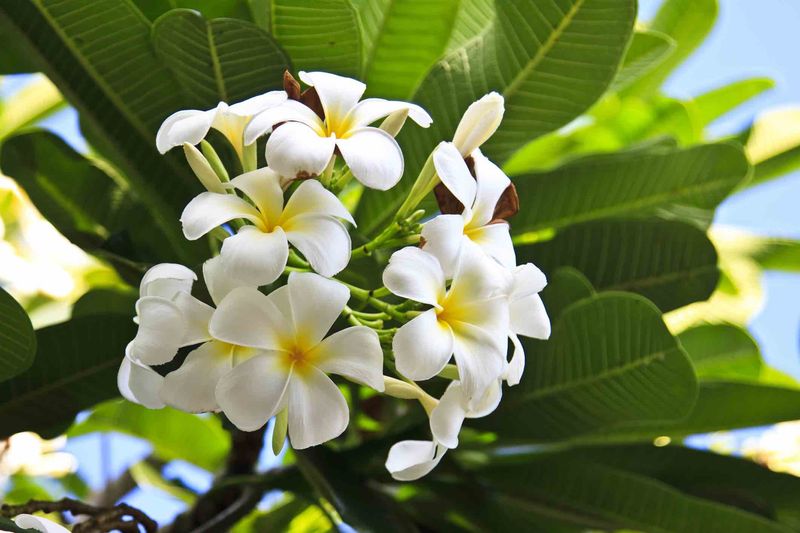
On plumeria, every flower cluster forms at the very end of a branch, in what botanists call a terminal cluster.
Cut a healthy tip off and you have removed that branch’s chance to bloom this season, plain and simple.
University of Wisconsin Extension guidance on plumeria notes that the proportion of branch tips setting flower clusters can range from roughly 10 percent to 60 percent depending on cultivar.
That range alone tells you something useful: not every tip will bloom regardless of what you do, but the ones that were going to bloom need to stay on the plant to have a chance.
Selective pruning can improve structure and protect the tips most likely to carry flowers.
What it cannot do reliably is make those flowers larger or more intensely fragrant.
Flower size and scent are shaped by species, cultivar, sunlight, soil health, and growing conditions, not by the angle or location of a pruning cut.
A gardener with a compact, well-shaped plant and 15 flowering tips is in a better position than one with a towering, awkward plant and 4 surviving tips after heavy shearing.
The practical takeaway is to prune selectively rather than routinely.
Remove what is dead, damaged, diseased, or badly placed.
Leave healthy tips alone whenever possible.
UF/IFAS Gardening Solutions identifies full sun, well-drained soil, and cold protection as the most dependable supports for flowering, with pruning playing a supporting role rather than a starring one.
Keep that hierarchy in mind before the shears come out.
Choose The Pruning Window By Plant And Place
Timing a plumeria prune is not one-size-fits-all in Florida, and that is where many gardeners go wrong.
The general rule for necessary size or shape cuts is late winter to early spring, before new leaves emerge.
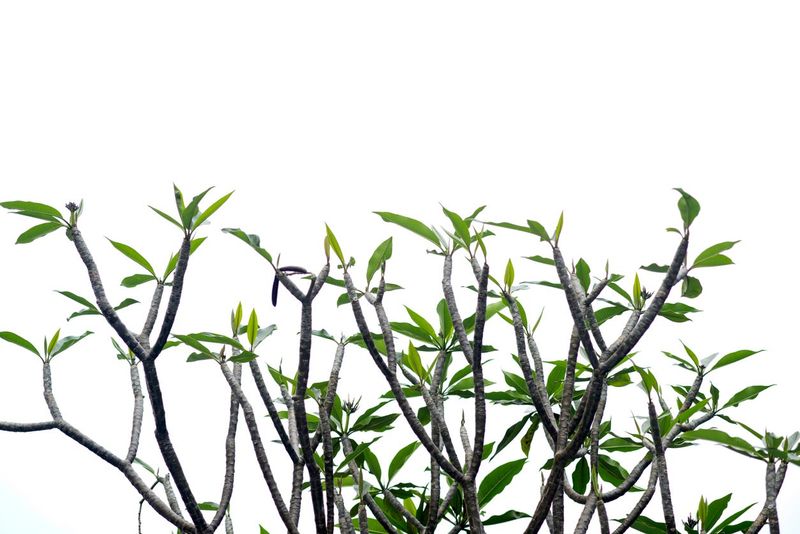
For deciduous types like Plumeria rubra, that leafless window is easy to spot: the branches are bare, the plant looks dormant, and you can see the structure clearly without guessing around foliage.
University of Wisconsin Extension recommends pruning plumeria in spring before deciduous types leaf out, and that advice translates well to most of Florida.
But Florida is not one climate, and the state does not follow a single pruning calendar.
In South Florida and the Keys, some plumerias hold their leaves longer or skip dormancy altogether in mild winters.
A rigid “prune in January” rule does not fit a plant that never went to sleep.
Watch the plant, not the calendar.
If it is still pushing growth or holding foliage in February, wait for a natural slowdown before making cuts.
North Florida and colder parts of Central Florida present a different challenge.
A hard freeze can damage or kill stems, and the full extent of that damage may not be visible for several weeks after the cold event.
UF/IFAS notes that plumeria is recommended primarily for USDA Zones 10B to 11, which means Zone 9B locations in Central Florida remain genuinely vulnerable to frost.
Patience after a freeze is not procrastination.
It is the smarter move.
Florida’s broad flowering window runs roughly from May through November, though that range shifts by species, cultivar, and how the previous winter played out.
Preserve that window by finishing any necessary cuts well before new growth begins pushing in spring.
Inspect And Remove Problem Wood First
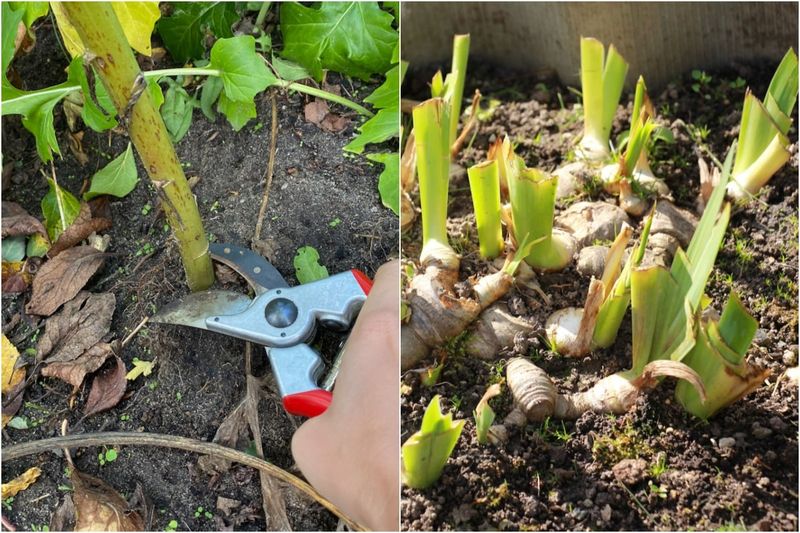
Before a single cosmetic cut happens, spend five minutes walking the plant with a critical eye.
Start at the base and work upward.
You are looking for branches that are dead, broken, shriveled, bent at an odd angle, or showing discoloration that does not match the healthy gray-green of sound wood.
Those come out first, no debate needed.
Shriveled and bent stems deserve extra attention because they may signal plumeria stem borer activity.
University of Hawaii Cooperative Extension guidance on plumeria and lei flowers explains that borer damage can extend well beyond what the outside of the stem reveals.
When you cut into a suspect branch and find discolored or mushy tissue inside, keep cutting back toward the main trunk until you reach firm, creamy-white wood.
There is no universal distance to measure from visible damage.
The right stopping point is healthy tissue, full stop.
Once problem wood is out, step back and look at branches that cross through the center of the plant, rub against each other, or grow toward the trunk rather than outward.
Those badly placed branches compete for light and create wounds where they press together.
Removing them opens airflow and lets remaining tips reach the sun they need.
Plumeria sap is a real consideration during any of this work.
UF/IFAS describes the milky sap as an irritant that can affect skin and eyes, and recommends thinking carefully about children and pets in the space.
Wear gloves, eye protection, and long sleeves every time you cut.
Wash your hands and forearms thoroughly when you are done, especially before touching your face or handling food.
The sap is not highly toxic in the way oleander is, but it is not something to be casual about either.
Make Reduction Cuts At Sound Junctions
Here is where it gets tricky for gardeners who have learned pruning on roses or crape myrtles.
Plumeria branches are thick, succulent, and store a lot of tissue.
A long stub left after a careless cut will not seal cleanly and can become an entry point for disease or rot.
The goal is always a cut at a sound side branch or branch junction, not a chop across open air.
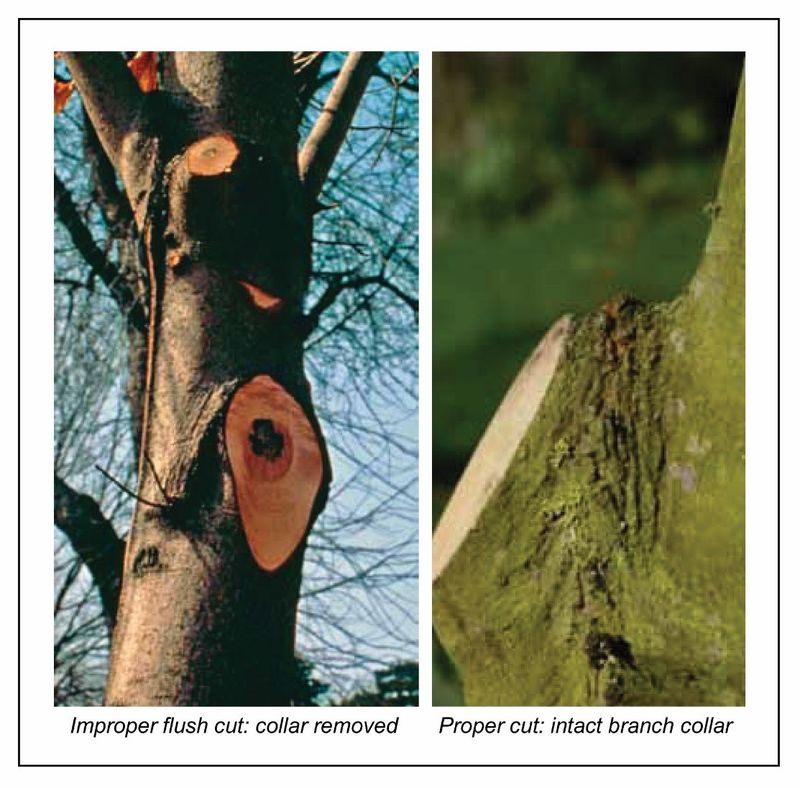
Look for the branch collar before you cut.
That slight swelling or ridge at the base of a branch where it meets the parent stem is the plant’s own healing zone.
UF/IFAS guidance on pruning tropical and subtropical trees explains that the collar contains tissue the plant uses to seal a wound.
Cut just outside it, not through it, and not an inch back from it leaving a stub.
A clean cut at the junction gives the plant the best chance to close over the wound on its own.
Sharp tools matter more than most people realize.
A dull blade crushes tissue instead of slicing it, and a ragged cut takes longer to seal.
Clean visible sap and plant debris off your pruners after each major cut.
University of Minnesota Extension recommends 70 percent or stronger isopropyl alcohol for disinfecting small pruning tools after cleaning.
Do this before moving to a different plant and absolutely before cutting into tissue that looks diseased.
One thing to set aside entirely: the popular advice about making a 45-degree cut above a node to increase blooms.
Florida-Friendly Landscaping principles and the reviewed university sources do not support that angle as a proven way to improve plumeria flowering.
A clean cut at a sound junction beats a geometrically precise cut in the wrong spot every time.
Balance A Compact Shape With Future Blooms
Before shortening any healthy branch, ask yourself one question: what matters more right now, flowers this season or a smaller plant?
Both are legitimate goals, but they sometimes pull in opposite directions, and being honest about the priority saves regret later.
If flowers are the main goal, leave healthy tips alone.
University of Wisconsin Extension notes that compact plants tend to flower more heavily than lanky ones, but that observation does not mean cutting every long branch will produce more flowers the following season.
Compactness supports flowering over time.
Aggressive cutting can sacrifice an entire bloom season by removing the very tips that were queued up to open.
If size or shape genuinely matters, pick the worst offenders and shorten only those selected branches rather than shearing across the whole canopy.
Cut each one back to a side branch that is at least one-third the diameter of the one being removed, so the remaining branch can take over naturally.
University of Hawaii Cooperative Extension notes that dormant-season cuts can produce new shoots that may flower late in the year, while cuts made in summer may produce shoots that do not flower until the following year.
Timing shapes the outcome.
Spent flower stalks are another decision point.
Removing them is optional tidying, not a flowering requirement.
A tip that carried flowers may produce additional growth or a later flush depending on the cultivar and conditions.
Florida-Friendly Landscaping guidance supports selective pruning that preserves natural structure rather than repeated topping or shearing.
Let the plant’s own branching pattern guide your hand more than any rule about removing every old stalk.
Let Freeze Damage Reveal Its Full Extent
A cold night in North Florida or Central Florida can leave your plumeria looking terrible by morning.
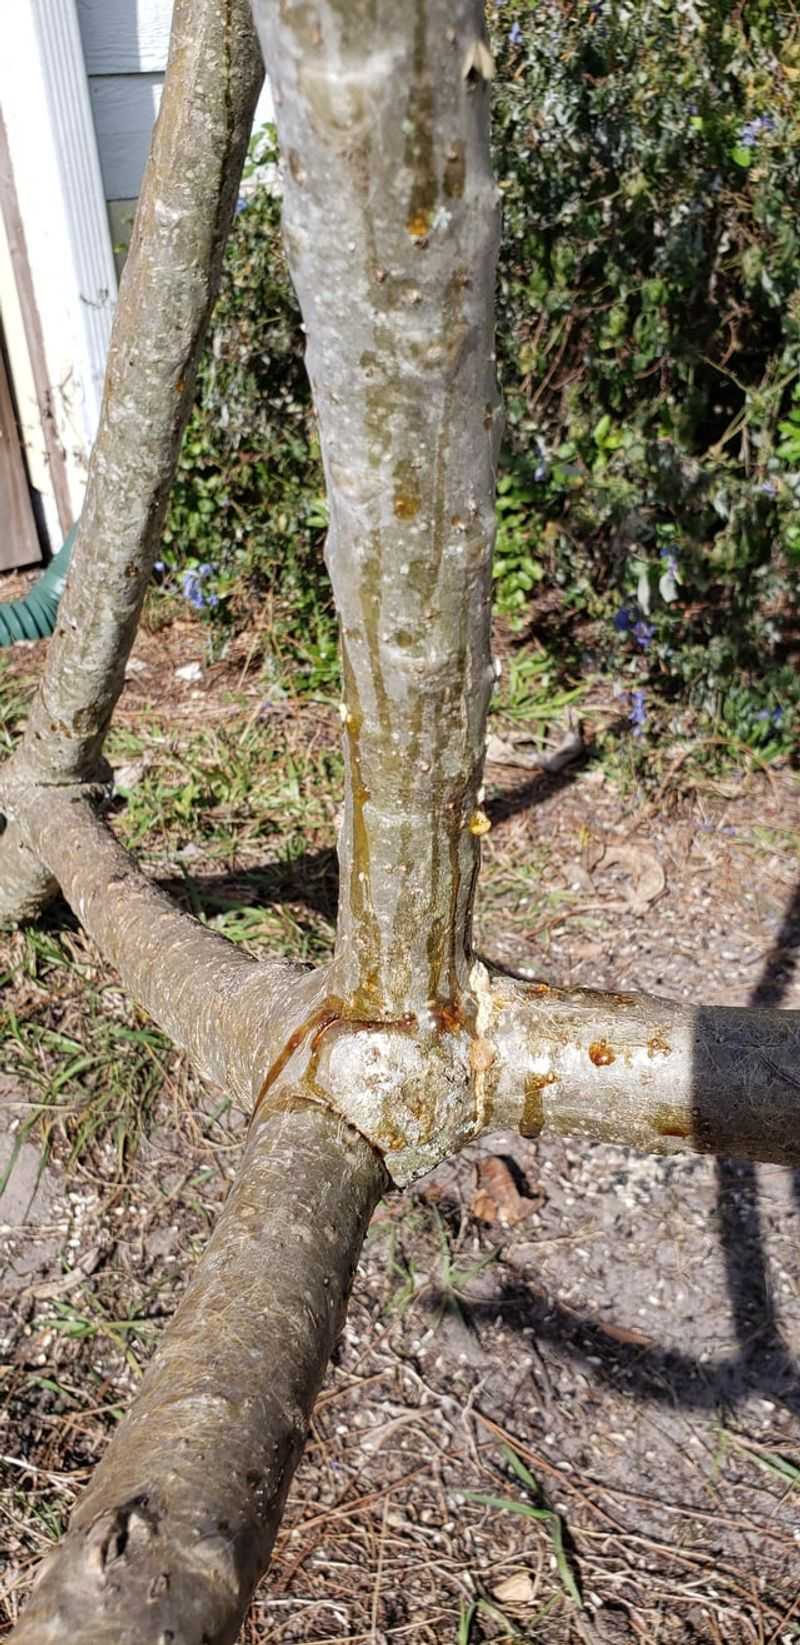
Blackened tips, soft stems, bark that looks water-soaked or sunken: all of it is alarming, and the instinct is to cut immediately.
Resist that instinct.
Freeze damage on plumeria is deceptive, and the full picture takes time to develop.
UF/IFAS describes plumeria as very susceptible to freezing temperatures and recommends it primarily for Zones 10B and 11.
That means gardeners in Zone 9B Central Florida and anything north of that are working at the edge of the plant’s comfort zone every winter.
A stem that looks borderline alive on the outside may be discolored and dying an inch or two inside.
Cutting too soon can mean removing wood that might have recovered, or stopping short of damage that continues deeper.
Wait until the damage becomes fully apparent, usually several weeks after the freeze event.
Then cut blackened or soft stems back to firm, cream-colored wood or to a sound main-branch junction, checking the interior tissue as you go.
University of Hawaii Cooperative Extension supports cutting back to healthy tissue or a main junction when internal discoloration is present, rather than stopping at a fixed distance from visible damage.
Plumeria rust is a separate issue that sometimes shows up alongside cold stress.
UF/IFAS identifies frangipani rust as a fungal disease capable of causing severe defoliation and recommends removing and destroying infected leaves for minor cases.
Pruning alone will not solve a rust problem if infected foliage remains nearby and humid conditions persist.
The disease needs its own management attention beyond what the pruners can accomplish.
Support Flowering With Light And Drainage
Pruning is one tool in a larger kit, and it works best when the plant’s basic growing conditions are already solid.
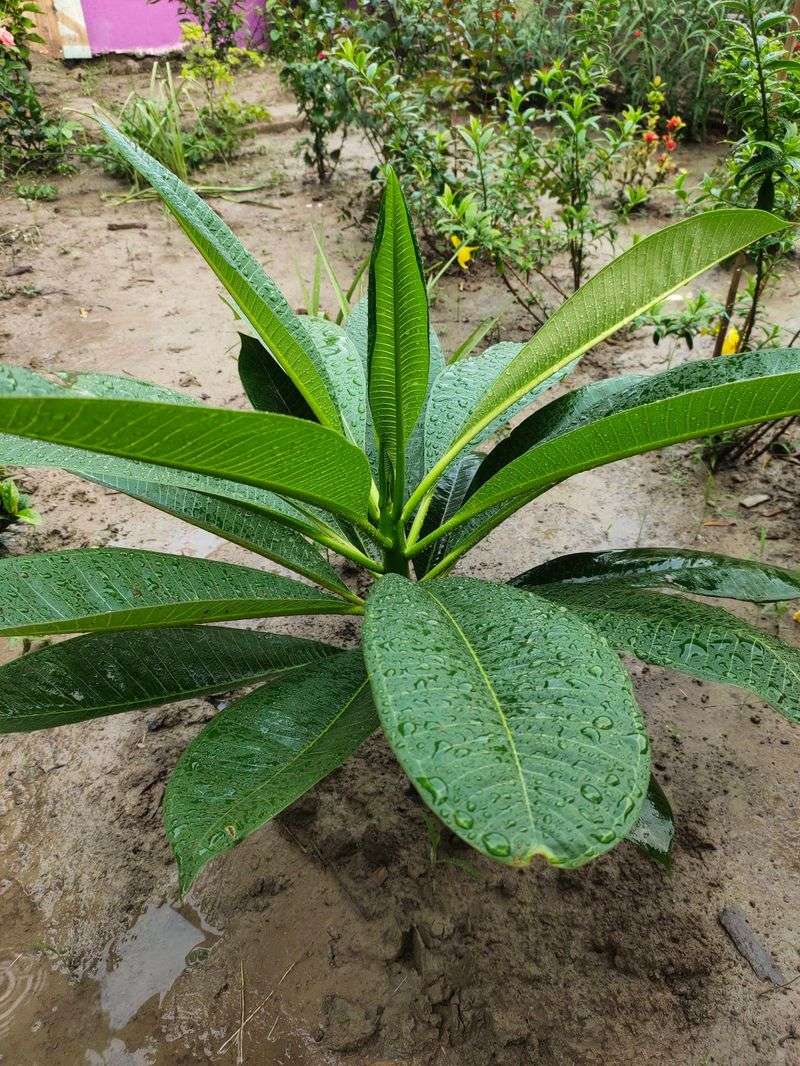
Full sun is the starting point.
Plumeria needs direct sun for the majority of the day, and a plant growing in part shade will almost always bloom less reliably than one in full sun, regardless of how carefully it was pruned.
If your plant is reaching or leaning toward the light, that is a positioning problem, not a pruning problem.
Drainage matters just as much.
UF/IFAS notes that plumeria grows best in full sun and well-drained soil, and the plant’s tolerance for drought once established is real.
Prolonged saturation or poor drainage can contribute to root problems that no amount of pruning will fix.
In Florida’s low-lying areas or heavy clay pockets, raised beds or containers with drainage holes are genuinely worth the extra effort.
Watering should respond to what is actually happening: rainfall, temperature, soil type, and whether the plant is in a container or in the ground.
University of Wisconsin Extension recommends allowing the growing medium to dry between waterings and reducing irrigation as temperatures cool.
A fixed gallons-per-week schedule does not account for Florida’s sudden downpours or its dry winter spells, so let the soil be your guide rather than the calendar.
After a pruning session, do not compensate with a heavy dose of fertilizer or extra irrigation.
The plant needs time to seal its wounds, not a push to grow fast.
Fertilizer choices for Florida plumeria should follow the product label, local regulations, and ideally a soil test.
UF/IFAS soil-test-based phosphorus guidance cautions against unnecessary applications, and that applies here.
Sound growing conditions and preserved healthy tips give your plumeria the best platform for a full bloom season, even if they cannot promise you a particular flower size or a stronger fragrance than the cultivar was ever going to produce.