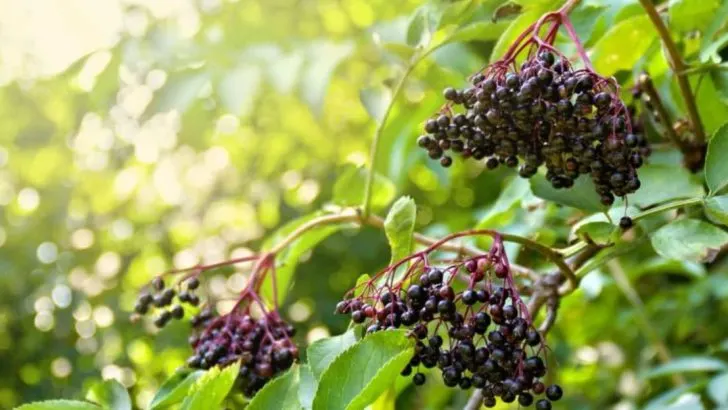
Elderberries are prized for their delicious berries, medicinal properties, and pollinator-friendly blooms, and growing them from cuttings is one of the easiest and most cost-effective ways to start your own plants. With the right steps, you can successfully root elderberry cuttings and enjoy a bountiful harvest for years to come.
In this article, we walk you through 14 simple steps to grow elderberries from cuttings. From choosing the right stems to encouraging strong root growth, these easy-to-follow tips will help you establish healthy, thriving elderberry plants in no time. If you want a low-maintenance, high-reward addition to your garden, elderberries are the perfect choice!
Select Healthy Cuttings
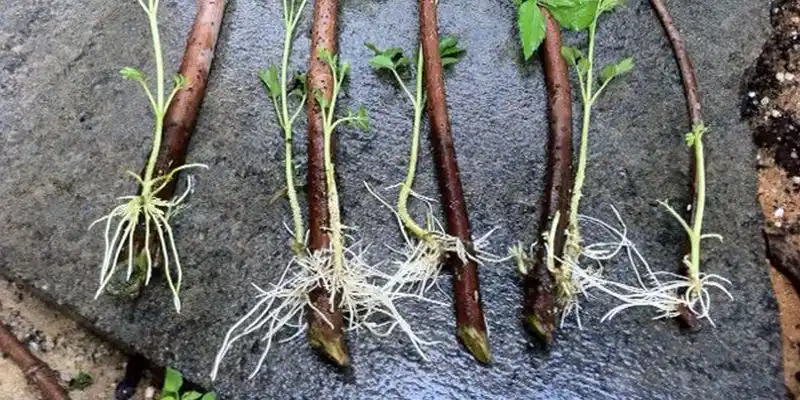
Choosing the right cuttings sets the foundation for your elderberry journey. Look for robust, disease-free stems with visible buds. Avoid anything that looks weak or discolored. Healthy cuttings ensure vigorous growth and a higher success rate. Keep an eye out for stems about pencil-thickness as they tend to root well. Aim for cuttings that are around 6 to 8 inches long. This length provides enough stem to support new growth without overburdening the cutting. A little care in selection goes a long way in ensuring a thriving elderberry plant.
Prepare Your Tools
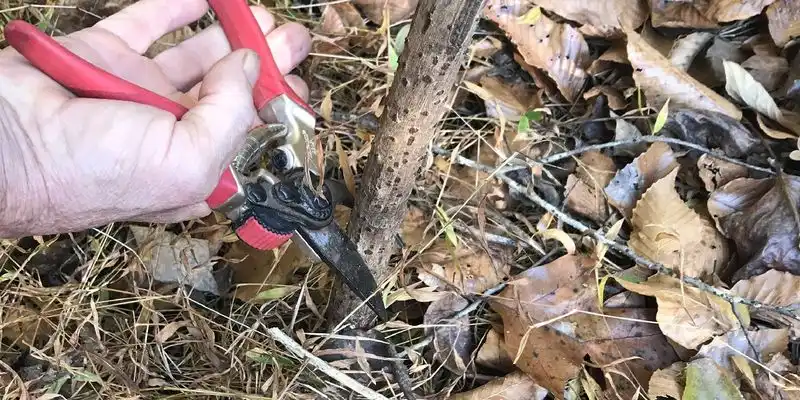
Preparation is key to a smooth planting process. Start by gathering essential tools: sharp, clean shears, gloves, and a bucket of water. Shears should be sterilized to prevent any infection in the plant tissue. A quick dip in rubbing alcohol will do the trick. Gloves protect your hands and ensure you handle cuttings gently. Keep a bucket of water nearby to place cuttings immediately after cutting. This prevents them from drying out, keeping them fresh and ready for rooting. Having everything ready helps maintain momentum and focus during planting.
Create the Right Environment
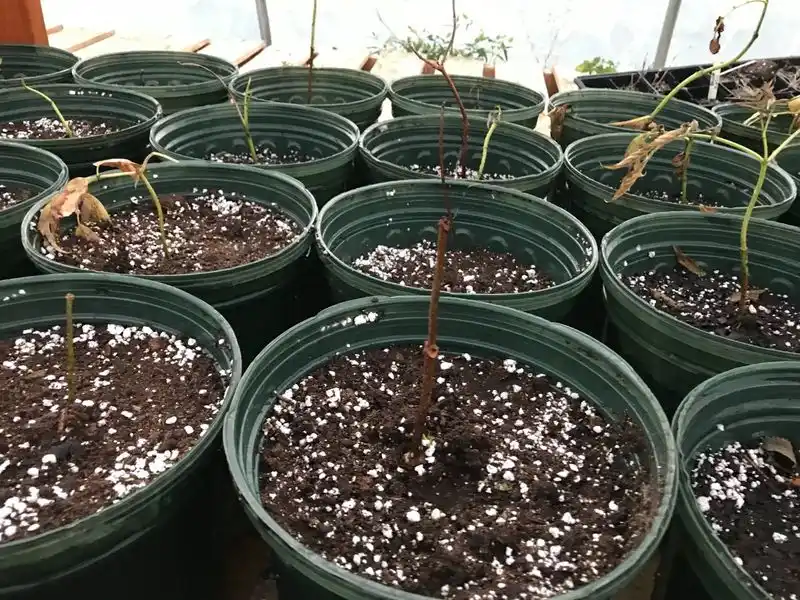
Elderberries thrive in the right conditions, so create an environment conducive to growth. A small greenhouse or a sunny windowsill can work wonders. Ensure the area is warm and receives indirect sunlight. Consistent temperatures and humidity levels are crucial for rooting. If outdoors, protect them from harsh winds with a barrier. Indoors, consider a grow light if natural light is insufficient. This step ensures your cuttings are cushioned against environmental stress, promoting healthier root development and stronger plants early on.
Dip in Rooting Hormone
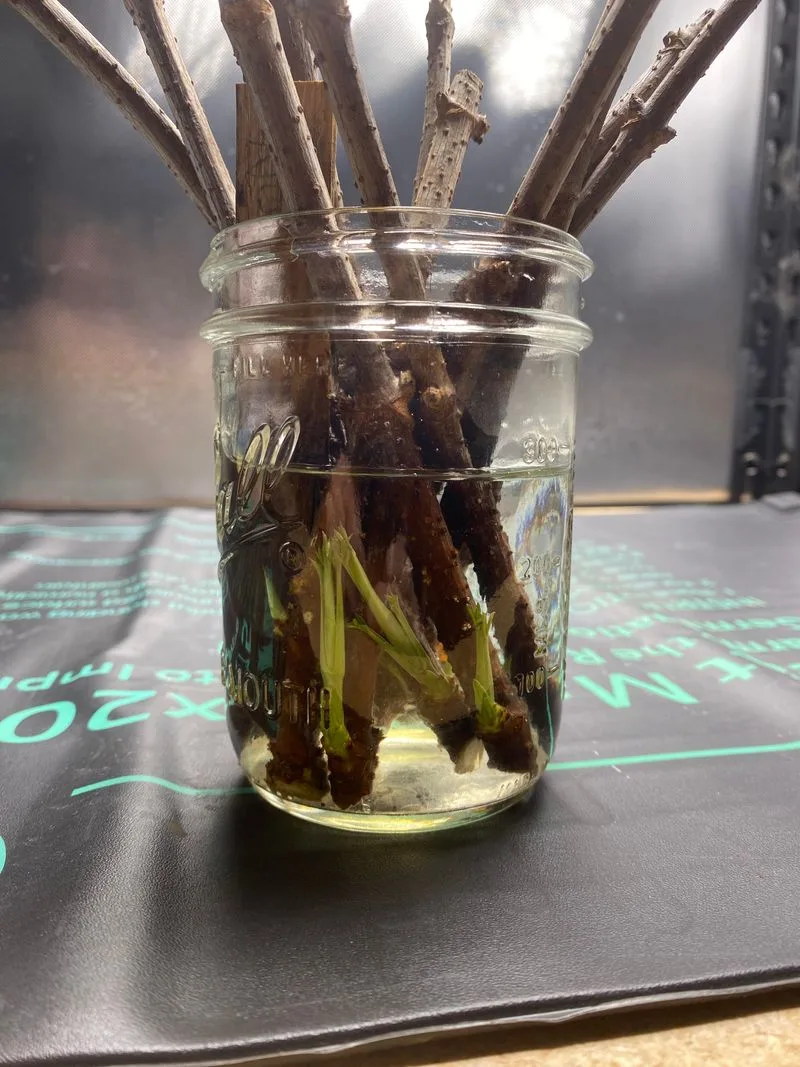
Rooting hormone gives your cuttings a helpful boost. Dip the bottom end of each cutting into the hormone powder before planting. This encourages faster root development and increases your chances of success. Ensure the cut end is well-coated with hormone for the best results. While some elderberry varieties root easily, this step is particularly beneficial for more stubborn types. The rooting hormone acts as a catalyst, sparking rapid growth and helping establish a robust root system in a fraction of the time it would naturally take.
Plant in the Right Medium
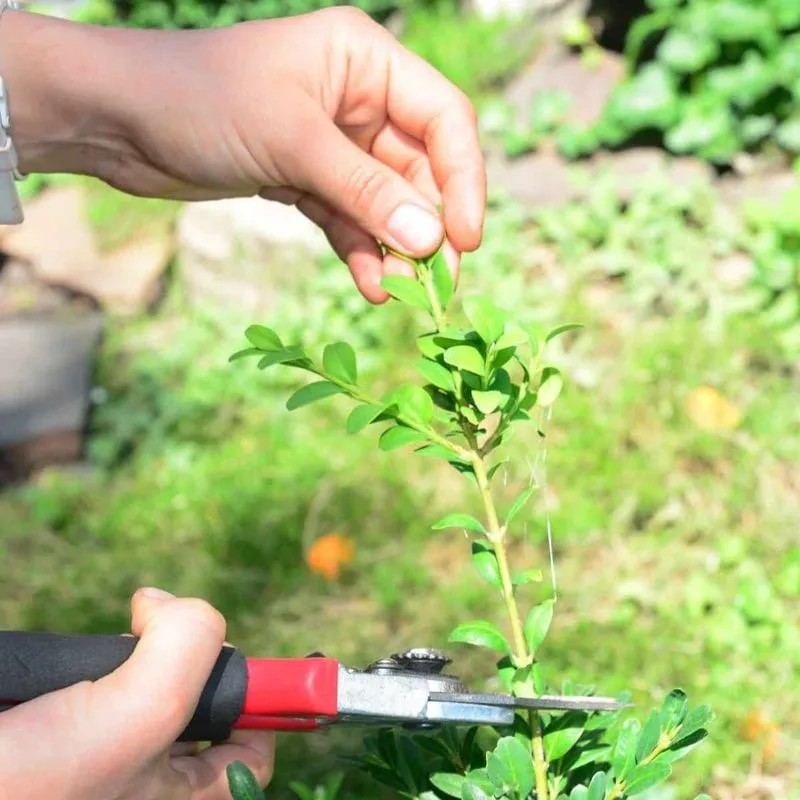
The choice of growing medium makes a significant difference in root development. Aim for a mix of soil and perlite to ensure good drainage and aeration. The soil should be slightly acidic to neutral, which elderberries prefer. Gently press the cuttings into the medium, ensuring the buds are above the soil line. Space them so each has room to grow without competition. This step provides the cuttings with the stability they need while preventing root rot. A well-draining medium is essential for thriving elderberries.
Water Wisely
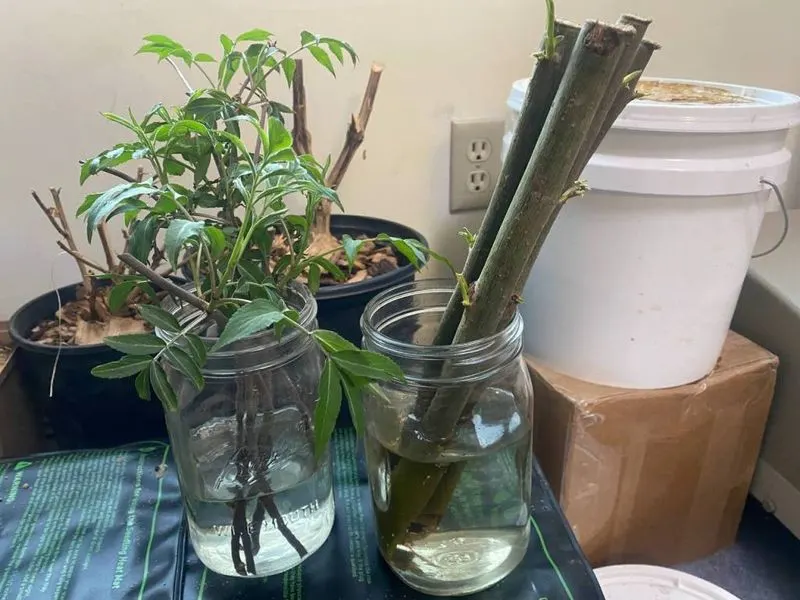
Watering techniques play a crucial role in the success of your cuttings. Keep the soil moist but not waterlogged to promote healthy root growth. Overwatering can drown the cuttings, while underwatering might prevent roots from establishing. Consider using a small watering can to gently moisten the soil. Monitor the moisture level regularly and adjust as needed, especially during dry spells. Proper watering ensures the cuttings remain hydrated and resilient, paving the way for strong, vigorous plants.
Monitor Temperature and Light
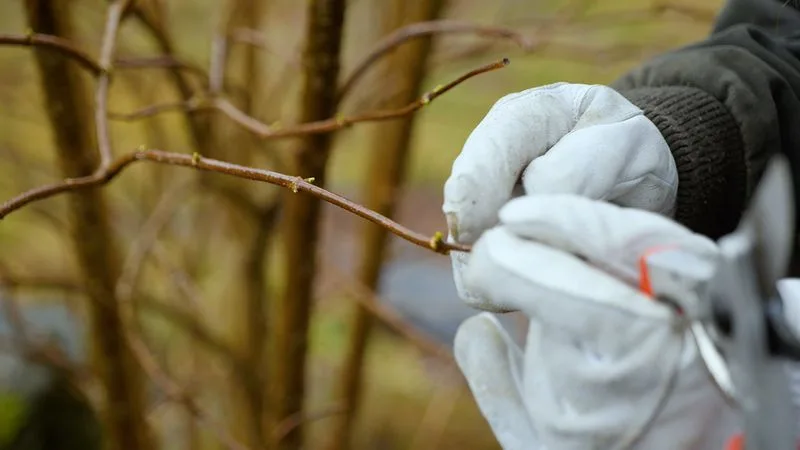
Temperature and light are vital factors in rooting success. Keep temperatures between 65-75°F for optimal growth. Use a thermometer to maintain consistency, especially in variable climates. Adequate light is equally essential—position your cuttings where they can receive bright, indirect sunlight. Adjust lighting with grow lights if necessary. This balance of temperature and light fosters an ideal environment, minimizing stress and encouraging robust root and shoot development. Ensuring these conditions helps your cuttings transition smoothly to self-sufficiency.
Watch for Signs of Growth
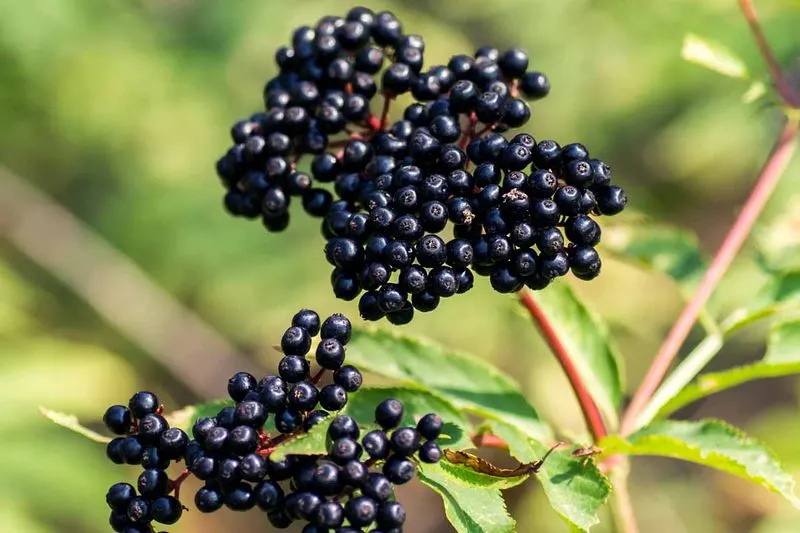
Observing your cuttings is both exciting and informative. Within a few weeks, look for new green shoots as a sign that roots are forming. These indicate healthy growth and rooting success. Keep an eye out for firm, plump stems which signal that the cuttings are absorbing nutrients well. If cuttings appear wilted or discolored, they may need more light or adjustments in watering. Watching these signs closely helps you tweak care routines for the best results, ensuring each step supports the cuttings’ transformation into thriving plants.
Transplant to Larger Pots
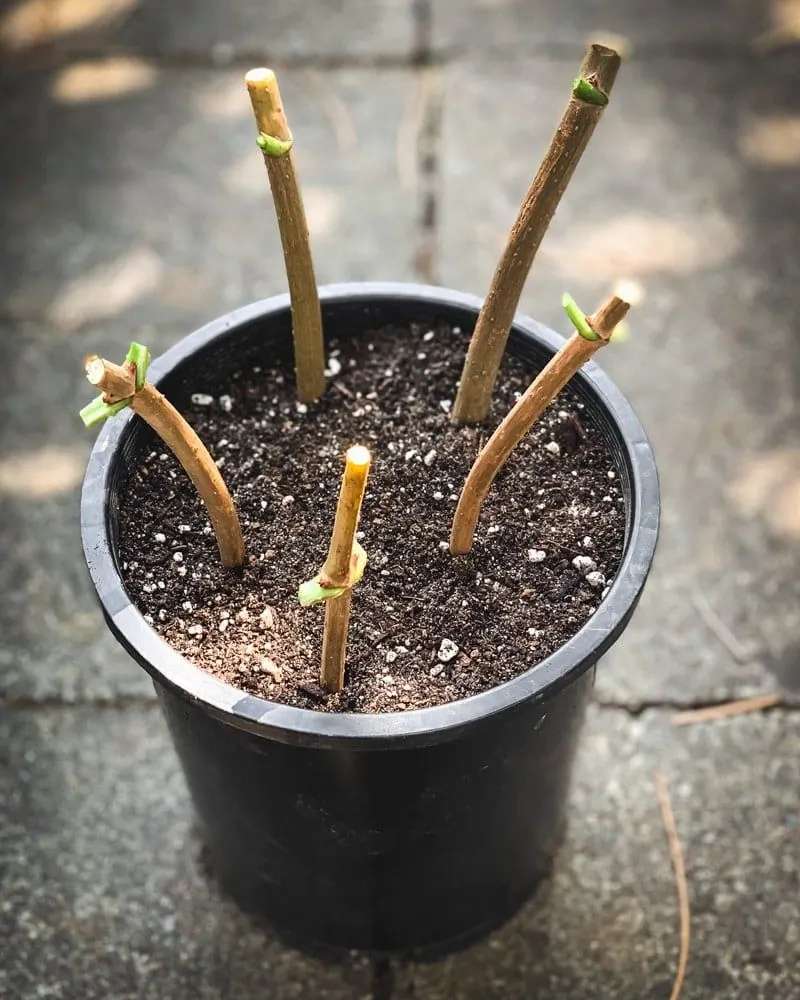
Once roots establish, it’s time to move your elderberries to larger homes. Gently transplant each cutting into a bigger pot to allow further development. Choose a pot with good drainage to prevent root rot. Fill it with a nutrient-rich, well-draining soil mix to support continued growth. Handle the cuttings with care to avoid damaging the delicate root systems. This transition provides the space necessary for roots to expand, allowing the plants to flourish. Proper care during this stage sets the foundation for healthy, mature elderberry plants.
Prepare for Outdoor Planting
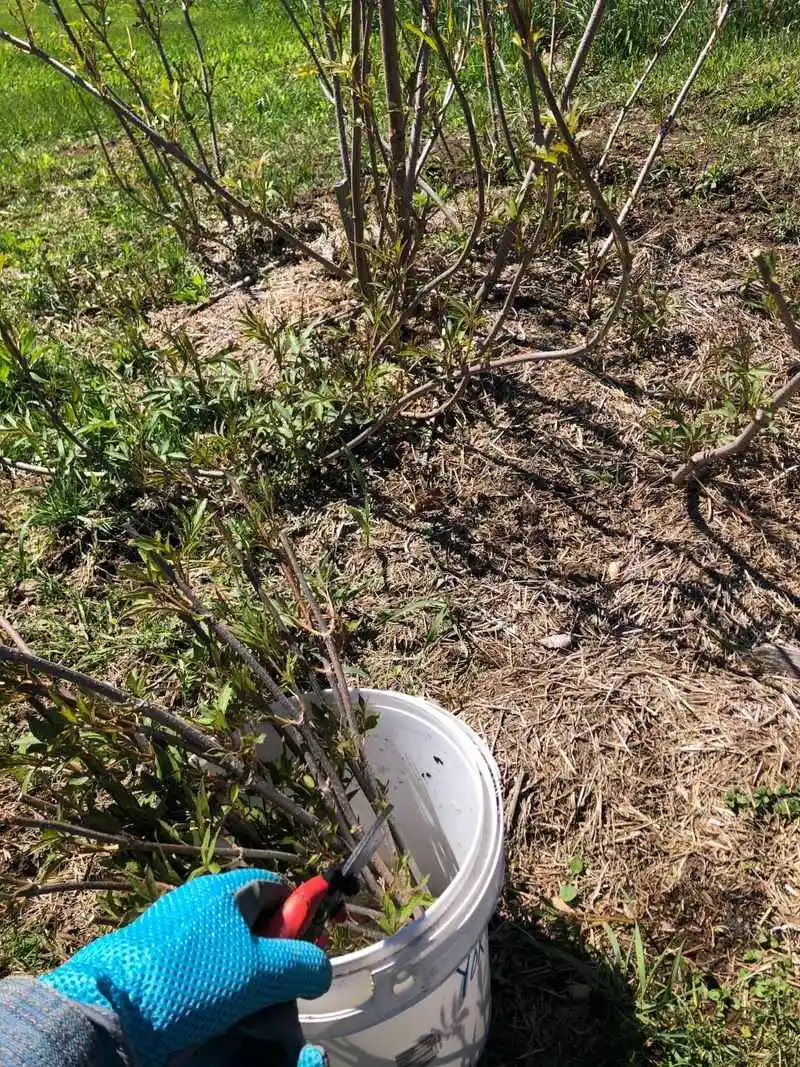
As cuttings mature, acclimatizing them to outdoor conditions is crucial. Gradually introduce them to their new environment over a week or two. Start by placing them outside for a few hours each day, increasing the time gradually. This process, known as hardening off, helps cuttings adapt to sunlight, temperature, and wind. Check soil conditions outdoors—elderberries thrive in well-drained, slightly acidic to neutral soil. Preparing them for outdoor life ensures a smoother transition, reducing shock and bolstering their resilience against environmental changes.
Planting in the Garden
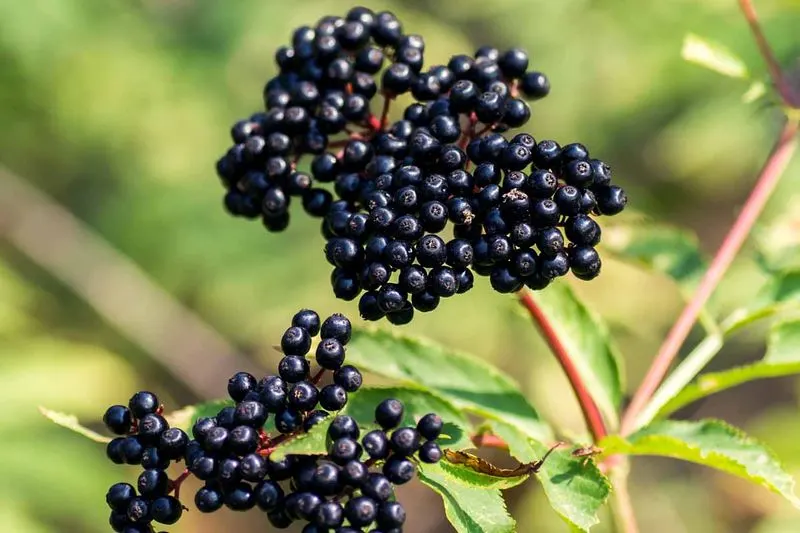
The ultimate goal is to establish your elderberries in the garden. Choose a location with full sun to partial shade, ensuring well-drained soil. Space plants about 6 feet apart to allow for mature growth. Carefully transfer your plants from pots to the ground, making sure roots are spread out in the planting hole. Backfill with soil and water thoroughly to settle them in. This final step in the planting process integrates them into your garden, allowing them to grow strong and eventually produce bountiful, delicious berries for your enjoyment.
Regular Maintenance
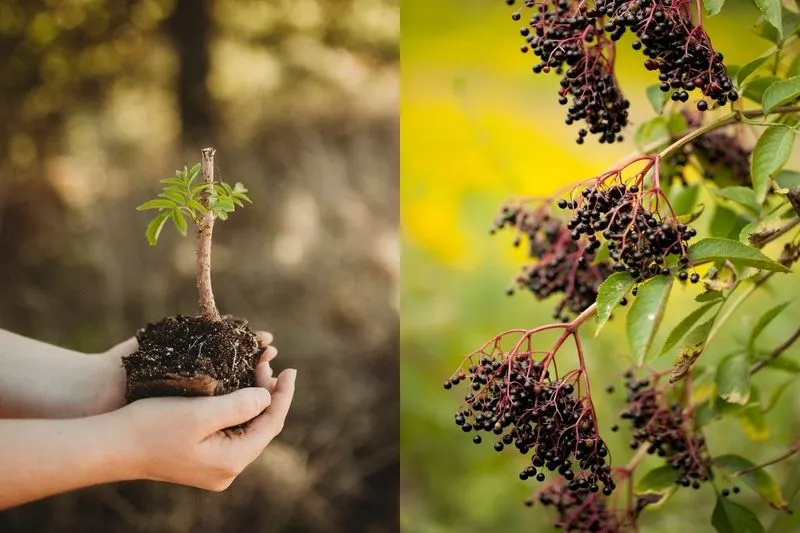
Ongoing care keeps elderberries thriving. Regularly water, especially during dry periods, to maintain soil moisture. Pruning is essential—remove dead wood and shape plants to improve air circulation and sunlight exposure. Fertilize annually with a balanced fertilizer to promote vigorous growth. Watch for pests or diseases, addressing any issues promptly. Maintaining a clean garden bed around the plants minimizes competition for nutrients. Consistent upkeep ensures your elderberries stay healthy and productive, rewarding you with a plentiful harvest each year.
Harvesting Time
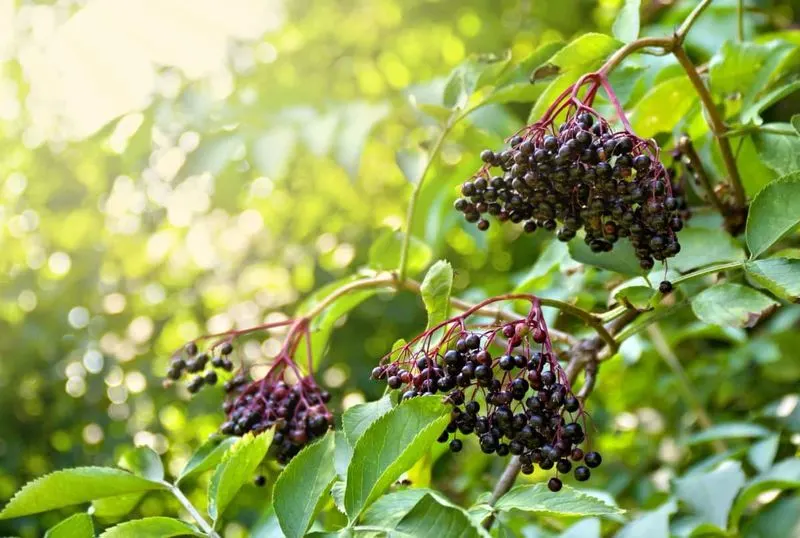
The reward for your efforts comes with harvest time. Elderberries are ready when they are deep purple and plump. Carefully pick the berries to avoid damaging the plants. Use them fresh or preserve them for later enjoyment. Harvest time usually occurs in late summer to early fall, so keep an eye on your plants as the seasons change. Regular harvesting encourages continuous fruit production, making the most of your elderberry plants. Enjoy the fruits of your labor in a variety of ways, from fresh snacks to homemade jams and syrups.
Prepare for Next Season
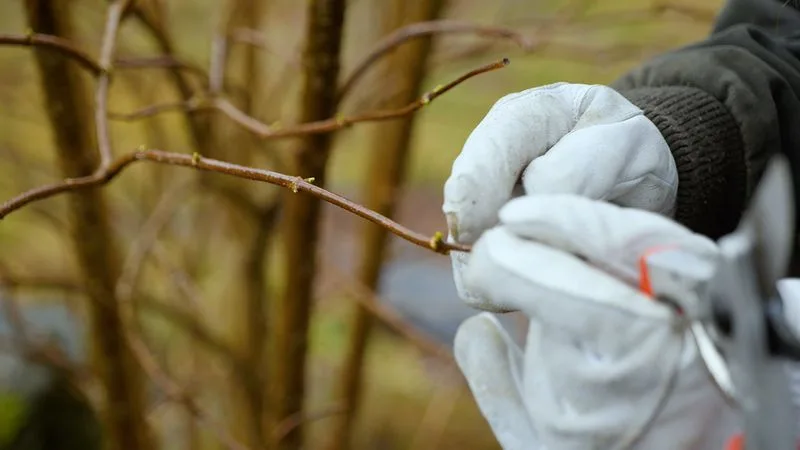
Planning ahead ensures continued success with elderberries. After harvest, clean up any debris and prepare the garden for winter. Consider taking new cuttings to expand your crop or share with friends. Review the past season’s successes and challenges to make informed decisions for the next. Rotate planting locations if possible to prevent soil depletion and pest buildup. By laying the groundwork for the upcoming season, you set the stage for healthier plants and a richer harvest year after year. Thoughtful preparation keeps your garden thriving.

