Fresh, homegrown mustard greens? Yes, please! There’s nothing quite like stepping outside, snipping a few leaves, and tossing them straight into your kitchen creations. Peppery, crisp, and packed with flavor—store-bought just can’t compete.
The best part? Growing and harvesting mustard greens is easier than you think. With a little know-how, you can keep a steady supply of these leafy greens right at your fingertips. No fancy equipment, no complicated techniques—just simple, foolproof steps to get the freshest harvest possible.
Whether you’re a seasoned gardener or just testing your green thumb, these 14 steps will walk you through the process from garden to plate. Ready to enjoy mustard greens that taste better than anything you’ve ever bought? Let’s get started!
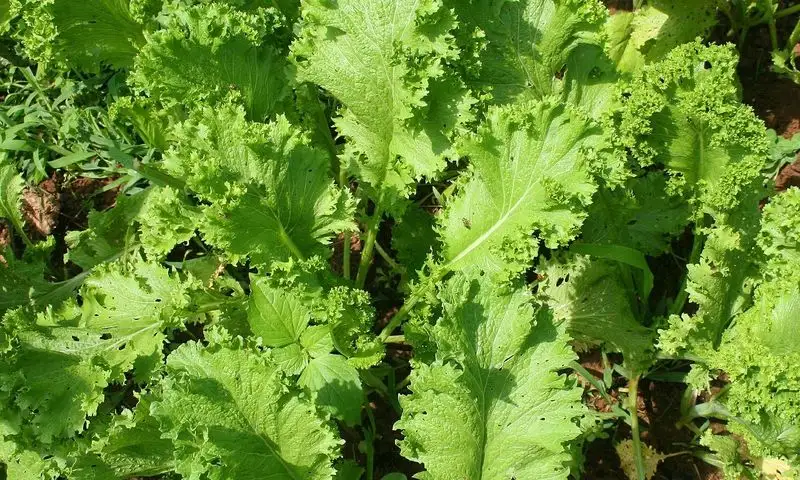
Choose the Right Variety


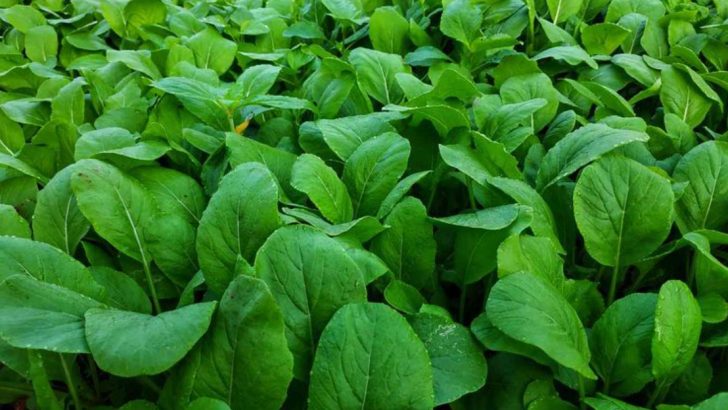
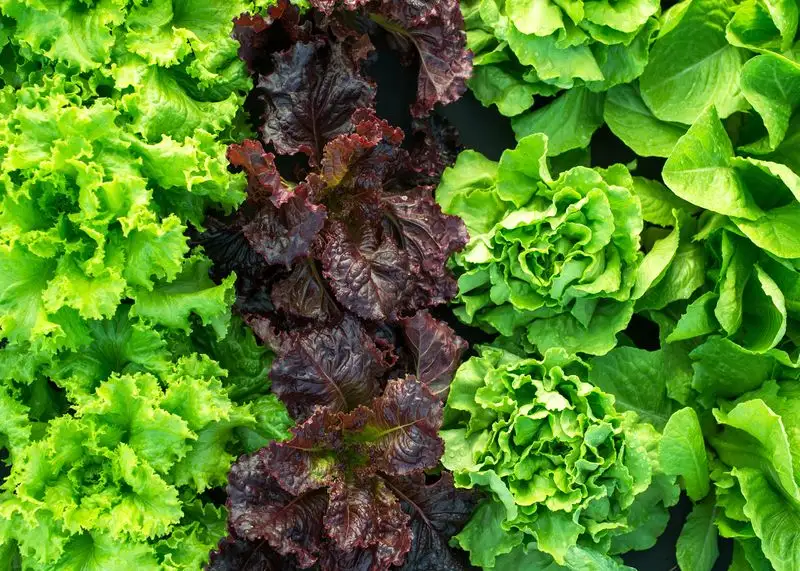
Selecting the right mustard green variety is crucial for a successful harvest. Consider whether you prefer larger leaves for cooking or smaller ones for salads.
Varieties like ‘Southern Giant’ or ‘Red Giant’ are popular for their bold flavors. Research each type carefully, matching your gardening goals with the specific characteristics of each variety.
Consider factors like growth time, flavor profile, and resistance to pests. A thoughtful selection ensures your greens thrive in your local climate and meet your culinary preferences.
This foundational step sets the stage for a fruitful gardening experience.
Pick the Perfect Spot

Choosing an ideal location directly influences your mustard greens’ growth. A sunny spot with well-drained soil is essential.
Mustard greens need at least 6 hours of sunlight daily to flourish. Consider proximity to a water source to make irrigation convenient.
Avoid areas where water tends to pool, as soggy soil can lead to root rot. Preparing the soil with organic matter, like compost, enriches it, ensuring nutrients are readily available.
A well-chosen spot simplifies maintenance and boosts the health and productivity of your plants.
Prepare the Soil
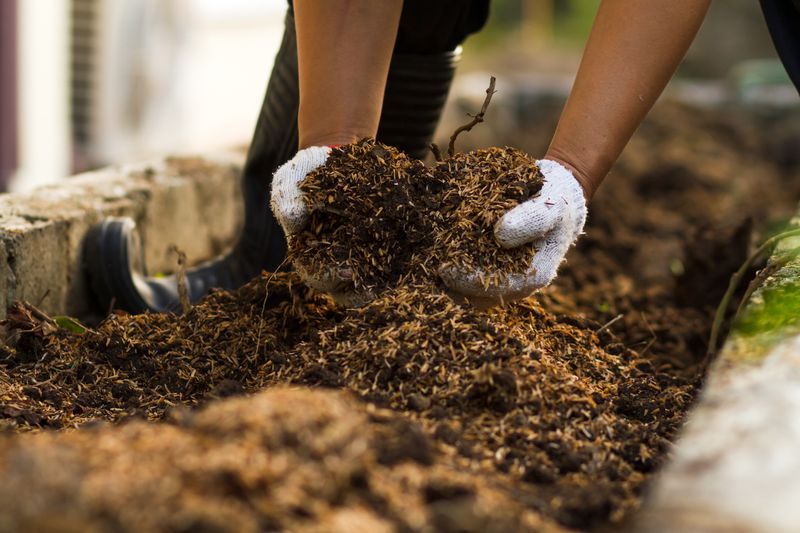
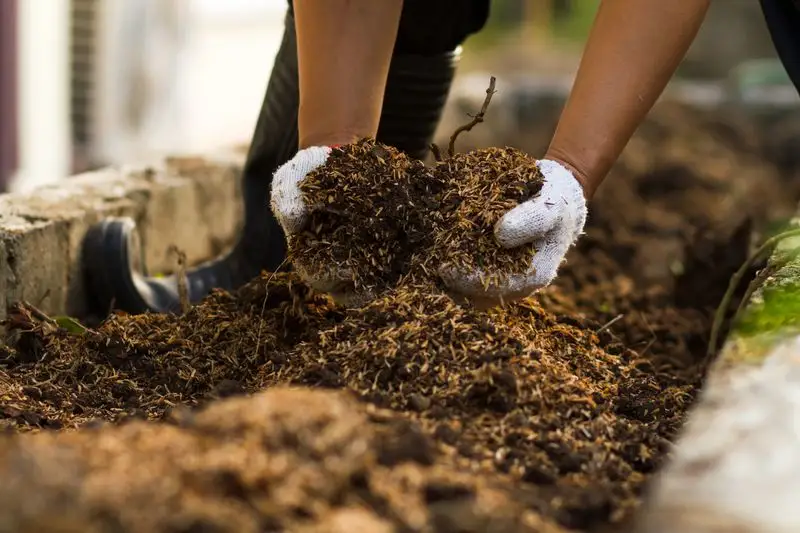
Soil preparation lays the groundwork for robust mustard greens. Begin by loosening the soil to allow roots to penetrate easily.
Remove rocks and debris that may hinder growth. Mixing in well-decomposed compost boosts nutrient content and improves soil structure.
Ensure the soil pH is between 6. 0 and 6.
8 for optimal nutrient uptake. Testing kits are available to help you adjust the pH as needed.
This preparation not only supports strong root systems but also enhances water retention, crucial for healthy plant development.
Sow Seeds Properly


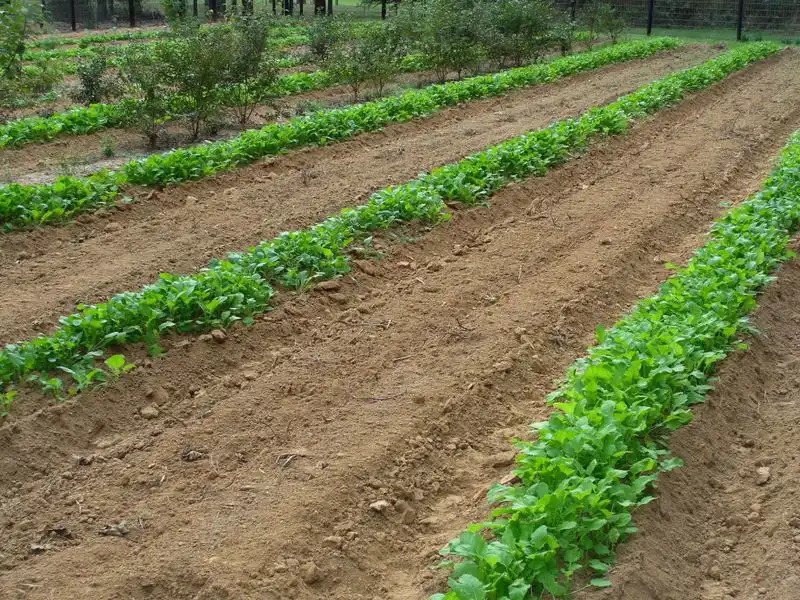
Proper seed sowing techniques can significantly impact your harvest. Sow mustard green seeds about a quarter-inch deep in rows spaced approximately 12 inches apart.
This spacing allows for ample air circulation and reduces the risk of disease. Water gently to avoid displacing the seeds.
Consistent moisture helps seeds germinate within 5 to 10 days. Consider thinning seedlings to 6 inches apart once they emerge, providing each plant with enough room to grow.
By taking these careful steps, you set the stage for healthy and vigorous plants.
Water Consistently

Consistent watering is key to thriving mustard greens. They require regular moisture but avoid waterlogging.
Aim for about 1 inch of water per week, adjusting based on rainfall. Early morning watering reduces evaporation and fungal disease risks.
Use a soaker hose or drip irrigation for even distribution. Mulching helps retain soil moisture, minimizing the frequency of watering.
By maintaining consistent hydration, you support steady growth and prevent stress that could hinder your plants’ development. This practice ensures lush, flavorful greens ready for harvest.
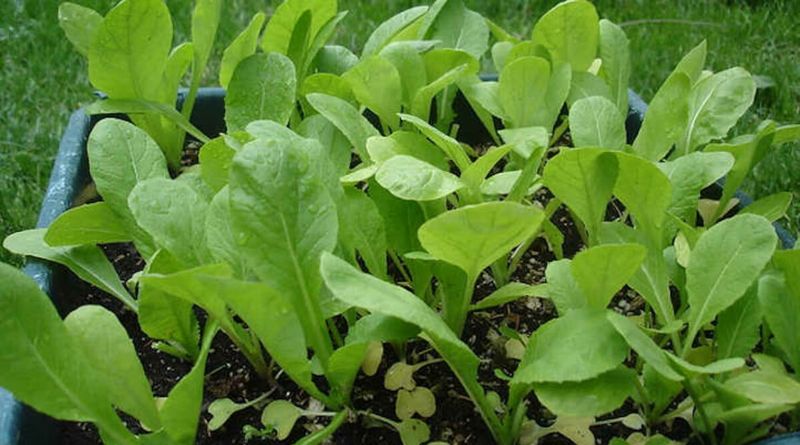
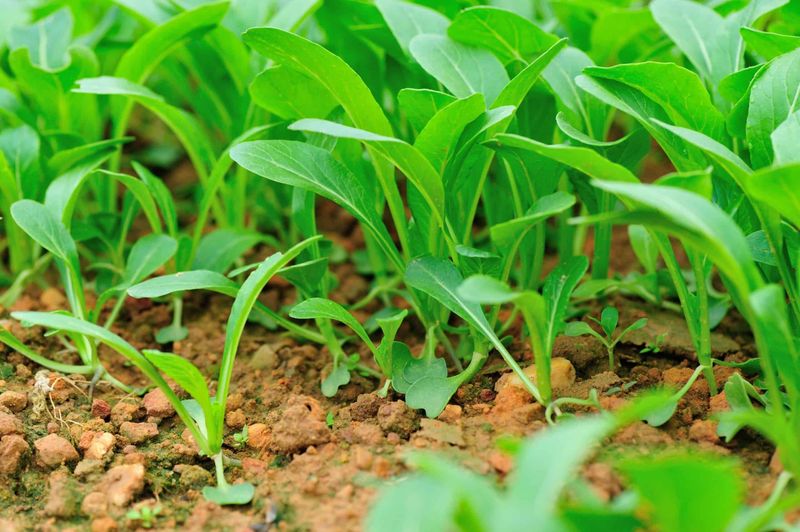
Thin Seedlings
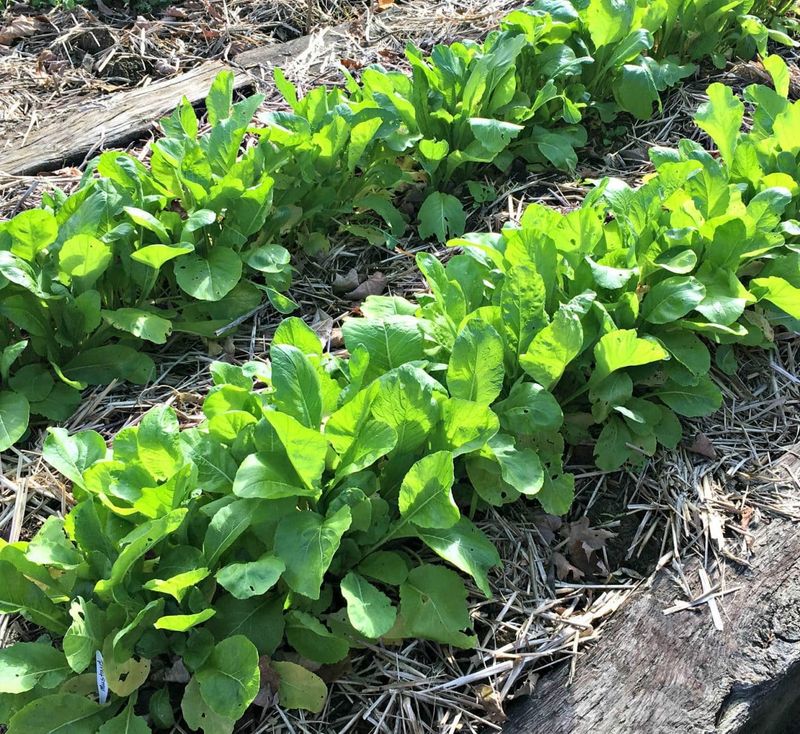
Thinning seedlings is essential for optimal growth and health. Once mustard greens are a few inches tall, assess their spacing.
Thinning to approximately 6 inches apart ensures each plant receives adequate light, nutrients, and air circulation. Crowded plants compete for resources, leading to stunted growth and increased susceptibility to disease.
Gently remove excess seedlings, taking care not to disturb nearby roots. These thinned seedlings can be used in salads for an early taste of your efforts.
Proper thinning lays the foundation for robust and productive plants.
Control Pests Naturally
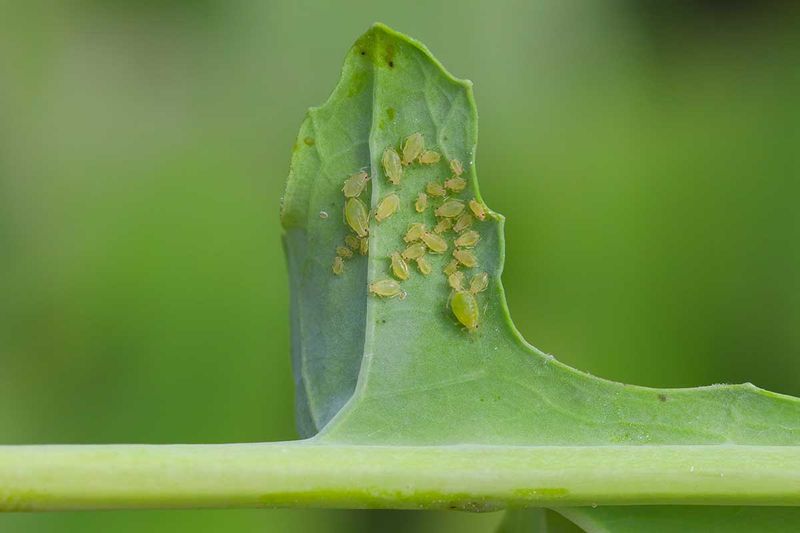
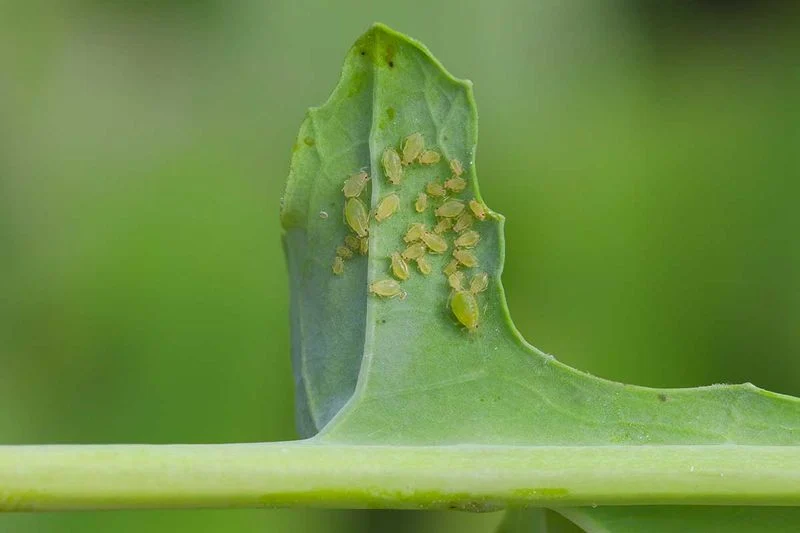
Managing pests without chemicals protects both your plants and the environment. Regularly inspect mustard greens for signs of aphids, flea beetles, or caterpillars.
Handpicking pests and using barriers like row covers effectively minimize damage. Introduce beneficial insects such as ladybugs to prey on harmful pests.
Planting companion herbs like mint deters unwanted visitors. Consistent monitoring and prompt action prevent infestations from taking hold.
By embracing natural pest control, you maintain a healthy garden ecosystem and enjoy wholesome, chemical-free produce.
Fertilize for Growth
Fertilization plays a pivotal role in the development of mustard greens. Applying a balanced organic fertilizer every 3-4 weeks supports vigorous growth.
Look for nutrients like nitrogen, which promotes leafy development, and potassium, crucial for overall plant health. Organic options like fish emulsion or compost tea are excellent choices.
Avoid over-fertilizing, as this can lead to lush foliage at the expense of flavor. Regular feedings ensure your greens are nutrient-rich and flavorful, ready to enhance your meals.
Proper fertilization is a key component of successful gardening.
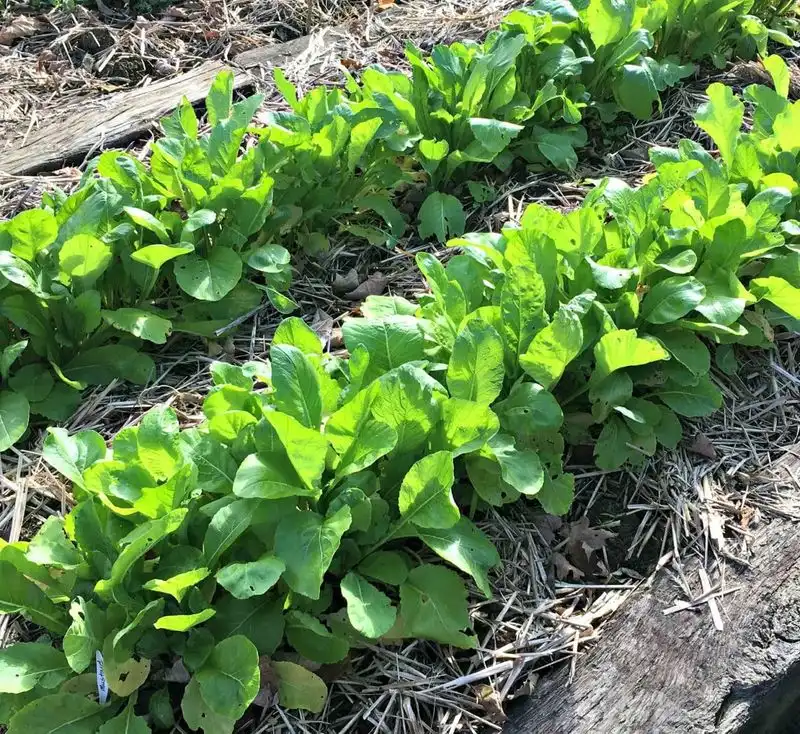
Weed Regularly

Weeds compete with mustard greens for nutrients, water, and sunlight, making regular weeding crucial. Hand-pulling weeds is effective, especially when the soil is moist.
Use mulch to suppress weed growth, maintaining a tidy garden. Mulch also conserves moisture and regulates soil temperature.
Be vigilant; allowing weeds to establish makes them more difficult to eradicate. Keeping your garden weed-free reduces competition, giving mustard greens the resources they need to thrive.
Regular weeding is an integral part of maintaining a healthy and productive planting area.
Monitor for Diseases


Disease management is an important aspect of cultivating mustard greens. Regularly inspect your greens for signs of disease, such as yellowing leaves or spots.
Early detection allows for prompt treatment, reducing the spread and impact. Practice crop rotation and avoid overhead watering to minimize disease risks.
Consider using organic fungicides if necessary. Healthy plants are less susceptible to disease, so maintain proper spacing, nutrition, and air circulation.
Vigilance in monitoring and quick response ensures your mustard greens remain healthy and productive.
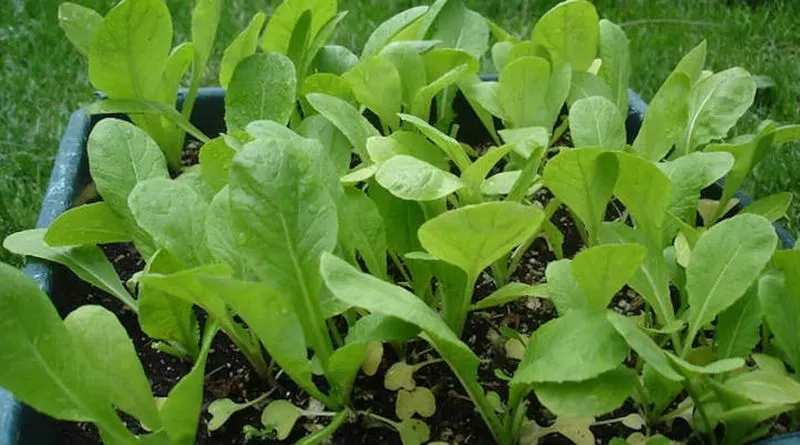
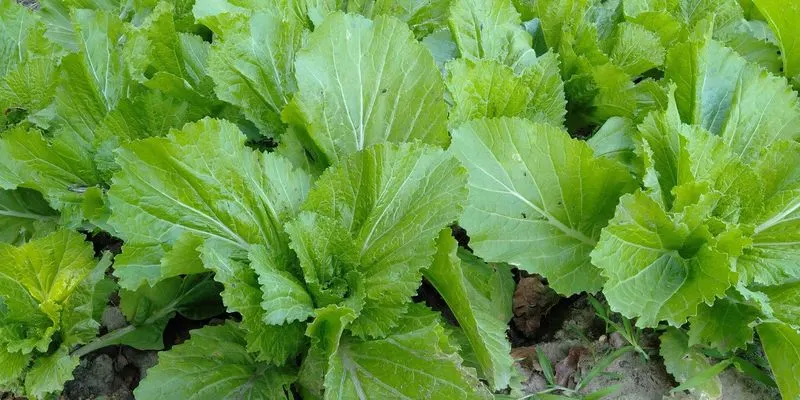
Harvest at the Right Time

Timing your harvest is crucial for the best flavor and texture. Mustard greens are typically ready to harvest about 40 days after planting.
Look for leaves that are full size but still tender. Harvesting in the morning preserves flavor and crispness.
Use a sharp knife or scissors to cut greens above the soil line, encouraging regrowth. Avoid letting plants bolt, as this makes leaves bitter.
Regular harvesting promotes continuous growth and supply. Proper timing ensures you enjoy the freshest and most delicious mustard greens straight from your garden.
Store Greens Properly

Once harvested, proper storage maintains the quality of your mustard greens. Rinse leaves thoroughly to remove dirt and insects.
Pat dry with a clean towel or use a salad spinner. Store them in a plastic bag with small air holes in the refrigerator’s crisper drawer.
This keeps them fresh for up to a week. Avoid storing near ethylene-producing fruits like apples, which can hasten spoilage.
Proper storage techniques ensure you enjoy fresh, crisp greens long after harvest, preserving their flavor and nutritional value for your meals.
Extend the Growing Season

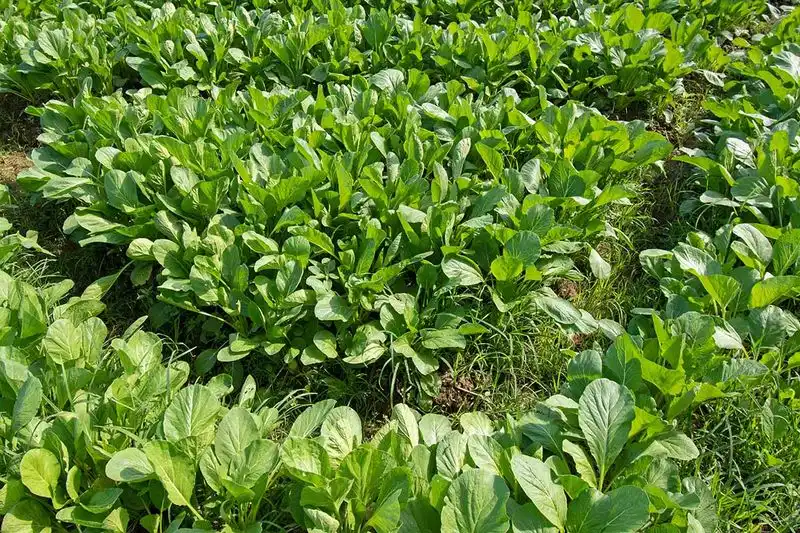
Extending the growing season means more harvests from your mustard greens. Use techniques like row covers or small hoop houses to protect them from frost.
This allows you to enjoy homegrown greens even in cooler months. Consider succession planting, sowing new seeds every few weeks, to maintain a continuous supply.
By planting heat-tolerant varieties, you can also stretch the season into warmer months. Thoughtful planning and a bit of creativity let you savor homegrown mustard greens for longer, enhancing your garden’s productivity.

Sharing your harvest can build community and foster goodwill. Consider gifting excess mustard greens to friends, family, or neighbors.
It’s a thoughtful gesture that spreads the joy and rewards of gardening. You might inspire others to start their own gardens, bringing people together through shared interests.
Community gardens or local food banks often welcome fresh produce donations. Sharing your greens not only prevents waste but also enriches your community, turning your gardening efforts into a source of connection and joy.