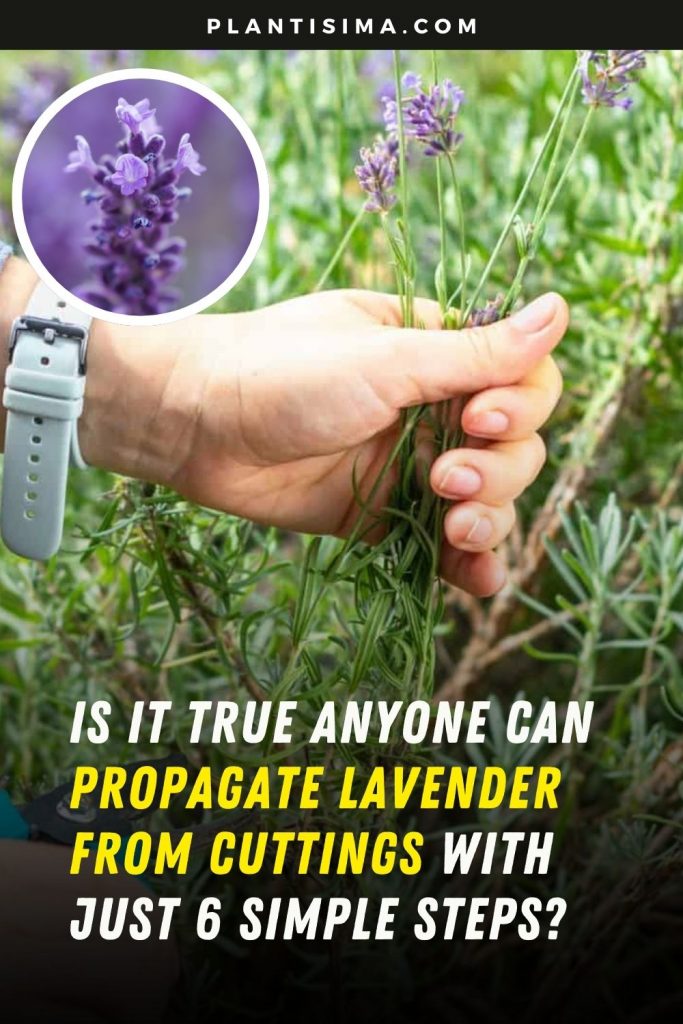

Once lavender (Lavandula angustifolia) starts showing its first fragrant blooms in your garden, you’ll likely want even more of these beautiful plants.
Luckily, achieving this is not difficult, and the best part is that propagating lavender is both cost-effective and rewarding.
Welcome to the world of lavender propagation through cuttings!
I’ll show you how to propagate lavender in the simplest way possible. Let’s dive into how you can turn a single cutting into a flourishing lavender plant!
1. Prepare a Rooting Medium for Lavender Cuttings
The first step to successful lavender propagation is selecting the right rooting medium. Lavender cuttings thrive when propagated in well-draining soil or water.

But not just any soil will do. You must avoid using regular garden soil, as it may be contaminated and can hold too much moisture, leading to rotting of the cutting. Instead, choose a light and porous substrate that allows for proper drainage.
Ideal Rooting Medium for Lavender Cuttings: For the best results, mix equal parts of perlite, vermiculite, and peat moss. Alternatively, a combination of coconut coir and horticultural sand also works well, providing both moisture retention and excellent drainage.
Rooting Lavender in Water: Though water propagation works well for many plants, it’s not always the best option for lavender. While you may get roots, they tend to be weaker compared to those grown in soil. However, if you choose to propagate in water, use a clear container and clean water at room temperature.
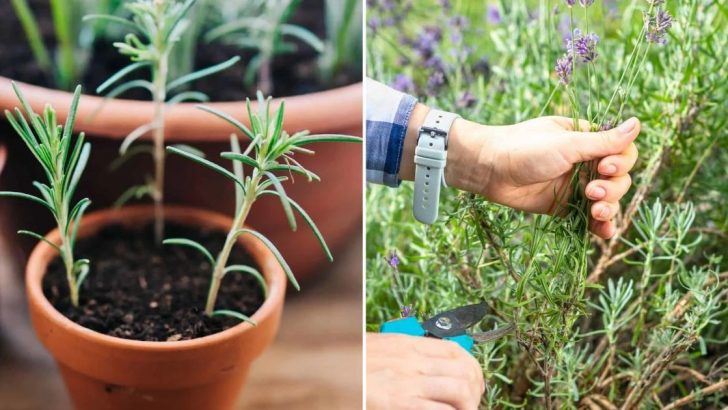
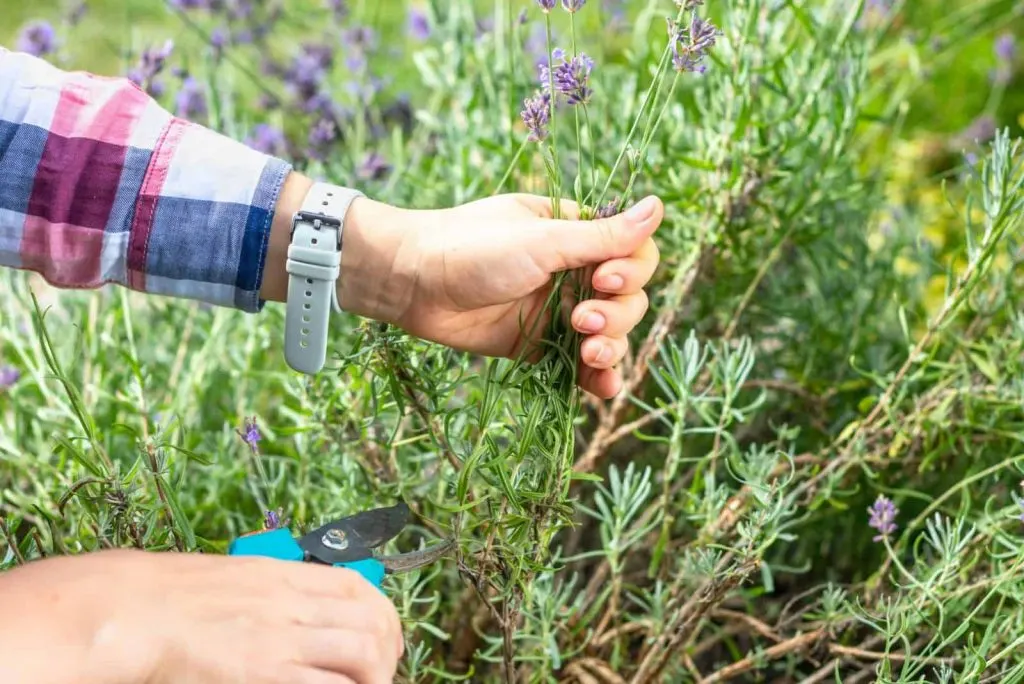
2. Take the Lavender Cuttings
Lavender is easiest to propagate from softwood cuttings, which root faster and have a higher success rate than hardwood cuttings.
Steps:
1. Use clean, sterilized scissors or pruners to avoid introducing infections to your plants.
2. Take a cutting that’s about 4-6 inches (10-15 cm) long from a stem without flowers.
3. If you do take a cutting with a flower, snip off the bloom to encourage the plant to focus its energy on rooting.
You can take as many cuttings as you like as long as they meet these criteria. It’s best to cut just below a leaf node, where rooting hormones are naturally concentrated.
3. Remove Lower Leaves

To avoid rotting and encourage root growth, remove the leaves from the lower half of the stem.
It’s important to leave some leaves intact to allow photosynthesis, which will help the cutting produce energy for root development. If your cutting is longer than 6 inches (15 cm), you can also remove some of the top leaves.
4. Use Rooting Hormone
Although lavender cuttings can root without the help of rooting hormone, using one can improve your success rate and speed up root formation.
How to Apply:
• Dip the cut end of the cutting into water, then into a rooting hormone powder.
• Gently shake off any excess powder to avoid over-application.
If you’re propagating in water, skip the rooting hormone as it will wash away and won’t be effective.
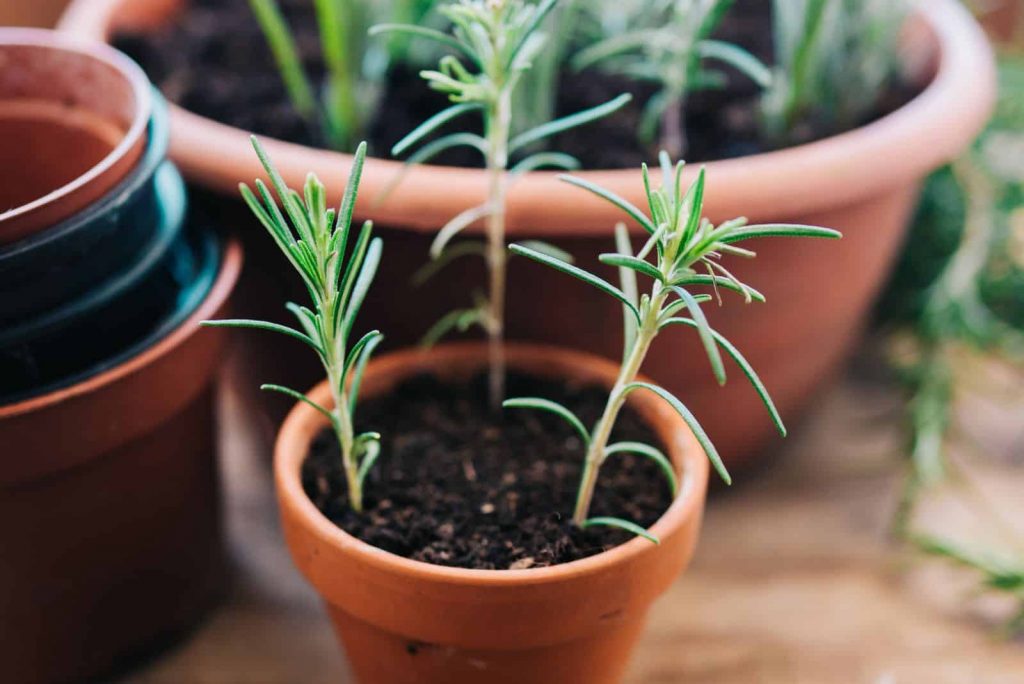
5. Plant the Cutting
Now it’s time to plant the cutting!
If you’re using soil as your medium, make a small hole in the soil with a stick and insert the cutting. Press the soil gently around it to ensure it stays upright.
If you’re using water for propagation, simply submerge the cutting in a container, ensuring only the lower portion is submerged.
6. Create a Humid Environment for Rooting
Lavender cuttings need a humid environment to root properly. To create this, cover the cuttings with a plastic bag, making sure it doesn’t touch the plants by propping it up with sticks. This will maintain moisture without encouraging rot.
Place the container in a warm spot with bright, indirect light. Keep an eye on the soil or water, ensuring it doesn’t dry out. Spray the soil if it becomes dry.
After about 3-4 weeks, gently tug the cuttings. If they resist, it’s a sign that roots have formed!
Tips for Water Propagation
If you opt for water propagation, remember to change the water every few days to avoid mold formation. Once the roots reach a couple of inches, they’re ready for transplanting into soil.
To ease the transition, gradually mix small amounts of coconut coir into the water to help the cuttings adjust to soil conditions before planting them.
When to Transplant Lavender Cuttings


Once the roots are a few inches long, it’s time to transplant your lavender into the garden or pots.
Regardless of where you choose to plant, ensure excellent drainage, as lavender thrives in rocky, sandy, well-draining soil similar to its native Mediterranean habitat.
Water the plant regularly until it becomes established. After you see new growth, reduce watering, as lavender prefers drier conditions once it’s established.
Creative Uses for Lavender in Your Garden
Lavender’s versatility allows you to use it in various ways:
• Hedges: Create a lavender hedge to outline your garden.
• Topiary: Train lavender into tree-like shapes.
• Companion Plant: Pair it with other drought-tolerant plants in your garden.
• Focal Point: Let lavender serve as a fragrant focal point in flower beds.
By propagating lavender from cuttings, you can expand your lavender collection and enjoy its beauty and fragrance for years to come. Happy gardening!