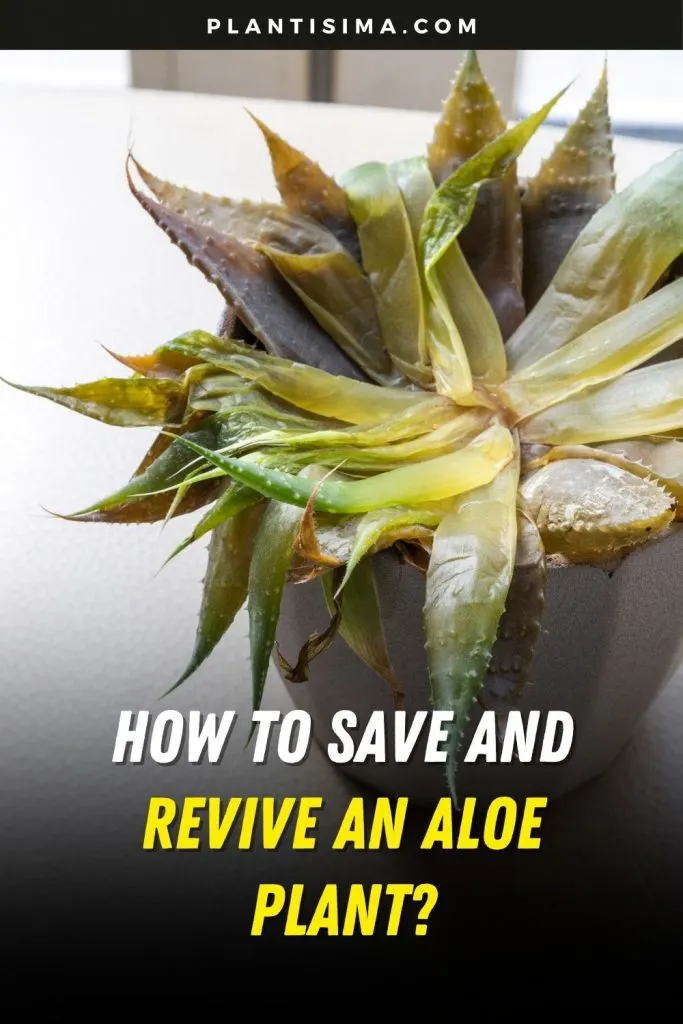
Today, we will talk about how to revive an aloe plant by exploring common issues, their causes, and step-by-step solutions.
Aloe plants are beautiful additions to any home, and we all want to see them thriving in their vibrant green state. Although these plants are generally easy to care for, it’s essential to understand their specific needs to keep them healthy.
If not properly cared for, various issues can affect the appearance and growth of your aloe plant. Your plant may start to look droopy, yellowed, or dry.
To prevent these problems, it’s crucial to understand the dos and don’ts of aloe vera care. In this article, we’ll cover everything you need to know to keep your aloe plant healthy and bring it back to life if it’s struggling.
How to Revive an Aloe Vera Plant: 9 Essential Steps
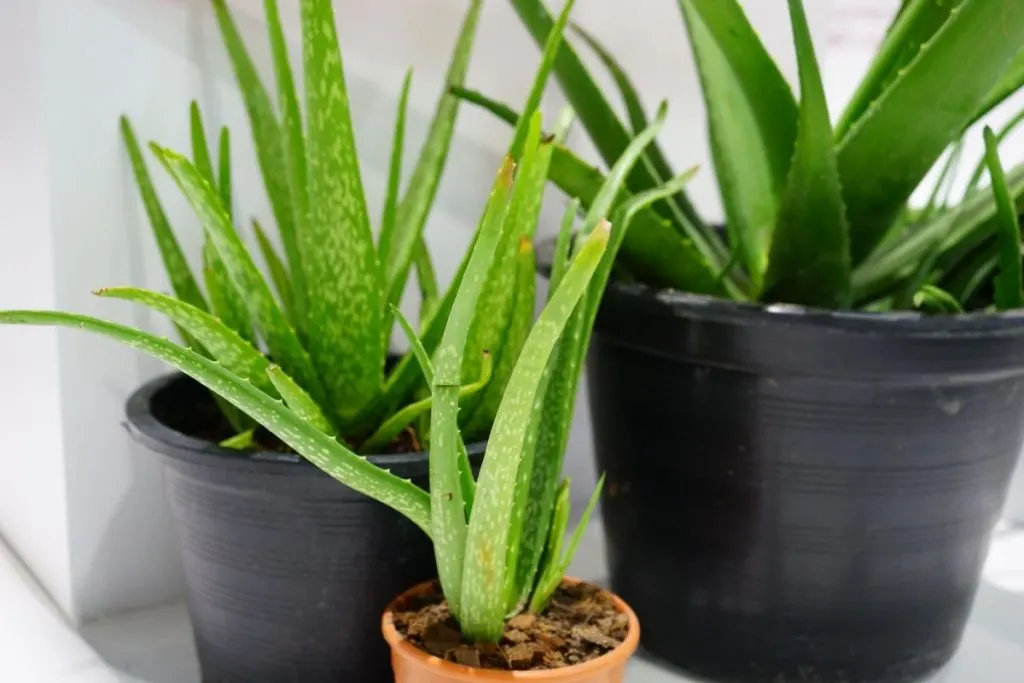
If your aloe plant is showing signs of distress, don’t worry—there are several ways to bring it back to health. Below, we outline 9 methods to help you recognize and resolve common issues with your aloe plant.
1. Move Your Aloe Vera Plant To Shade
If your aloe plant is exposed to too much direct sunlight, it may suffer from sunburn, leading to yellow or brown leaves. Move the plant to a location where it receives bright, indirect light with some shade.
For indoor plants, ensure there’s enough distance between the plant and any artificial light sources. You can also place the plant outside in an area that receives indirect natural light.
2. Check the Watering Schedule
Aloe vera plants do not need frequent watering. Overwatering can lead to root rot, which is one of the most common causes of a dying aloe plant. To check if your plant needs water, press your index finger a few inches into the soil—if it’s dry, it’s time to water.
For outdoor plants, watering every two weeks should suffice, while indoor plants typically need watering every three to four weeks. Adjust the watering schedule according to the season, with less water needed in the colder months.
3. Replace the Potting Soil
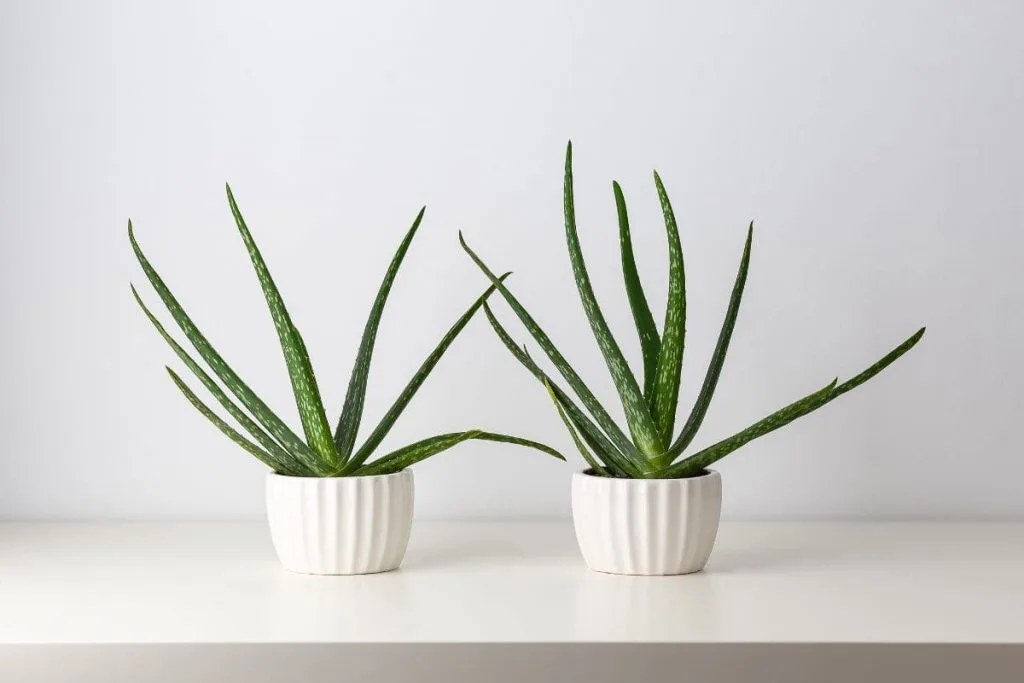
Healthy aloe vera plants thrive in nutrient-rich soil. If the soil lacks nutrients, the plant may start to decline. Before purchasing or repotting your plant, check the soil’s pH and nutrient content to ensure it’s suitable for aloe vera. A well-draining soil mix is essential for maintaining healthy roots.
4. Combat Fungus with Fungicides
Fungal infections, such as those caused by Colletotrichum gloeosporioides, can cause dark spots on the leaves, leading to necrotic zones and leaf loss. To prevent the spread of infection, control the fungus with fungicides as soon as you notice the symptoms.
5. Address Root Rot by Removing Infected Leaves
Fusarium spp. fungi thrive in cold, wet conditions and can cause root rot in aloe plants. If you notice the base of the plant turning reddish-brown or black, it’s crucial to remove the infected leaves to prevent the disease from spreading.
6. Choose the Right Pot
When repotting your aloe vera plant, select a pot that provides ample room for the roots to spread horizontally. Aloe vera roots grow more horizontally than vertically, and the plant can become heavy, so a wide, shallow pot is ideal. Make sure the pot has drainage holes to prevent water from accumulating.
7. Remove Dead Leaves
Dead leaves can sap nutrients from the healthy parts of the plant. Use a sharp, sterilized knife to remove dead leaves at the base. This will help the plant redirect its energy toward new growth.
8. Provide Direct Sunlight, But Not Too Much
Aloe plants need some direct sunlight to thrive, but too much can cause sunburn and damage the leaves. Ensure your plant gets at least one to two hours of direct sunlight in the morning, but avoid prolonged exposure during the hottest parts of the day.
9. Avoid Overwatering
Overwatered aloe plants often have mushy roots and yellowing leaves. Water your aloe plant only when the top inch or two of soil is dry. Using well-draining soil and a pot with drainage holes will help prevent excess moisture from accumulating, which can lead to root rot.
Proper Care Guide To Avoid Aloe Vera Plant Death
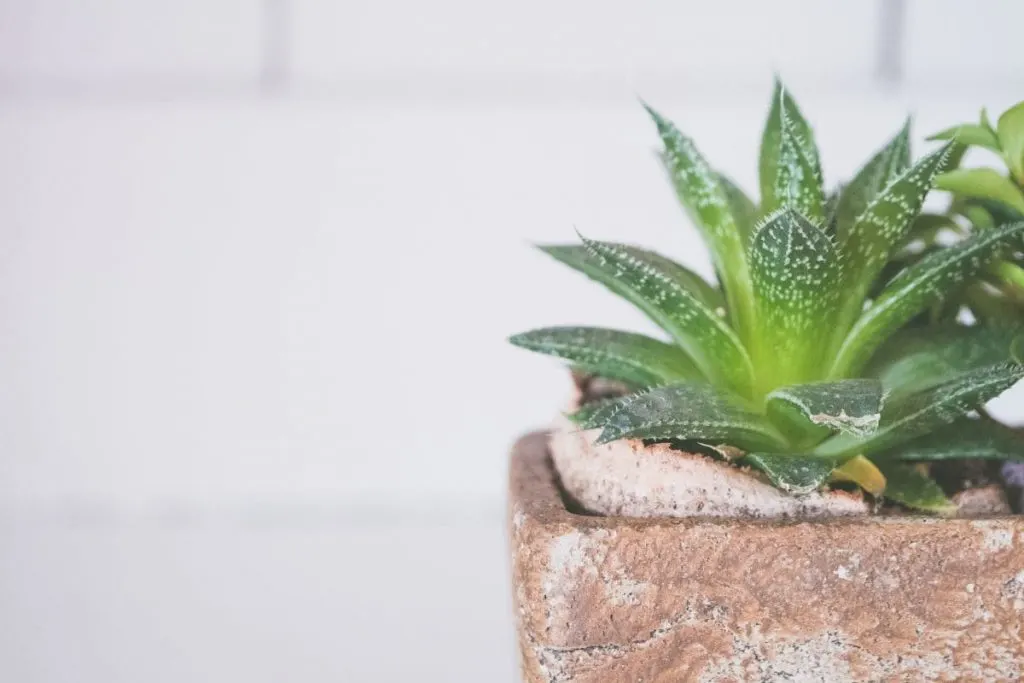
In addition to the steps outlined above, following a proper care guide is crucial to keeping your aloe plant healthy. Here are some key tips to ensure your aloe vera plant thrives:
Sunlight Needs
Aloe vera thrives in bright, indirect light for at least 7 hours a day. While it can tolerate some shade, too much will cause the plant to become limp.
Watering Needs
Aloe vera should be watered sparingly, about once a week. During the winter months, reduce watering to once a month. Ensure the growing container has drainage holes to allow excess water to escape.
Soil Mix
Use well-drained soil to prevent water accumulation. Enrich the soil with organic fertilizer, such as compost, to promote healthy growth.
Fertilizer
Feed aloe vera plants during the spring and summer, about once every two weeks. Organic fertilizer is recommended if the plant is grown for medicinal purposes.
Temperature And Humidity
Aloe vera prefers moderate humidity levels (50–60%) and temperatures between 50-55°F. Lower humidity can be harmful to the plant.
Transplanting
If you’re considering transplanting aloe because you think there’s too little room, keep in mind that succulents, including aloe, generally don’t mind a little crowdedness in a pot. But when an aloe plant clearly outgrows its pot or becomes heavy, transplant it into a slightly larger, more stable, and wider container.
Choose a clean container with drainage holes in the bottom. Cover the hole with stones and spread a layer of soil. Remove the aloe plant from its container. When transplanting large aloes, it is essential to lift the entire plant by the root ball.
Pruning and Propagation
Mature aloe vera plants often produce shoots, also known as pups, that can be removed and replanted to grow new plants. To propagate, carefully separate the shoots from the parent plant using a sharp, sterilized knife, keeping as much of the roots intact as possible.
Allow the cuttings to heal in a warm, dry place for a few days to prevent rot before planting them in well-draining soil. Once planted, water sparingly and place the new plant in bright, indirect light until it establishes roots and shows new growth.
Pruning is also essential for maintaining the health of your aloe vera plant. Regularly remove dead or damaged leaves by cutting them at the base with a sterilized tool.
This not only helps the plant stay healthy by redirecting nutrients but also keeps it looking neat. The pruned leaves can be used for their soothing gel, which is great for treating burns or moisturizing skin.
Diseases Of Aloe Plants
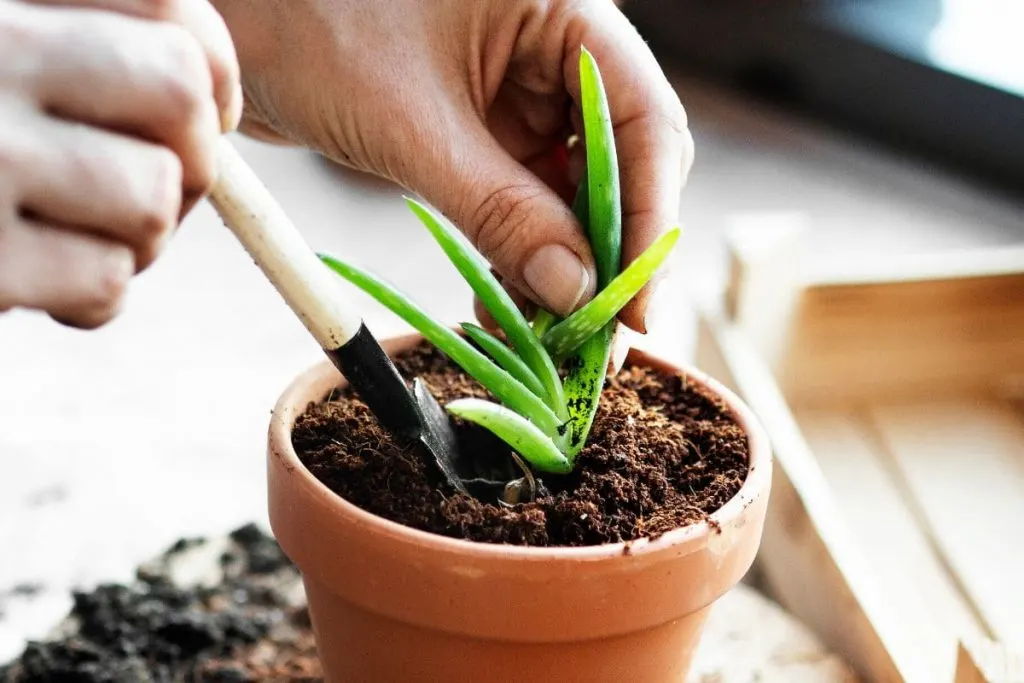
At the beginning of the infection, round, dark green to dark brown spots appear with a light brown center, which over time takes on a reddish-brown color. As the infection progresses, the spots merge into necrotic zones that cause the leaves to dry and fall off.
The causative is the fungus, which can appear during wet and warm weather and spreads easily. Control with fungicides is necessary.
Bacteria, i.e. fungus, occur during warm and humid weather and can survive in plant remains. In order to prevent the disease, it is necessary to maintain optimal soil moisture.
Pests Of Aloe Vera Plant
In addition to diseases that occur in inadequate growing conditions, aloe vera can also be threatened by pests. Lice (Aloephagus myersi) appear most often.
- Aloephagus myersi
They feed on the lower part of the leaves and excrete honeydew, which can cause the development of fungal diseases. Slowed growth occurs as a result of the infection, and they are controlled with insecticides.
Wrapping It Up On How To Revive Aloe Plant
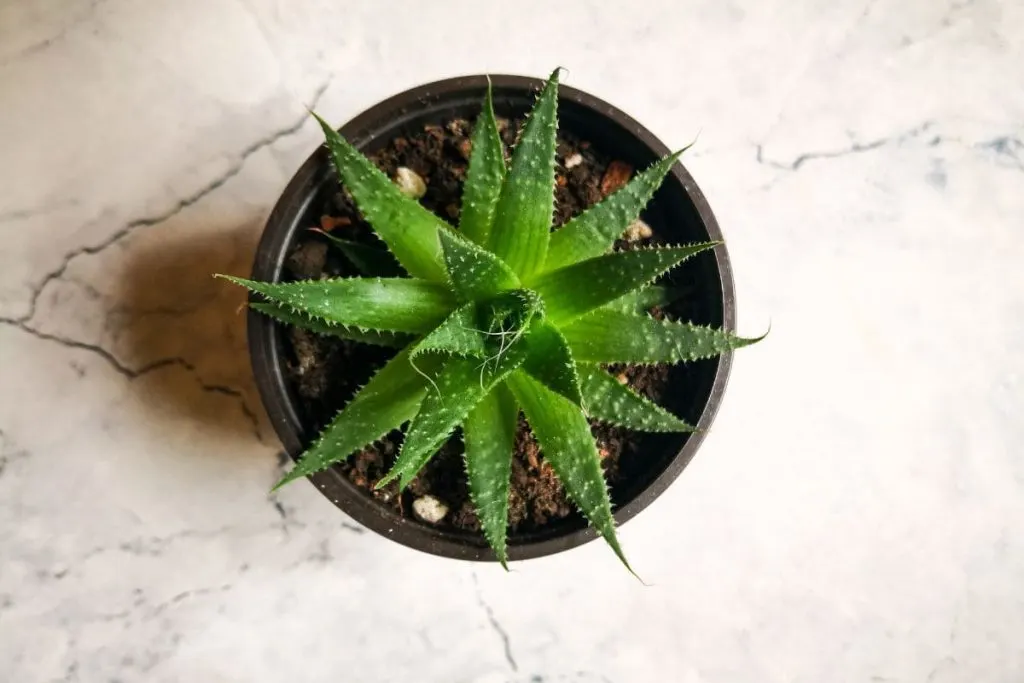
That would be all for today’s article on how to revive aloe plant and its care guide, which surely gave you a detailed insight into the care of this wonderful plant.
Sometimes problems with this plant occur due to inadequate growing conditions, sometimes due to “nature” that we cannot influence, etc. However, today we learned how to prevent and treat these problems, and I hope that this article was useful to you.
If you soon face this problem, although you shouldn’t because you learned how to prevent it today, save this article “to hand” and find the solutions to the problems at the first click.
At the very end, we brought interesting facts about this plant, which I personally found very interesting to read, I enjoyed it! I hope you are too.
See you soon with more similar topics and plants.
