

Okra doesn’t care how much space you have—just don’t ignore it. Give it sun, warmth, and a container that lets its roots stretch, and it’ll give you pods like green fireworks, ready to sizzle in the pan. This isn’t a fussy diva of a plant. It grows tall. It grows fast. And in the right pot, it becomes a full-on vegetable machine. But there are rules. Miss one, and you’ll end up with spindly stems, flowerless stalks, or pods tougher than shoelaces. Want buttery, tender okra from your balcony or patio? These 14 tips will get you there—no raised bed required. Your gumbo will thank you.
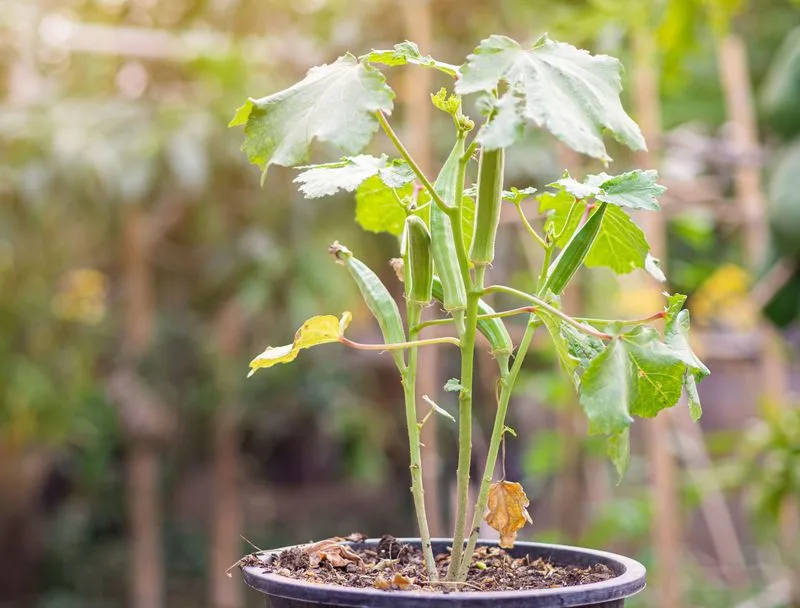
Choose the Right Container

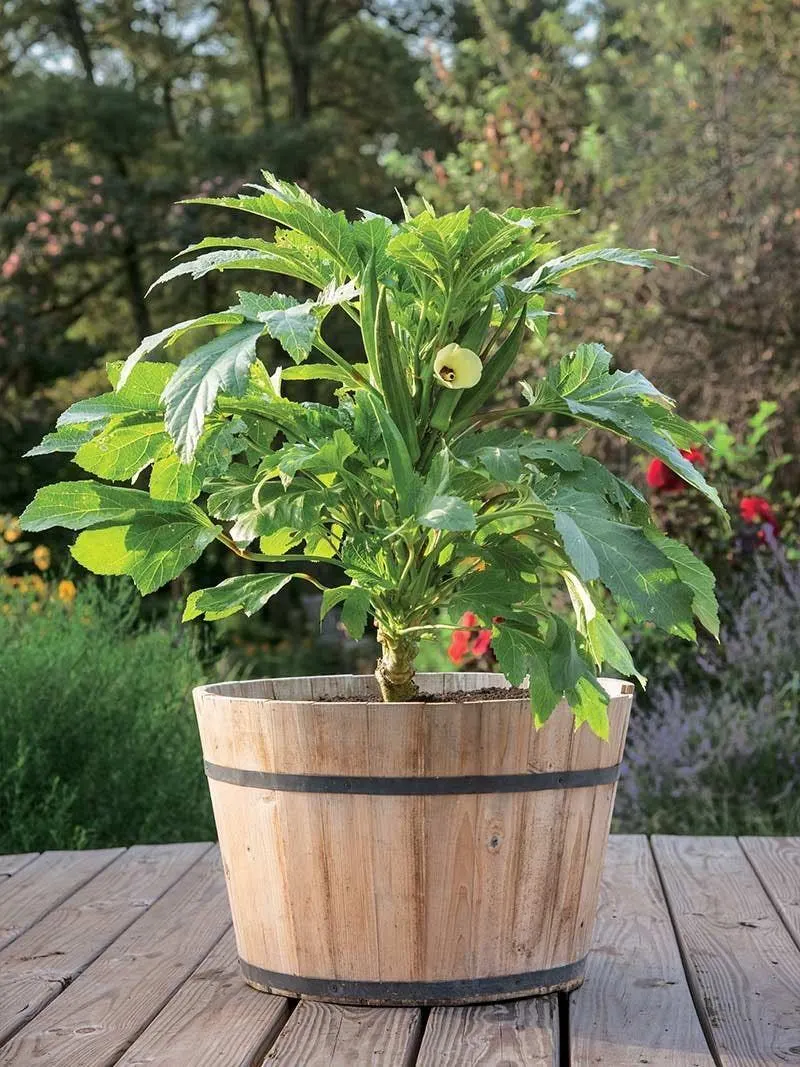
Selecting the right container is crucial for growing okra successfully. Opt for a container that’s at least 12 inches deep to accommodate okra’s deep roots. Ensure it has ample drainage holes to prevent waterlogging. A container with a diameter of 12 to 18 inches will support one plant comfortably, allowing room for growth. Consider using a lightweight material like plastic for ease of movement. Placing the container in a sunny spot will provide the necessary light exposure. Remember, okra thrives in warmth, so choose a location that receives at least 6-8 hours of sunlight daily.
Soil Selection
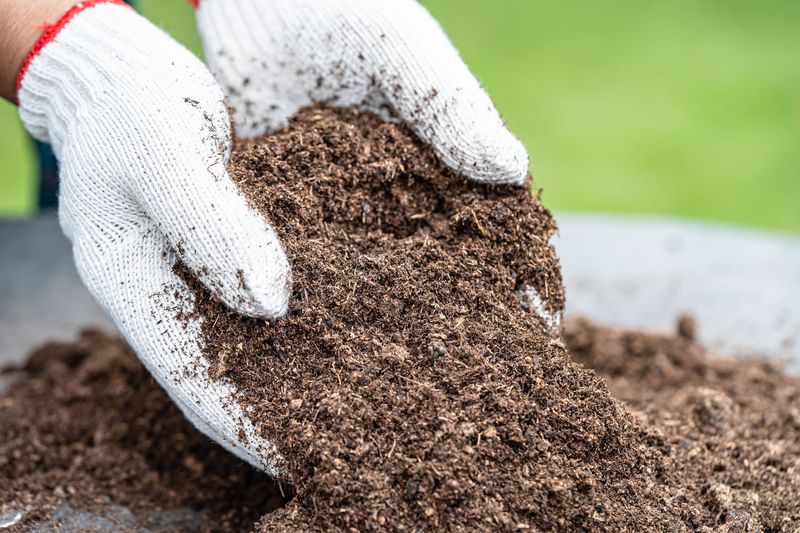

The choice of soil impacts okra’s growth significantly. Use a high-quality potting mix that’s rich in organic matter for the best results. This type of soil retains moisture while providing essential nutrients. It’s crucial to avoid garden soil, as it’s too heavy and compacts easily in containers. Mixing in some compost will enhance the soil’s fertility and structure. Ensure the soil is loose and well-draining, with a slightly acidic to neutral pH. Regularly check the soil moisture to keep it consistently damp, but not soggy, supporting healthy root development.
Optimal Watering
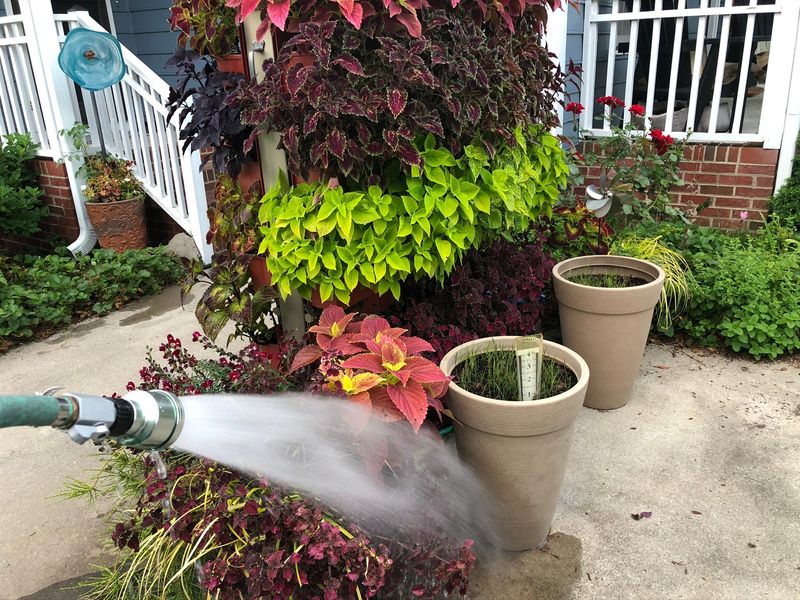

Watering is a delicate balance for container okra. Consistent moisture is key, so water when the top inch of soil feels dry. Use a watering can for gentle application, avoiding over-watering which can lead to root rot. Morning watering is ideal, allowing excess moisture to evaporate under the day’s sun. Consider using a saucer under the container to catch excess water, but empty it to prevent standing water. During hot spells, more frequent watering may be necessary to support growth. Monitoring soil moisture regularly ensures your plants are well-hydrated and thriving.
Sunlight Requirements
Sunlight is paramount for healthy okra growth. Position your container where it receives at least 6 to 8 hours of direct sunlight daily. This exposure encourages robust blooming and pod production. If natural light is insufficient, consider supplementing with grow lights to mimic the sun’s rays. Rotate the container occasionally to ensure all sides receive equal light. Monitoring the sun’s path can help in optimizing light exposure. Remember, the more sunlight your okra receives, the healthier and more productive it will be. Sunlight not only fuels growth but also enhances the plant’s immunity.
Temperature Considerations
Temperature plays a vital role in cultivating okra. These plants thrive in warm conditions, with optimal growth occurring between 75 and 95°F. Plant your okra after any danger of frost has passed, as cold can stunt growth or kill the plant. During cooler spells, consider moving containers indoors or covering them to maintain warmth. Consistent temperatures support healthy growth and pod production. If growing indoors, maintain a room temperature within this range. Heat-loving plants, okra flourishes in consistent warmth, rewarding you with a thriving, productive harvest.
Fertilization Needs

Fertilizing okra plants in containers ensures a bountiful harvest. Start with a balanced, slow-release fertilizer mixed into the potting soil. As the plants grow, supplement with a liquid fertilizer every 4-6 weeks. Opt for a formula high in potassium and phosphorus to promote flowering and fruiting. Organic options like fish emulsion or seaweed extract can provide additional nutrients beneficial for plant health. Always follow label instructions to avoid over-fertilization, which can harm the plant. Regular feeding supports lush growth and boosts the plant’s productivity, leading to a successful harvest.
Stake Support

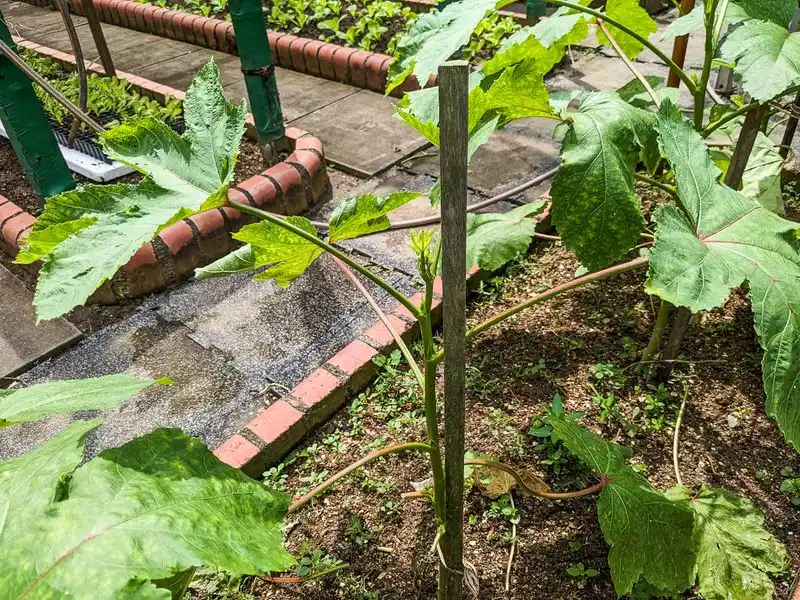
As okra grows, providing proper support is essential. Taller varieties may become top-heavy, risking breakage. Install a sturdy stake in the container early on, ideally at the planting stage, to avoid root disturbance later. Use soft plant ties to secure the main stem to the stake, adjusting as the plant grows. This support minimizes breakage and encourages vertical growth, allowing better air circulation. Proper staking is especially important in windy areas, preventing damage. It ensures the plant remains upright, promoting healthy development and ease of harvesting.
Pest Management

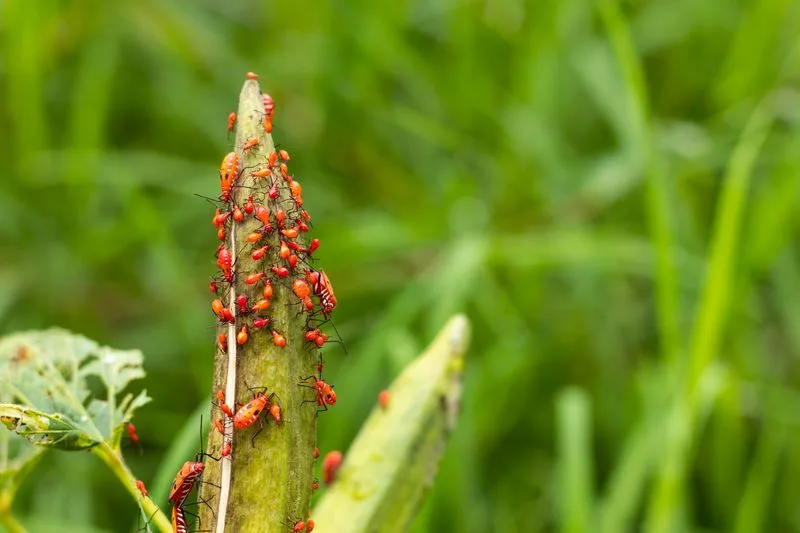
Managing pests ensures healthy okra plants. Regularly inspect leaves and stems for signs of common pests like aphids or caterpillars. Introduce beneficial insects like ladybugs, which naturally control pest populations. For organic control, spray neem oil or insecticidal soap as preventive measures. Keep the area around the container clean to deter pests from establishing. Healthy plants are less susceptible to infestations, so maintain optimal growing conditions. Monitoring and managing pests early prevents damage, ensuring a thriving okra harvest free from chemical pesticides.
Pruning Techniques

Pruning is a technique to boost okra’s health and yield. Remove any yellowed or damaged leaves to improve air circulation and reduce disease risk. Focus on pruning the lower leaves as the plant grows taller, directing energy towards fruit production. Use clean, sharp shears to make precise cuts, minimizing plant stress. Regular pruning encourages bushier growth and can stimulate more flowering. It’s essential to prune sparingly, as over-pruning can harm the plant. Managed well, pruning helps maintain a vibrant, productive okra plant, enhancing both its appearance and output.
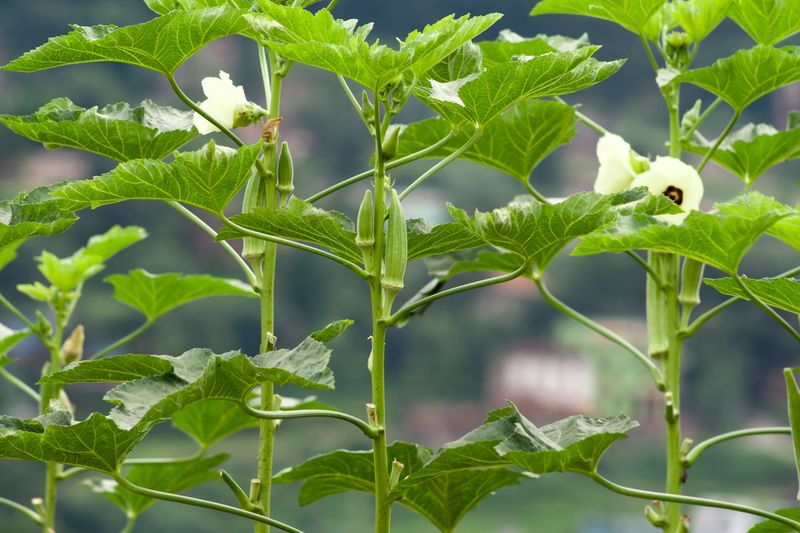
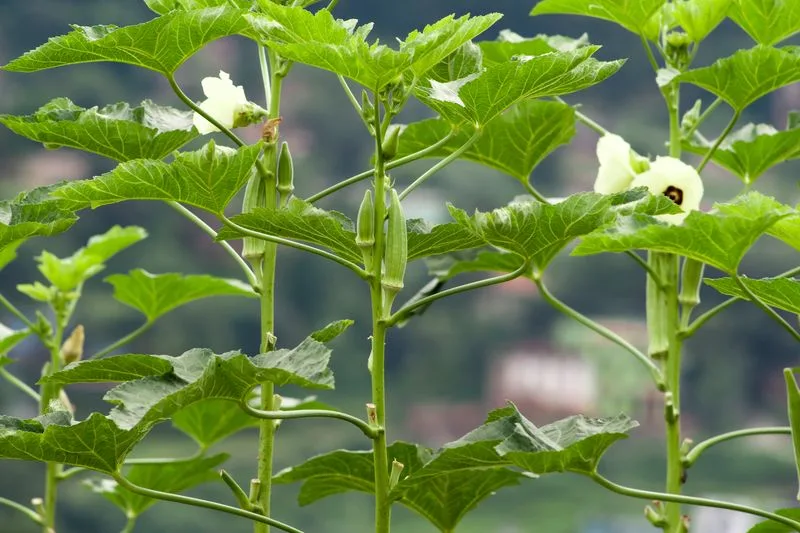
Pollination Practices

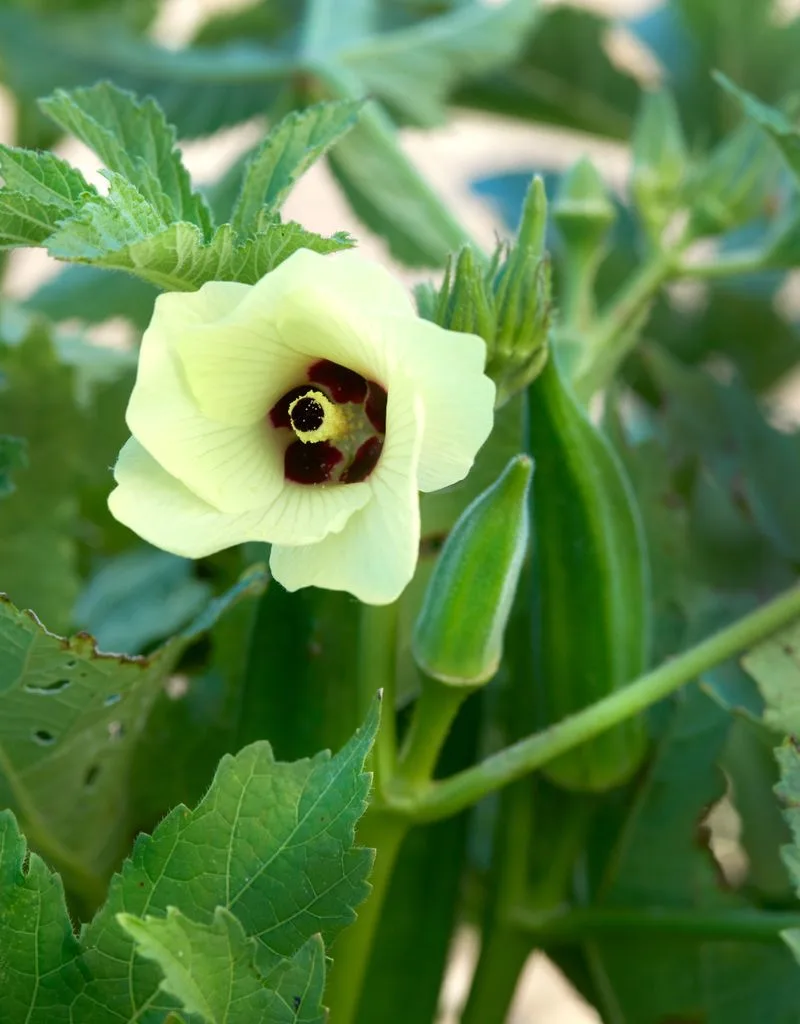
Pollination is vital for okra yields. While okra can self-pollinate, bees and other pollinators enhance fruit production. Encourage them by planting companion flowers nearby or placing the container in a pollinator-friendly area. If natural pollination seems lacking, manually assist by gently shaking plants or using a small brush to transfer pollen between flowers. Pollination directly impacts the quantity and quality of pods produced. By fostering an environment that supports pollinators, you’ll ensure a plentiful okra harvest, benefiting from nature’s own gardeners.
Companion Planting
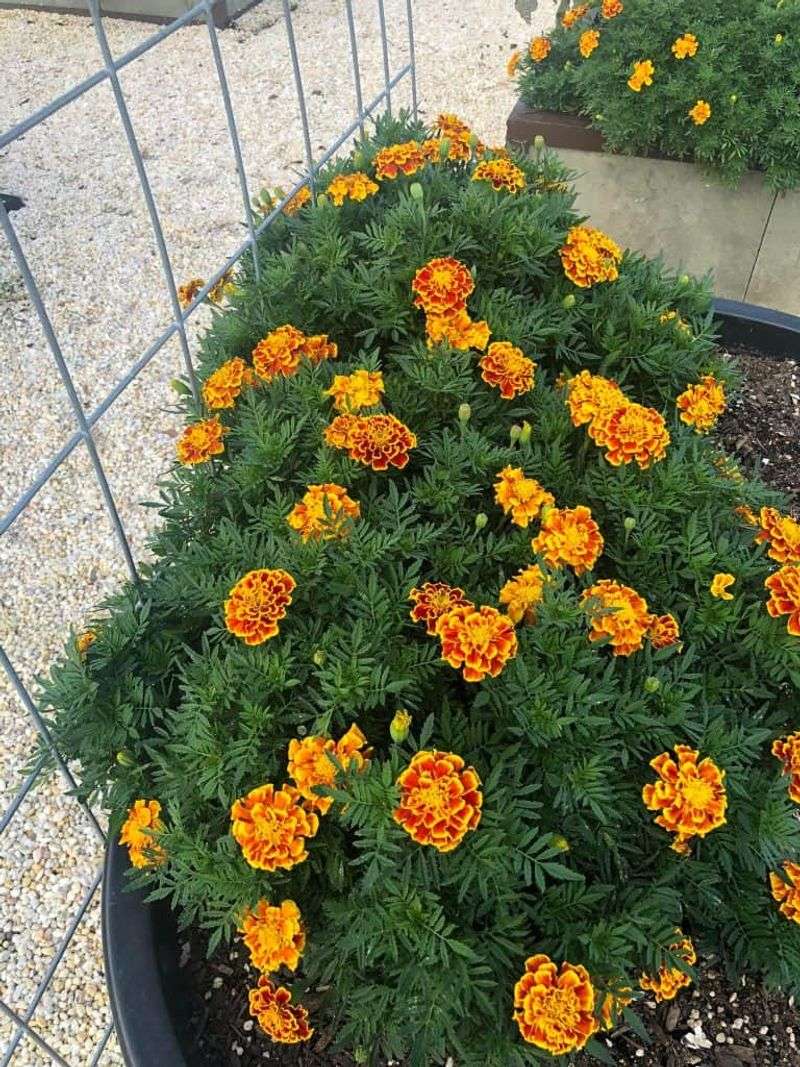
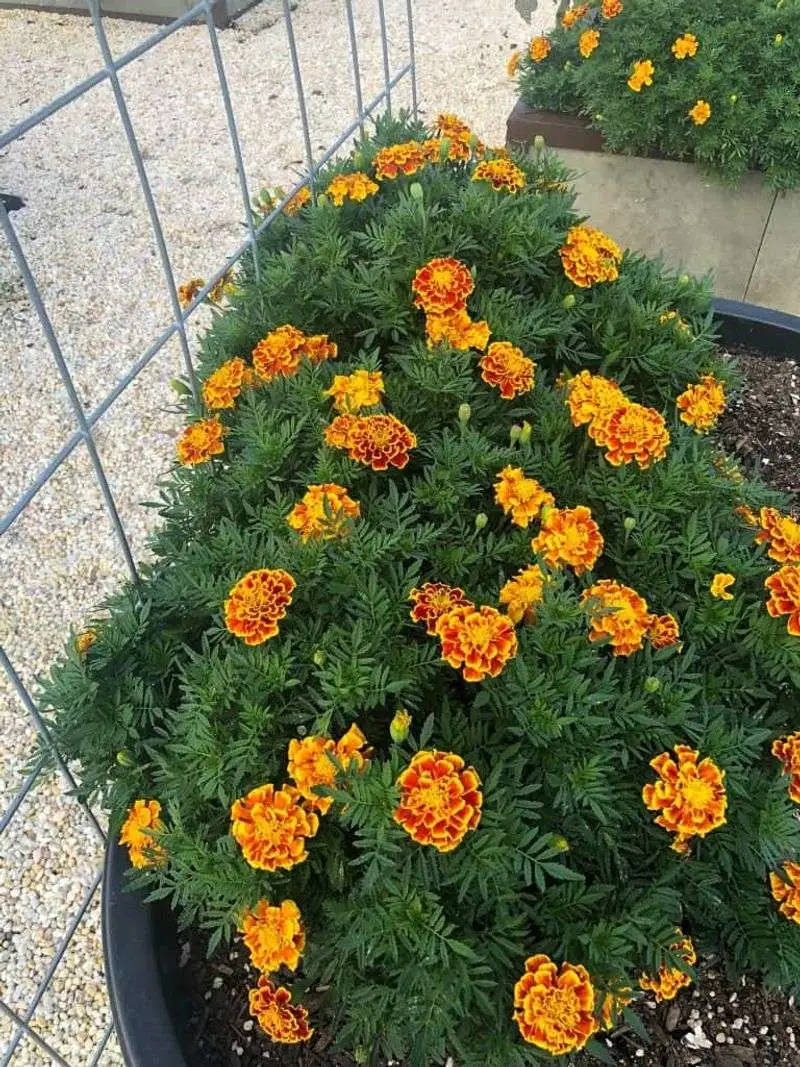
Companion planting benefits container okra. Planting marigolds or basil nearby can deter pests, while sunflowers provide shade to smaller companions. These plants create a balanced ecosystem, enhancing growth and yield. Additionally, companion plants can improve soil quality, as some fix nitrogen or repel harmful insects. Experiment with different combinations to find what works best. Companion planting not only supports your okra but adds diversity and beauty to your container garden. This symbiotic relationship results in a healthier, more productive growing environment, maximizing space and resources.
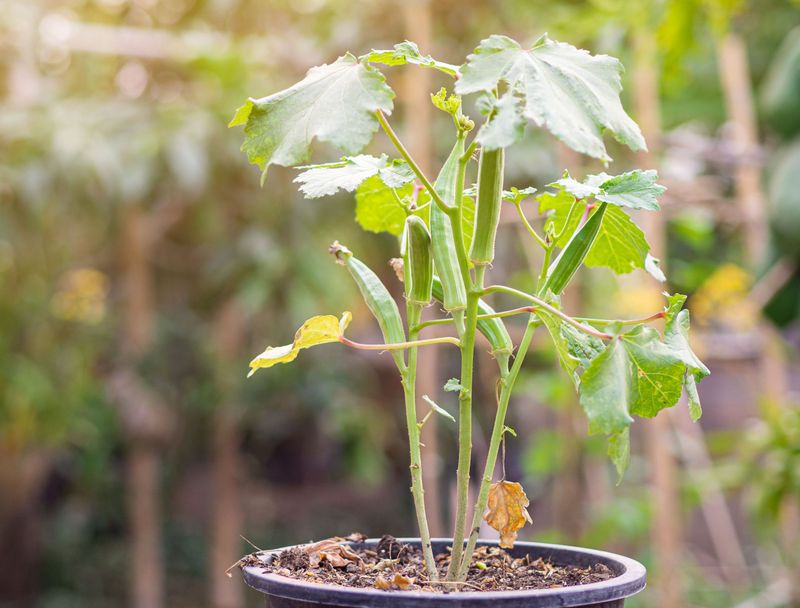
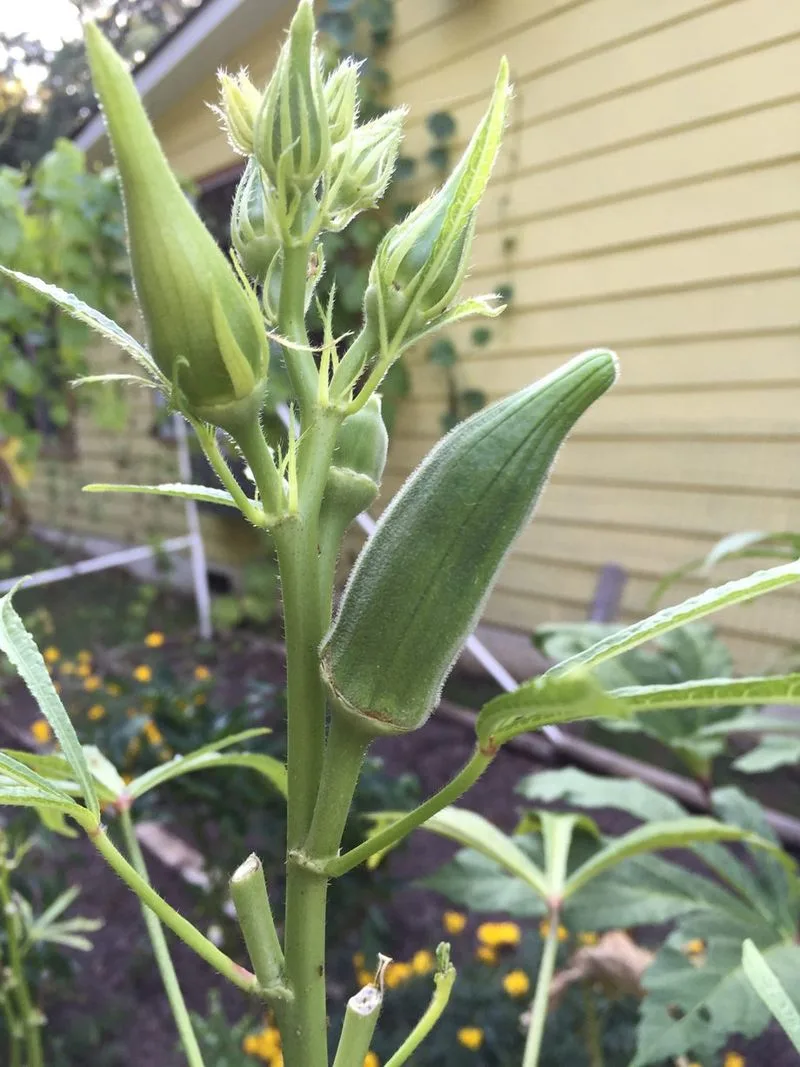
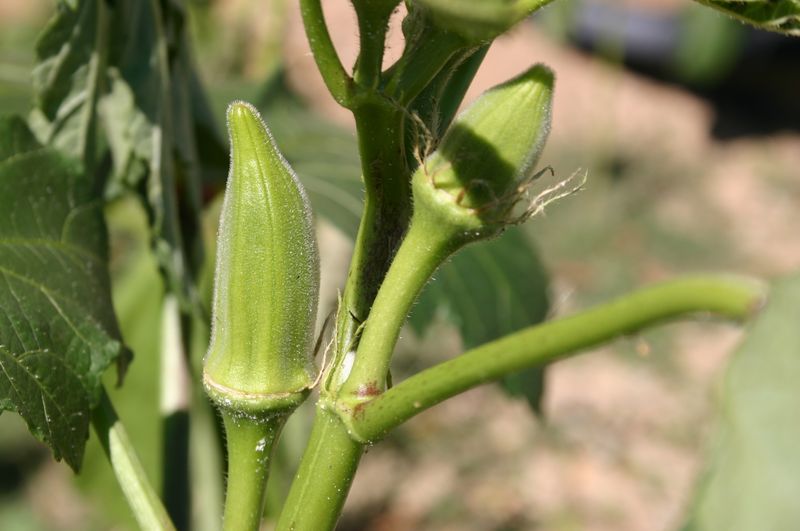
Harvest Timing

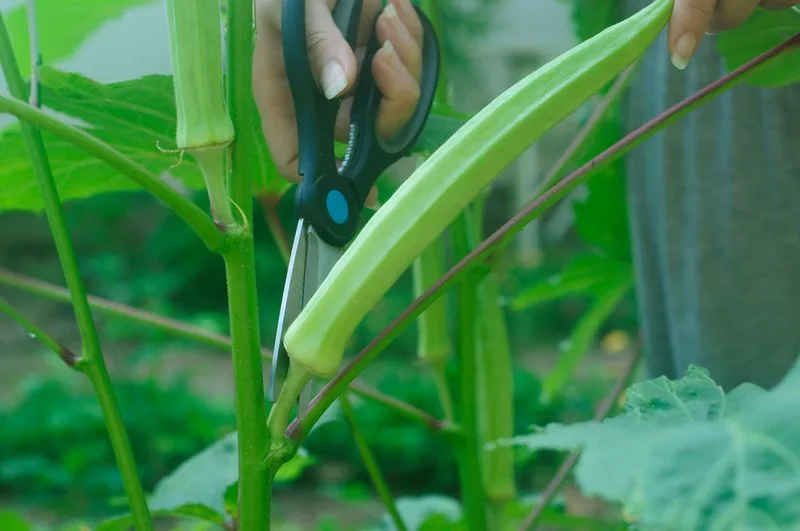
Timing is crucial when harvesting okra. For the best texture and flavor, pick pods when they’re 3 to 5 inches long, before they become tough. Regular harvesting encourages the plant to continue producing. Use scissors or a sharp knife to cut pods cleanly, minimizing plant stress. Keep a close eye on growth, as okra can mature rapidly. Harvesting in the morning ensures peak freshness, as pods are crisp and less stressed by the day’s heat. Proper timing not only affects taste but also the overall productivity of your okra plants.
Storage and Preservation


Once harvested, preserving okra extends its culinary use. For short-term storage, keep fresh pods in a perforated plastic bag in the refrigerator. For longer preservation, blanch okra briefly in boiling water, then freeze on trays before transferring to airtight containers. This method retains flavor and texture, ideal for off-season use. Dehydrating or pickling are other options for different culinary applications. Proper storage techniques prevent spoilage, allowing you to enjoy your homegrown okra well beyond the harvest. These methods maximize your efforts, offering a taste of summer year-round.
Season Extension


Extending the growing season for okra ensures a longer harvest. Use frost cloths or row covers to protect plants from early frosts or unexpected cold snaps. In cooler climates, a small greenhouse or cold frame can provide necessary warmth and shelter. These practices allow you to start planting earlier and continue later into the season. Consider using heat mats for seedlings to encourage early growth. Season extension techniques maximize productivity and extend your harvest window, allowing you to enjoy fresh okra for a more extended period. These strategies are vital for making the most of your growing season.