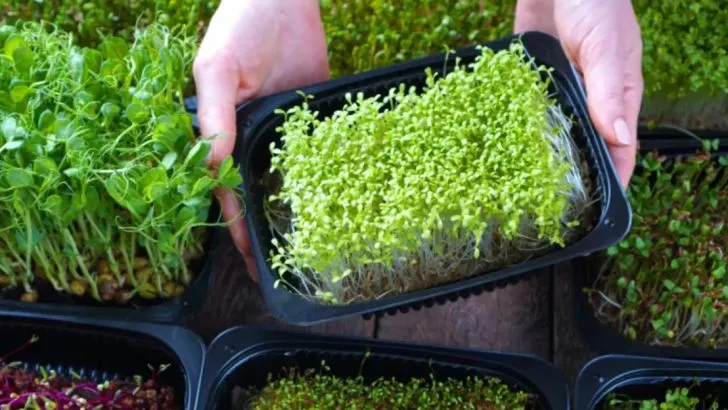
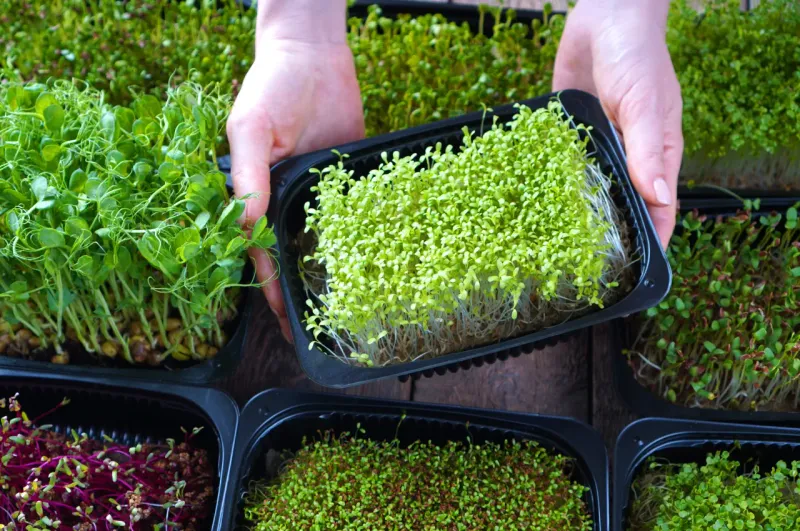
Microgreens are tiny, nutrient-dense plants packed with flavor and health benefits. These young, edible plants—such as arugula, radish, and sunflower—are harvested just after the first true leaves have developed, making them an excellent source of vitamins, minerals, and antioxidants.
Growing microgreens at home is a simple, cost-effective way to add a boost of nutrition to your meals. They require minimal space, light, and care, making them ideal for apartments, kitchens, or small urban spaces. With just a few supplies—seeds, trays, soil, and water—you can easily grow fresh, flavorful microgreens in as little as 7-14 days.
Learn how to start your own microgreen garden, and enjoy the freshest, most nutritious greens right at your fingertips for a healthier lifestyle!
Choosing the Right Seeds
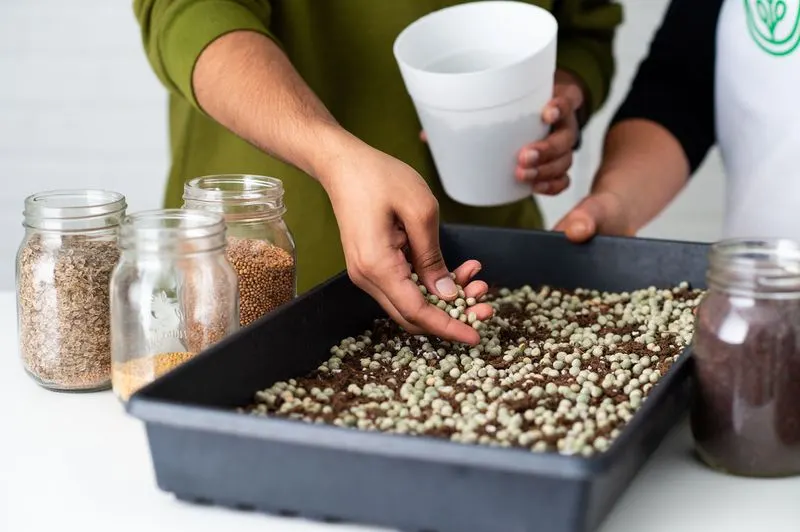
Not all seeds are created equal when it comes to microgreens. Opt for seeds labeled specifically for microgreens to ensure a successful harvest. These seeds are often untreated and chosen for their flavor and texture. Popular choices include radish, broccoli, and sunflower. To get started, consider your taste preferences and nutritional needs. With a variety of seeds, you can experiment with different flavors and nutrient profiles, making each batch of microgreens unique. A little research goes a long way in matching your culinary desires with the perfect seeds.
Preparing the Growing Medium
The foundation of any successful microgreen garden is a well-prepared growing medium. Most enthusiasts prefer using potting soil, but alternatives like coconut coir or peat moss also work well. Ensure that your medium is loose, clean, and retains moisture efficiently. Fill a shallow tray with about an inch of your chosen medium and gently smooth the surface. This creates an ideal environment for seed germination. By taking the time to properly set up your growing medium, you’re setting the stage for a bountiful harvest of microgreens.
Planting the Seeds
With your growing medium ready, it’s time to plant the seeds. Even distribution is key, so sprinkle the seeds across the surface with care. Avoid overcrowding; this ensures each seed has enough room to flourish. Once planted, lightly press the seeds into the soil without burying them. Follow up with a gentle misting of water. The right planting technique sets microgreens on a path to optimal growth. This step can be a mindful, meditative practice, bringing calm as you connect with your future greens.
Watering Techniques
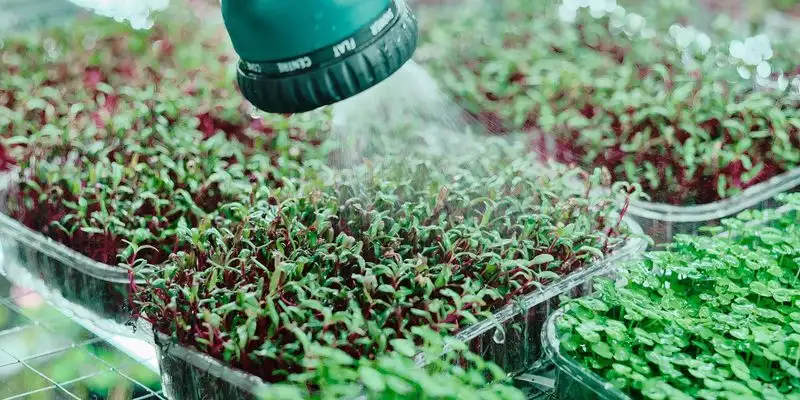
Watering microgreens is a delicate balance. Too much water can lead to mold, while too little can dry them out. Using a spray bottle, mist the seeds daily to keep them moist but not saturated. Adjust the frequency based on your home’s humidity and temperature. Check regularly for signs of overwatering such as soil sogginess or mold. Proper watering techniques ensure your microgreens receive the hydration they need without drowning them. Mastering this balance is crucial to nurturing healthy, vibrant greens.
Providing Adequate Light
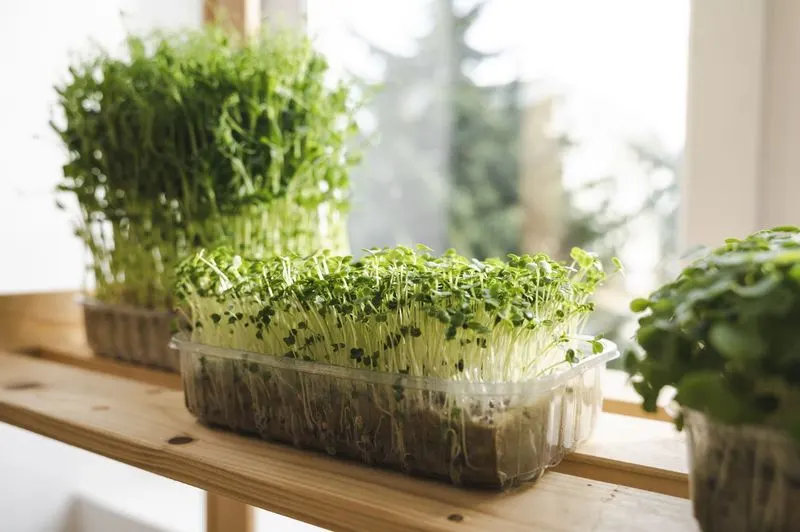
Light is a crucial component for thriving microgreens. Ideally, place them on a sunny windowsill where they can soak up natural light for at least six hours a day. If natural light is scarce, consider using grow lights to supplement. Ensure that the light source is evenly distributed across all trays to prevent uneven growth. Proper lighting not only enhances growth but also boosts the nutritional content of your microgreens, making them a powerhouse addition to your diet.
Maintaining Optimal Temperature
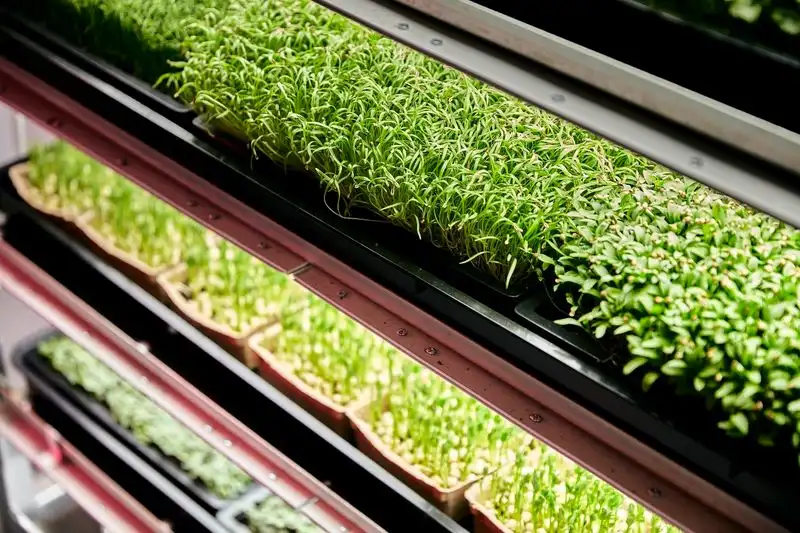
Microgreens flourish in moderate temperatures, ideally between 60°F and 70°F. Keeping a stable environment encourages healthy growth. Use a thermometer to monitor the temperature around your growing area. Avoid placing trays near drafts or heat sources that might cause fluctuations. By maintaining an optimal temperature, you create a consistent, nurturing environment that promotes robust microgreen growth, ensuring they develop vibrant colors and flavors.
Thinning the Seedlings
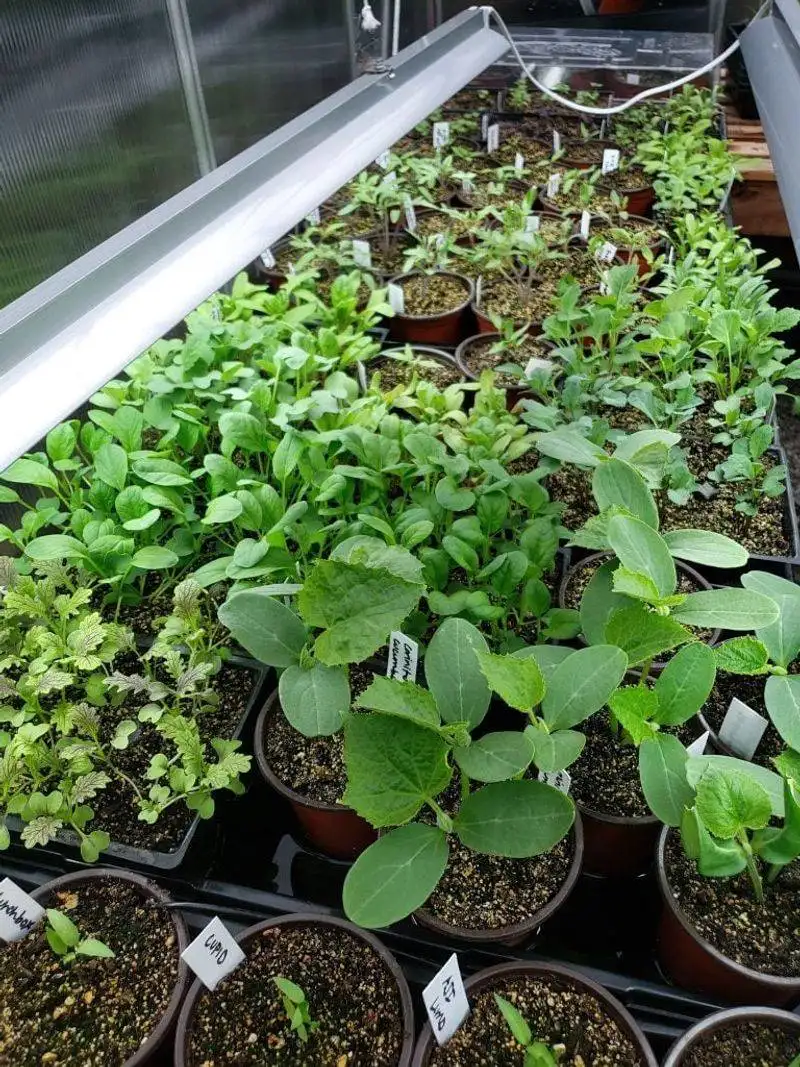
As microgreens start to sprout, they may need thinning to ensure proper space for each seedling. Use small scissors to gently remove overcrowded plants, allowing the strongest to continue thriving. Thinning prevents competition for nutrients and light, helping the remaining seedlings to develop healthily. This careful procedure supports better air circulation and reduces the risk of mold, ultimately leading to a more successful microgreen harvest.
Protecting from Pests
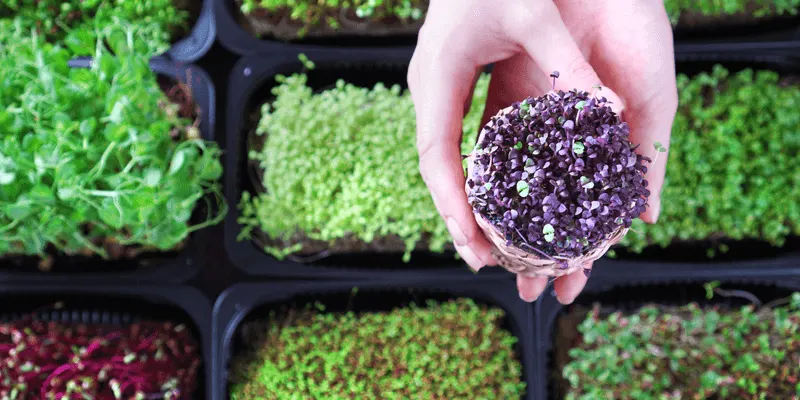
Keeping microgreens safe from pests, like gnats or aphids, requires vigilance. Regularly inspect your plants for signs of infestation. If you notice any pests, consider using natural deterrents such as neem oil or insecticidal soap. Maintaining cleanliness in your growing area can also prevent pest problems before they start. Protecting your microgreens ensures they remain healthy and untouched, preserving both their quality and nutritional value.
Harvesting at the Right Time
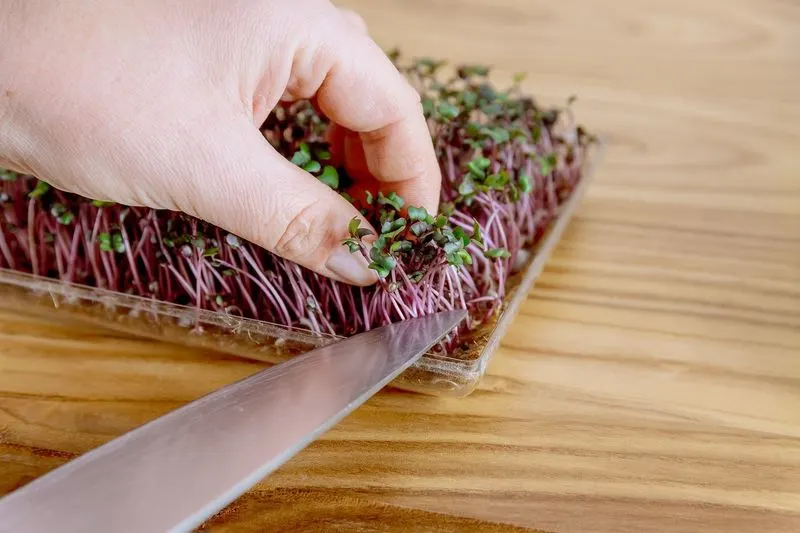
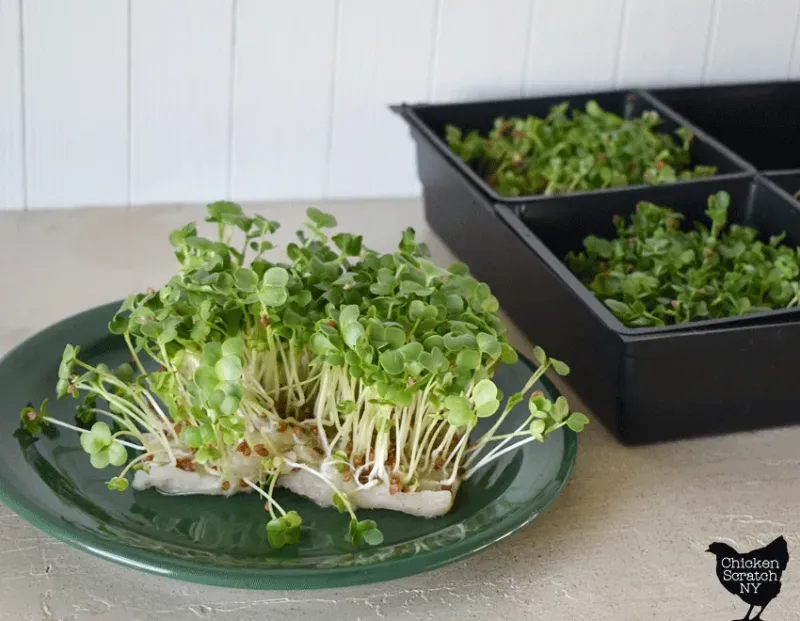
Harvesting microgreens is all about timing. Generally, they’re ready to be cut when the first set of true leaves appear, usually about two weeks after planting. Use clean scissors to snip the greens just above the soil line. This ensures you capture their peak flavor and nutritional content. Freshly harvested microgreens can elevate salads, sandwiches, and more, offering both taste and health benefits.
Storing Your Harvest
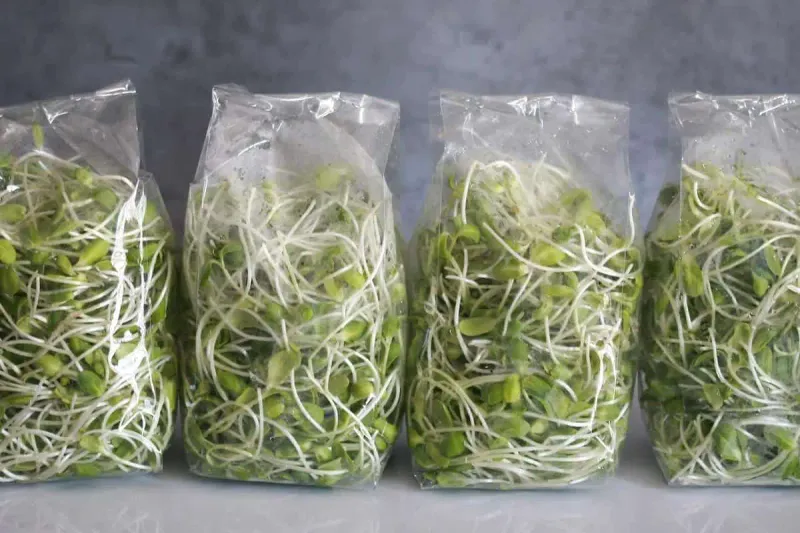
Once harvested, proper storage ensures your microgreens stay fresh and tasty. Place them in an airtight container and store in the refrigerator. This keeps them crisp and extends their shelf life. Avoid washing them before storing as added moisture can lead to wilting. By following these storage tips, you’ll enjoy the vibrant taste of home-grown microgreens, extending their benefits well after harvest.

