Limited space doesn’t have to limit your gardening dreams. Vertical gardens are a creative and efficient way to bring lush greenery into small apartments, balconies, or tight outdoor spots.
By growing plants upward instead of outward, you maximize every inch of space while adding beauty and fresh air to your environment. From choosing the right plants to building simple structures, vertical gardening is accessible and rewarding for beginners and experts alike.
In this article, discover 10 easy steps to create a vertical garden in small spaces—turning even the tiniest area into a thriving green oasis.
Step 1: Choose the Right Location
Consider the amount of sunlight your space receives. An area with four to six hours of sunlight is ideal for most plants. Even if you’re working with a small balcony or a narrow alleyway, finding a spot with adequate light is crucial. The direction your wall faces will guide the types of plants you can grow. For example, a southeast-facing wall works well for sun-loving plants. Shade-tolerant species can thrive on north-facing walls. This strategic decision sets the foundation for a flourishing vertical garden.
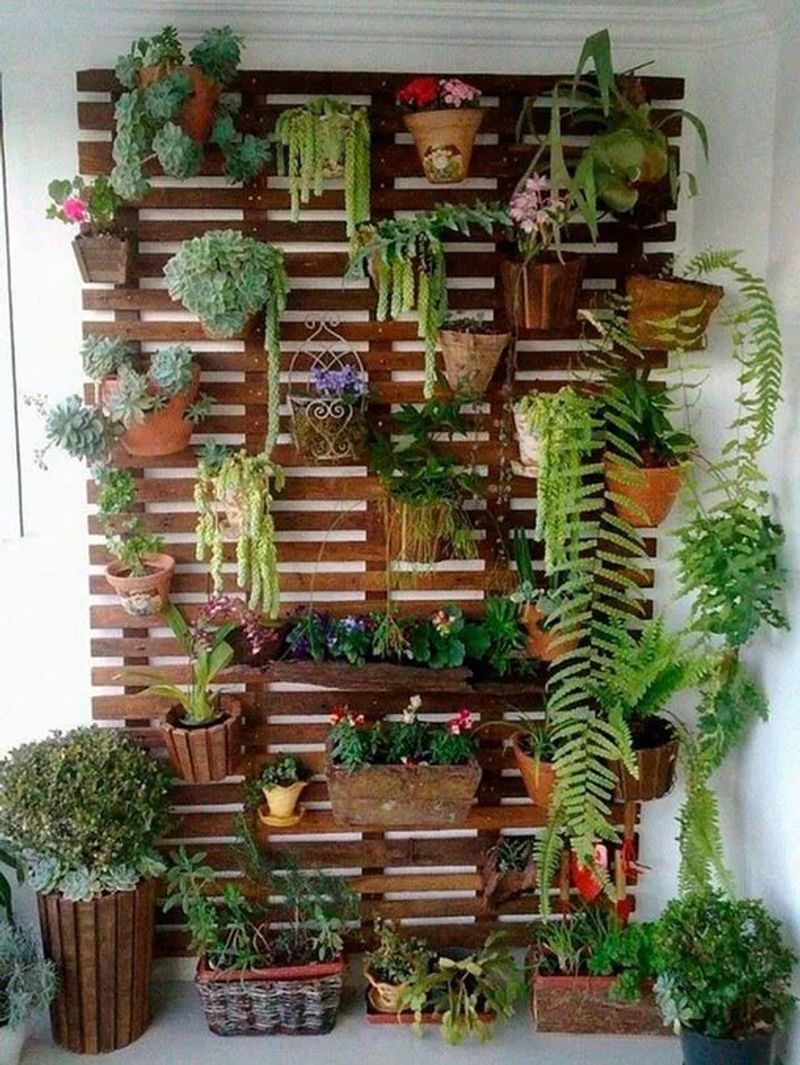
Step 2: Select the Right Plants
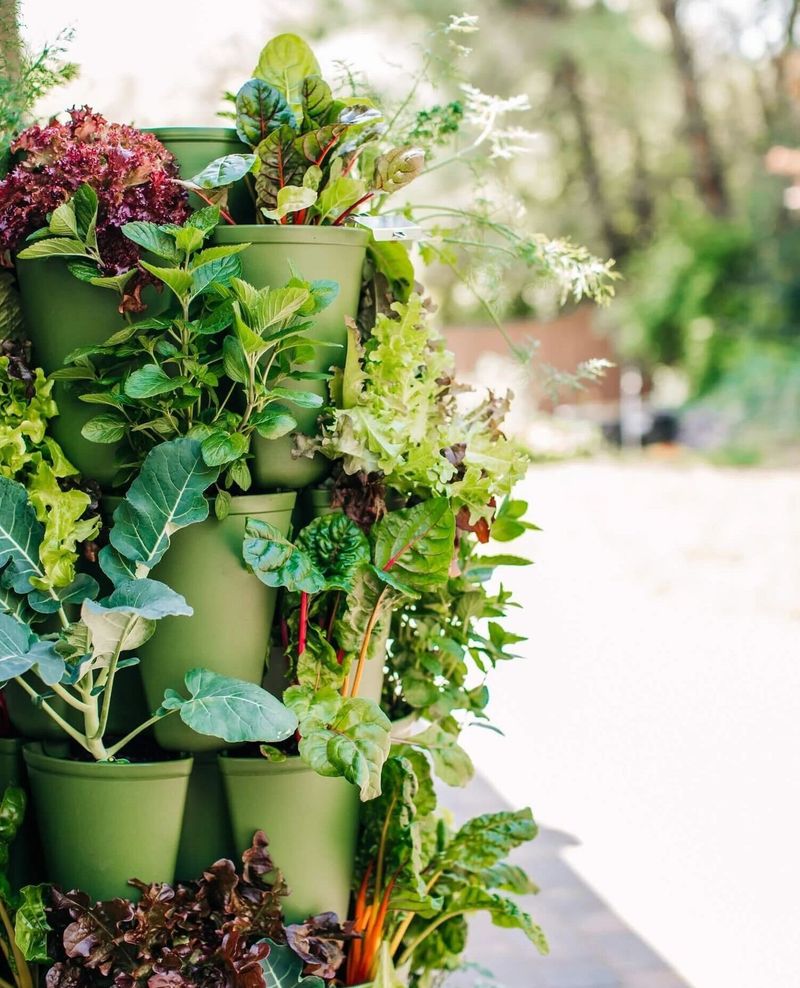
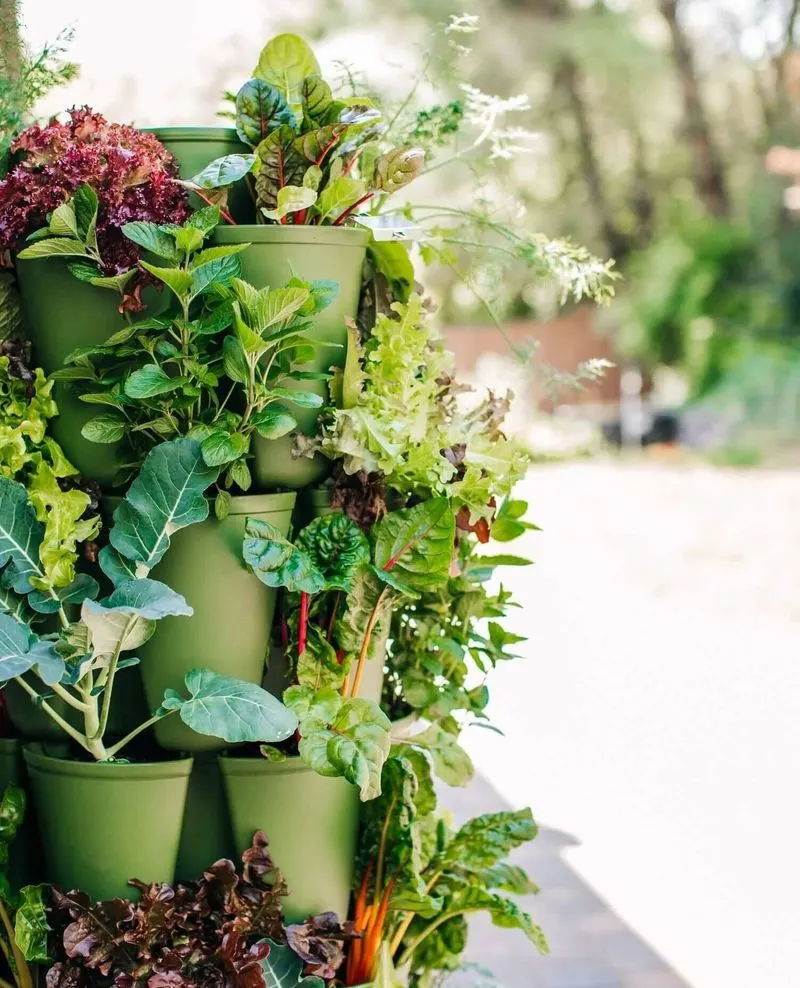
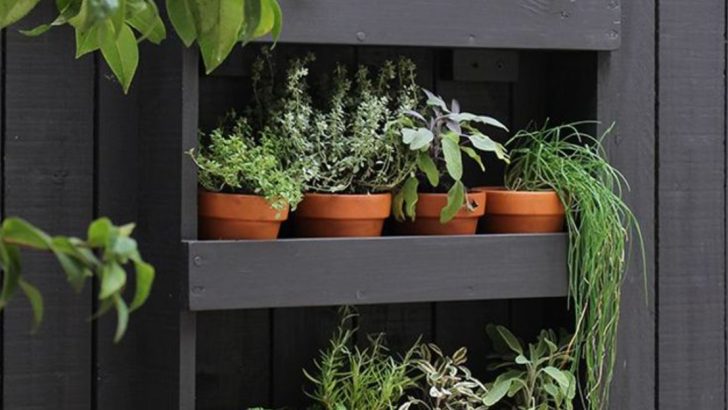
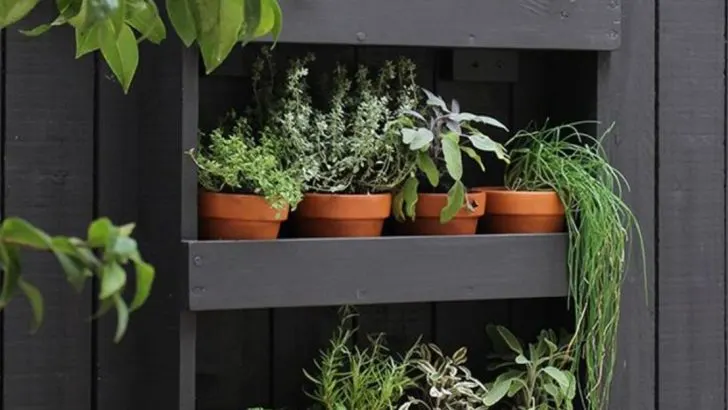
Herbs like basil, thyme, and mint are fantastic for vertical gardening due to their compact nature and frequent use in cooking. Succulents and small flowering plants also make a great choice, adding variety without taking up much space. Consider your climate and the specific needs of each plant type. This ensures that your vertical garden grows healthily. Mixing and matching different plants can create an eye-catching display that transforms a small space into a captivating green wall.
Step 3: Gather Essential Materials

Start by assembling the basic tools you’ll need: pots, soil, hooks, and a sturdy frame or trellis for support. Ensuring these are of good quality will make your gardening experience smoother. Don’t forget irrigation supplies; a simple drip system can save time and effort. Planning ahead with the right materials can prevent unnecessary trips to the store and keep your project on track. These essentials are the backbone of your vertical garden journey.
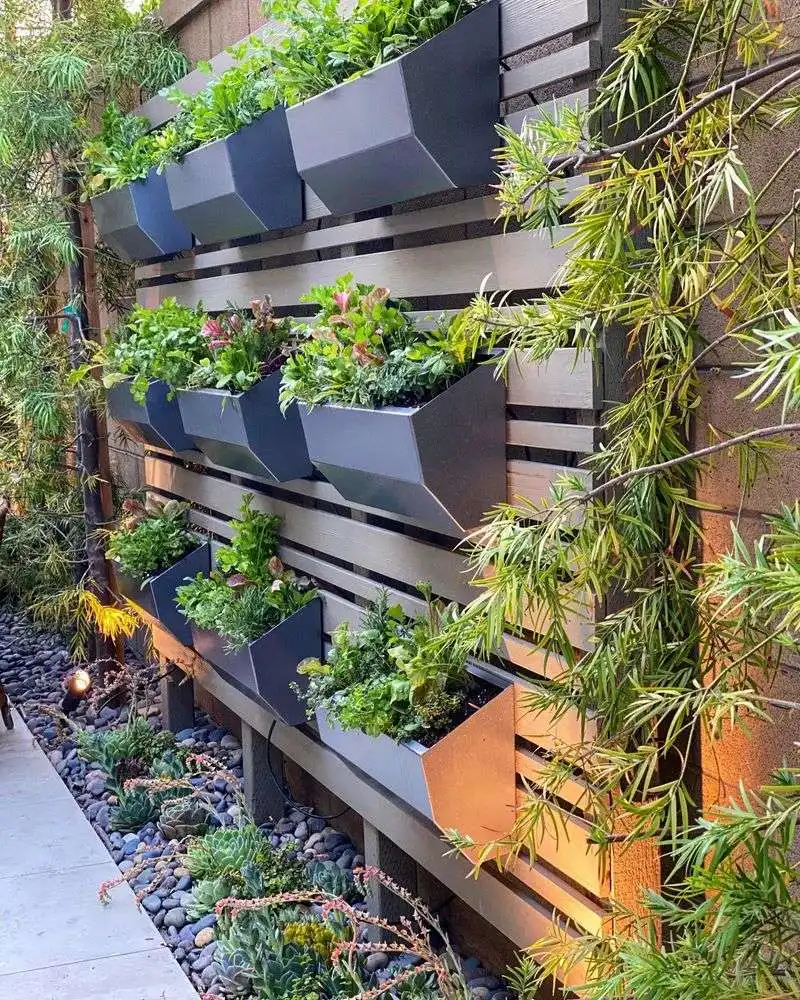
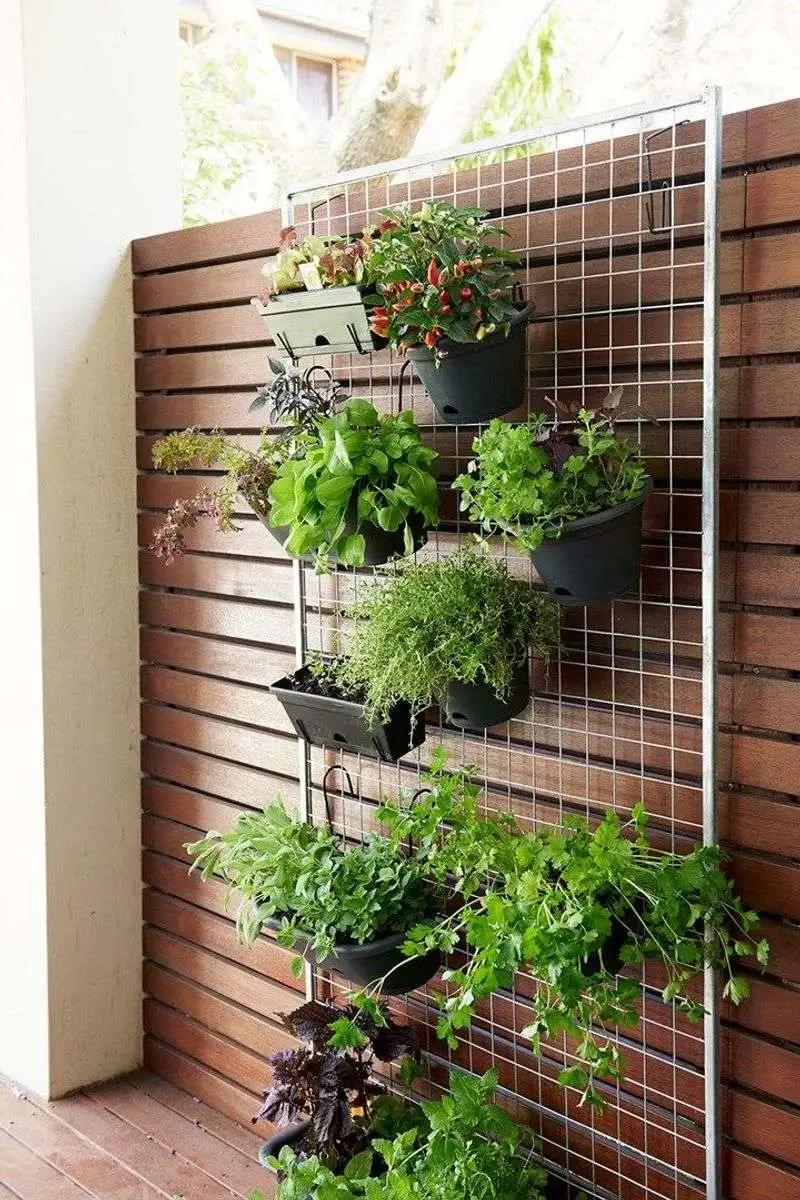
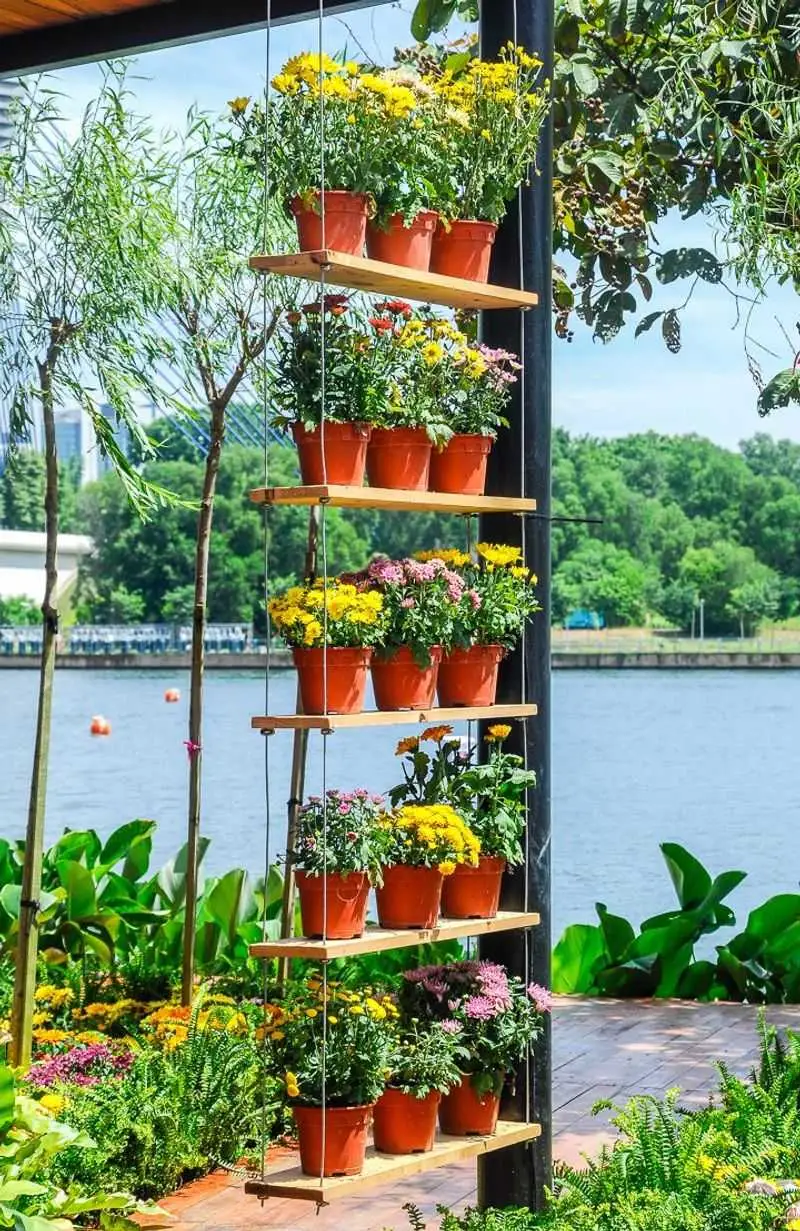
Step 4: Build or Buy a Support Structure

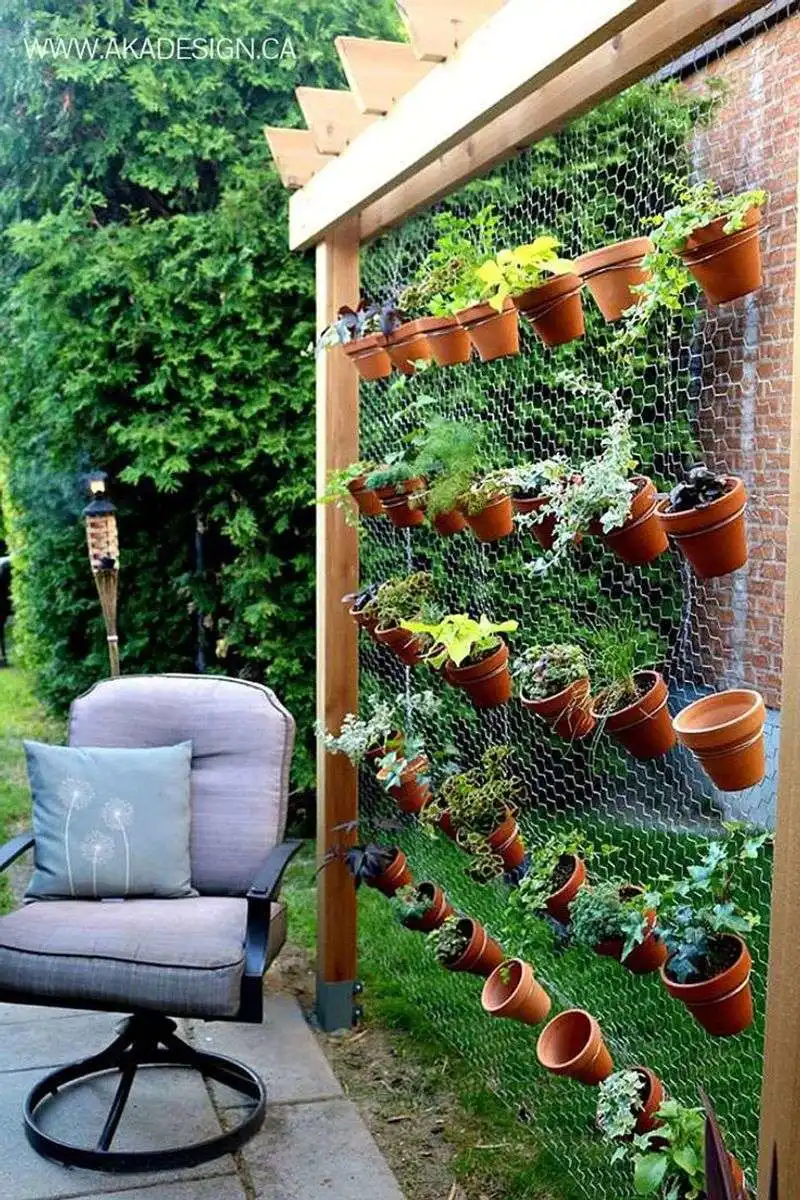
You can craft a personalized support structure tailored to your space or purchase a pre-made option. Materials like wood, metal, or even recycled pallets can serve as excellent foundations. Building provides creative freedom, allowing you to design something unique. However, buying might be a quicker option if time is of the essence. Whatever you choose, ensure it is stable enough to hold your plants securely. This framework is the backbone of your vertical garden.
Step 5: Install Irrigation System

Getting the watering right is critical for a thriving garden. A drip irrigation system delivers the perfect amount of water directly to the roots, minimizing waste and effort. Installing this system might seem complex, but it’s a time-saving measure that ensures your plants receive consistent moisture. Tailor the setup to suit your plant varieties’ specific needs. Proper irrigation will keep your vertical garden vibrant and healthy with minimal maintenance.
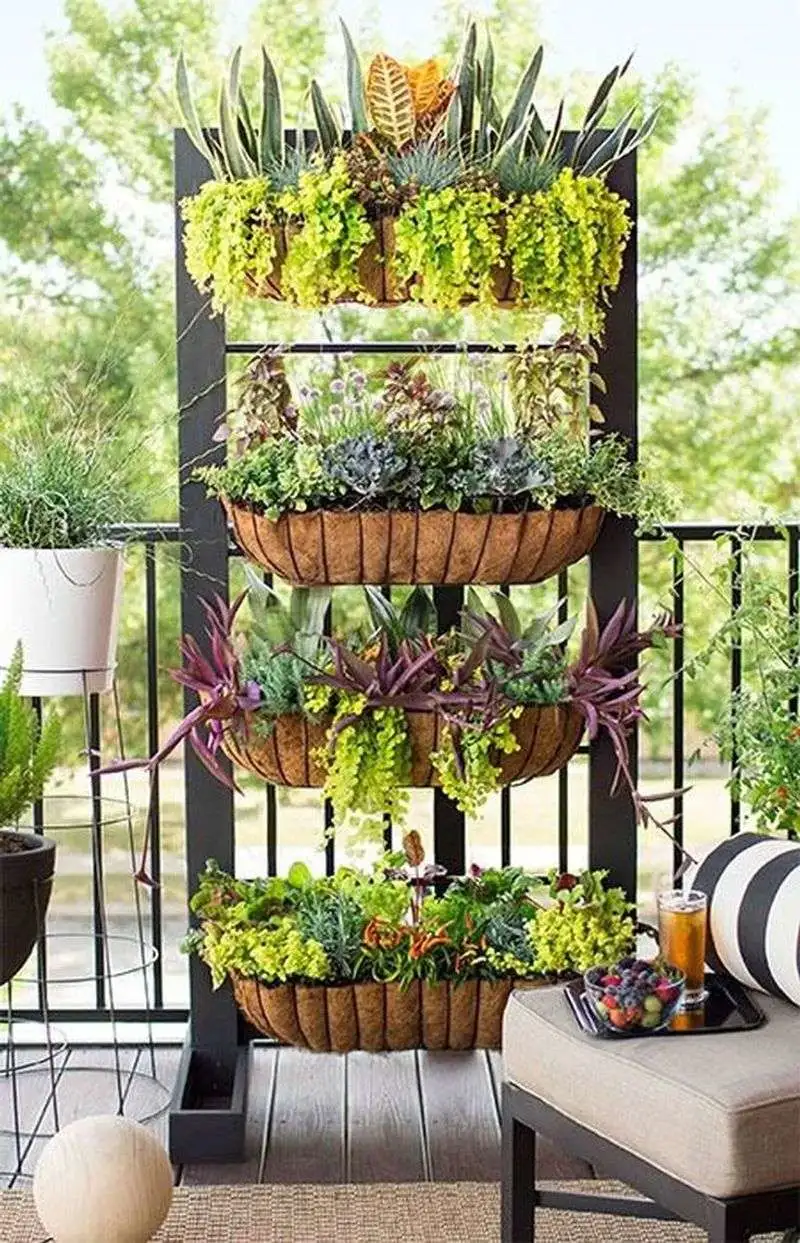
Step 6: Arrange Plants Thoughtfully


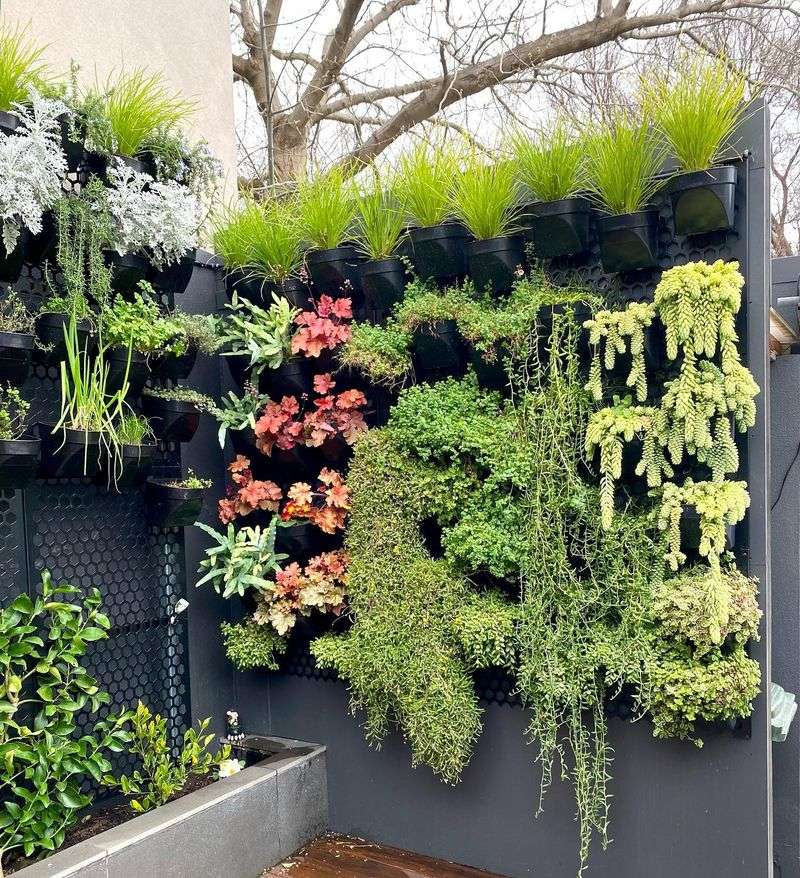
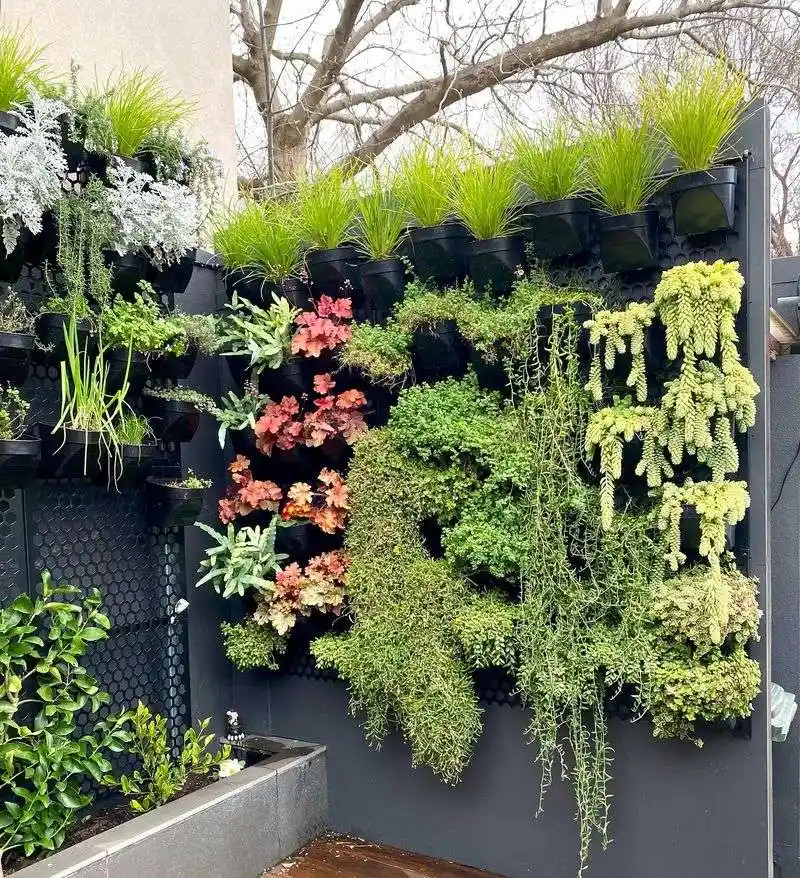
Consider aesthetics and plant compatibility when arranging your vertical garden. Balance different colors, sizes, and textures to create a visually appealing display. Position taller plants at the top if light is limited, allowing smaller ones to bask in the sunshine below. Group plants with similar watering and light requirements together, promoting healthy growth. A well-planned arrangement not only enhances the garden’s look but also helps in maintenance efficiency and plant health.
Step 7: Ensure Proper Drainage

Good drainage prevents water accumulation that can harm plant roots. Make sure your pots have adequate drainage holes and consider adding a layer of pebbles at the bottom. This facilitates excess water flow, reducing root rot risks. Check the positioning of pots to ensure runoff doesn’t spill onto unwanted areas. This step safeguards your plants against over-watering while maintaining a clean and tidy garden space. It’s a small detail with significant impact.
Step 8: Regular Maintenance and Care

Regular maintenance keeps your vertical garden looking its best. Pruning, deadheading, and replacing unhealthy plants are key tasks. Be vigilant about pests and diseases, addressing any issues promptly. Regular feeding with suitable fertilizers enriches the soil and supports growth. These consistent efforts ensure a vibrant, thriving garden year-round. By dedicating time to care for your green wall, you cultivate an environment that not only looks beautiful but also flourishes healthily.
Step 9: Personalize Your Space

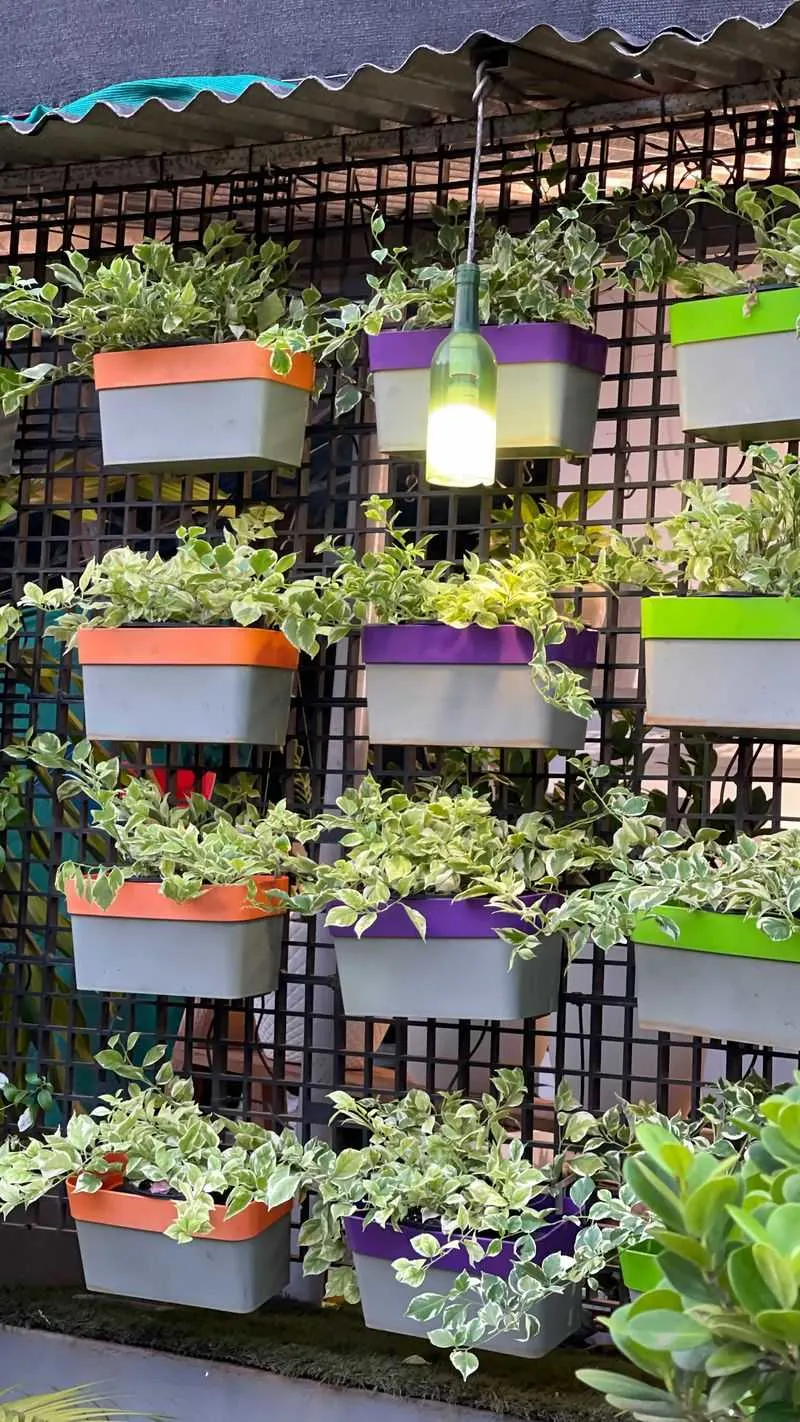
Add personal touches to your vertical garden to make it uniquely yours. Incorporate decorative elements such as fairy lights, tiny statues, or themed ornaments. These add character and warmth to the space, making it inviting. Consider the overall aesthetics and ensure that any additions complement the plants. Personalization reflects your style and adds a charming element to your gardening project. Small creative touches can transform a simple garden into a delightful personal retreat.

Now that your vertical garden is thriving, take the time to enjoy it. Invite friends over and share the beauty of your green creation. Host a small gathering on your balcony or patio, and let your garden be the backdrop. Sharing this space with others brings joy and appreciation, and you might inspire someone else to start their own gardening journey. This final step is about celebrating your hard work and the rewarding beauty of nature.