Cloves are not only a staple spice in many kitchens but also renowned for their medicinal properties. Growing cloves from seed to spice might seem like a daunting task at first, but with the right guidance, it can be a truly rewarding experience.
In this comprehensive guide, you’ll learn how to successfully grow cloves from seed to harvest, allowing you to enjoy your own supply of fresh cloves right at home.
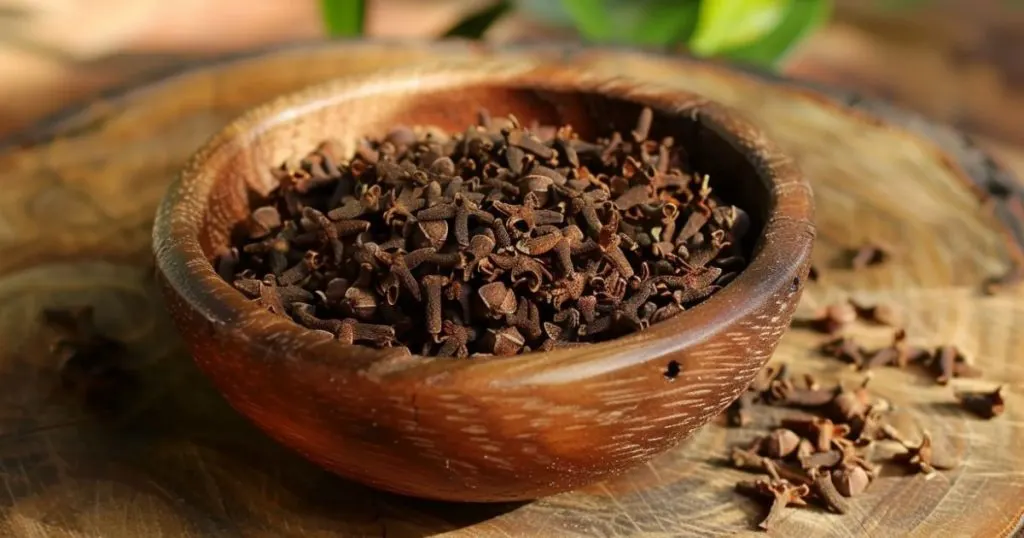
Choosing the Right Clove Seeds
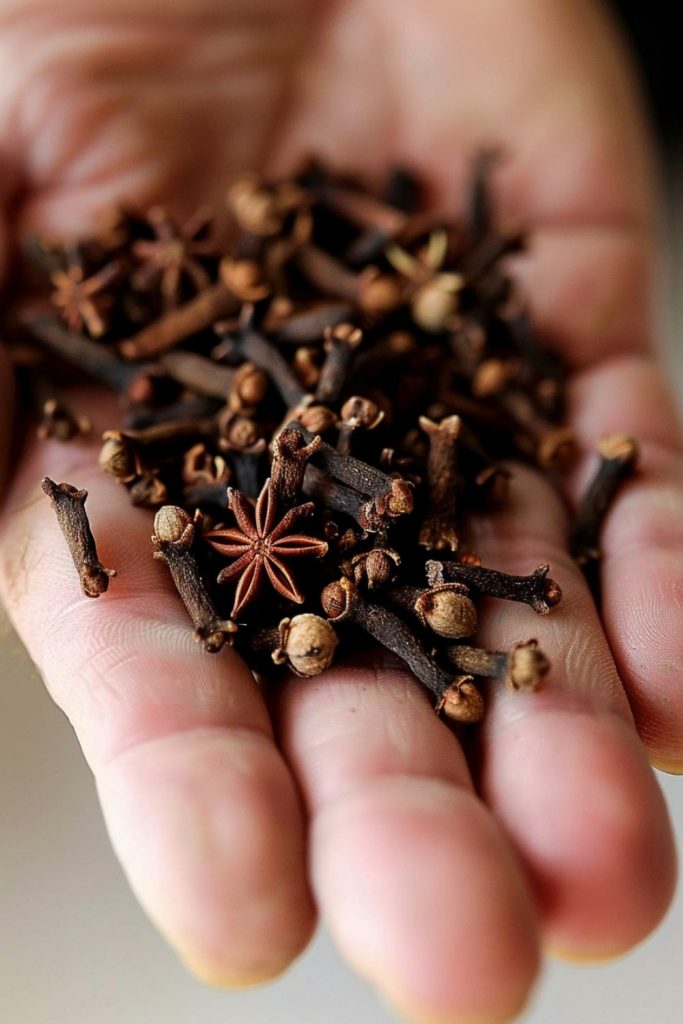
The key to successful clove cultivation lies in selecting the best seeds. Clove seeds, which are actually the dried flower buds of the Syzygium aromaticum tree, should be fresh and of high quality.

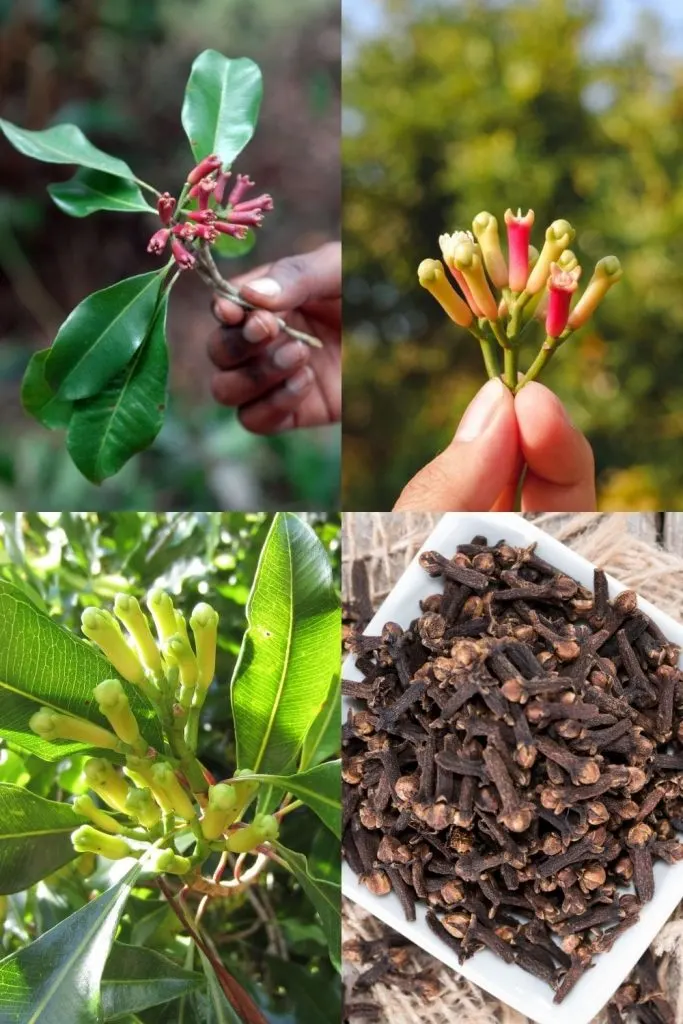
Look for plump, fragrant seeds with no signs of mold or damage. It’s essential to buy from a trusted source to ensure the best results.
How to Germinate Clove Seeds
Before planting, it’s crucial to prepare the seeds for germination. To help the seeds sprout, gently scarify the hard outer shell.
You can do this by making a small nick in the shell with a knife or lightly rubbing the seed with sandpaper. For even better results, soak the scarified seeds in warm water overnight to soften the shell and encourage germination.
How to Plant Clove Seeds: A Step-by-Step Guide
Once your seeds are prepared, it’s time to plant them. Follow these simple steps to ensure your seeds get the best start:

1. The Ideal Soil: Use well-draining, sandy soil or a high-quality potting mix enriched with compost. This ensures the seeds get plenty of nutrients and reduces the risk of waterlogging.
2. Planting the Seeds: Place the prepared seeds about 1.5 cm deep in small pots or seed trays. Leave enough space between the seeds to allow for healthy growth.
3. Watering: Water the seeds regularly, making sure the soil remains evenly moist but not waterlogged.
4. Germination: Under optimal conditions, the seeds should sprout within 2-3 weeks. Keep the soil moist throughout this period to encourage strong growth.
Caring for Clove Seedlings
Once the seedlings have emerged, they need special care to ensure they develop into strong, healthy plants:
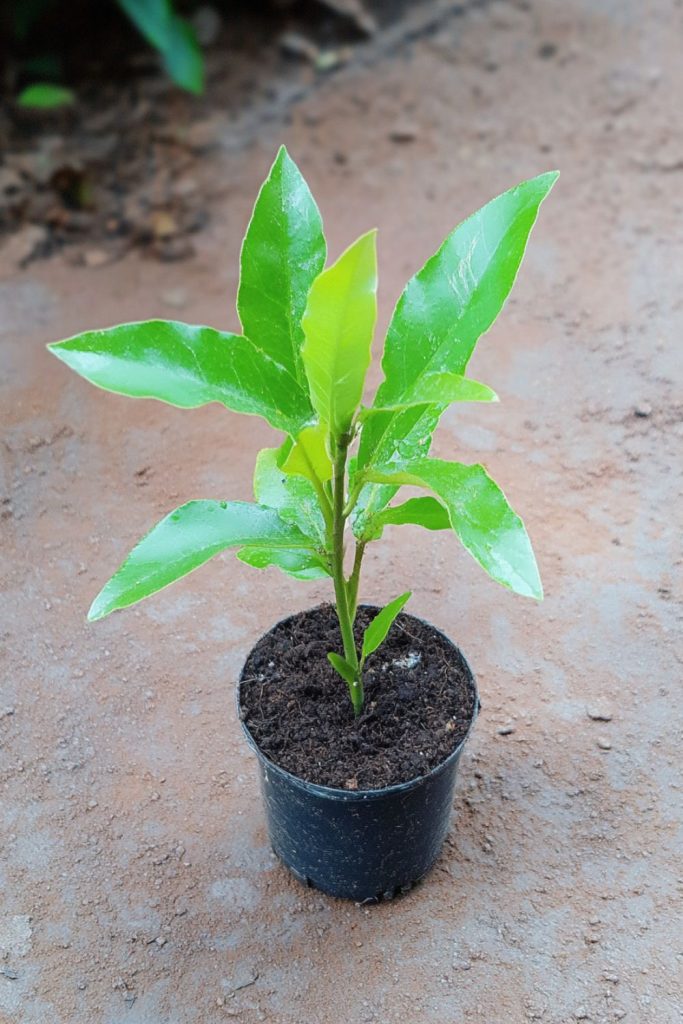

1. Light Conditions: Place the seedlings in a bright area with indirect sunlight for 6-8 hours a day. Avoid direct sunlight, as it can harm the young plants.
2. Watering: Keep the soil consistently moist, allowing the top layer to dry out slightly between waterings to avoid root rot.
3. Temperature: Clove seedlings thrive in temperatures between 70-85°F (21-29°C). Keep them away from cold drafts, especially during winter.
4. Fertilizing: Once the seedlings have developed a few sets of leaves, you can start feeding them with a balanced fertilizer designed for woody plants.
When and How to Harvest Cloves


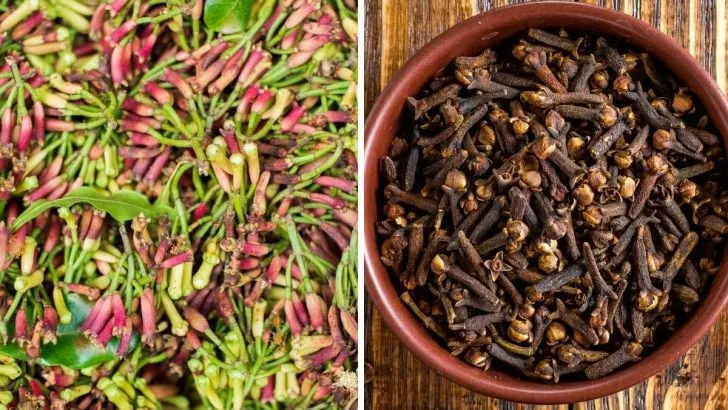
It typically takes 5-7 years for clove trees to produce their first flower buds. The buds should be harvested while they are still closed and reddish in color. Using sharp pruning shears, carefully cut the buds without damaging the surrounding foliage.
Drying and Storing Your Clove Harvest
Once harvested, the cloves need to be properly dried to preserve their flavor and aroma. Spread the buds out in a single layer on a drying rack or tray and leave them to dry in a warm, well-ventilated area.
This process takes about 1-2 weeks. After drying, store the cloves in an airtight container in a cool, dark place.
The Aroma of Success: Enjoying Your Homegrown Cloves

Growing cloves is a slow but rewarding process. With the right care and patience, you can eventually harvest your own cloves and enjoy them in cooking or as a natural remedy.
By cultivating your cloves carefully, you can ensure they’re of the highest quality. Use this guide to successfully grow and harvest your cloves and enjoy the satisfaction of producing your own fragrant spice.