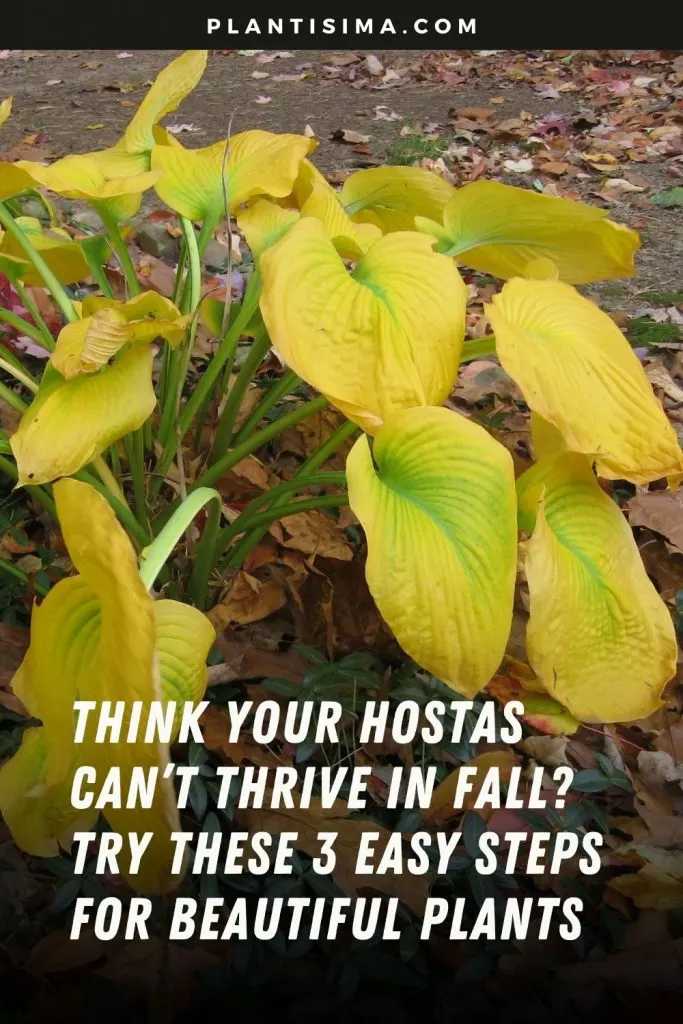
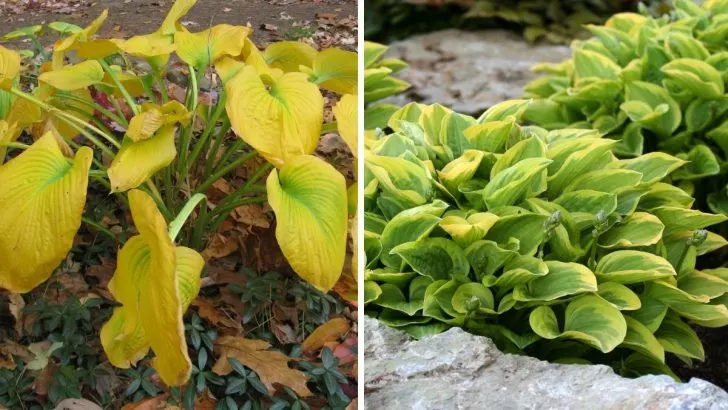
One of the best things about hostas is how effortlessly they add lushness to your garden without demanding constant attention.
They’re like that dependable friend who’s always there, looking fabulous with minimal fuss. It’s no wonder that hostas are a go-to for gardeners everywhere!
These perennial beauties thrive in a variety of hardiness zones and can brave the coldest winters with little to no pampering.
Yet, this reputation for being low-maintenance often leads to them being overlooked when it comes to seasonal care.
But here’s the secret: just 15 minutes of your time this fall could turn your hostas from background fillers to absolute showstoppers. You’ll have your neighbors stopping to ask, “What’s your secret? Your hostas are gorgeous!”
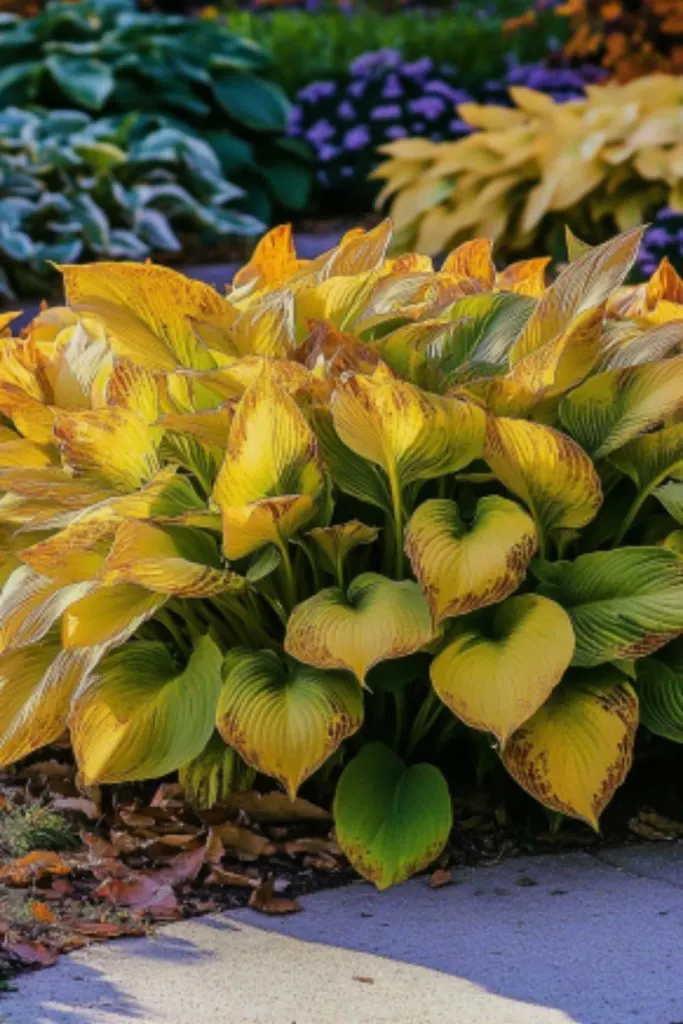
If you’ve noticed fewer blooms or sluggish growth, don’t worry. The good news is that the care they need to go from ‘meh’ to ‘wow’ is as easy as pie.
While you’re already out there prepping your garden for the colder months, take a few minutes to follow these simple steps:
1. Divide & Fertilize: Give Your Hostas Some Breathing Room
Let’s face it: after a few years, your hostas might start to crowd themselves out, especially if they’ve been hanging out with Creeping Charlie. Dividing your hostas every few years helps them stay happy, healthy, and not-so-crowded.
If your hostas have been looking a little lackluster and haven’t been blooming as much, they’re probably feeling claustrophobic. Just like most flowering perennials, they need space to thrive. Fall is the perfect time to give them that space.
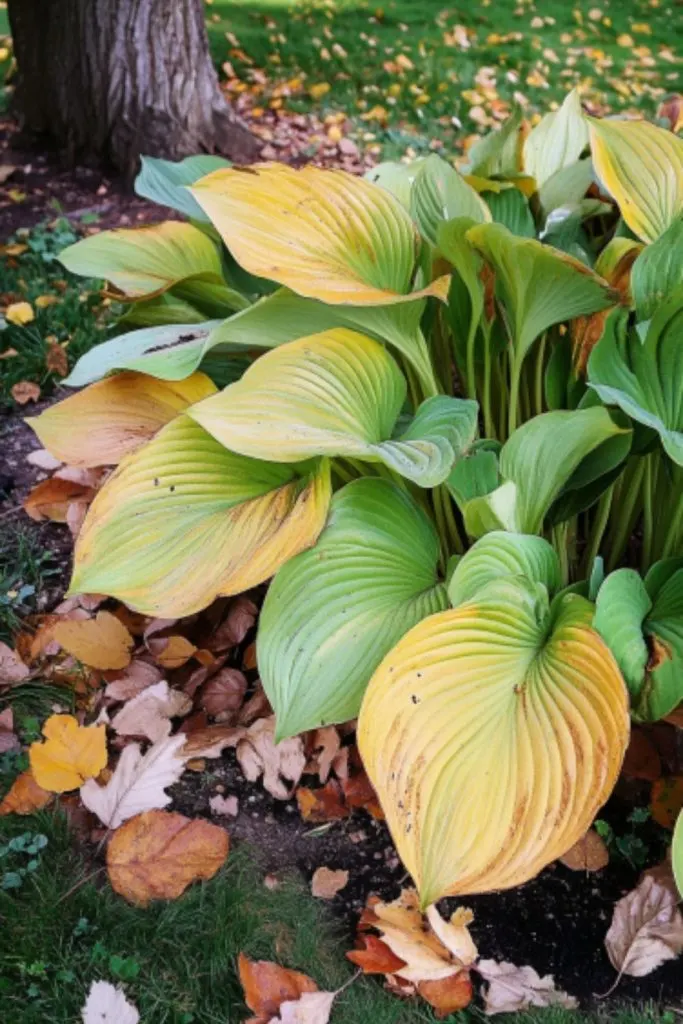
Personally, I prefer dividing my hostas in the fall. Sure, spring works too, but plants divided in the spring can spend the whole season playing catch-up.
By dividing them in the fall, the focus shifts from trying to look pretty to establishing strong roots. This gives them a head start for next year’s growth without the pressure to bloom right away.
Here’s how you do it: Use a spading fork to gently lift the entire plant out, working your way around the perimeter. Then, simply pull or cut apart the clump and replant the divisions.
You’ll be left with plenty of extras – perfect for filling in other garden spots or sharing with friends. And while you’re at it, mix in a slow-release, balanced fertilizer to give those roots the energy they need to settle in.
Oh, and if you’re like me and enjoy sharing plants, leave the extras by your front yard or driveway with a sign that says “Free Hostas!” You’ll be amazed at how fast they disappear.
2. Clean Up & Cut Back: Help Your Hostas Recharge
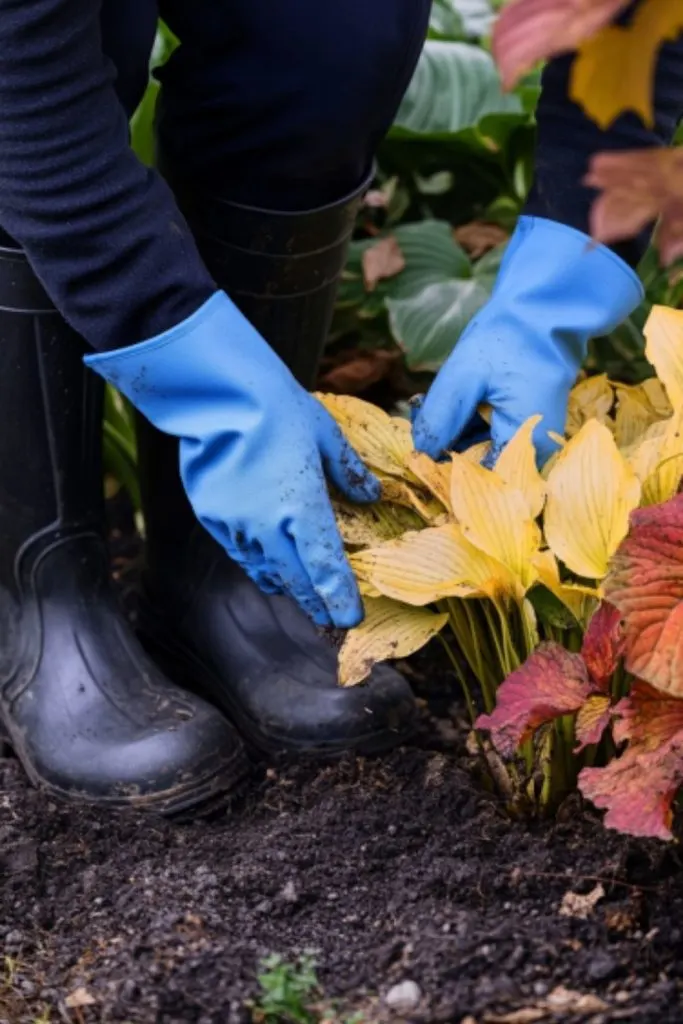
Cutting back your hostas is like hitting the reset button. They store energy in their leaves throughout the growing season, so letting them go through their natural cycle of yellowing before cutting them back ensures they’re soaking up all the nutrients they can. This simple act will have your hostas looking bigger and better next year.
Once the leaves turn yellow (usually just before the first frost), cut them back. You can either compost the leaves or chop them up to spread around the base of the plant for added nutrients.
Sure, you could leave them to rot in place, but fair warning – come spring, you’ll have a soggy mess to deal with. Not to mention, dead foliage can become a welcome mat for slugs and other pests. No one wants to turn their garden into a slug resort.
3. Mulch & Protect: Tuck Your Hostas in for Winter
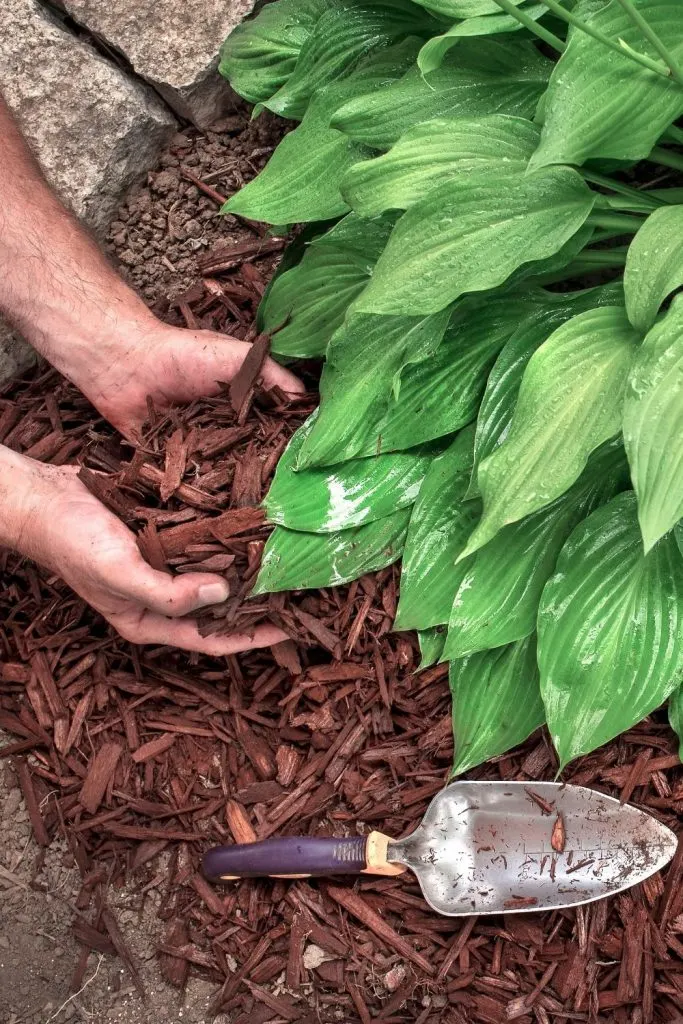
The final touch to get your hostas winter-ready is a cozy layer of mulch. After dividing and cutting them back, lay down a two-to-three-inch layer of mulch, like straw or fallen leaves, around the base of the plant. For areas with harsh winters, consider adding an extra protective layer to newly divided hostas.
Mulching isn’t just about protecting your plants from the cold. It also helps retain moisture and prevents pesky weeds from sprouting up when spring arrives. Plus, there’s something deeply satisfying about tucking your plants in for a long winter’s nap.
Fall Prep for Hosta Perfection
So, here’s the deal: fall is the perfect time to give your hostas the TLC they deserve. Divide and fertilize them for healthier growth, clean them up to maximize energy for next season, and add a layer of mulch to protect them from winter’s chill.
It’s such a small investment of time for a big payoff in beauty. Come next spring, your hostas will be anything but boring, and you’ll feel like a garden rockstar.
