Is your kitchen even complete without a trusty jar of garlic powder? In my home, it’s the unsung hero that adds that extra zing to almost every meal. While fresh garlic cloves have their charm and certainly pack a punch, there’s something undeniably convenient about reaching for that shaker of garlic goodness.
There’s no need to fumble with peeling and chopping when you’re in a hurry. A sprinkle here, a dash there, and suddenly your dish is transformed. From swift marinades to perking up a batch of mashed potatoes, garlic powder is like the fairy dust of the culinary world.
But here’s the rub: store-bought garlic powder often leaves much to be desired. It’s either priced like it’s made of gold or lacks the robust flavor that garlic enthusiasts crave. So, what’s a savvy cook to do? Make your own, of course!
Why Make Your Own Garlic Powder?
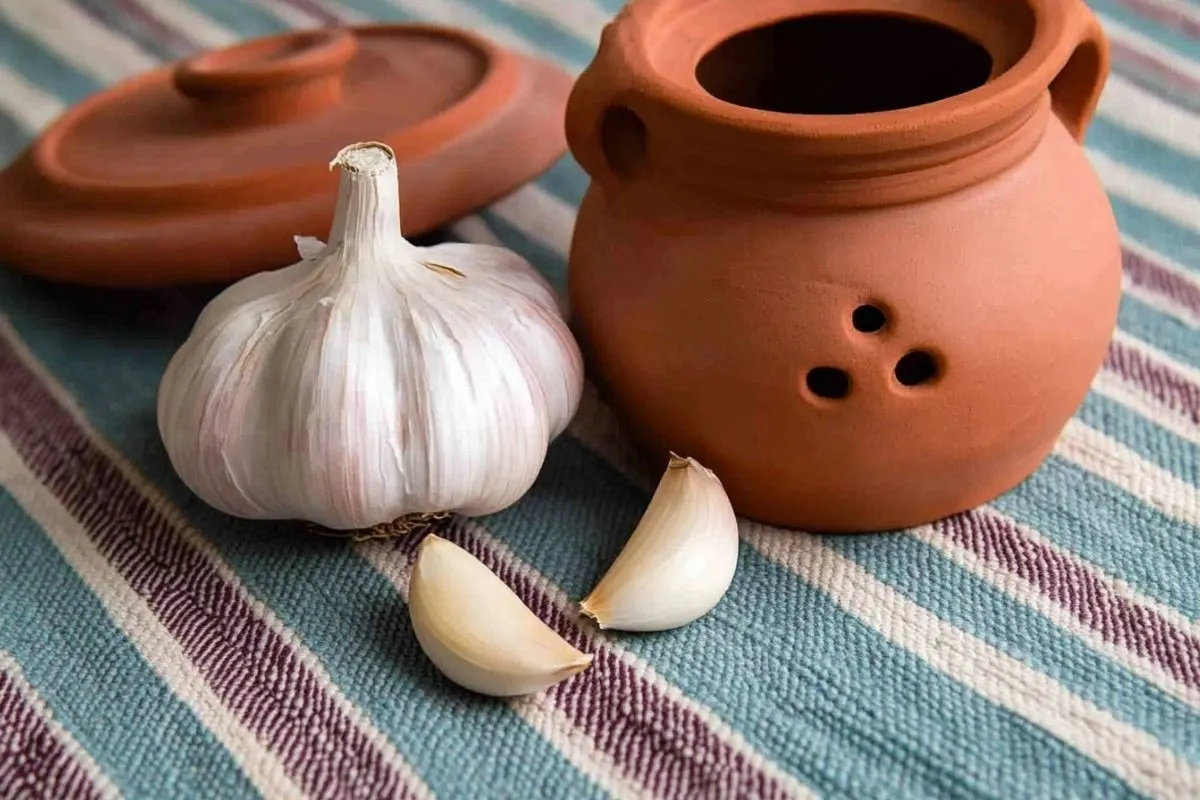
Let’s face it—high-quality garlic powder from the store can cost a pretty penny, and the budget-friendly options often taste like… well, nothing. It’s a culinary conundrum when such a staple ingredient doesn’t meet your expectations.
And the best part? Making your own garlic powder is a straightforward process involving four simple steps: peeling, slicing, drying, and grinding. Think of it as a mini culinary adventure with a delicious reward at the end.
The prep work is minimal, taking about 15 minutes of your time. The drying phase requires a bit more patience, spanning anywhere from 2 to 4 hours. The exact time depends on factors like the thickness of your slices and the moisture content of your garlic.
So, roll up your sleeves, grab a fresh bulb of garlic, and let’s dive into the garlicky goodness!
Step One: Peeling the Garlic
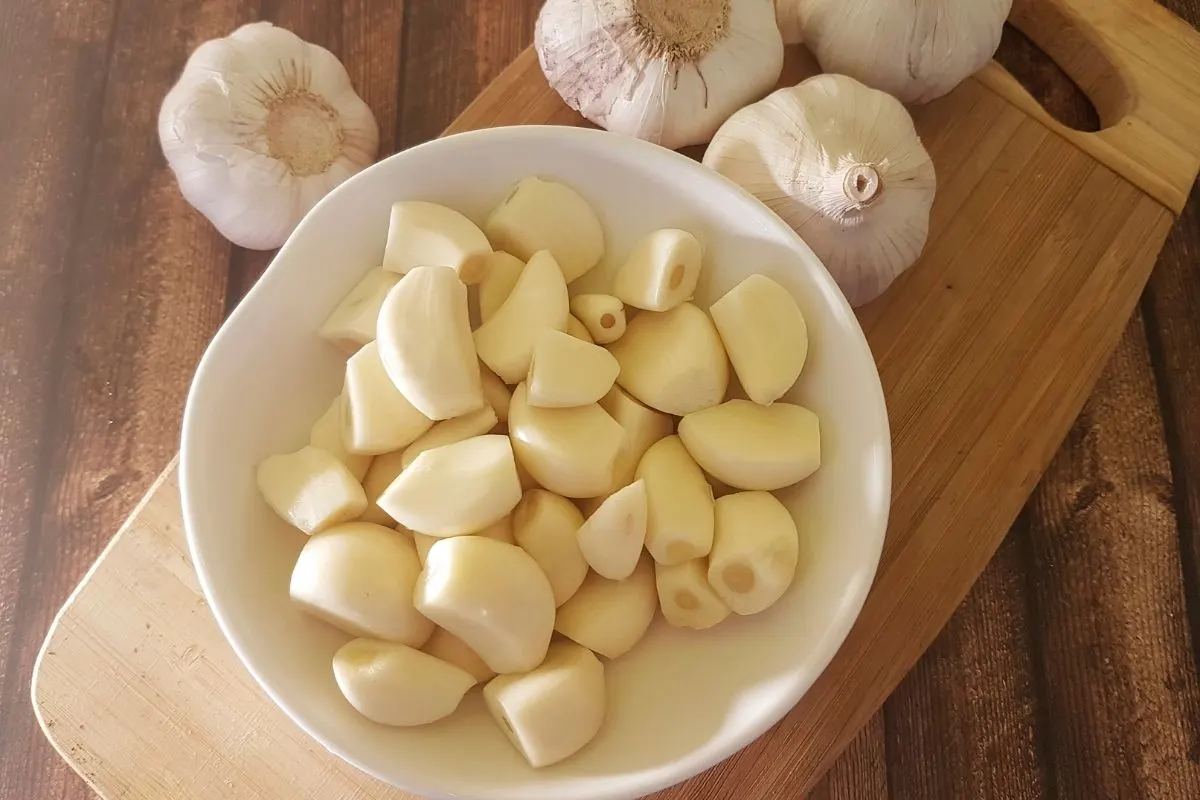
Ah, peeling garlic—the task that has inspired countless kitchen hacks and perhaps a few frustrated sighs. But fear not; with a simple technique, you can peel those cloves without breaking a sweat.
Start by cutting off the root end of each garlic clove—the point where it was attached to the bulb. This little trim helps loosen the skin, making it easier to remove. It’s like opening a door to garlicky greatness.
Next, place your knife flat against the clove (blade facing away from you for safety) and give it a gentle press. You’re aiming for a soft “pop” as the skin separates, not a garlic pancake. The skin should slide right off, leaving you with a perfectly peeled clove.
A Handy Kitchen Tip
Don’t toss those garlic skins just yet! I keep a large zipper bag in my freezer where I stash all my garlic and onion scraps. When it’s time to make homemade stock, I toss in these flavor-packed bits. Not only does it reduce waste, but it also adds a depth of flavor and a lovely golden hue to my broths.
Step Two: Slicing the Garlic
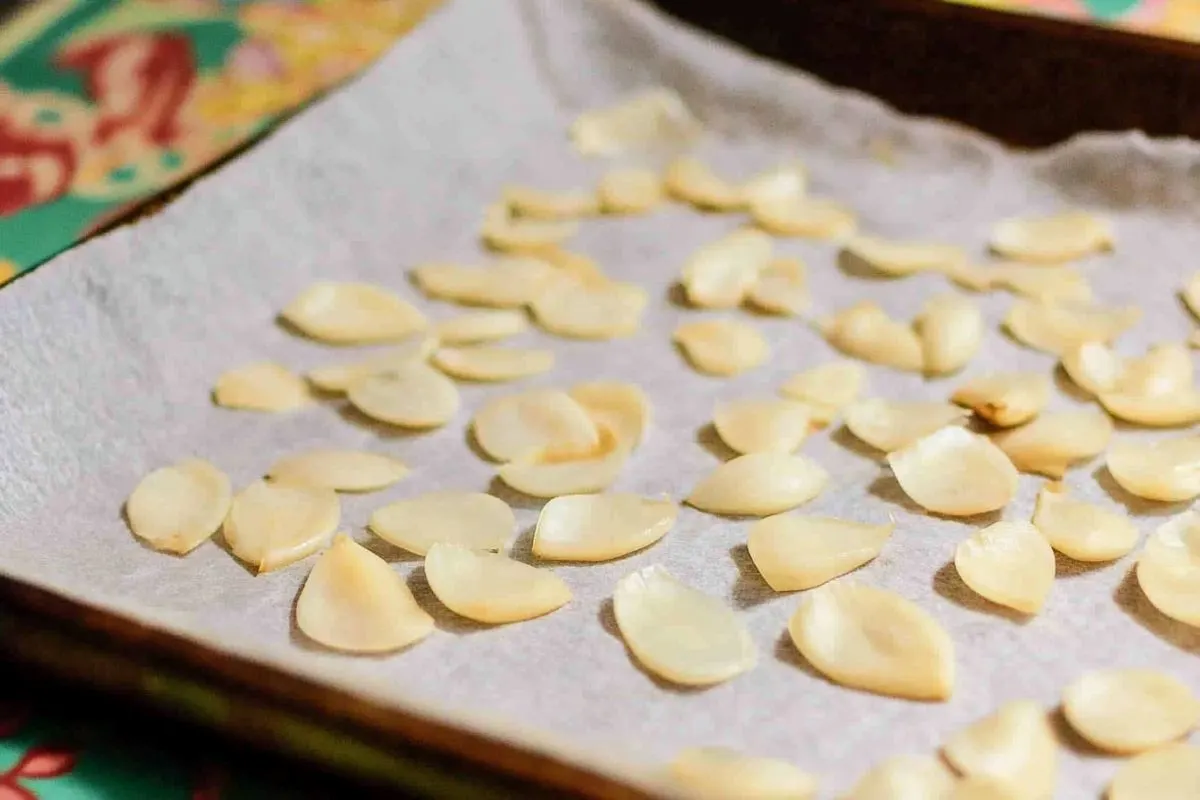
With your cloves peeled and ready, it’s slicing time. Grab a sharp paring knife—sharp is safer and more precise—and slice each clove into thin, uniform pieces about 1/8-inch thick. Think of it like crafting tiny garlic chips.
Uniformity is key here. Even slices ensure that the garlic dries evenly, preventing some pieces from burning while others remain chewy. Take your time, enjoy the process, and watch your knife skills shine.
Prepare a baking sheet by lining it with parchment paper. This step prevents sticking and makes cleanup a breeze. Lay out the garlic slices in a single layer, making sure they aren’t touching. Overlapping slices are a no-go—they need personal space to dry properly.
Step Three: Drying the Garlic
Brace yourself—your kitchen is about to be enveloped in a robust garlicky aroma. Drying garlic intensifies its scent, so if you’re a garlic lover like me, it’s a welcome delight. If not, you might consider opening a window or two!
Using Your Oven
Preheat your oven to its lowest temperature setting, typically around 130°F to 150°F (54°C to 65°C). If your oven doesn’t go that low, prop the door open slightly with a heat-safe object like a wooden spoon to allow some heat to escape. Remember, we’re drying the garlic, not roasting it.
Place the baking sheet on the middle rack and let the garlic slices do their thing. Low and slow is the mantra here. Drying can take anywhere from 2 to 4 hours, so it’s a great time to catch up on a book or your favorite show.
Check on your garlic every hour. As the slices begin to dry, they may curl up slightly and turn a light golden color. If you notice some pieces drying faster than others—especially if the slices aren’t perfectly uniform—feel free to remove the done ones and let the rest continue.
Patience Makes Perfect
Resist the temptation to crank up the heat to speed things along. Higher temperatures can cause the garlic to brown and develop a bitter taste. We’re aiming for a delicate, crisp texture with a subtle golden hue—not a burnt disappointment.
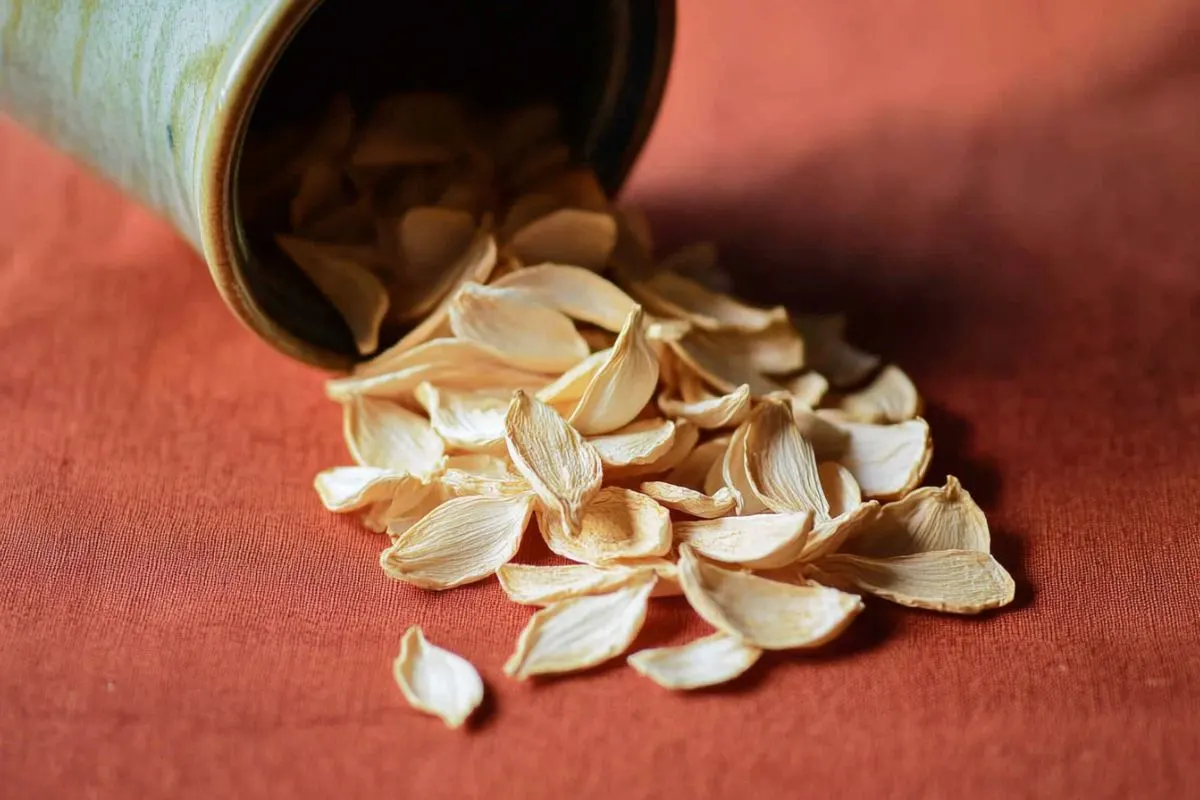
Once the slices are thoroughly dried—they should be brittle and snap easily—they’re ready to come out of the oven. Let them cool completely on the baking sheet. This cooling period allows any remaining moisture to evaporate and the slices to crisp up perfectly.
Step Four: Grinding into Garlic Powder
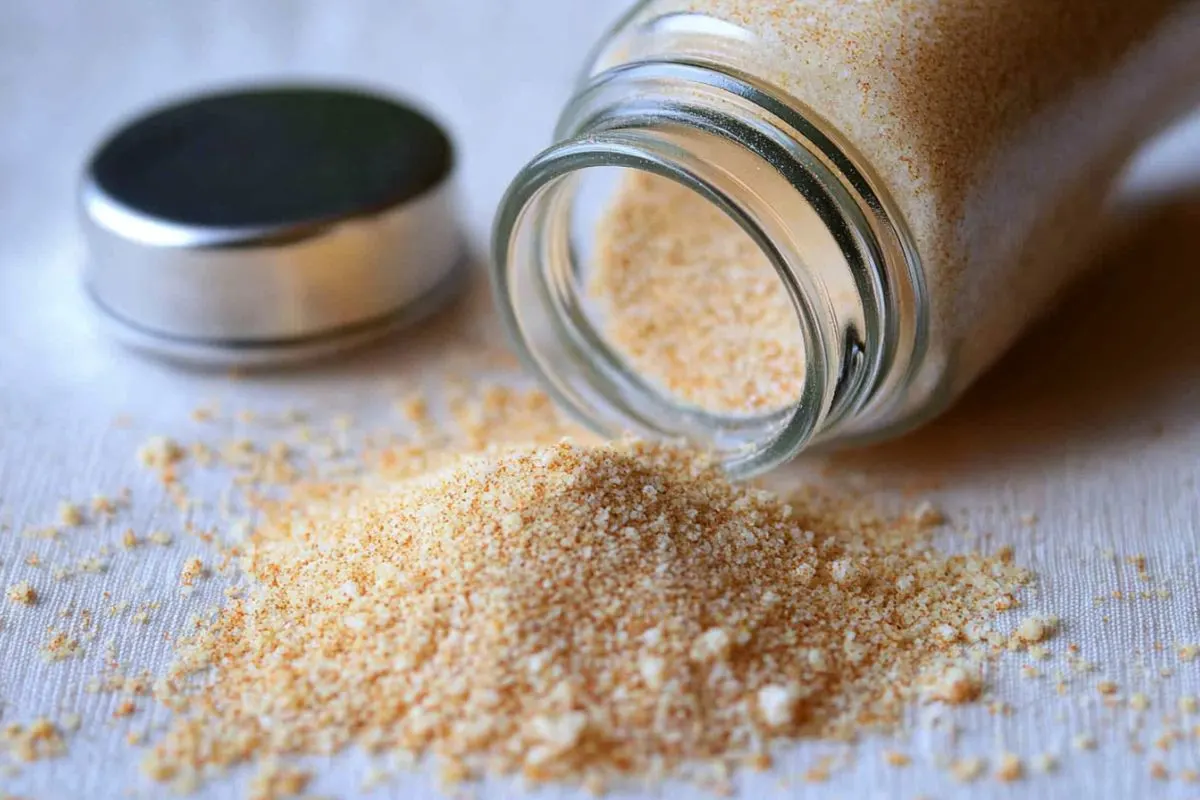
Now comes the fun part: transforming those dried slices into fragrant garlic powder. You have several options for grinding:
• Spice Grinder: Provides a consistent, fine powder.
• Coffee Grinder: Effective but be cautious (more on that in a moment).
• Food Processor or Blender: Good for larger batches but may result in a coarser texture.
• Mortar and Pestle: A bit labor-intensive but gives you control over the texture.
Place the dried garlic slices into your chosen apparatus and grind until you reach your preferred consistency. Whether you like it super fine or with a bit of texture is entirely up to you.
A Word About Coffee Grinders
If you opt to use a coffee grinder, it’s wise to dedicate one specifically for spices. Garlic’s potent aroma can linger, and you probably don’t want garlic-flavored coffee the next morning! To clean a coffee grinder, grind some uncooked rice first; it helps absorb residual oils and odors.
Storing Your Garlic Powder
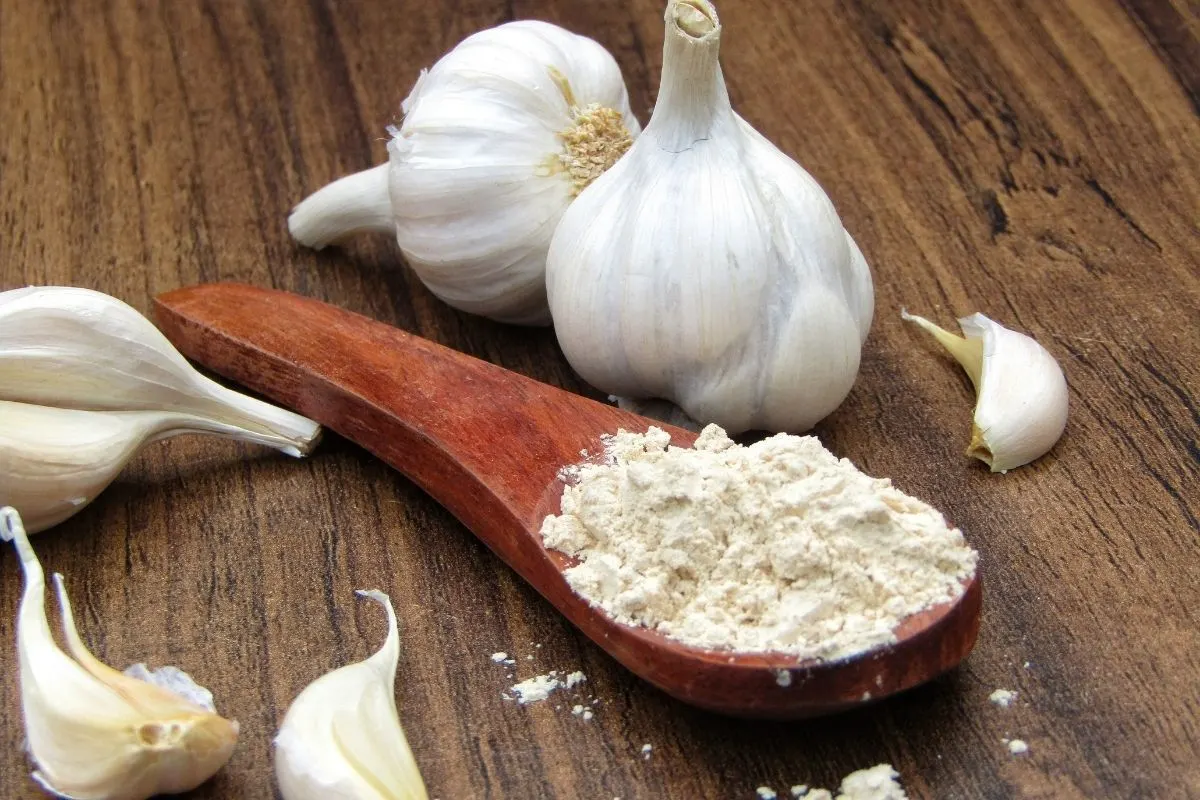
Transfer your freshly ground garlic powder into an airtight glass container. Reusing old spice jars works wonderfully—just make sure they’ve been thoroughly cleaned and dried. Adding a few grains of uncooked rice to the jar can help absorb any remaining moisture and prevent clumping.
Label your jar with the date, and store it in a cool, dark place like your pantry. Properly stored, your homemade garlic powder can last up to a year, although the vibrant flavor is at its peak during the first few months.
Final Thoughts
And there you have it—a simple, rewarding process that yields a far superior product to most store-bought options. Once you’ve tasted the vibrant flavor of homemade garlic powder, there’s no turning back.
Not only is this a cost-effective alternative, but it also allows you to control the quality and freshness of a spice that’s a staple in so many recipes. Plus, there’s a certain pride in saying, “I made that!”
So go ahead, sprinkle your dishes with your very own garlic powder, and savor the difference. Happy cooking!

