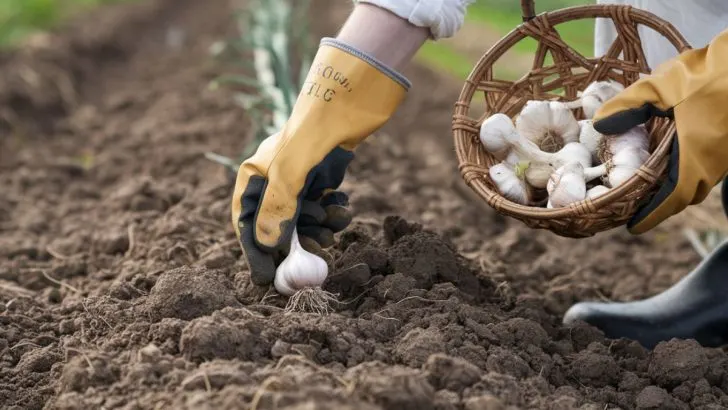
Did you know that fall isn’t just about crunchy leaves and pumpkin spice lattes? It’s also the prime time to plant garlic, one of the most beloved ingredients in kitchens worldwide.
While many gardeners are winding down for the year, this season offers a golden opportunity to get your garlic in the ground and set the stage for a bountiful harvest next summer.
You might be thinking, “Isn’t spring the season for planting?” Surprisingly, when it comes to garlic, planting in the fall can make all the difference between a modest crop and a bumper one.
By embracing the chill in the air, you’re giving your garlic a head start that pays off with bigger, more flavorful bulbs.
So, if you’re ready to roll up your sleeves and soil your hands, let’s delve into why fall is the ideal season for planting garlic and how you can make the most of this natural advantage.
The Benefits of Planting Garlic in the Fall
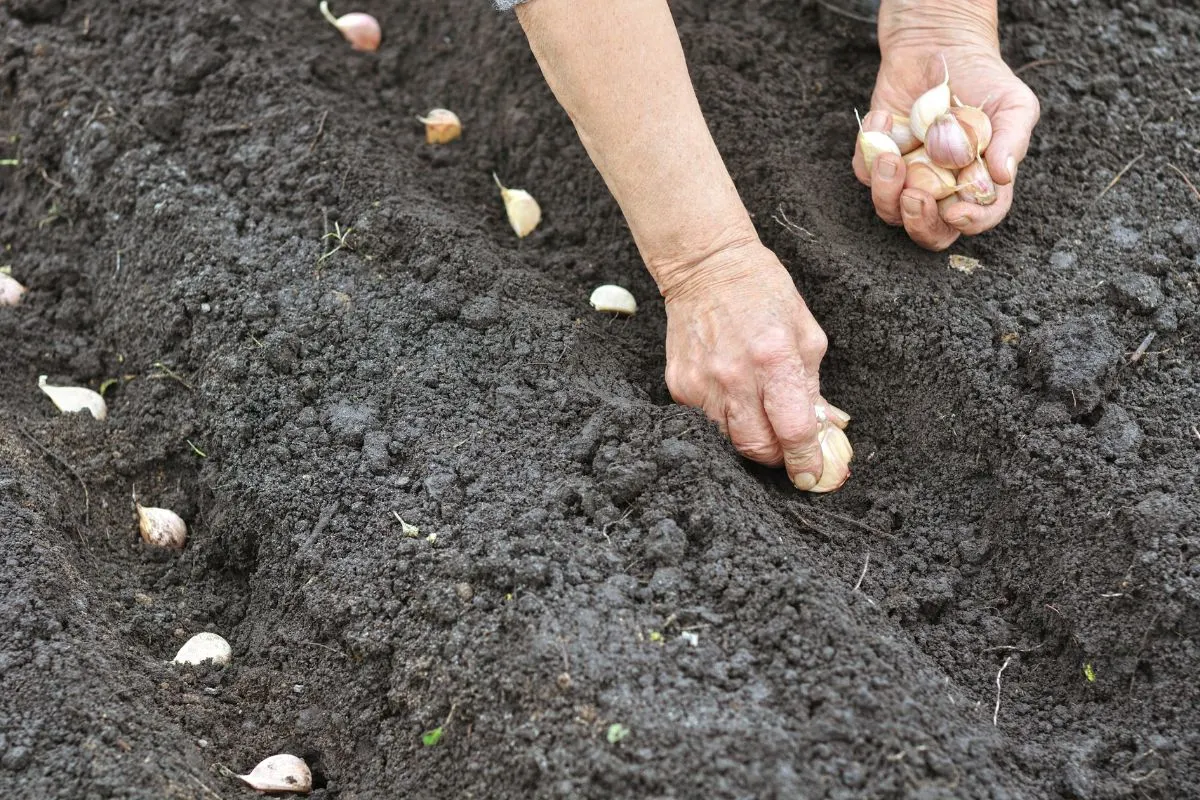
Fall planting leverages nature’s cycle to give your garlic the best possible start. Unlike other vegetables that prefer the warming soils of spring, garlic thrives when planted before the frost settles in. Here’s why.
Firstly, planting in the fall allows garlic cloves to establish a strong root system before the ground freezes. These early roots are like the foundation of a house—they support everything that comes after.
A robust root system means your garlic plants can absorb more nutrients and water, leading to larger and healthier bulbs come harvest time.
Secondly, the cold winter temperatures are actually beneficial. Garlic needs a period of cold weather, known as vernalization, to trigger the development of the bulb.
Think of it as hibernation that prepares the plant for vigorous growth in the spring. Without this cold spell, you might end up with underdeveloped bulbs or, worse, no bulbs at all!
Lastly, fall planting helps you get ahead of the weeds. By the time spring arrives and weeds start popping up, your garlic will already be well-established. This head start means less competition for nutrients and a better overall yield.
Choosing the Right Variety for Your Climate
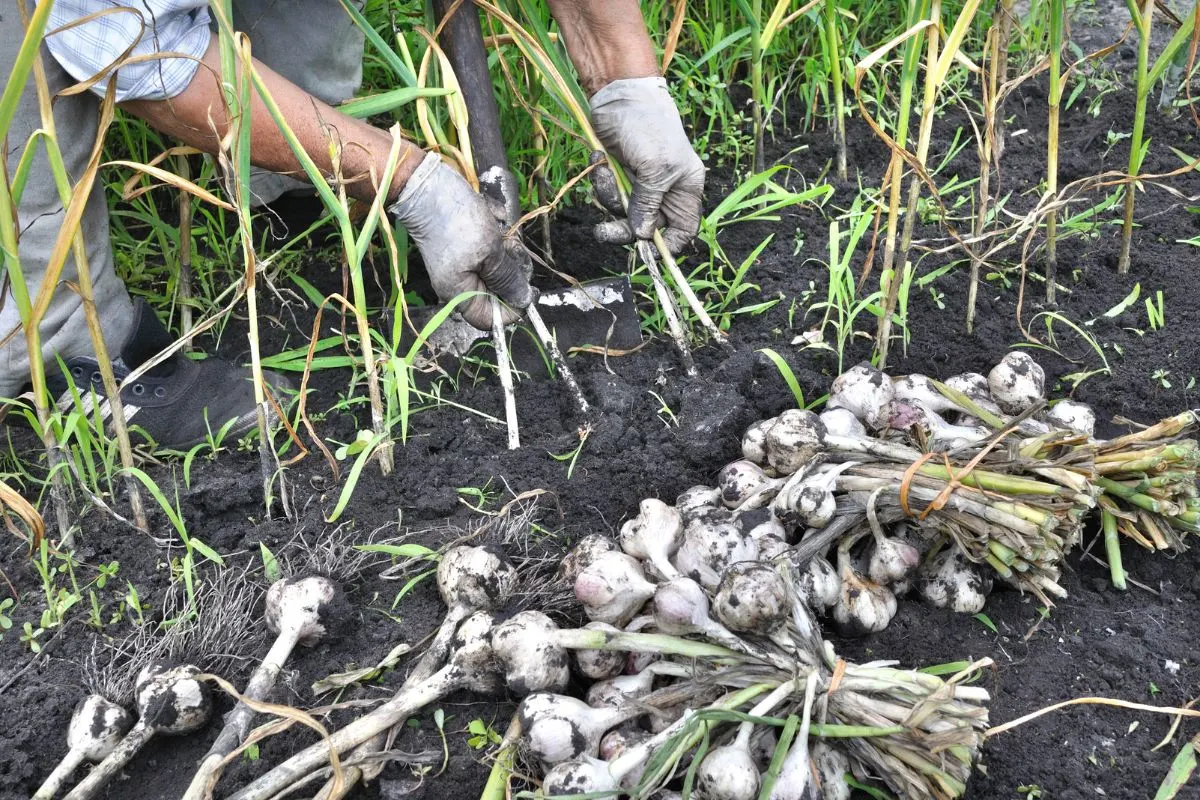
Not all garlic is created equal, and choosing the right type is like picking the right tool for a job. Your local climate plays a big role in determining which garlic variety will thrive in your garden.
In colder regions, hardneck garlic is the way to go. Named for its stiff central stem, hardneck garlic is well-suited to withstand harsh winters. It also produces flavorful scapes—those curly, edible flower stalks that are a delicacy in their own right.
If you live in a milder climate, softneck garlic might be your best bet. Softneck varieties are the types you usually find in grocery stores. They have a flexible stem and tend to have a longer shelf life, but they may not perform as well in areas with severe cold.
For those in between or unsure, consider consulting with a local nursery or extension service. They can provide recommendations based on what grows well in your specific area. After all, there’s no substitute for local knowledge when it comes to gardening.
Step-by-Step Guide to Planting Garlic
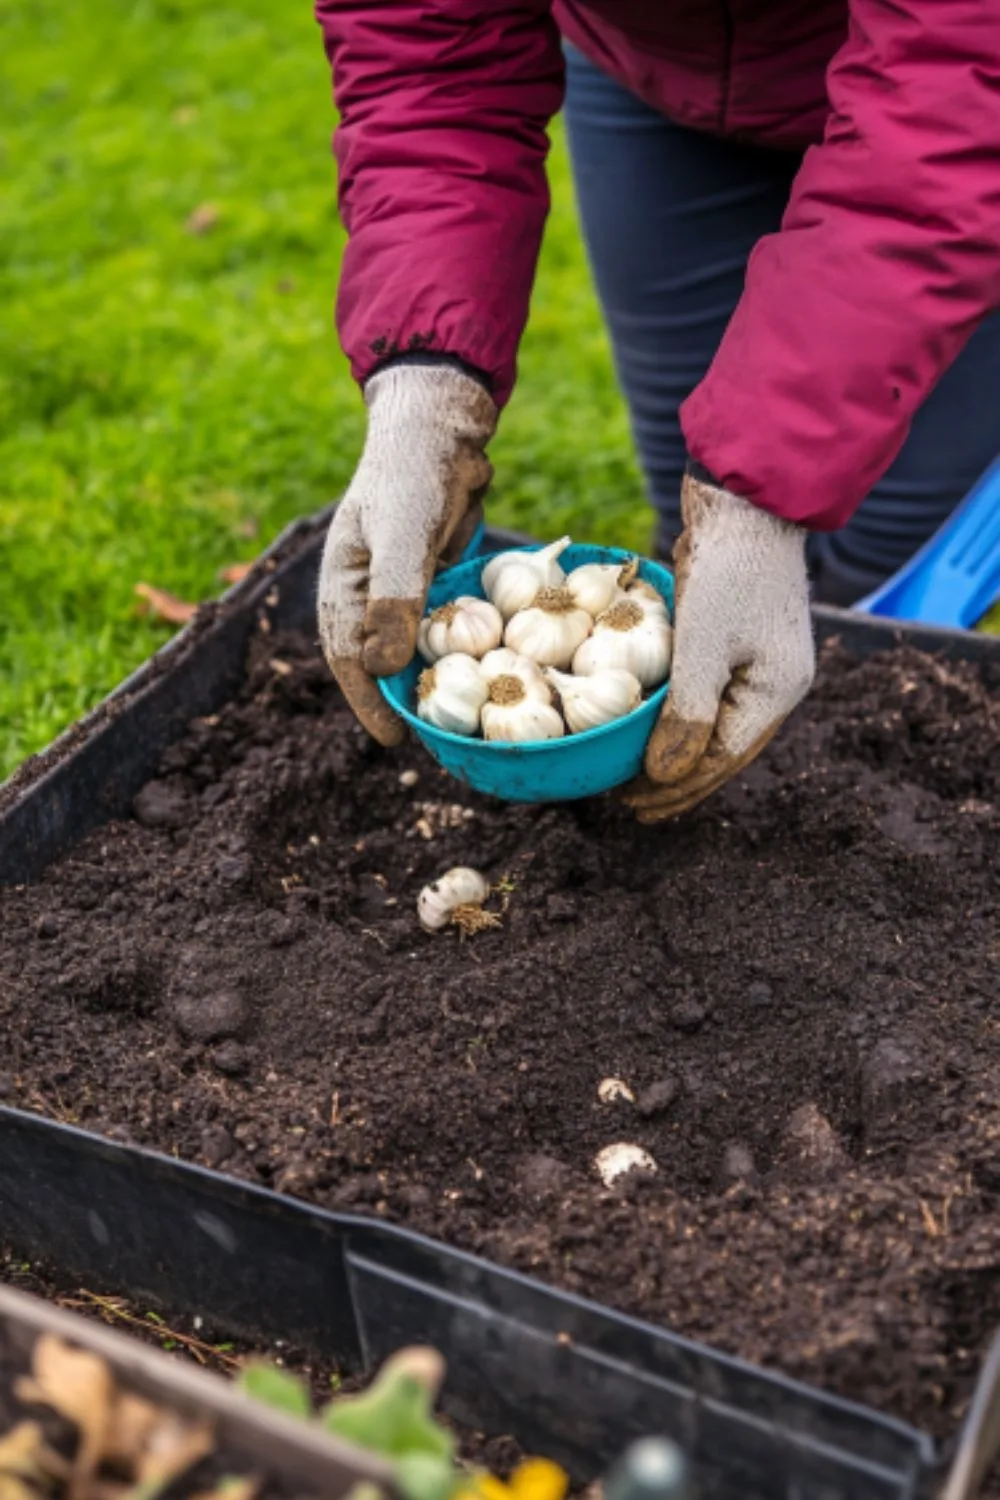
Ready to get your hands dirty? Here’s how to plant your garlic step by step.
1. Break apart your garlic bulbs into individual cloves, but keep the papery skin intact. Choose the largest cloves for planting, as they’ll produce the biggest bulbs. Save the smaller ones for cooking—they’ll taste just as good!
2. Plant each clove pointy end up, about 2 inches deep, and space them about 6 inches apart. This gives each plant enough room to grow without crowding its neighbors.
3. Water the cloves thoroughly after planting. This initial watering helps settle the soil around the cloves and kickstarts root development.
4. Apply a layer of mulch, such as straw or shredded leaves, about 4 inches thick over the planting area. Mulching helps retain moisture, suppress weeds, and insulate the soil against temperature extremes.
By following these steps, you’re setting your garlic up for success. It’s akin to tucking them into bed for the winter with a warm blanket and a goodnight kiss.
Nurturing Your Garlic Over Winter
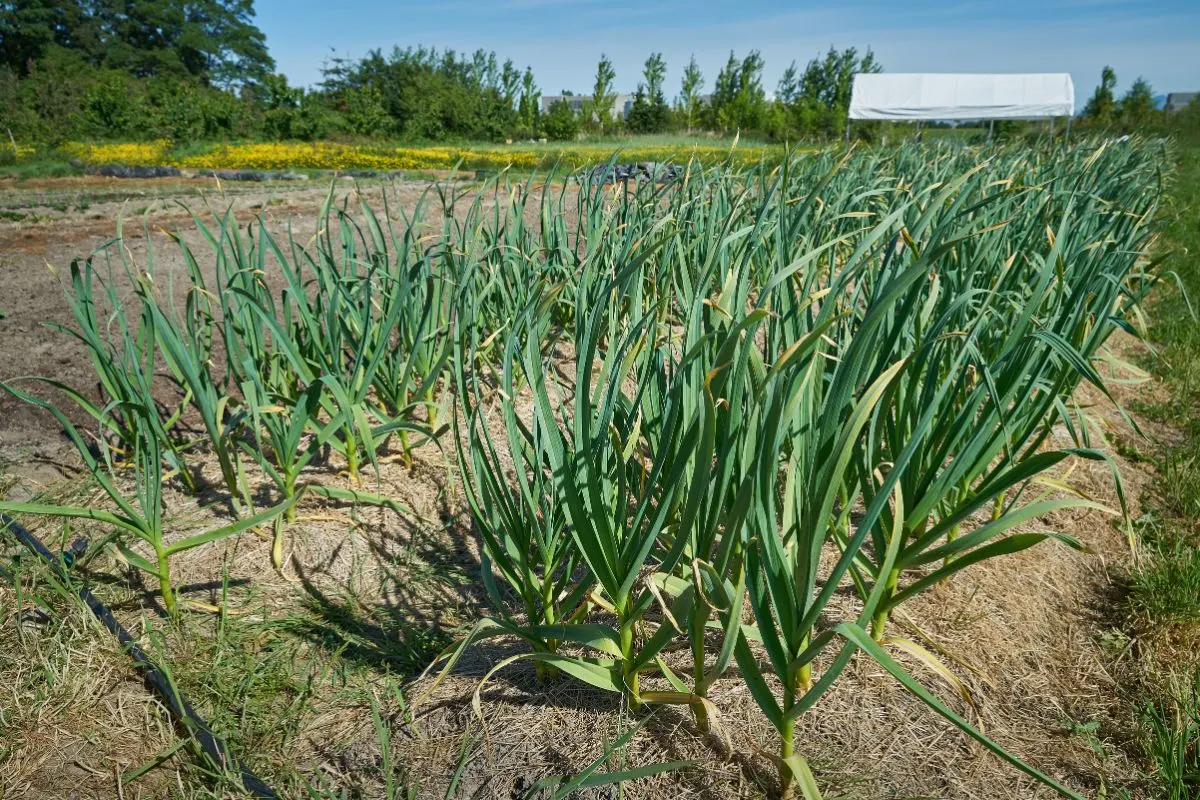
You might be tempted to sit back and relax once your garlic is in the ground, but a little attention over the winter can go a long way.
Firstly, keep an eye on soil moisture. While you don’t need to water regularly during the cold months, if there’s an extended dry spell without snow cover, a light watering can prevent the cloves from drying out.
Secondly, watch out for any signs of disturbance. Critters like squirrels or rabbits might dig into your mulch. If you notice this, consider adding a protective layer like garden fabric or netting to keep them at bay.
Lastly, resist the urge to remove the mulch too early in the spring. Garlic is hardy, but sudden temperature swings can be stressful. Wait until any threat of a hard frost has passed before gently pulling back the mulch to allow shoots to emerge.
Harvesting and Storing Your Garlic
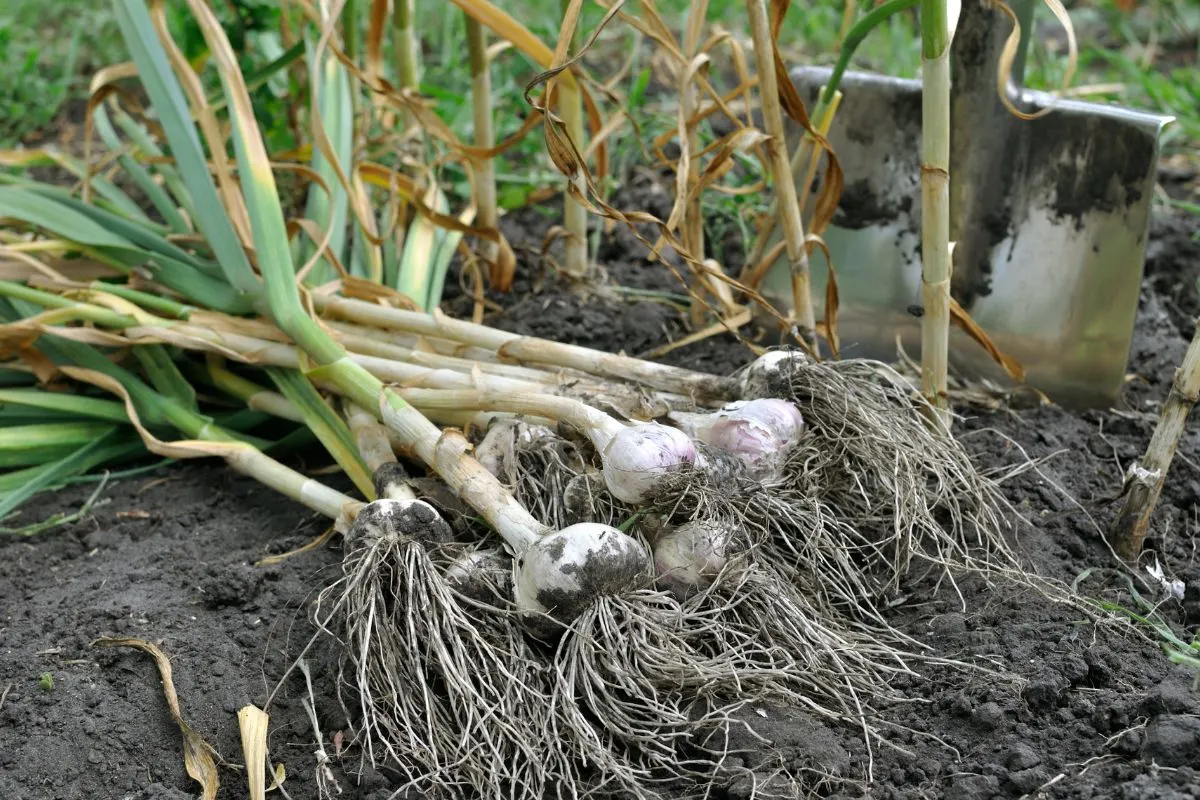
After months of anticipation, the moment arrives—it’s time to harvest! Knowing when and how to harvest is crucial to maximize the flavor and storage life of your garlic.
Typically, garlic is ready to harvest in late spring to early summer. Look for yellowing leaves as a sign that the bulbs have matured. Avoid waiting too long, as overripe bulbs can split open and won’t store as well.
When harvesting, gently loosen the soil around the bulbs with a garden fork—don’t just yank them out, as this can damage them. Brush off excess dirt but resist the temptation to wash them. Moisture can promote mold and reduce shelf life.
To cure your garlic, tie the bulbs in small bundles and hang them in a cool, dry place with good air circulation for about three weeks.
Once cured, trim the roots and stems, and store your garlic in a dark, well-ventilated area. Properly stored garlic can last for several months, keeping you well-supplied through the winter.

