7 Must-Know Aloe Plant Tips Every Owner Shouldn’t Miss
Follow us on Google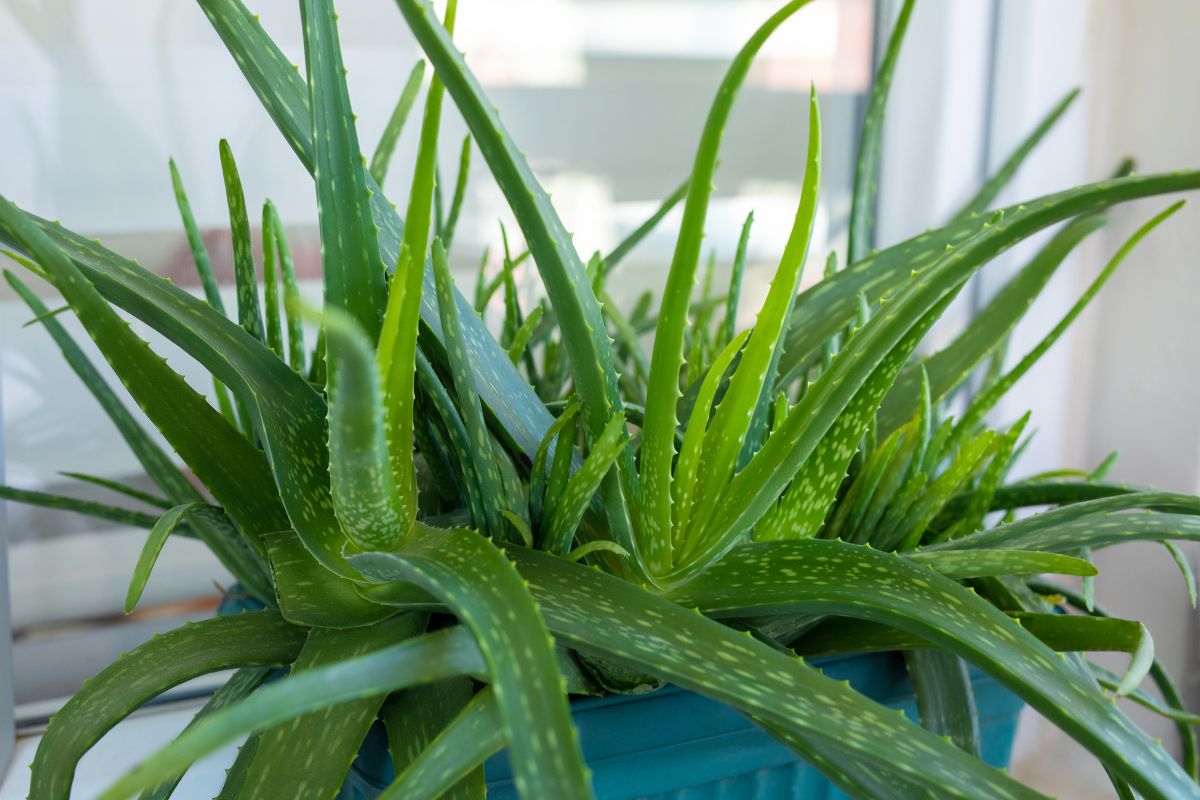
Aloe plants are often a top pick for beginners because they’re so low-maintenance. But did you know that many people still aren’t giving them the care they truly need?
Or rather, there are a few clever tricks you can use to ensure your aloe plant is thriving at its best.
Here’s everything you need to know to have a thick, healthy, and vibrant aloe plant in your home!
Aloe Plant Care Basics
There are many types of aloe plants, not just the famous Aloe vera. The great thing is, they all have similar needs when it comes to soil, moisture, and sunlight.
First and foremost, aloe plants absolutely need between 4 and 8 hours of direct sunlight daily, depending on its intensity. If you don’t give your spiky friend enough light, you’ll quickly notice it becoming limp and droopy.
Next up is watering. Aloe plants have thick, fleshy leaves that store water, which means they don’t need frequent watering.
Watering once every three weeks in summer, and even less in winter, is usually more than enough.
But, no matter how careful you are with watering, your aloe won’t thrive if the soil isn’t right. Make sure you’re using a well-draining succulent and cactus mix. This ensures the roots don’t sit in water, which can lead to rot.
And yes, don’t forget about drainage holes! These are an absolute must for potted aloe plants.
Fertilizing is also key, but don’t go overboard. Feed your aloe every 1-2 months with a succulent fertilizer, following the package instructions. While potted aloe plants do need more nutrients than others, it’s always better to under-fertilize than overdo it.
After all, this succulent doesn’t need a lot of nutrients to begin with, so less is more!
1. Tricks for Growing Thick Aloe Plants
Aloe plants are tough – they can survive a lot. But if you’re aiming for a show-stopping, plump aloe that’s the envy of all, you’ll need to go beyond basic care.
Here’s how to make sure your aloe stays thick and healthy:
• Let the soil dry out completely between waterings. Aloe plants store water in their leaves, and if the soil is constantly moist, they won’t need to do this, leaving them looking less plump.
• Give them plenty of bright light. Aloe needs sunlight to photosynthesize, and without it, it won’t produce those luscious leaves. Ensure your plant gets about 8 hours of sunlight daily, and you’ll see it thrive in no time.
2. Watch Out for Sunburn

Did you know your sun-loving aloe can actually get sunburned? Make sure it’s not sitting in the harsh midday sun, which can cause significant damage.
Signs of sunburn include yellow or brown leaf tips, brown spots, and wilting or curling leaves. The soil may also dry out too quickly.
If you notice any of these signs, move your aloe a little further from the window or direct sun. It still needs plenty of light, but not that intense, direct midday exposure.
And if you move your plant outdoors in summer, make sure it gets some shade during the hottest part of the day.
3. Help Your Aloe Grow Upright
Most outdoor aloe plants (Aloe barbadensis) have no trouble growing straight up because they get sunlight from all directions. However, indoor plants tend to grow sideways as they reach for the light.
To encourage upright growth, ensure your aloe gets bright, even light, and rotate it occasionally to ensure all sides receive sunlight.
You can also gently tie the plant to help it grow upright. Just be careful not to tie it too tightly – you don’t want to damage the leaves.
After about five days, you can remove the tie, and your plant should stand tall!
Note: If your plant isn’t getting enough sunlight after being tied, it might start leaning again.
4. Turn Your Aloe into an Air Plant
If you’re struggling to keep your aloe growing upright, you can try turning it into an “air plant,” growing it without soil!
All you need is a mix of coconut coir and pebbles. Place this mixture in a burlap sack and wrap it around the roots of your aloe.
Tie the fabric around the base of the plant and hang it up in a bright spot with a string.
While you’ll need to water your aloe more frequently than typical air plants, it’s not too difficult. Submerge the burlap-wrapped roots in water for a few minutes, allow it to drain, and then hang it back up.
Water every two weeks or mist the plant every few days. You can also add a bit of succulent fertilizer every 1-2 months to keep it healthy.
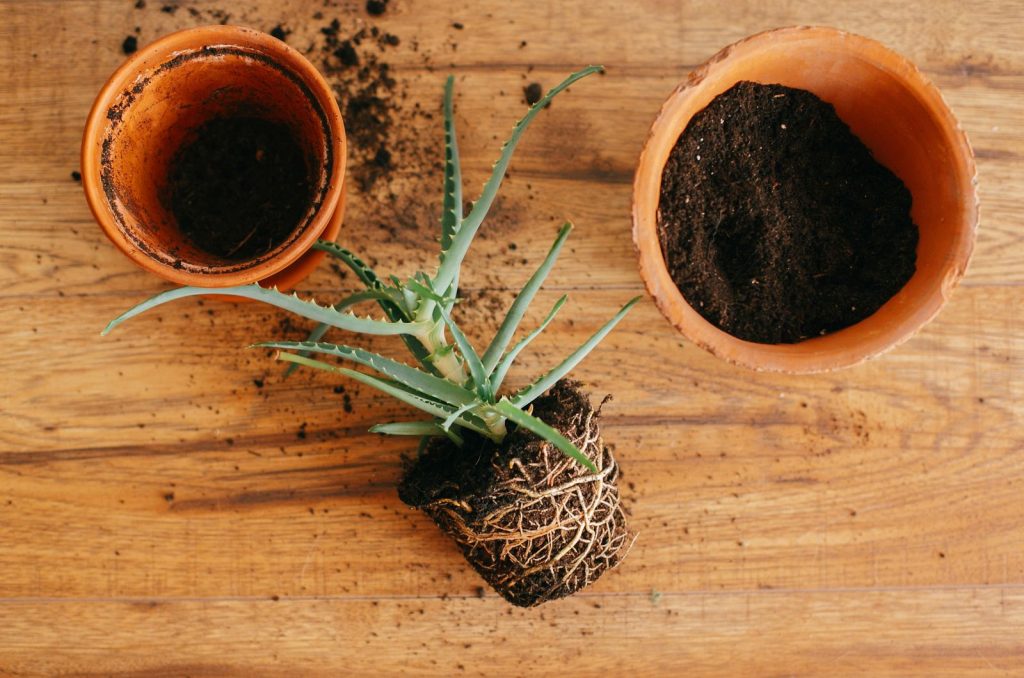
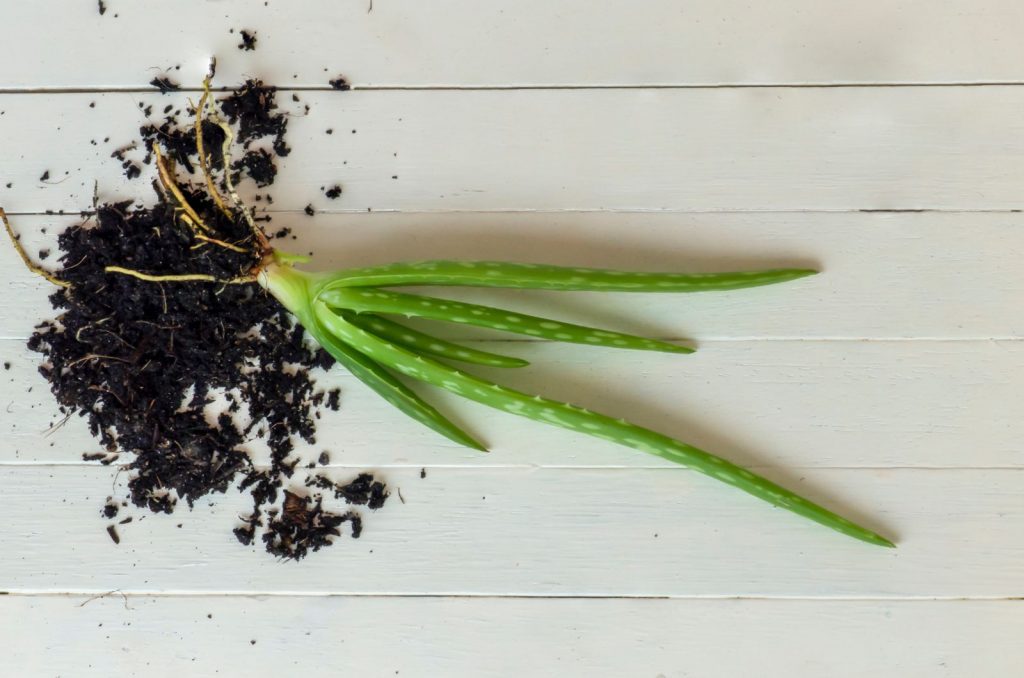
5. Propagating Aloe from Pups
One aloe plant is never enough – and most gardeners will agree! Many of us have multiple plants of the same type because we’ve propagated them ourselves.
However, you can’t propagate every plant in the same way. While most houseplants are best propagated by leaf cuttings, aloe isn’t.
Aloe leaves contain gel, which keeps them too moist and more likely to rot than root.
Thankfully, there’s an easier way – using the pups (or offsets) that naturally grow around the base of the plant.
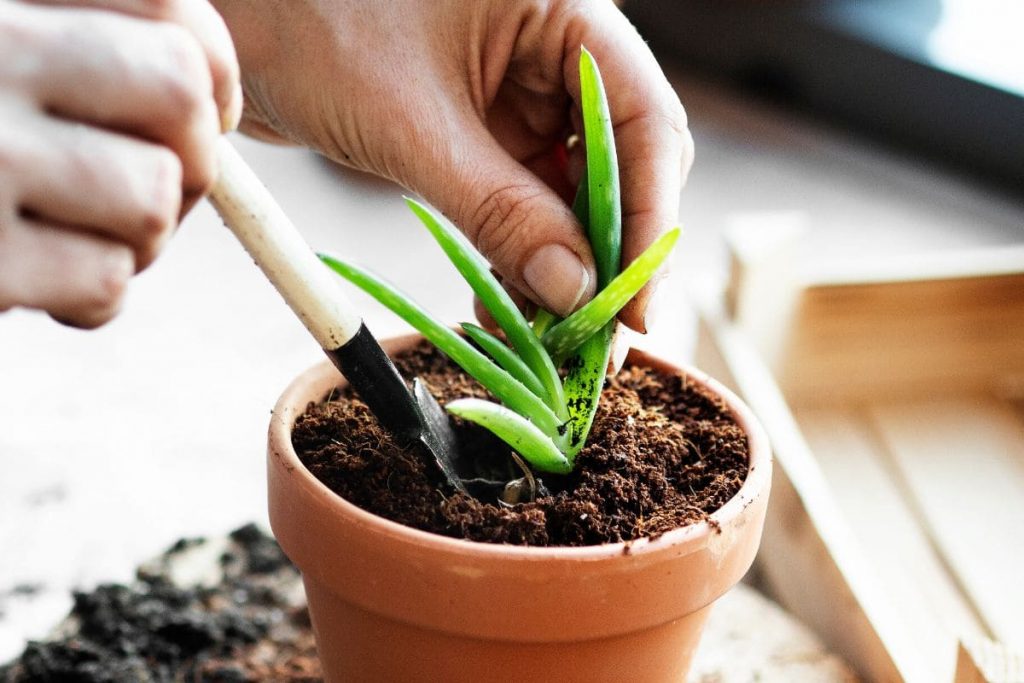
Here’s how to propagate aloe from pups:
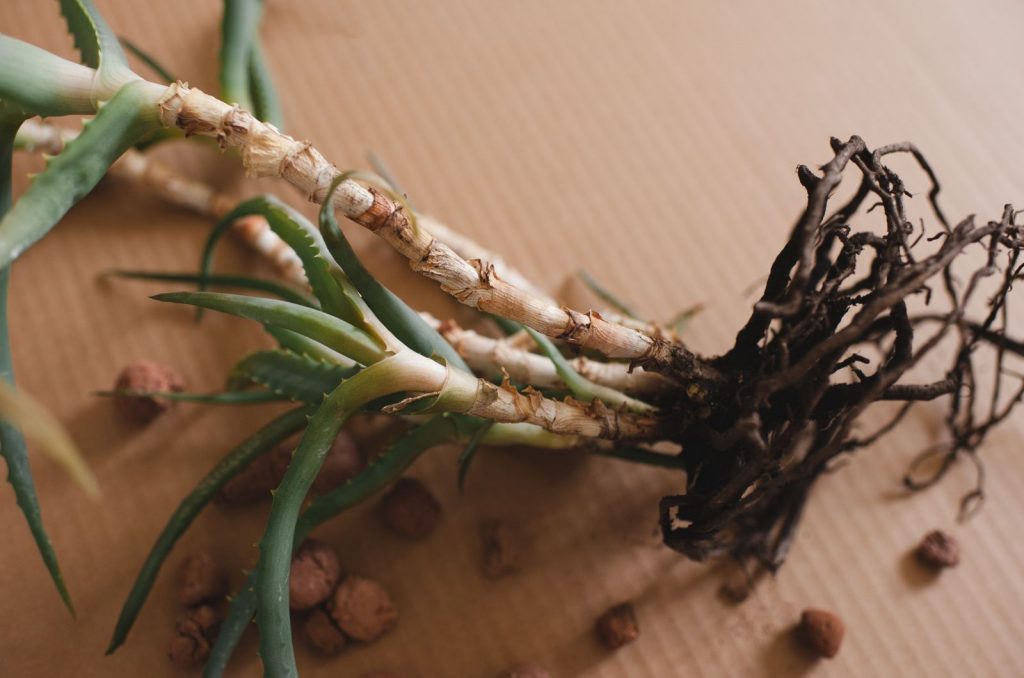
1. Carefully remove the entire plant from its container and locate the pups and their root system. Gently separate them from the mother plant.
2. Let the pups’ roots callous over before planting them in succulent soil. While optional, allowing a callous to form helps reduce the risk of rotting.
3. Water thoroughly once the soil dries out, and keep the new plants out of direct sunlight until they’re established.
6. Preventing Root and Crown Rot
Aloe and other succulents are prone to diseases like root and crown rot, typically caused by overwatering or allowing the plant to sit in water for too long.
If your aloe’s leaves are turning yellow, transparent, shriveled, or mushy, you may be overwatering.
If these symptoms persist and you continue to water, it will lead to root rot.
In this case, you’ll need to remove the plant from the soil, cut away the affected roots, and replant it in fresh, well-draining soil.
Don’t water immediately after repotting. Wait until the soil is dry before giving it another drink.
If left untreated, the disease may spread to the base (crown) of the plant. To combat this, remove all affected parts, use a fungicide, and repot in well-draining soil.
The chances of saving the plant are slim, so you may need to start fresh with a new one.
7. Harvesting Aloe Vera Gel

Let’s be honest – who hasn’t harvested their aloe gel at some point? And that’s perfectly fine, as aloe recovers quickly.
However, did you know there’s an ideal way to harvest the gel for treating sunburn, bug bites, or dry, sensitive skin?
Start by cutting a stem from the base of the plant and let the yellowish latex (aloe sap) drain out. This sap can cause skin irritation, so it’s best to let it drip off.
Once the sap is gone, peel the gel from the leaf with a knife or spoon and blend it for a smoother consistency.
This method gives you fresh aloe gel that won’t spoil, making it one of the best perks of owning an aloe plant!