From Cuttings to Gorgeous Hydrangeas: Here’s How
Follow us on Google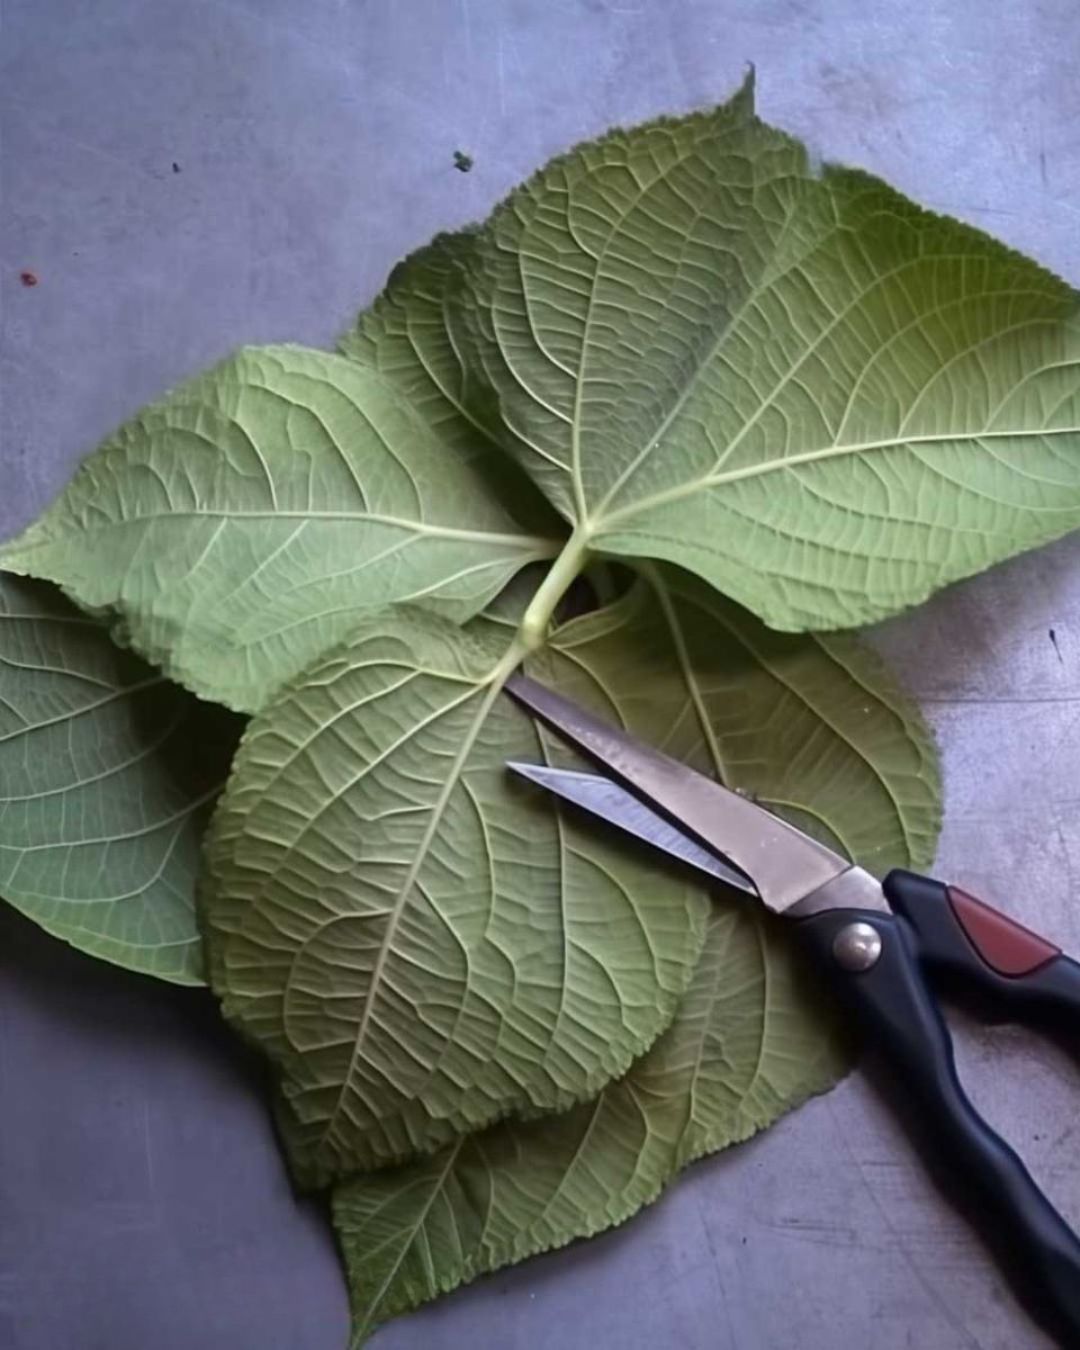
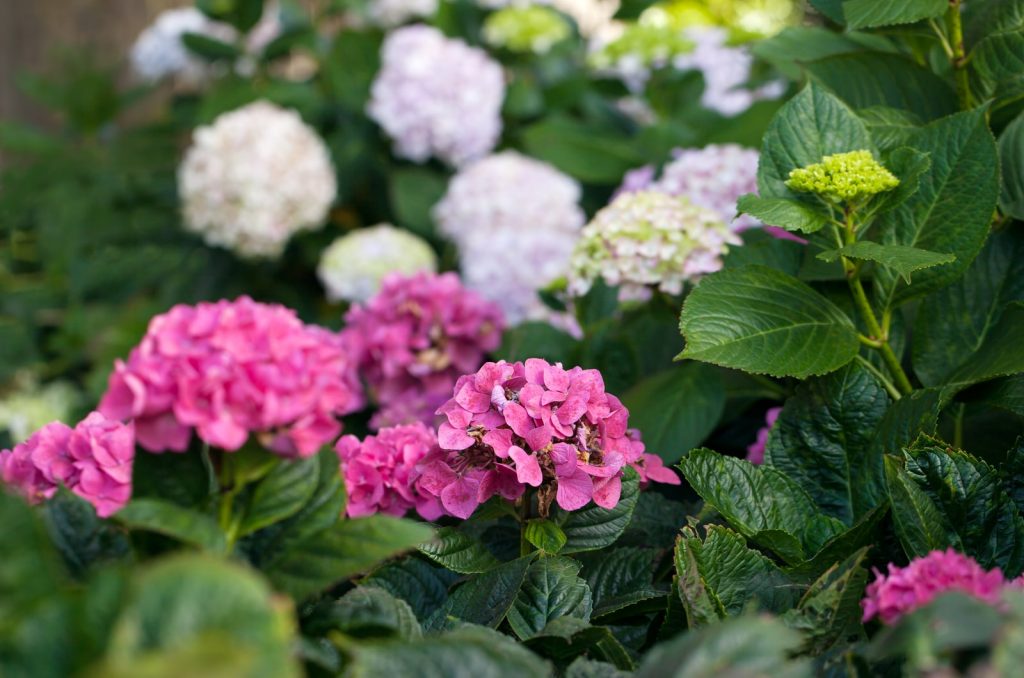
Hydrangeas are renowned for their stunning blooms, making them a favorite among gardeners who want to add a splash of color to their landscape.
While you can grow hydrangeas from seeds or buy young plants, propagating them from stem cuttings is a rewarding and budget-friendly way to expand your garden.
Plus, this method allows you to preserve the exact traits of your favorite varieties. In this comprehensive guide, we’ll walk you through the step-by-step process of propagating hydrangeas from cuttings, ensuring that you get the best results.
Step 1: Choose the Right Time
Timing is everything when it comes to taking hydrangea cuttings. The ideal time is during the late spring to early summer months, usually from May to June.
This is when the plants are actively growing, and the stems are still young and flexible, increasing your chances of successful rooting.
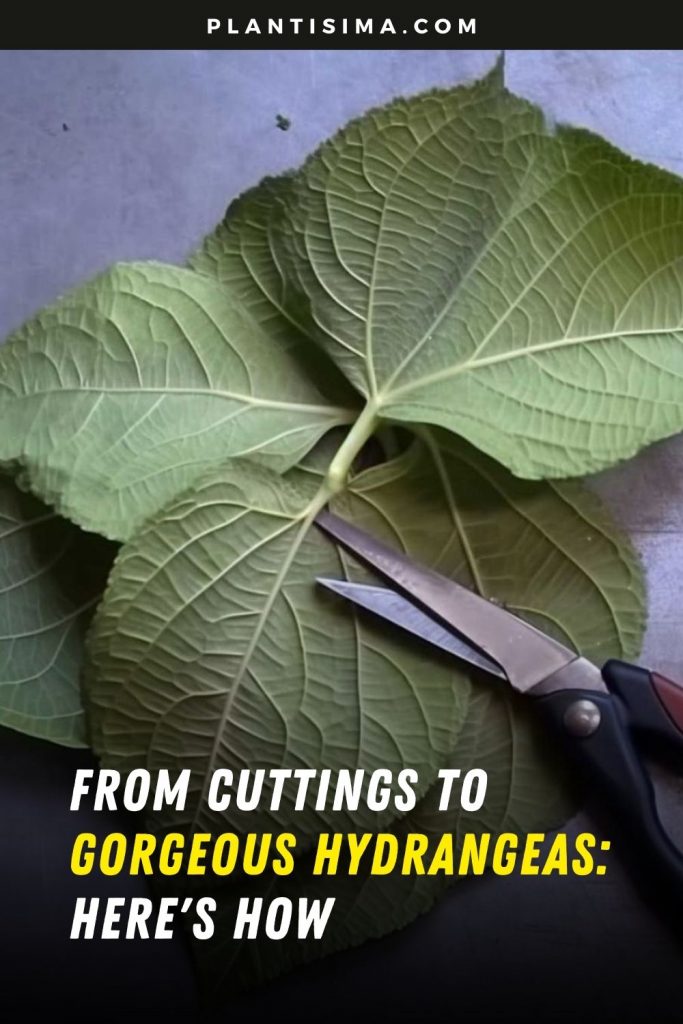
Step 2: Identify and Prepare Healthy Stems
Before taking cuttings, look for healthy, vigorous stems. These should be around the thickness of a pencil and free from any signs of disease or pests.
It’s best to choose stems that haven’t yet bloomed or are just beginning to develop buds. This way, the plant’s energy will go into root development rather than flower production.
Using a clean, sharp pair of pruning shears, cut a 4-6 inch section of stem just below a leaf node (the point where leaves connect to the stem).
Make the cut at a 45-degree angle to increase the surface area for root growth. If your cutting seems too long, trim it down just above another leaf node and remove excess leaves to reduce water loss.
Step 3: Prepare the Cuttings for Rooting
Once you have your cuttings, remove the leaves from the lower half of the stem. Leave a few leaves at the top to allow the cutting to continue photosynthesizing, but reducing the number of leaves helps prevent rot and encourages root growth.
Step 4: Apply Rooting Hormone (Optional but Helpful)
While using a rooting hormone isn’t strictly necessary, it can give your hydrangea cuttings a better chance at success. Rooting hormones contain auxins, which stimulate root growth.
Dip the cut end of each stem into a powdered or gel rooting hormone, following the manufacturer’s instructions.
Step 5: Prepare the Rooting Medium
Choosing the right medium is key to ensuring your cuttings root successfully. Use a well-draining, soilless mix or create your own blend of equal parts peat moss and perlite. This mix will hold moisture while providing the aeration the cuttings need.
Fill a small pot or container with the rooting medium and water it thoroughly to make sure it’s evenly moist. Let any excess water drain before moving to the next step.
Step 6: Plant the Cuttings
Now that your rooting medium is ready, it’s time to plant the cuttings. Using a pencil or similar tool, make small holes in the medium deep enough to hold the bottom half of each cutting.
Insert the treated end of each cutting into its hole, ensuring that at least one leaf node is buried beneath the surface. Gently firm the medium around the stem to hold it in place.
If you’re planting several cuttings in one container, leave some space between them to allow for airflow.
Step 7: Create a Mini Greenhouse Environment
To encourage successful rooting, it’s essential to provide your cuttings with a warm, humid environment. Place the potted cuttings in a spot with bright, indirect light. Avoid direct sunlight, as it can stress the developing plants.
For a DIY mini greenhouse effect, cover the container with a clear plastic bag or use a propagation dome. This will trap moisture and maintain high humidity levels around the cuttings, which is crucial for root development.
Step 8: Watering and Monitoring
Throughout the rooting process, keep the soil consistently moist but not soggy. Overwatering can lead to rot, while underwatering can cause the cuttings to dry out and fail to root. Check the soil regularly and water as needed to maintain the proper moisture level.
Keep an eye on the cuttings for any signs of disease, such as wilting or discoloration. If you notice any dead or diseased cuttings, remove them immediately to prevent the issue from spreading to healthy ones.
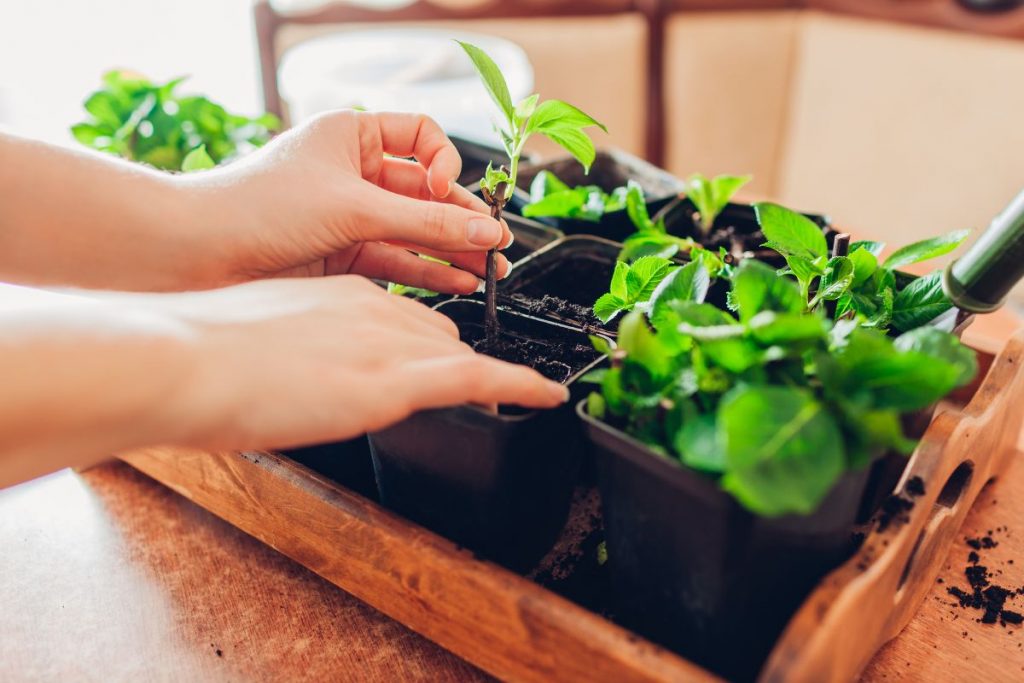
Step 9: Transplanting the Rooted Cuttings
After a few weeks, you should start to see new growth and root development. Once your cuttings have developed a healthy root system, usually after 8-12 weeks, they’re ready to be transplanted.
Carefully remove each rooted cutting from the container, taking care not to damage the delicate roots. Transplant them into individual pots filled with well-draining potting soil, or plant them directly into your garden.
Step 10: Care for Your Young Hydrangeas
After transplanting, give your new hydrangeas the care they need to thrive. Water them regularly, especially during hot and dry periods, and mulch around the base to help retain moisture and suppress weeds.
Place your hydrangeas in a partially shaded area to protect them from the harsh afternoon sun. Monitor them for pests and diseases, and take action promptly if you notice any issues.
Step 11: Patience and Persistence
Growing hydrangeas from cuttings takes patience and practice. Not every cutting will root successfully, but with time and persistence, you’ll become a pro at propagating these beautiful plants.
Celebrate each new hydrangea that flourishes in your garden and enjoy the beauty they bring year after year.