Grow a Bay Tree at Home and Discover 5 Amazing Uses for Bay Leaves
Follow us on Google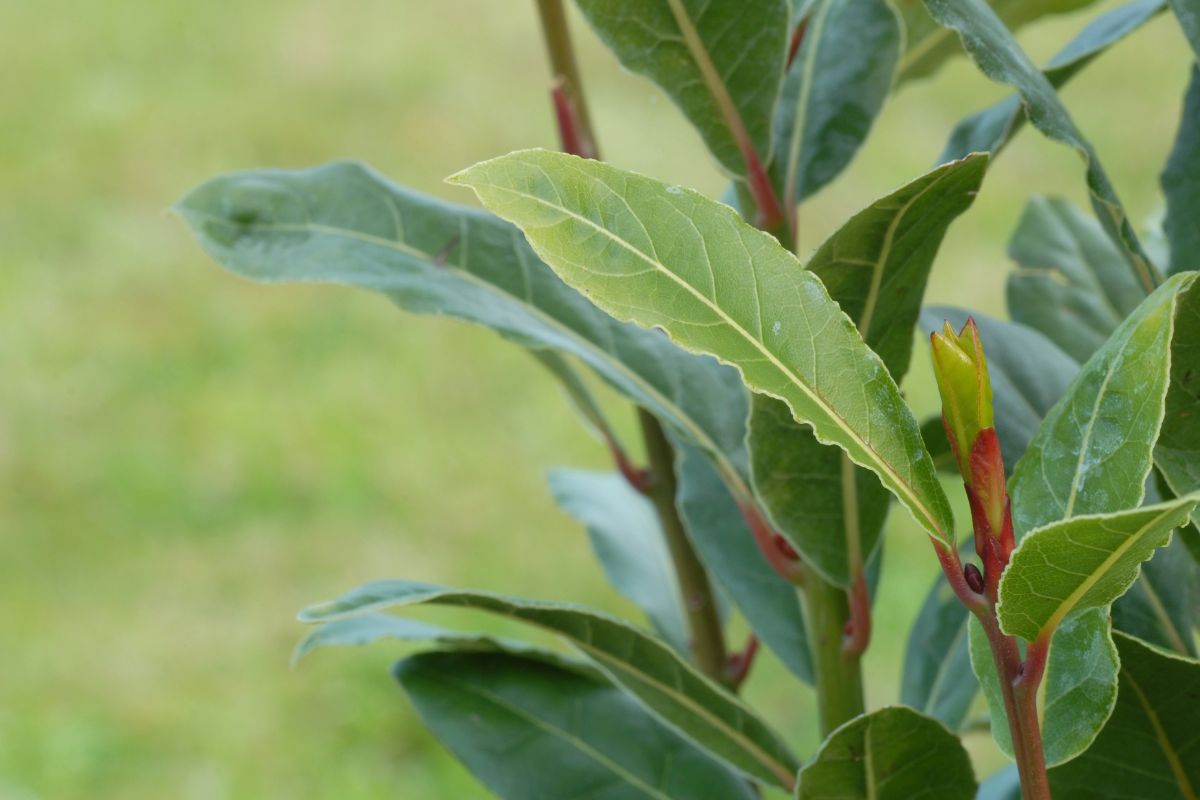
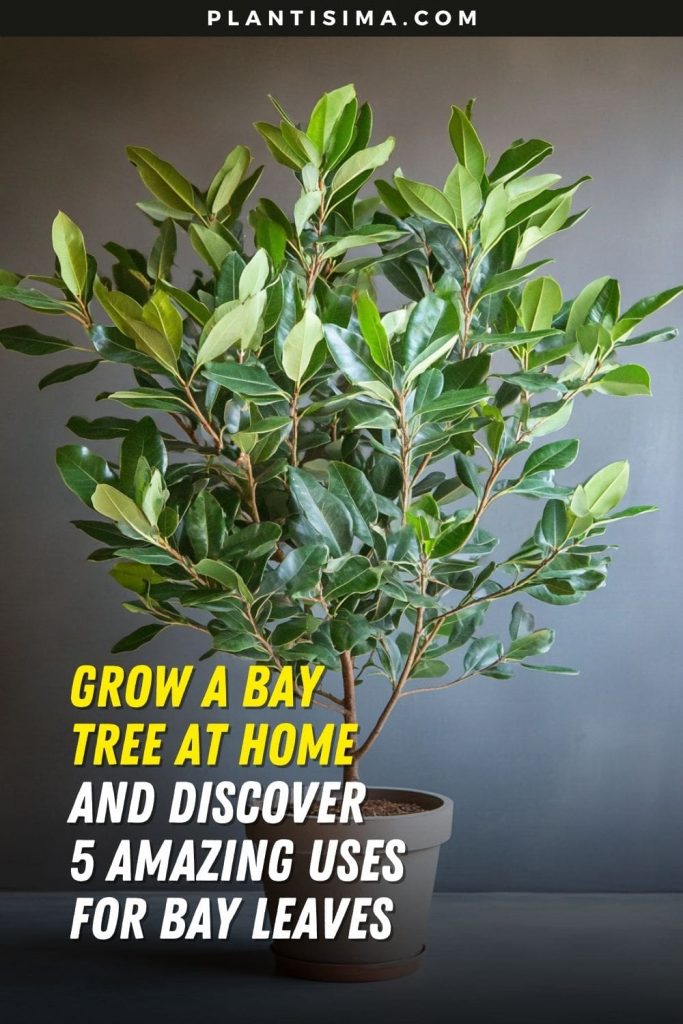
Looking to create a garden that stands out with luxury and uniqueness? Nothing accomplishes this better than a bay tree!
This Mediterranean plant has earned its place in gardens around the world thanks to its captivating appearance. But beauty isn’t the only thing the bay tree has to offer.
Its fragrance, flavor, and medicinal properties make it a coveted plant for many enthusiasts.
If you’re among those enchanted by this plant, I’ll guide you through how to grow a bay tree and make the most of its leaves.
Let’s dive in!
Before adding this charming plant to your outdoor space, it’s essential to understand its care requirements to keep it thriving for years to come.
Here’s everything you need to know!
Choosing the Right Variety

There’s a common misconception about the bay tree (part of the Lauraceae family) that I’d like to clear up. The scientific name is Laurus nobilis, and it goes by many nicknames, including bay leaf, true laurel, and sweet bay.
When purchasing this plant, be cautious, as other plants, like the California bay tree, share similar names but are different species.
Always check the botanical name on the label.
Here are some popular bay tree varieties:
1. Laurus nobilis f. Angustifolia: This variety features slender leaves with a fascinating texture and is commonly known as willow-leaf bay tree.
2. Laurus nobilis Undulata: If you’re after a bay tree for decorative purposes, the Undulata variety is ideal. Its wavy-edged leaves make it truly stand out.
3. Laurus nobilis Aurea: The striking feature of this variety is its golden-yellow leaves, which shine brightest in spring and winter.
4. Laurus nobilis Saratoga: Perfect for smaller landscapes, this variety doesn’t exceed about 26 feet in height. Its bright green leaves are also excellent for seasoning dishes.
Looking for more small trees to enhance your garden design? Check out these options: Small Trees
Temperature Requirements
The choice of plants often depends on the climate in which we live.
As mentioned, this tree hails from the Mediterranean, meaning it’s accustomed to warmer temperatures.
Its delicate leaves don’t tolerate cold well, so consider planting it in containers or pots, allowing you to bring it indoors when the temperature drops.
Soil Type
Soil conditions play a crucial role in the growth of bay trees. The most important factor is to avoid planting the tree in waterlogged soil.
Good drainage is key, as too much moisture can lead to root rot.
Another important consideration is soil acidity. Like other Mediterranean herbs, bay trees thrive in slightly acidic soil.
It’s advisable to conduct a soil test before planting to determine if the soil needs amending to increase acidity.
Do You Have Enough Space for a Bay Tree?
Many beginners shy away from growing bay trees due to their size. While the tree grows slowly, it can eventually reach heights between 30 and 60 feet.
However, this is the estimated size if the tree is left unpruned. This means you can grow it in smaller gardens, but regular pruning is necessary.
Don’t worry, pruning a bay tree isn’t difficult. I’ll show you how to do it in the following sections.
Finding the Perfect Spot
If you live in a warmer region and the soil meets the tree’s requirements, it’s time to choose the ideal location for this medicinal and ornamental plant.
While the tree can handle full sun, a spot with partial shade is better, especially in regions with hot, long summers.
Strong sunlight might damage the tree, so choose a location that offers shade in the afternoon.
Ideally, plant your bay tree near the kitchen, so you can easily pluck a leaf or two while cooking. Known as the ‘spice bay,’ this tree is a popular culinary herb and a potent medicinal plant.
Keeping it within reach is simply practical!
Planting Guide
Bay trees can be grown from seeds, but this method is time-consuming and labor-intensive. It’s usually better to purchase young bay trees.
I highly recommend planting bay trees in the fall or early spring to give them time to establish before the warm summer temperatures arrive.
Here’s a step-by-step guide for planting this tree directly in the ground:
1. Prepare the Site: Enrich the soil with organic matter to boost nutrient levels, improve drainage in heavy soils, or enhance moisture retention in sandy soils. Organic matter works wonders!
2. Dig a Hole: The hole should be deep enough for the bay tree’s root ball and twice as wide, providing ample space for the roots to spread.
3. Plant Your Bay Tree: Place the young tree in the hole, backfill with soil around the base, and ensure it stands firm and upright. Water well, but avoid waterlogging the soil.
4. Mulch: Add a thin layer of mulch around the base of the bay tree to retain soil moisture, regulate temperature, and suppress weed growth. Be cautious not to apply too thick a layer, as this can trap too much moisture and lead to waterlogging.
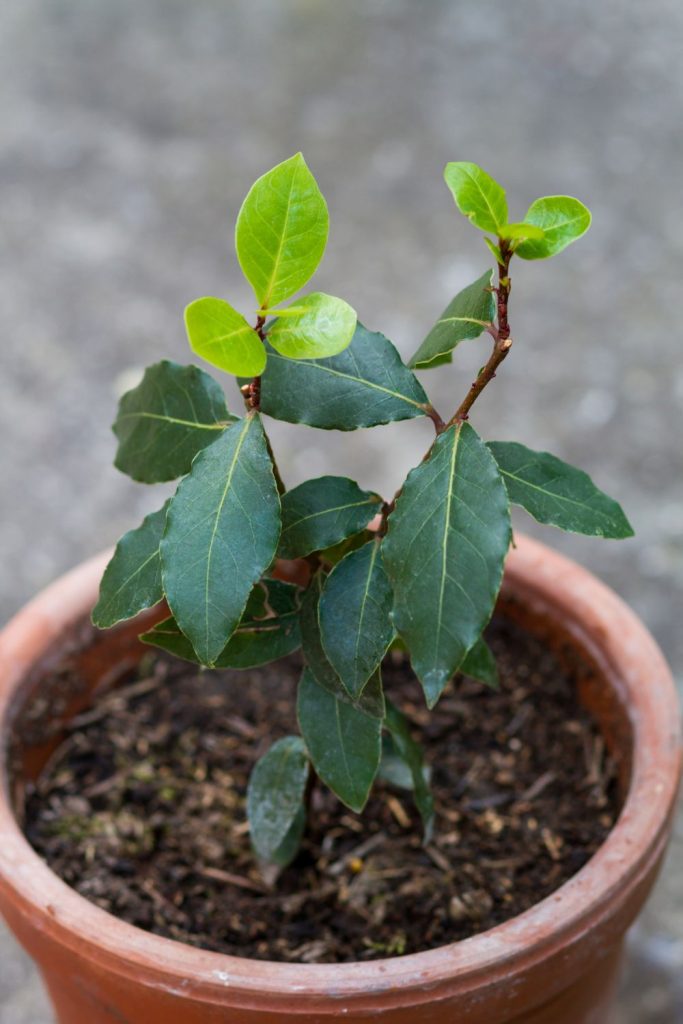
Growing a Bay Tree in Containers
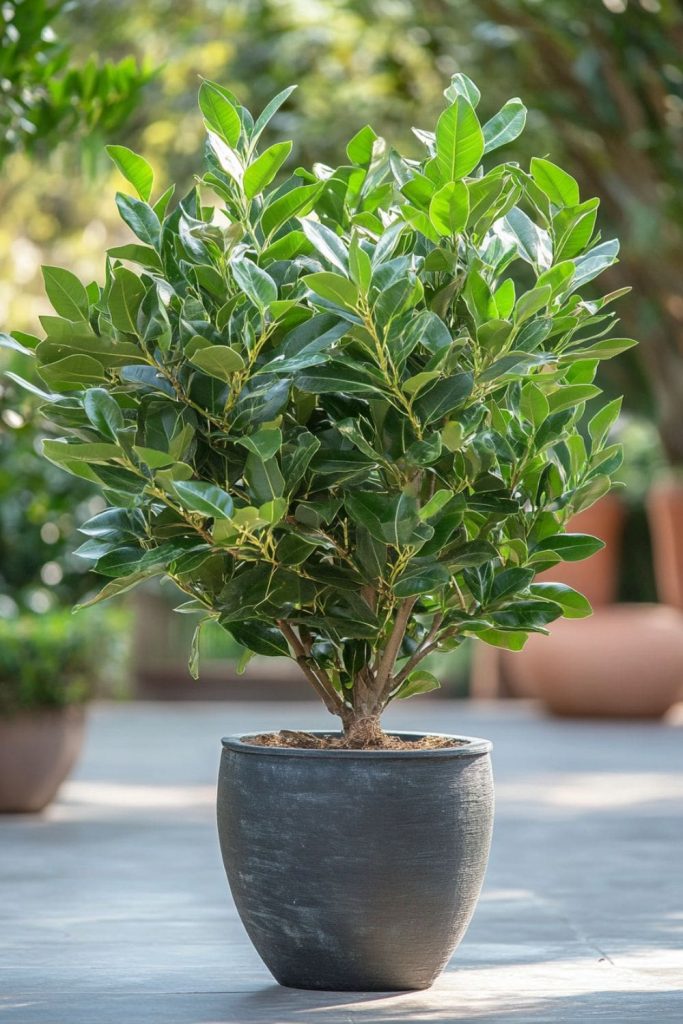
The good news for gardeners in cooler climates is that bay trees can thrive in containers.
The first thing to consider is soil type. Like their in-ground counterparts, container-grown bay trees require well-draining soil.
Improving drainage is easy by mixing store-bought soil with well-draining materials like gravel.
You’ll need to water your potted bay tree as soon as the top layer of soil dries out. During the hot summer months, the tree will need more water, but never water already damp soil, as this can attract pathogens.
Container-grown bay trees need a dose of organic liquid fertilizer in late spring or summer.
Since it’s a slow-growing tree, repotting is typically only necessary every five years. Bring your bay tree indoors when temperatures drop significantly.
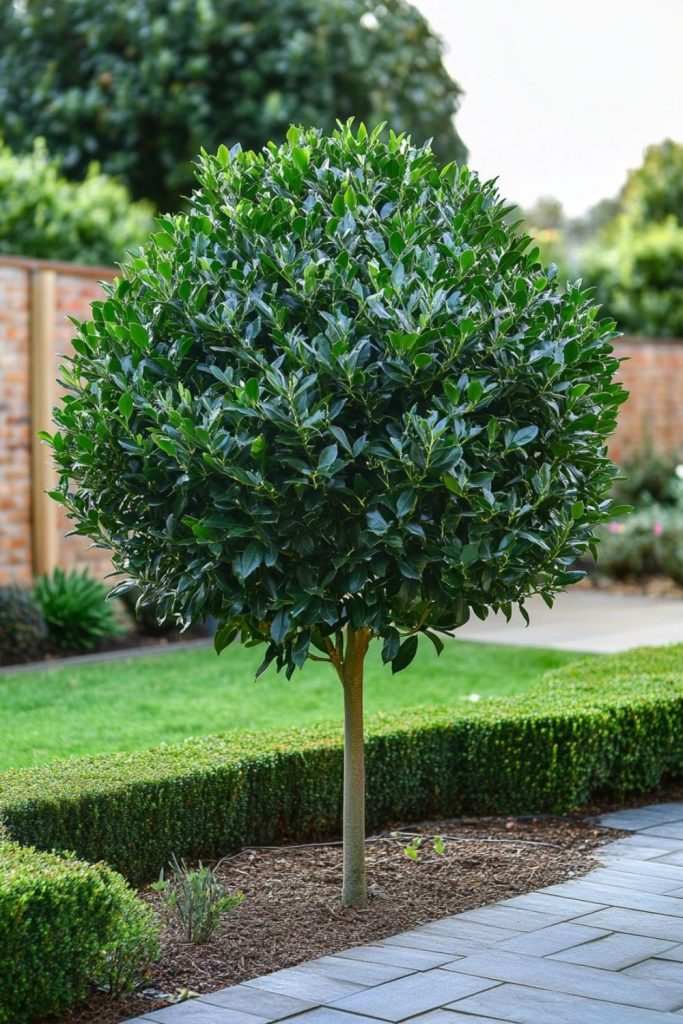
Shaping with Topiary
Many gardeners opt for topiary with bay trees. The beauty of this method is that you can shape your bay tree into various forms.
The three most common shapes chosen by bay tree enthusiasts are pyramid, globe, and lollipop. Personally, I find the spiral form the most fascinating.
If you’re experienced in pruning, you can even attempt unusual shapes, like animals.
The best tool for pruning bay trees is garden shears, which are also handy for many other tasks.
Summer is the ideal season for pruning bay trees, as the tree stays more compact and is easier to shape.
Hedges
Another great way to use bay trees is by creating hedges. Many gardeners ask how many trees they need to plant a hedge.
If you buy bare-root bay trees, plant them in double rows, with about 13 feet of space between each tree.
If you choose root-balled or container-grown bay trees, you’ll need about two plants per 3 feet.
How to Prune Bay Trees
If you prefer to cultivate a single tree rather than a hedge or topiary, you’ll need to lightly prune it in summer. This will help maintain its size and shape without hindering the tree’s growth.
Simply snip off the lower leaves or flower buds.
Once your bay tree is fully grown, there’s no need to worry much about pruning. You can trim it back a bit, but keep in mind that it will grow more slowly and take longer to produce new growth if you do.
In general, mature bay trees only need pruning every three years. Prune in spring or early summer, allowing the tree to recover before the growth period.
You can also grow bay trees as shrubs; here’s a great variety for this purpose: Bay Tree Hedge
Care: Watering and Fertilizing Bay Trees
We’ve already covered how to water and fertilize potted bay trees. Now, let’s focus on the needs of in-ground trees.
Bay trees can tolerate drier soils, but not for extended periods. If in doubt, it’s better to wait a little longer before watering your bay tree than to overwater it.
Remember, it’s easier to revive a dried-out plant than to save one that’s been overwatered. Water your bay tree once the soil feels dry.
These trees aren’t heavy feeders, and too much fertilizer can do more harm than none at all.
It’s best to fertilize your bay tree every few weeks during the growing season, i.e., in the summer months.
When fertilizing, use a mild organic fertilizer and be sure to prepare it according to the label instructions.
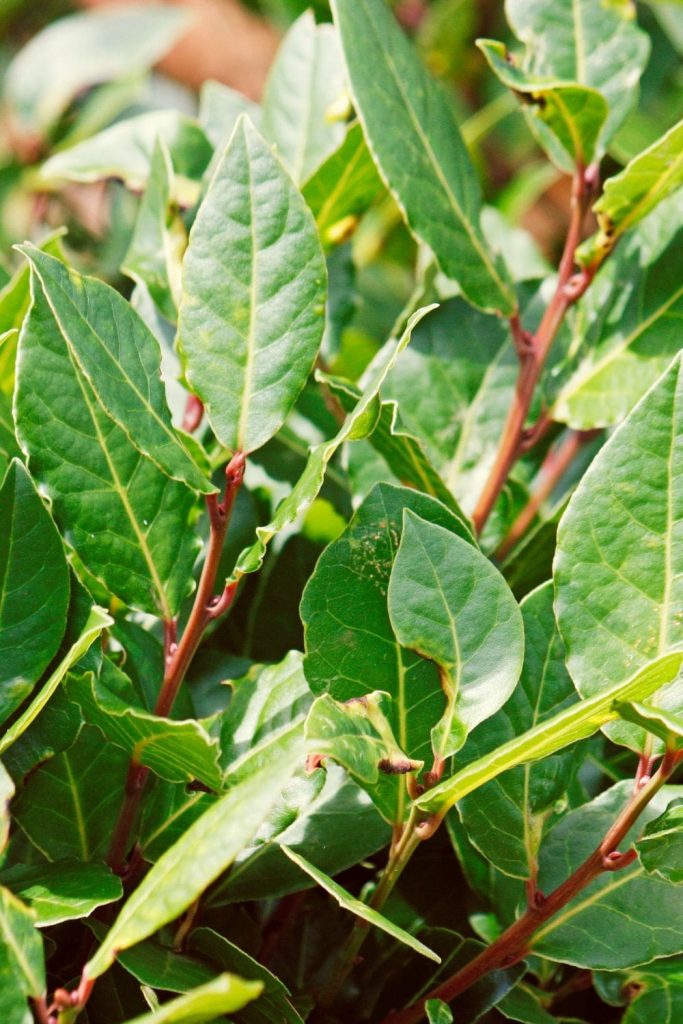
Common Bay Tree Problems
While bay trees aren’t particularly fussy, they’re not without issues. The truth is, most problems with bay trees arise from improper care.
Let’s explore what can go wrong!
1. Yellow Leaves: If you’ve grown other plants, you’re likely aware that overwatering is usually the culprit behind yellow leaves. Bay trees are no exception. If the soil moisture isn’t too high, cold temperatures or a nutrient deficiency might be to blame for the yellowing.
2. Brown Leaves: Similar to yellowing, browning can result from poor drainage or cool temperatures. Another cause of brown bay tree leaves could be dehydration.
3. Curling Leaves: One of the most common causes of curling bay tree leaves is the bay leaf sucker. These gray-white insects aren’t harmful to the tree, but they should be removed to avoid future problems. Simply pick them off by hand and dispose of the affected foliage.
4. Leaf Spots: Excess moisture in the soil can cause leaf spots on your bay tree. If the tree is in a container, consider repotting and adding compost.
5. Peeling Bark: Low temperatures can cause the bark of bay trees to peel. While this may look unsightly, it doesn’t pose a serious threat to the tree. Once the temperatures rise, your bay tree should return to its healthy state.
6. Pests: The most common pest affecting bay trees is the horse chestnut scale. These pests usually hide on the undersides of leaves and, in most cases, don’t need to be removed. However, if the infestation is severe, you may need to apply some pest control methods.
How to Dry Bay Leaves
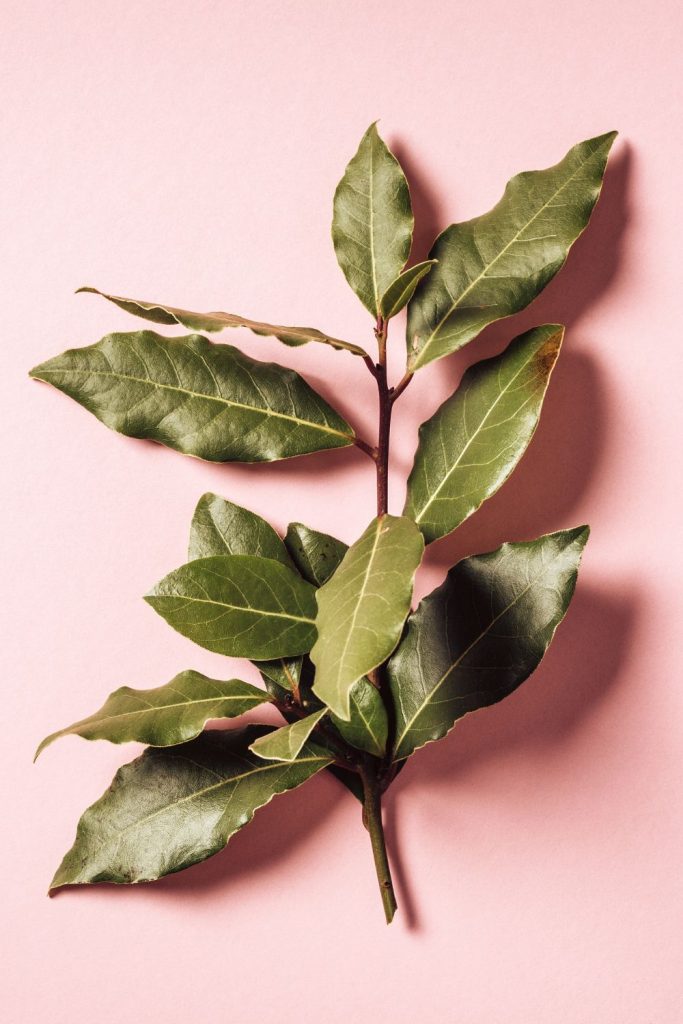
Before I show you how to use bay leaves, it’s important to understand the drying process.
Always harvest the leaves in the early morning to preserve their essential oils.
Lay the leaves out on a paper towel, ensuring they don’t touch each other. Choose a warm spot in a well-ventilated room to avoid mold.
It usually takes about two weeks for the bay leaves to dry completely. After one week, turn each leaf over to ensure even drying.
If the leaves aren’t fully dry after two weeks, you can leave them out a little longer.
Once the leaves are completely dry, store them in a glass jar with a tight-fitting lid.
5 Uses for Bay Leaves
Now that you know how to grow bay trees and have harvested and dried the leaves, it’s time to explore what you can do with them.
Here are the 5 most common uses for bay leaves:
1. Cooking: Bay leaves are edible and impart a peppery aroma with a clove-like taste. They’re an essential part of the bouquet garni, a bundle of herbs tied together and used in French cuisine.
2. Wound Healing: Bay leaves can be used to treat wounds (1).
3. Pest Repellent: The strong scent of bay leaves repels pests, making them an excellent choice for homemade pest control sprays.
4. Hair Tonic: If you struggle with dandruff, you can make a hair tonic using bay leaves.
5. Air Freshener: You can create homemade air fresheners by burning a few bay leaves in an ashtray. The smoke will spread, leaving your room with a delightful scent.
Bay trees are hardy, visually striking, and offer a range of excellent uses. There’s no reason why you shouldn’t integrate this spectacular plant into your landscape. Keep it happy and healthy with our tips, and it will adorn your space for many years to come.