
Sesame seeds don’t come from a bottle. They come from tall, sun-soaked plants with pods that crack open like nature’s little treasure chests. And guess what? You can grow them yourself. Yes—you, the one reading this while picking toast crumbs off your shirt. These plants aren’t just pretty—they’re powerhouses. Tuck them into your garden, and before long, you’ll be harvesting seeds like a backyard baker with a secret. No import labels, no mystery origins—just your soil, your sunshine, your sesame. So if you’re ready to stop sprinkling store-bought seeds and start growing the real deal, let’s crack this wide open. Your garden has room for more than tomatoes.
Choosing the Right Variety
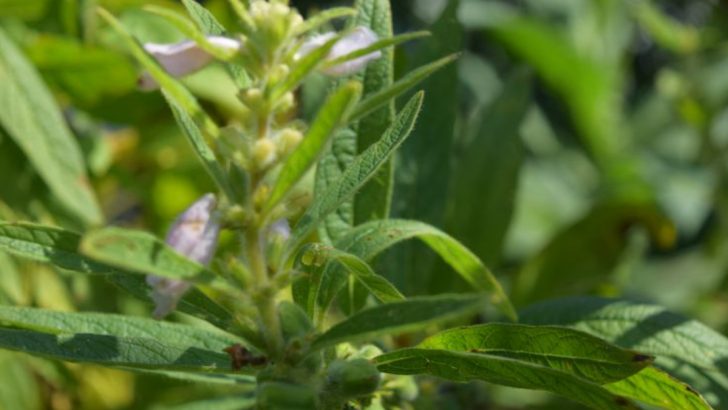
Selecting the ideal sesame variety is crucial. White and black sesame seeds are common, each offering unique flavors. Consider your climate; some varieties thrive better in warmer conditions. Research local nurseries or online seed providers to find the best match for your garden.
Experiment with different types to discover your preference. Remember, the right choice sets the stage for a flourishing garden. Delve into the world of sesame seeds and enjoy the journey. With patience and curiosity, you’ll find the perfect match for your taste and environment.
Preparing Your Soil


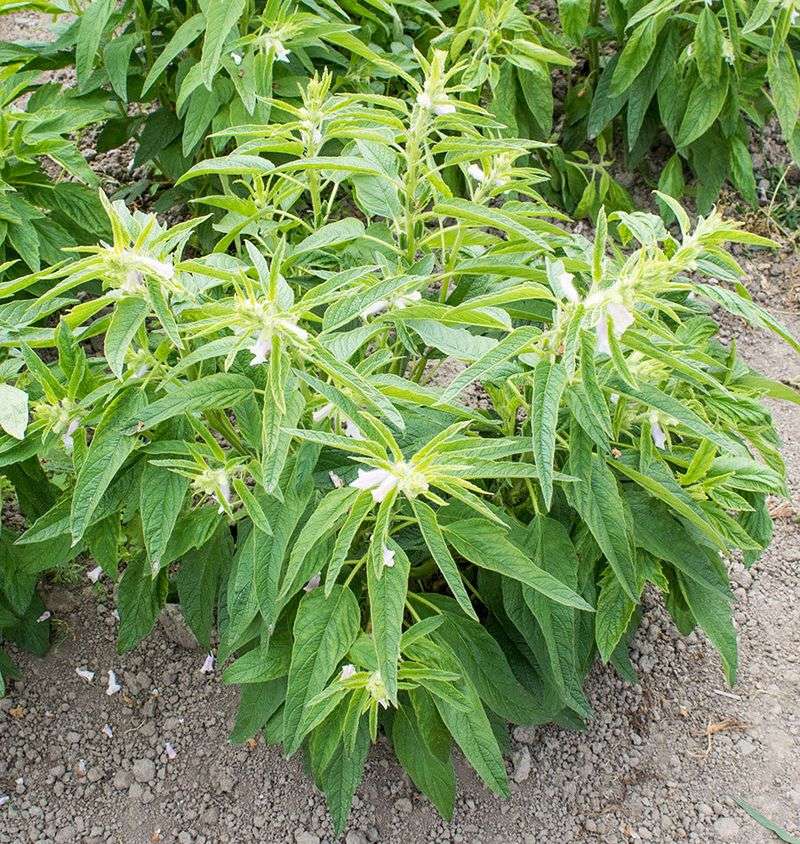
Healthy soil is the foundation of any successful garden. Begin by testing your soil’s pH level; sesame prefers a neutral to slightly acidic environment. Enhance your soil by incorporating organic matter such as compost or well-rotted manure.
Mix thoroughly to ensure even distribution of nutrients. This preparation promotes robust root growth and increases your plant’s resilience. Lastly, ensure proper drainage to prevent waterlogging, which can harm your plants. With these steps, you’re establishing a thriving environment for your sesame plants.
Sowing the Seeds

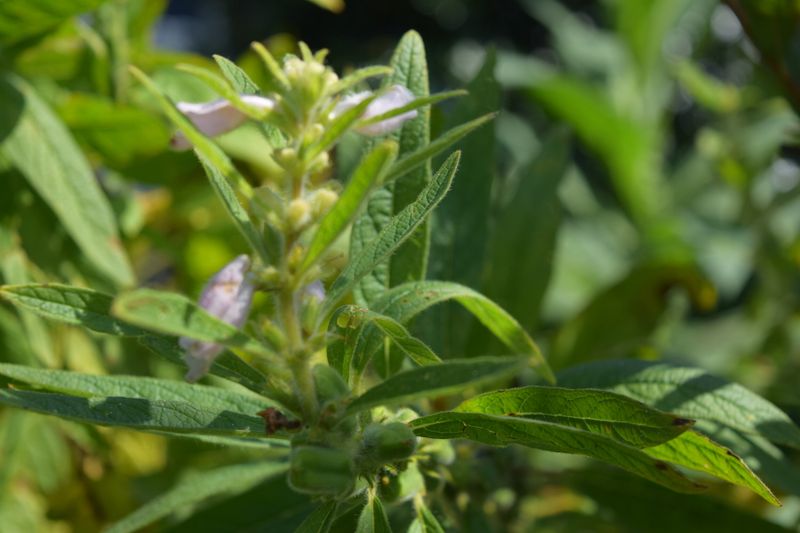
Planting sesame seeds requires precision and care. Sow seeds directly into the soil after the last frost date. Ensure they are spaced adequately to allow room for growth. Cover the seeds lightly with soil and water gently to maintain moisture.
This delicate process marks the beginning of your sesame journey. Patience is key; germination can take up to two weeks. Monitor your seedlings closely, adjusting watering as needed. A watchful eye ensures a successful start to your sesame planting adventure.
Nurturing Seedlings
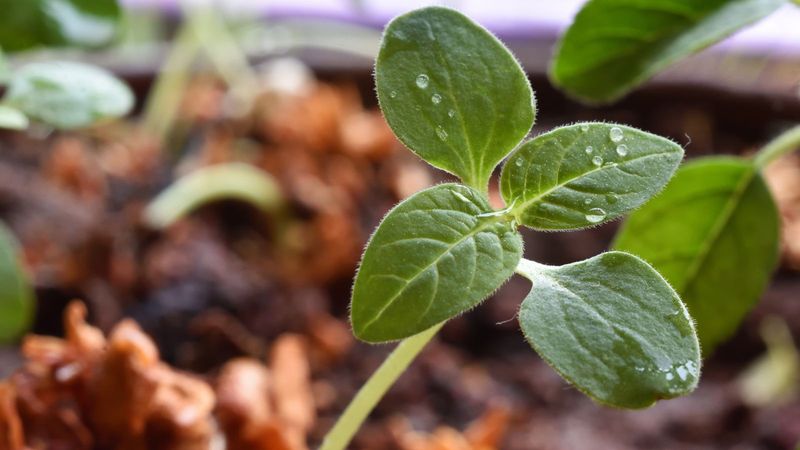

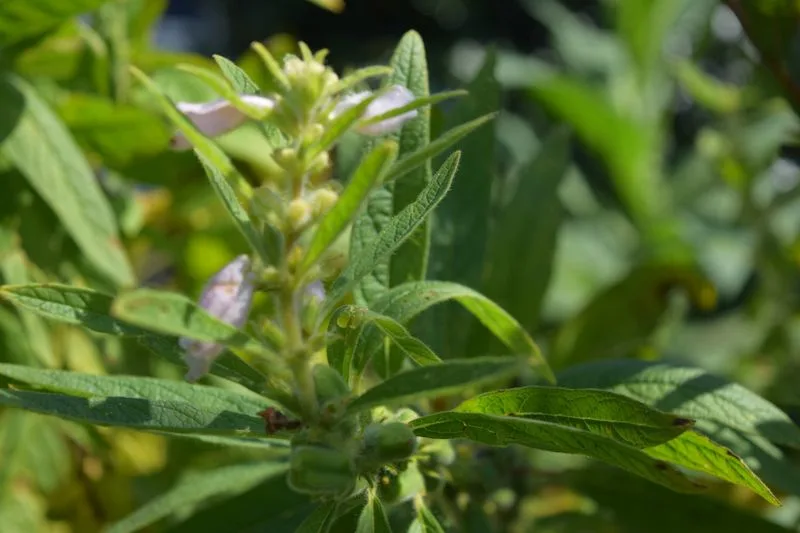
Supporting your seedlings as they grow is essential. Provide consistent moisture without overwatering. Mulching around the base helps retain soil moisture and regulate temperature. Consider using organic mulch to further enrich the soil.
Monitor for pests, using natural remedies to protect your young plants. This nurturing phase is vital for strong, healthy plants. By dedicating time and attention, your seedlings will flourish into robust sesame plants, ready to yield bountiful seeds.
Managing Pests and Diseases
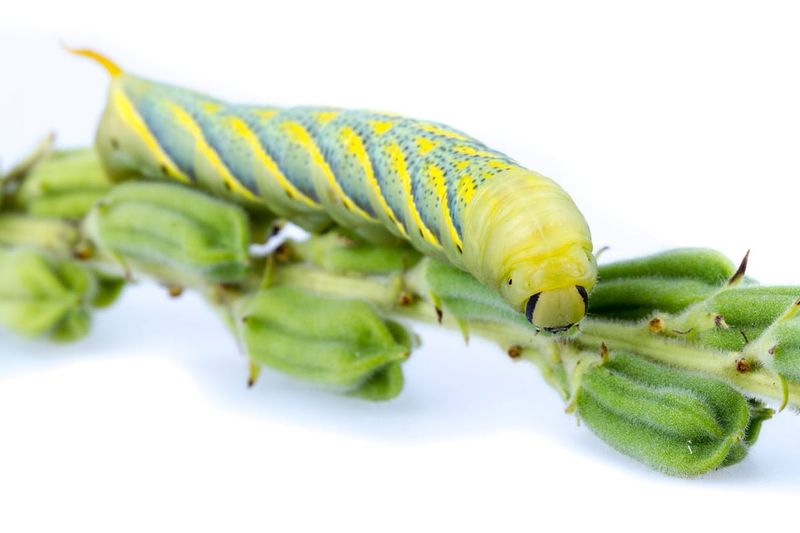

Protecting your sesame plants from pests and diseases is paramount. Employ organic methods such as neem oil or insecticidal soap to manage common pests like aphids and caterpillars. Regularly inspect plants for signs of disease, removing affected areas promptly.
Healthy plants are more resilient, so maintain a balanced watering schedule and avoid overcrowding. By staying vigilant, you can manage potential threats effectively. Your diligence will lead to a thriving garden that rewards your efforts with plentiful sesame seeds.
Harvesting Sesame Seeds
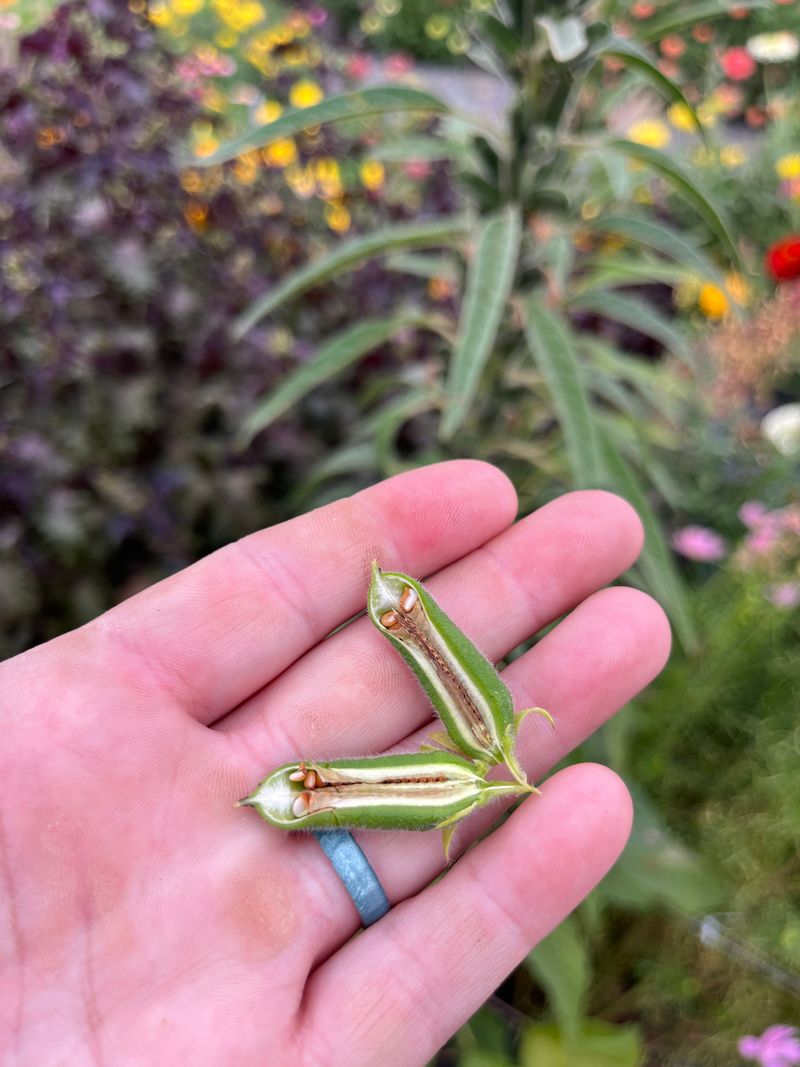

The harvest of sesame seeds is a moment of triumph. Wait until the plants brown and the seed pods begin to open. Carefully cut the whole plant, binding several together. Hang them upside down in a dry, well-ventilated area to further ripen.
As the pods fully dry, seeds can be gently shaken free. This traditional method ensures maximum yield and quality. Relish the satisfaction of gathering homegrown sesame seeds, a testament to your dedication and care.
Storing and Using Your Seeds
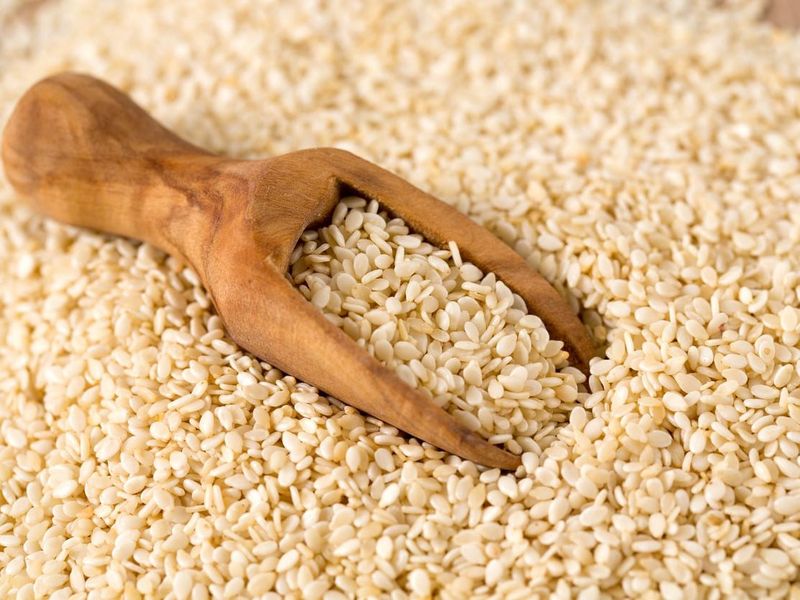

Proper storage ensures the longevity of your harvested sesame seeds. Use airtight containers to keep seeds fresh. Store in a cool, dark place to prevent spoilage. Consider labeling jars with harvest dates for easy tracking.
These seeds are versatile, enhancing various dishes with their nutty flavor. Toast them for added depth or incorporate into favorite recipes. With well-stored seeds, enjoy the fruits of your labor throughout the year, savoring the taste of homegrown sesame.