
You don’t need a farm to grow potatoes—just a pot and a plan. First early potatoes are the sprinters of the spud world. They grow fast, taste like butter, and don’t need a backyard the size of Montana. Got a container? You’ve got a crop. These little beauties thrive in buckets, bins, grow bags, even an old laundry basket if you’re feeling bold. And when timed right, they hit your dinner plate before summer even gets comfortable. Forget waiting. Forget digging knee-deep in dirt. If you want fresh, homegrown potatoes by early summer, it starts here—with a container, some good compost, and the right variety. Let’s talk spuds, timing, and the secret to getting that perfect buttery bite in record time.
Selecting the Right Potato Variety
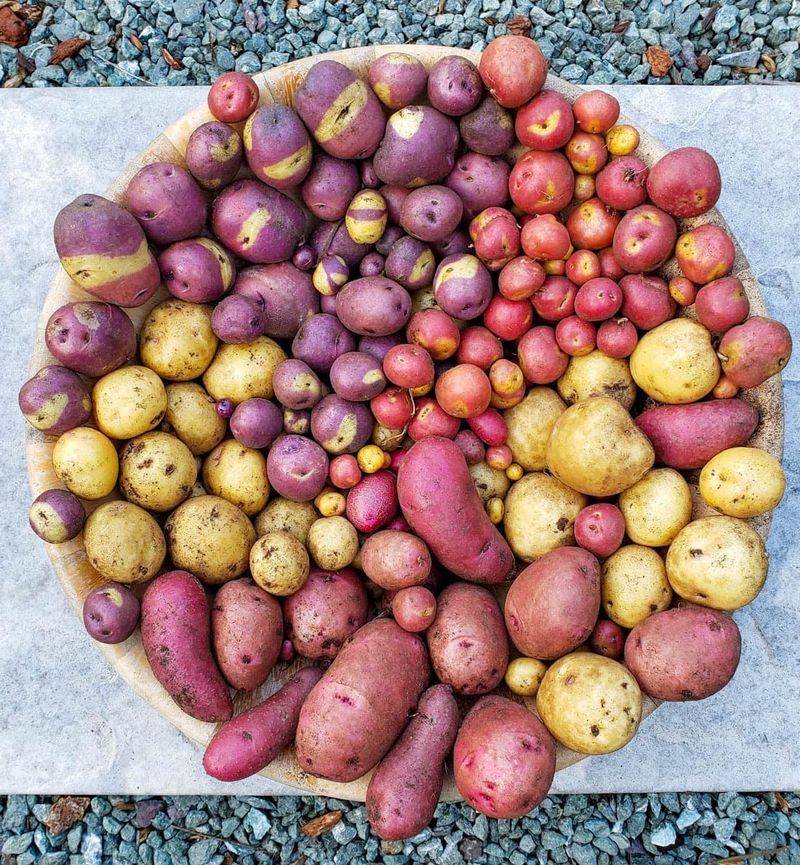

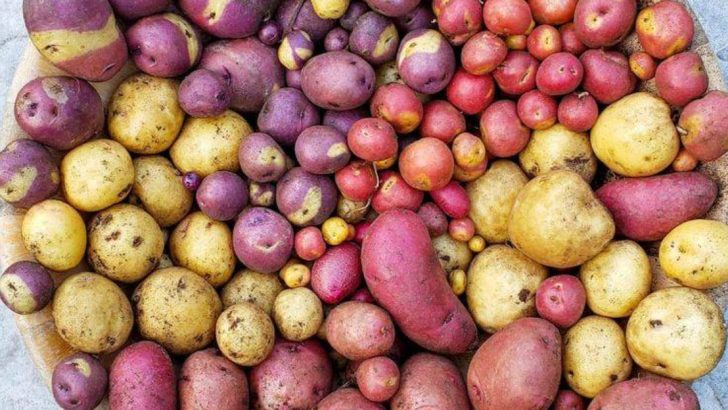
Choosing the right potato variety is crucial for a successful harvest. Opt for first early potatoes such as ‘Rocket’ or ‘Swift’, known for their quick growth and delicious taste.
These varieties mature faster, allowing you to enjoy fresh potatoes sooner. Look for certified disease-free seed potatoes to avoid potential issues and ensure healthy growth.
Starting with the right variety sets the foundation for thriving potato plants. In addition, consider the climate and your personal taste preferences when making your selection. Experimenting with different varieties can add fun and diversity to your gardening experience.
Preparing the Container
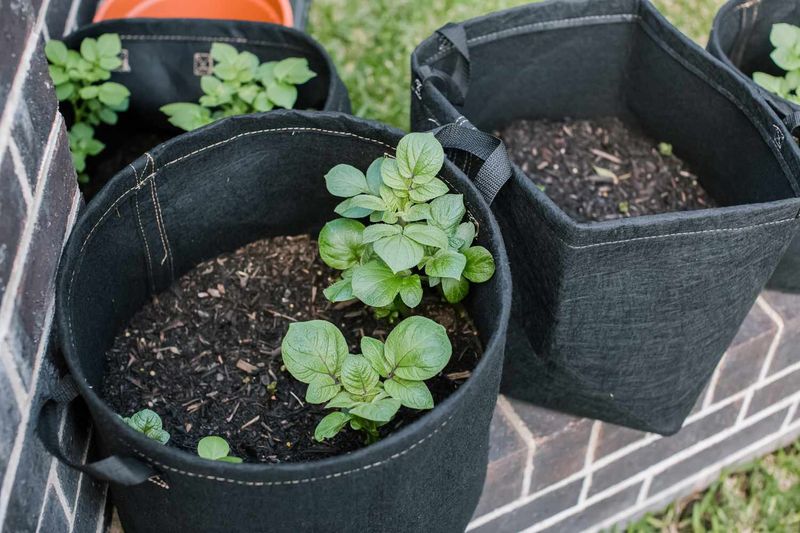
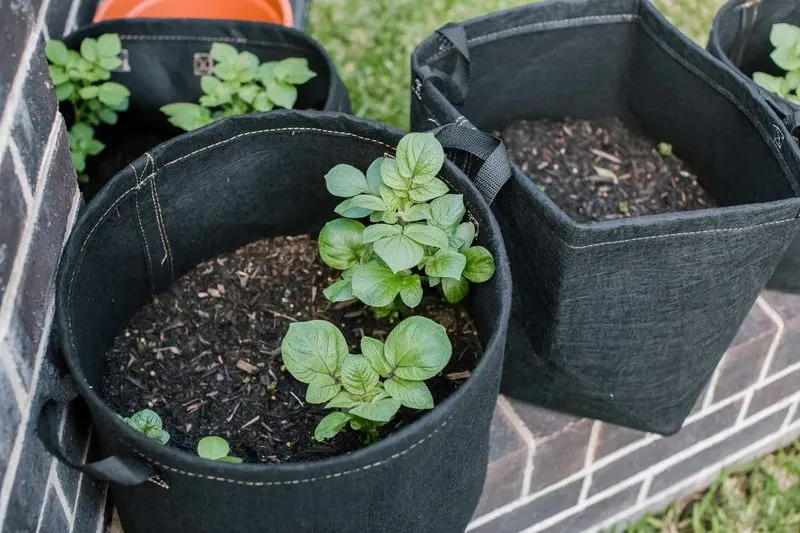
The container you choose plays a pivotal role in growing potatoes. Use a large pot or grow bag with adequate drainage to prevent waterlogging.
A 10-gallon container is ideal for accommodating potato growth, providing ample space for tubers to develop. Fill it with a high-quality, well-draining potting mix, enriched with compost to boost nutrients.
Position your container in a sunny location where potatoes can receive at least 6-8 hours of sunlight daily. Proper preparation ensures your potato plants have the best conditions to thrive, leading to a healthy and abundant harvest.
Chitting Potatoes
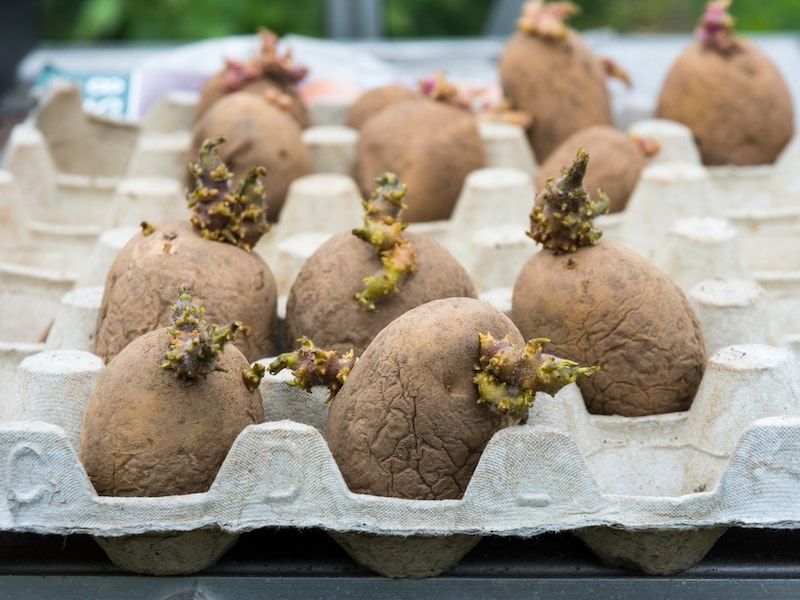
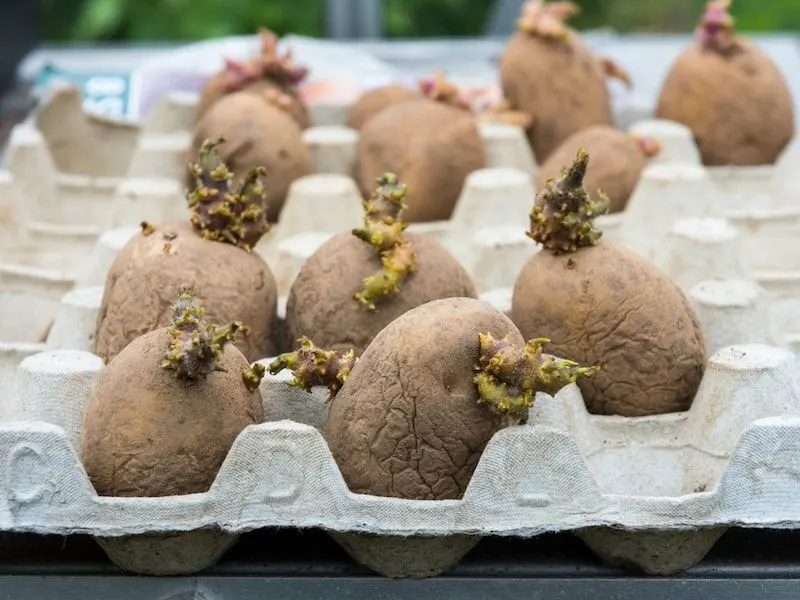
Chitting, or sprouting, potatoes before planting is a beneficial technique. Place your seed potatoes in a bright, frost-free area to encourage sprout development.
Within a few weeks, you’ll notice sturdy green shoots, signaling readiness for planting. Chitting gives potatoes a head start, particularly in cooler climates, by speeding up the growth process once planted.
This method can increase yield and lead to an earlier harvest. Enjoy watching the transformation as tiny shoots emerge, promising a future bounty of delicious home-grown potatoes.
Planting the Potatoes
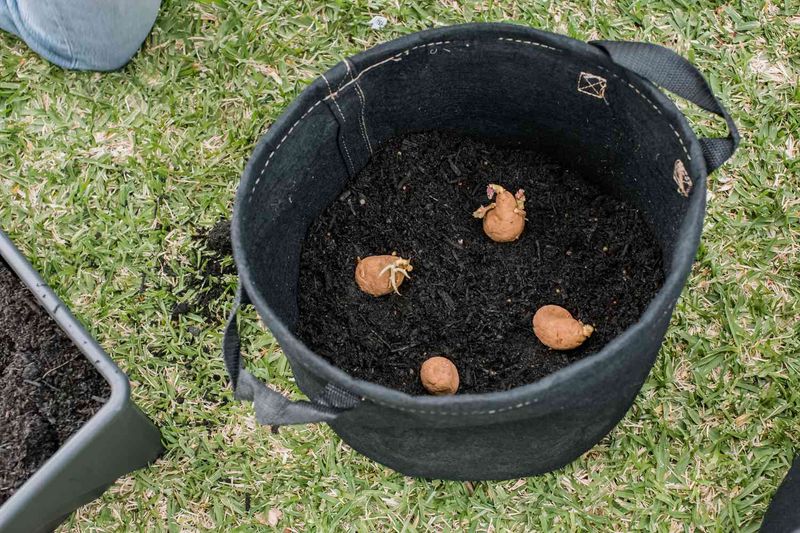
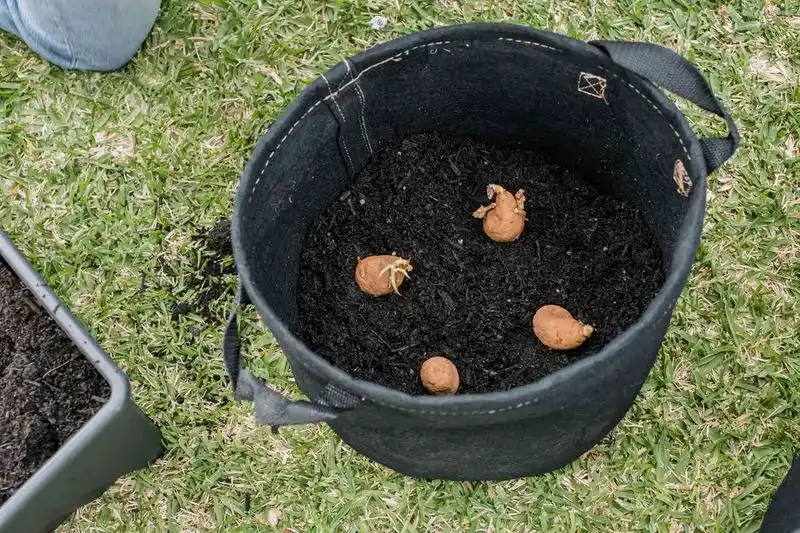
Planting potatoes in containers is a straightforward process. Start by placing the chitted potatoes in the soil with the shoots facing upwards.
Cover them with about 4 inches of soil, ensuring they’re well-nurtured. As the plants grow, gradually add more soil, a technique called ‘earthing up’. This encourages tuber development and protects them from sunlight, which can cause greening.
Regularly check moisture levels, keeping the soil consistently moist but not waterlogged. By giving your potatoes this care, you’ll set the stage for a successful harvest.
Caring for Potato Plants
Healthy growth requires attentive care. Water your potato plants consistently, especially during dry spells, to maintain moist soil.
Feed them with a balanced fertilizer every few weeks to support robust growth and tuber formation. Be vigilant for signs of pests or diseases, such as blight, which can impact yield.
Consider using organic pest control methods to protect your plants and the environment. With dedication and regular attention, you’ll nurture thriving potato plants that yield a rewarding harvest.
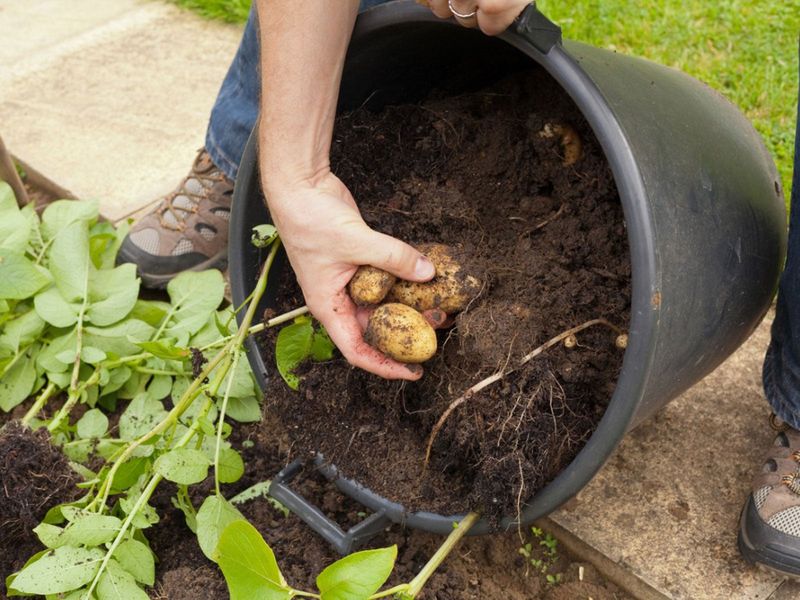
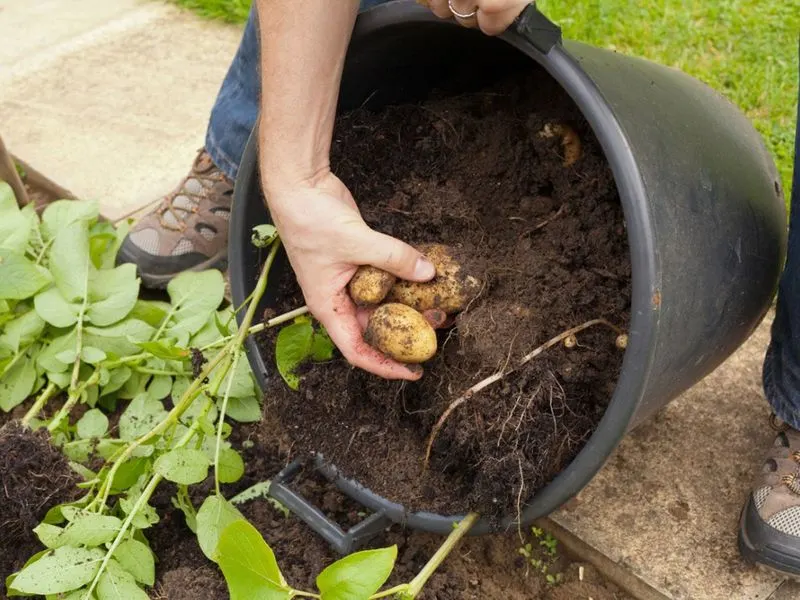
Harvesting the Potatoes

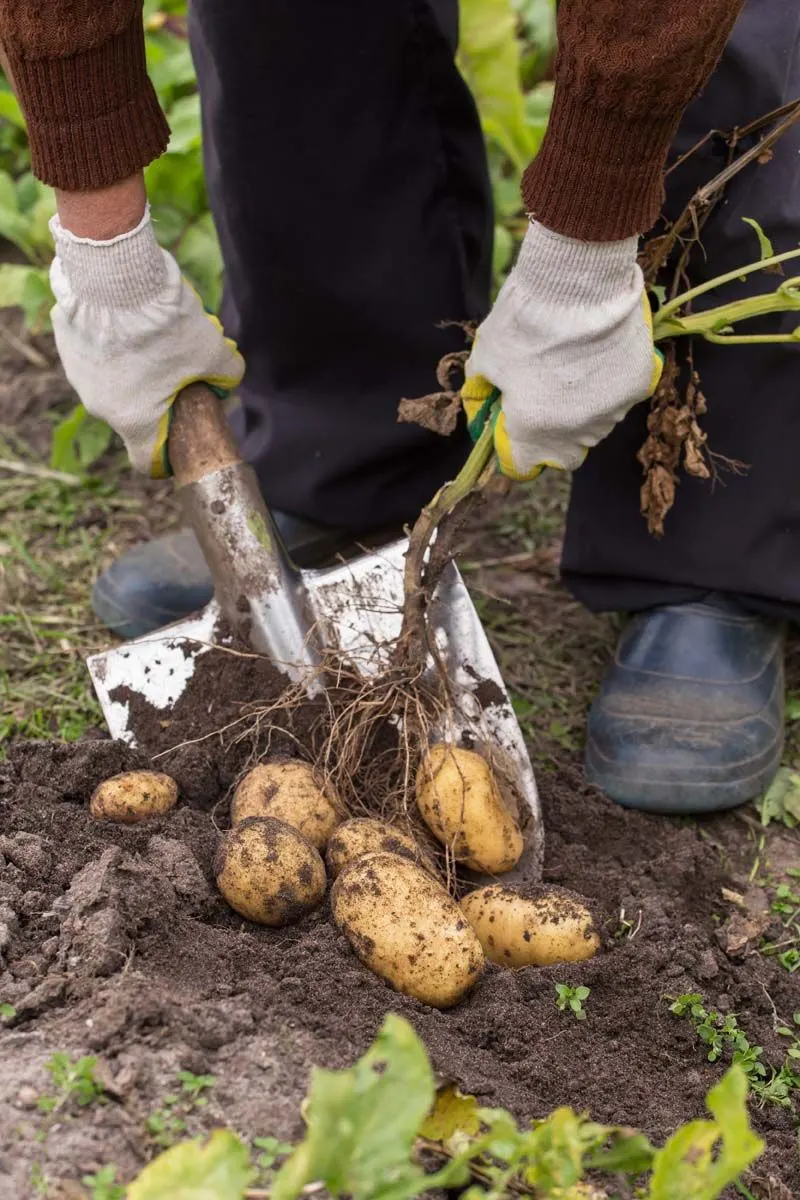
Harvesting first early potatoes is an exciting moment. When the plants flower, it’s a sign that tubers are forming.
Gently dig into the soil to check their size, ensuring they’re large enough for your preference. Harvest them carefully to avoid damaging the tubers.
Freshly harvested potatoes offer unmatched taste and texture. Enjoy the fruits of your labor, relishing in the satisfaction of home-grown produce. Store any excess in a cool, dark place, extending their freshness and keeping them ready for future use.
Reusing the Soil and Container

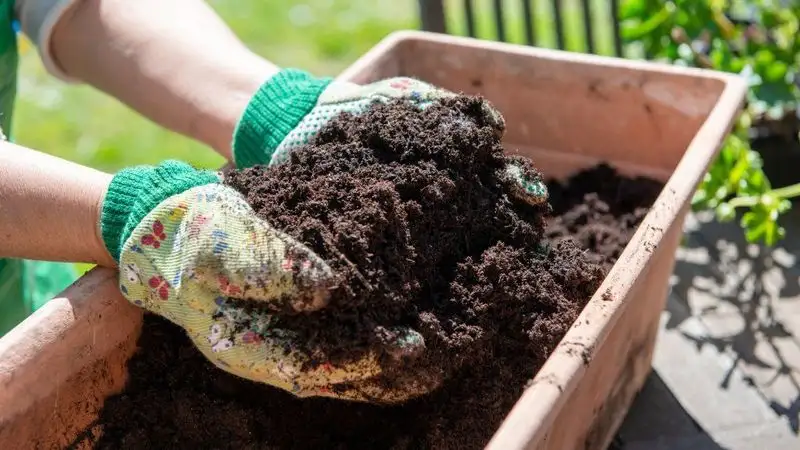
After harvesting, consider reusing the soil and container for future plantings. Remove any remaining plant debris and mix in fresh compost to replenish nutrients.
This sustainable approach reduces waste and prepares your container for the next crop cycle. Depending on the previous crop, you might choose to rotate with a different type of vegetable to maintain soil health.
Reusing materials not only saves money but also promotes environmentally friendly gardening practices. With each season, your gardening skills and the ecosystem will continue to flourish.