9 Steps to Grow Luffa and Make Your Own Natural Sponges
Follow us on Google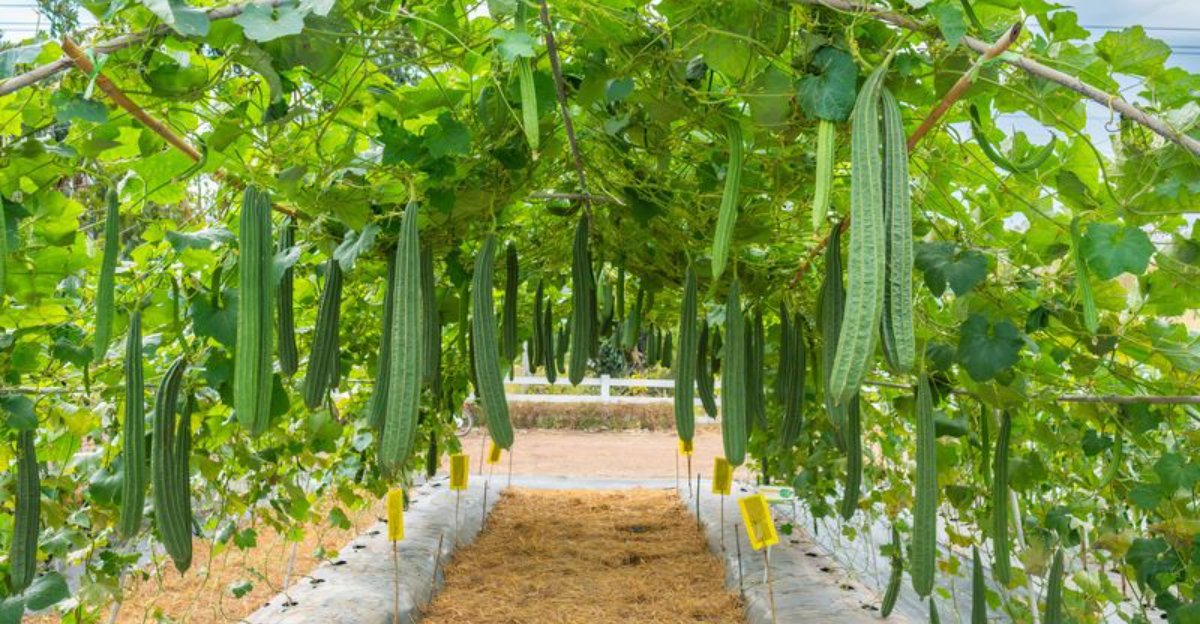
You’re one summer away from never buying a sponge again. Seriously—your next dish scrubber could be growing on a vine in your backyard. Luffa isn’t some tropical oddity reserved for greenhouse gurus. It’s a climbing, blooming, sponge-making machine that turns sunshine and water into pure scrubbing gold. Yes, you can grow it. No, it’s not too weird. And once you’ve harvested your first batch and peeled back those fibrous, magical insides? You’ll never look at the cleaning aisle the same way again. Forget plastic-packed packs of mystery foam. These sponges are real, they’re homegrown, and they might just become your new favorite crop. Let’s grow something wildly useful.
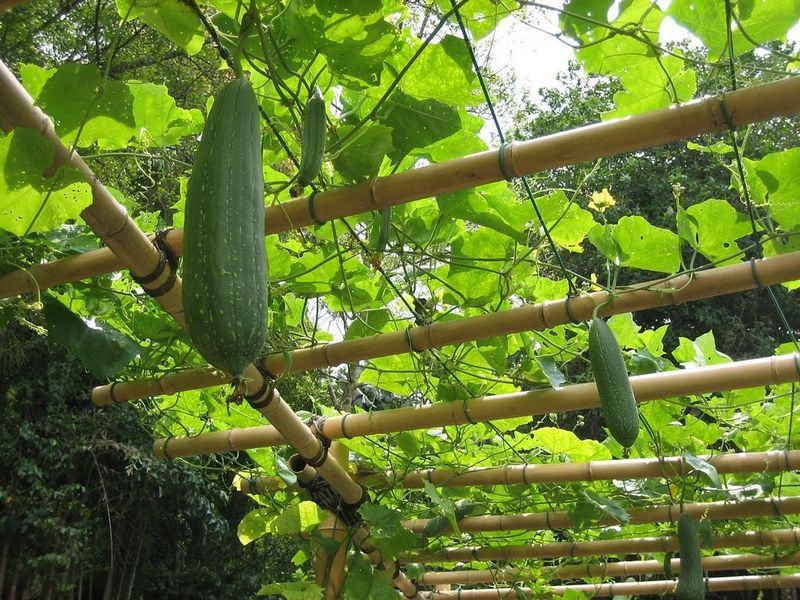
Choose the Ideal Location
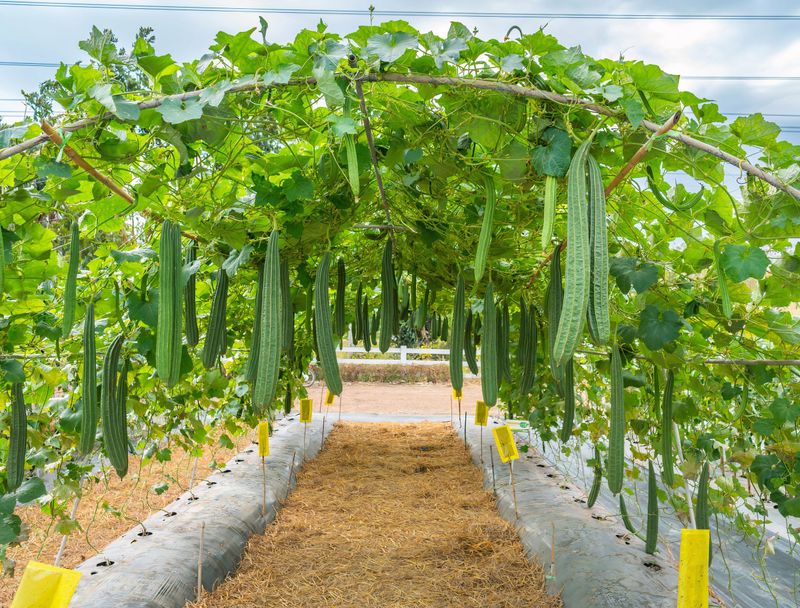
The journey to growing your own luffa begins with selecting the perfect spot for planting. Choose a location that receives full sunlight and has well-drained, nutrient-rich soil. A sturdy trellis or support structure is essential as luffa vines can grow vigorously, reaching up to 30 feet in length.
Without proper support, the vines may become tangled or spread too widely. Consider a spot that allows for easy access and maintenance.
This initial step sets the foundation for healthy plants and bountiful luffa harvests.
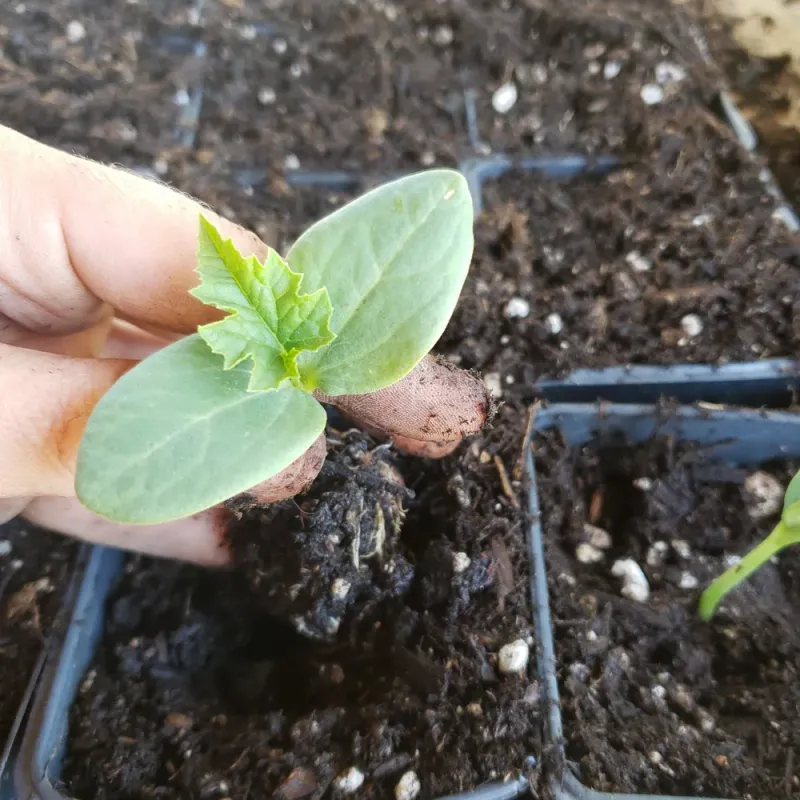
Start Seeds Indoors

Starting luffa seeds indoors can give you a head start on the growing season. Fill seed trays with a light potting mix and plant seeds about half an inch deep.
Place them in a warm area, ideally between 70°F to 75°F, and keep the soil moist but not soggy. Using grow lights can help ensure even growth.
Label each tray to keep track of different varieties or planting dates. Within two weeks, you’ll likely see the first signs of life, marking the beginning of an exciting gardening journey.
Transplanting Seedlings
Once the danger of frost has passed, it’s time to transplant your budding luffa seedlings into the garden.
Gently remove them from their trays, taking care not to disturb the fragile roots. Spacing them 3 to 4 feet apart allows for adequate growth and air circulation.
Water the seedlings thoroughly after planting to help them establish roots in their new environment. This step is crucial as it sets the stage for the vigorous growth expected in the coming months.
Fertilize and Water Regularly
Luffa plants thrive with regular feeding and consistent watering. Use an organic fertilizer rich in nitrogen to encourage leafy growth. Apply it every few weeks, following the package instructions for best results.
Watering should be deep and thorough but allow the soil to dry slightly between watering to prevent root rot.
Monitoring soil moisture and adjusting care based on weather conditions will keep your plants healthy and thriving throughout the growing season.
Train the Vines
Training luffa vines is akin to crafting a living sculpture. As the vines grow, gently guide them along the trellis, securing them with soft garden ties.
This not only supports healthy growth but also maximizes sunlight exposure and makes harvesting easier later.
Regularly check the ties to ensure they aren’t cutting into the vines. This mindful attention to detail will pay off with a more productive and visually appealing luffa plant.
Monitor for Pests and Diseases
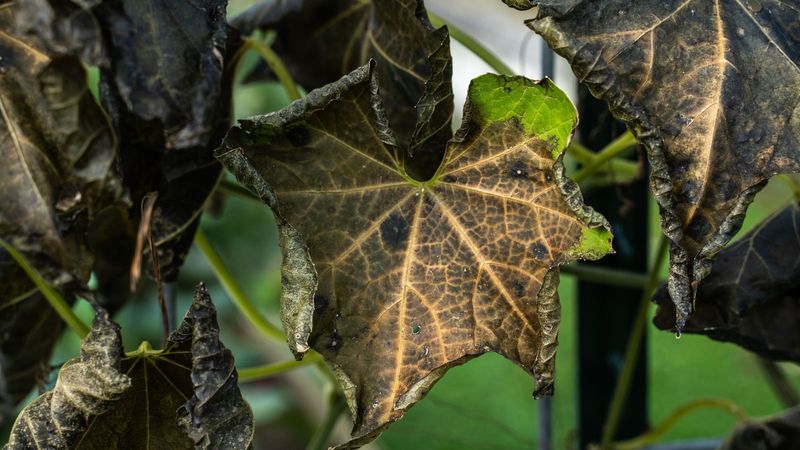
Garden vigilance is key when growing luffas. Regularly inspect leaves for signs of pests such as aphids or spider mites.
Using a magnifying glass can help spot smaller invaders. Organic insecticidal soap or neem oil can control outbreaks without harming beneficial insects.
Stay alert for signs of disease, like powdery mildew, and remove affected leaves promptly. Proactive care ensures your luffa plants remain strong and productive throughout the season.
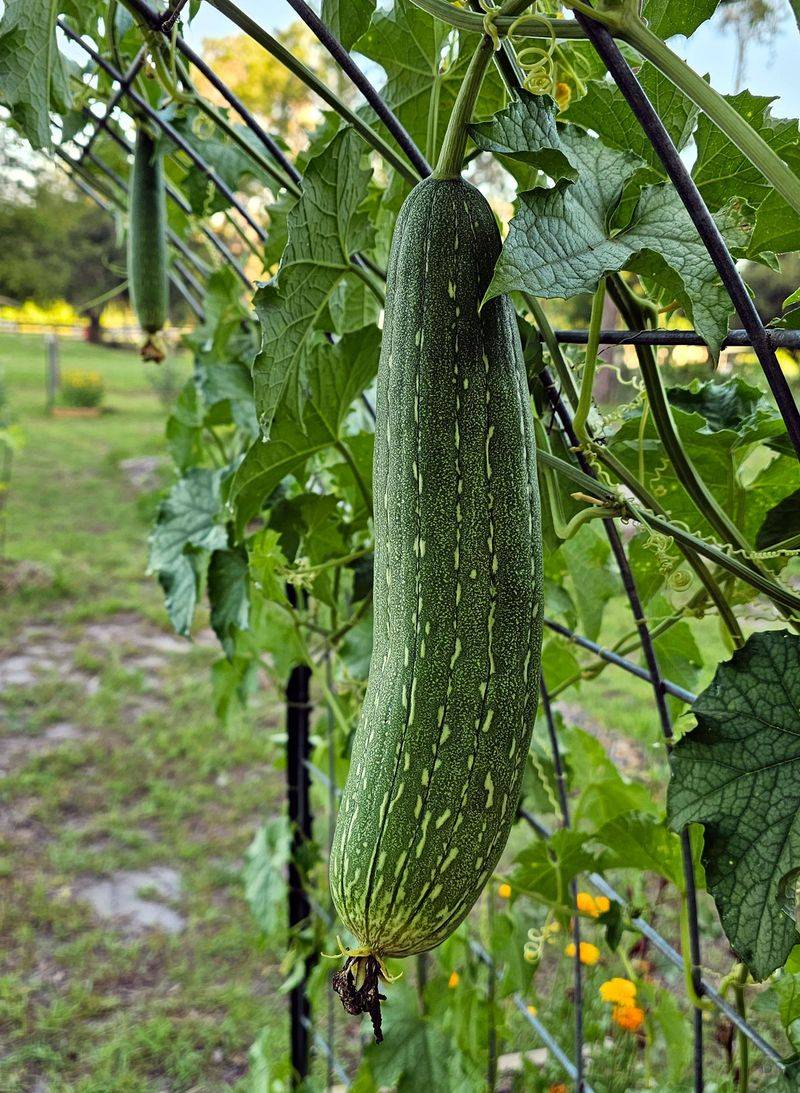
Harvest the Mature Luffas
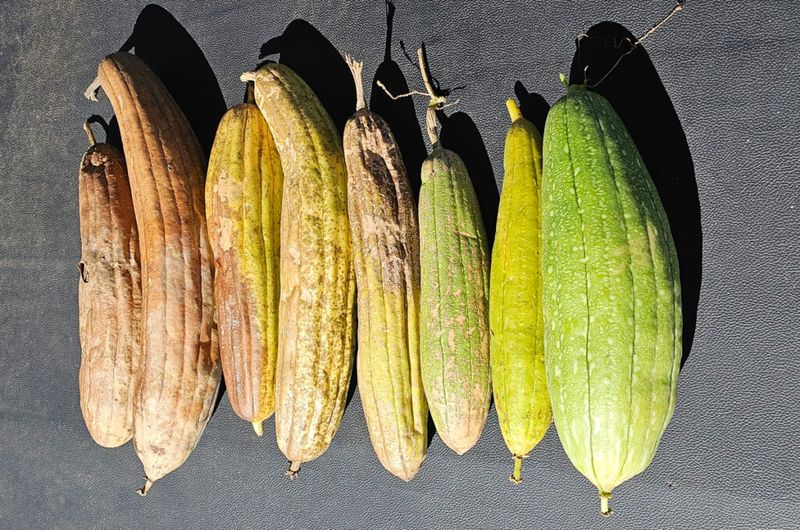
Harvesting luffas is a fulfilling moment in the growing process. Wait until the gourds turn brown and feel lightweight.
Cut them from the vine with a sharp knife, leaving a small stem attached. This timing ensures the fibers inside have fully developed.
Wear gloves to prevent skin irritation from the sap. The fruits of your labor are now ready to be transformed into versatile natural sponges.
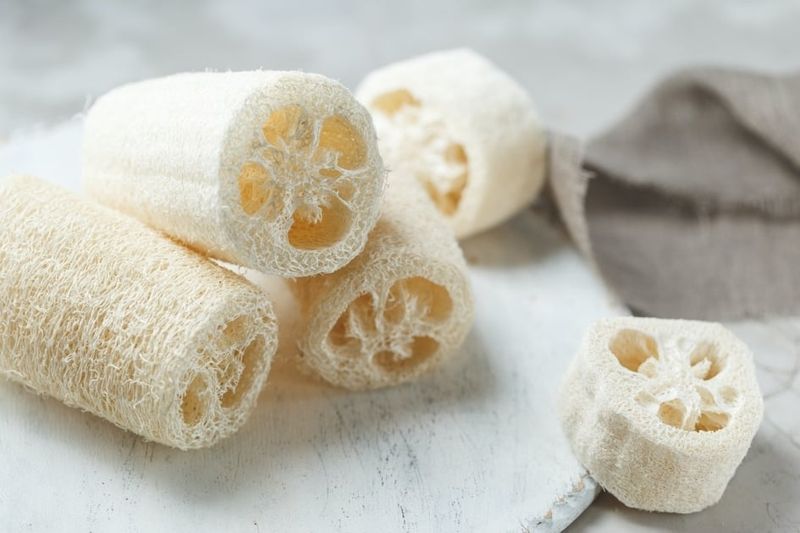
Peel and Clean the Luffas
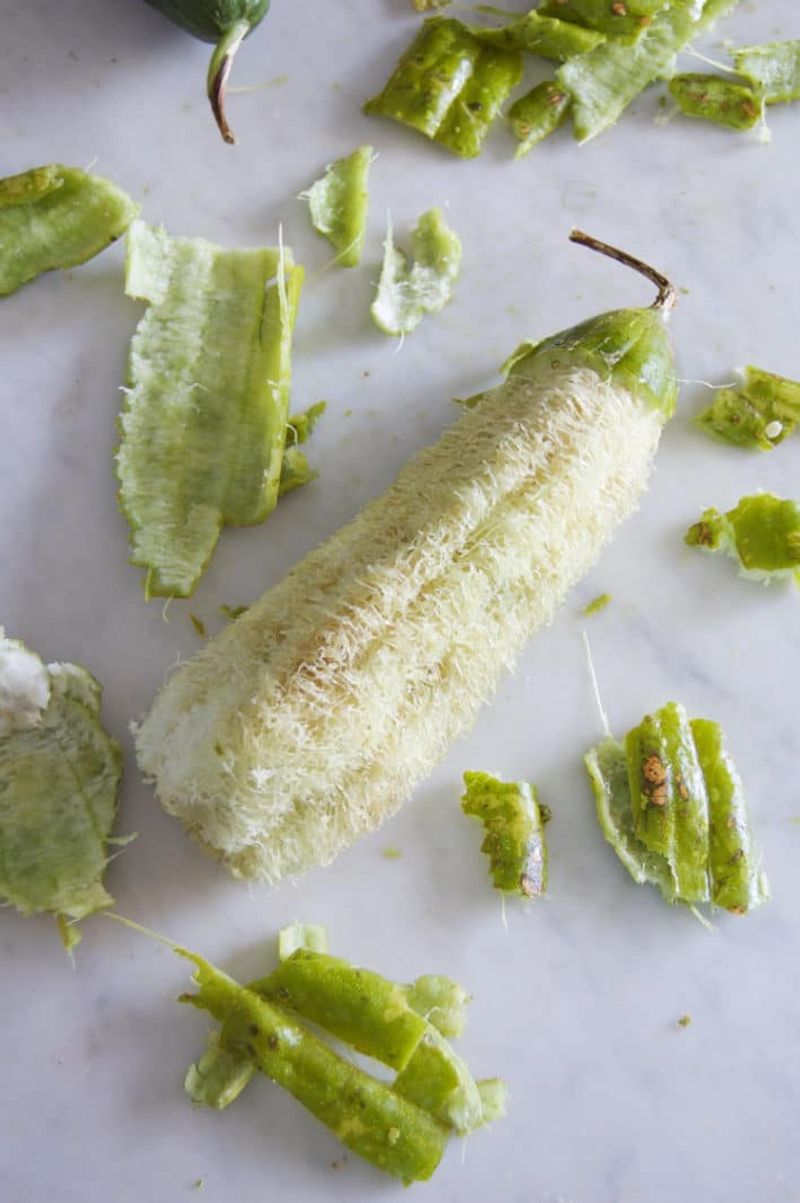
After harvesting, the next step is to peel and clean the luffas. Soak them in water for a few minutes to soften the skin.
Gently peel away the outer layer to reveal the fibrous interior. Rinse thoroughly to remove any seeds or remaining debris.
Dry the sponges completely in the sun to prevent mold. This careful preparation turns your homegrown luffas into ready-to-use natural sponges, perfect for cleaning or bathing purposes.
Store and Enjoy Your Sponges
With your luffa sponges clean and dry, they are ready to be stored or utilized.
Keep them in a dry, airy place to maintain their quality. Neatly stack them in baskets or containers for convenience.
These versatile sponges are biodegradable and perfect for personal and household use. Enjoy the satisfaction and sustainability of using something you’ve grown yourself, and share them with family and friends as thoughtful, eco-friendly gifts.