18 Easy Steps to Plant a Plum Seed and Grow Your Own Fruit Tree
Follow us on Google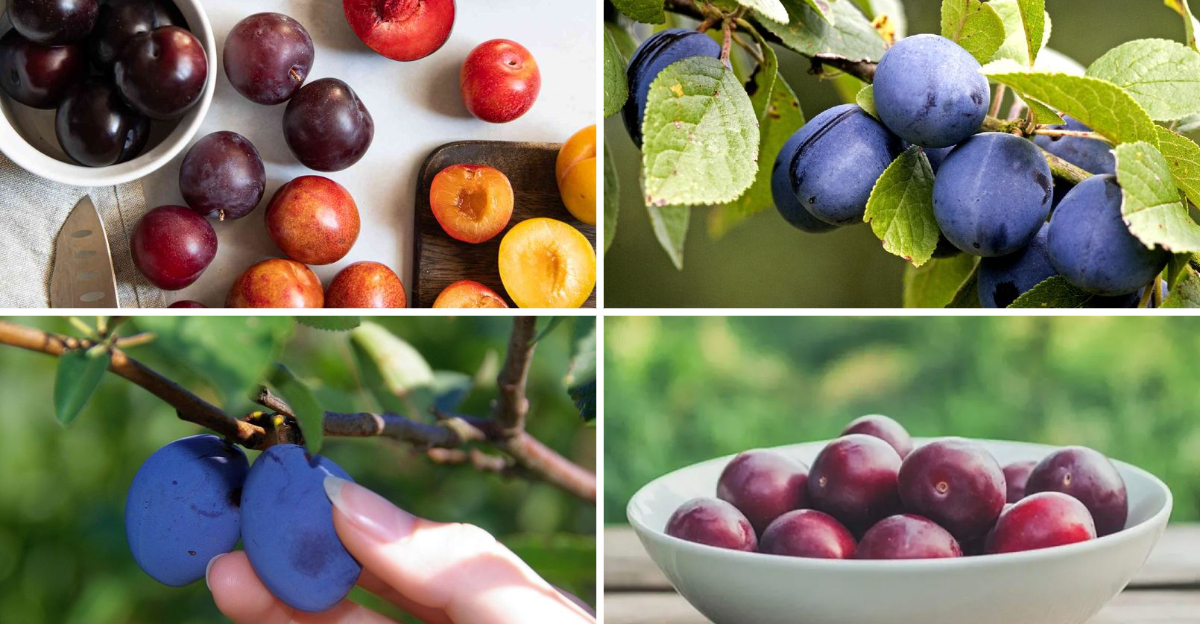
Planting a plum seed can be a rewarding experience, turning a small, simple act into the beginning of something much bigger. With a little patience and care, you can grow a healthy fruit tree right in your own yard. The process is easier than you might think, and with the right steps, your plum tree will start to take shape and produce fruit in due time.
Growing your own fruit tree doesn’t have to be a complicated project, and it’s a great way to connect with nature and enjoy the fruits of your labor. From selecting the right seed to knowing when it’s time to transplant your tree, we’ll walk you through the 18 simple steps that will guide you along the way. In no time, you’ll be on your way to having a thriving plum tree to enjoy for years to come.
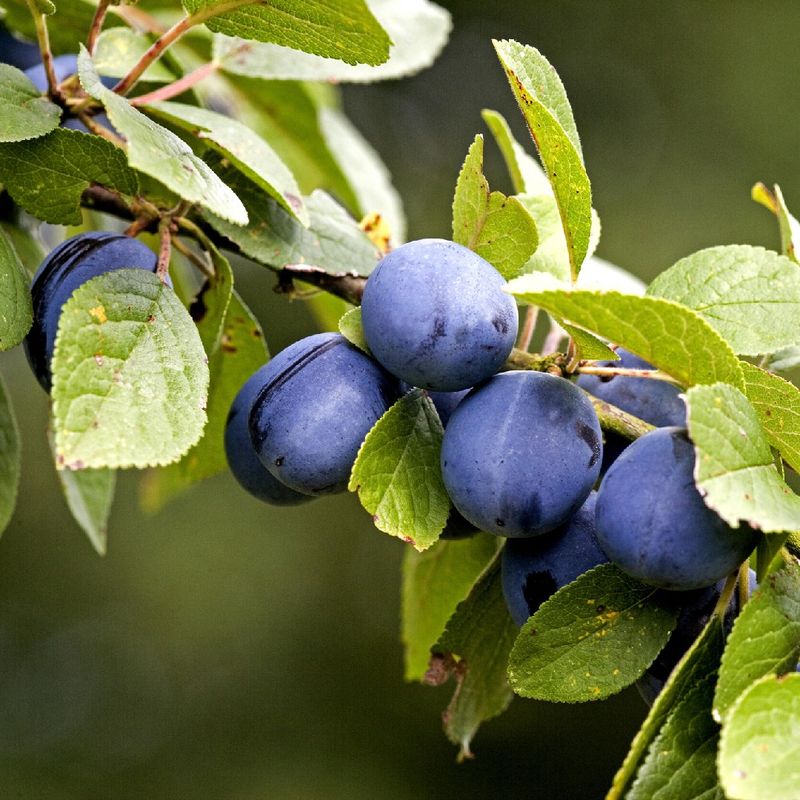
Choose the Right Plum
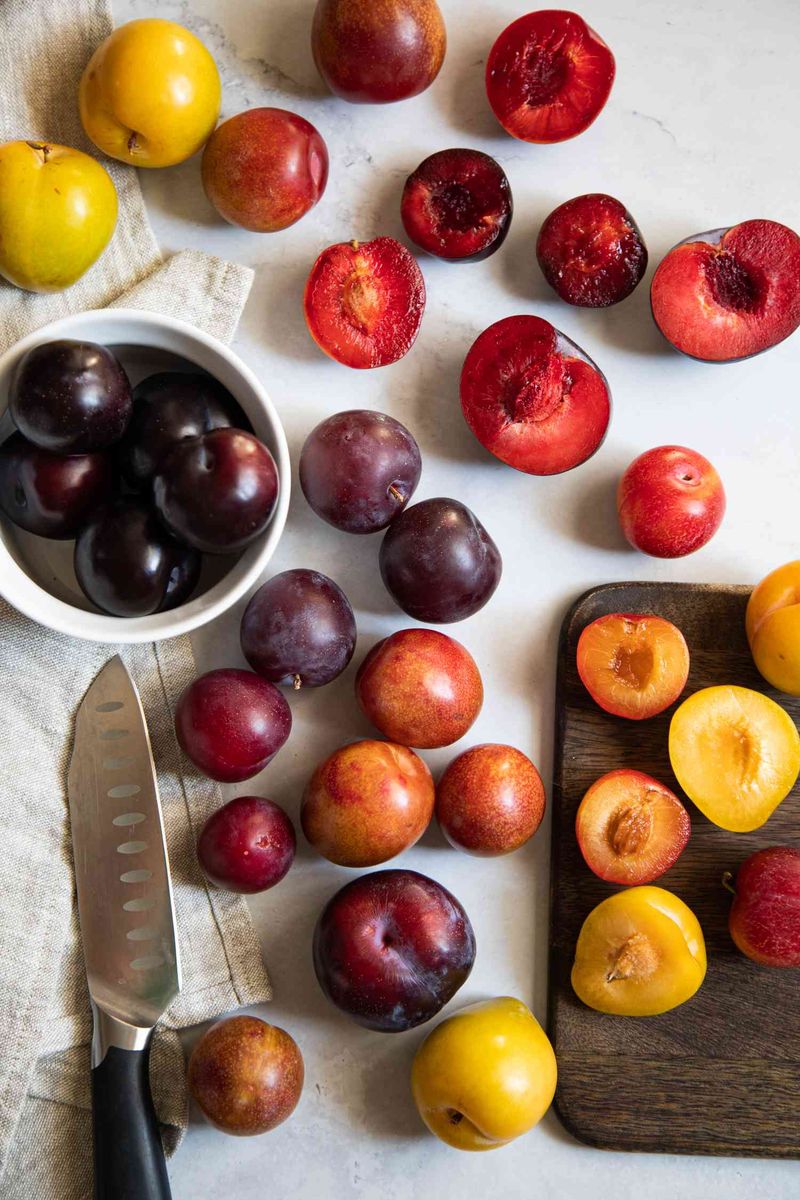
The journey starts with selecting the perfect plum. Choose a ripe and juicy plum with vibrant skin. Feel its weight – a heavier plum often means it’s juicier. The aroma is another clue; a sweet scent indicates ripeness. Cut open the fruit and carefully scoop out the seed, ensuring you don’t damage it.
This initial step is crucial, as the quality of the seed determines the future tree’s health. Consider taste preferences and local climate before choosing your plum.
A fun fact: different plum varieties can lead to unique flavors and textures in your fruit tree!
Extract the Seed
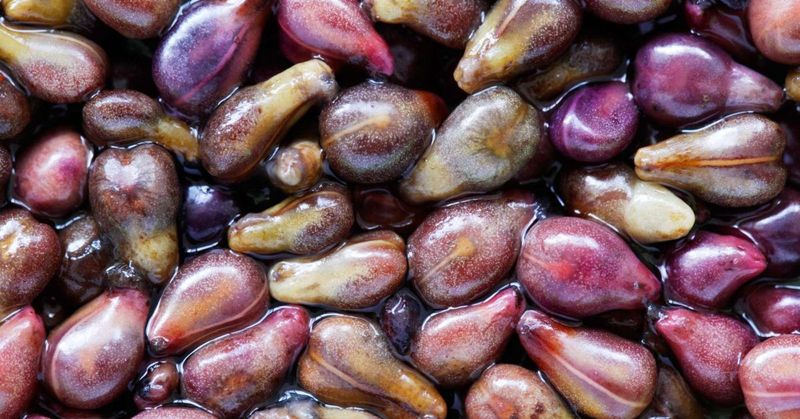
Gently extract the seed from the plum’s core. Hold the fruit in one hand and use a knife to nudge the seed out carefully. The seed is slippery, so handle with care. Once extracted, rinse it under cool water to remove any remaining fruit.
This process not only cleans the seed but also minimizes mold growth during germination. The kernel inside the seed’s hard shell is what will sprout. Some gardeners prefer cracking the shell slightly to speed up the process, but patience is a virtue.
This meticulous extraction prepares the seed for its next journey.
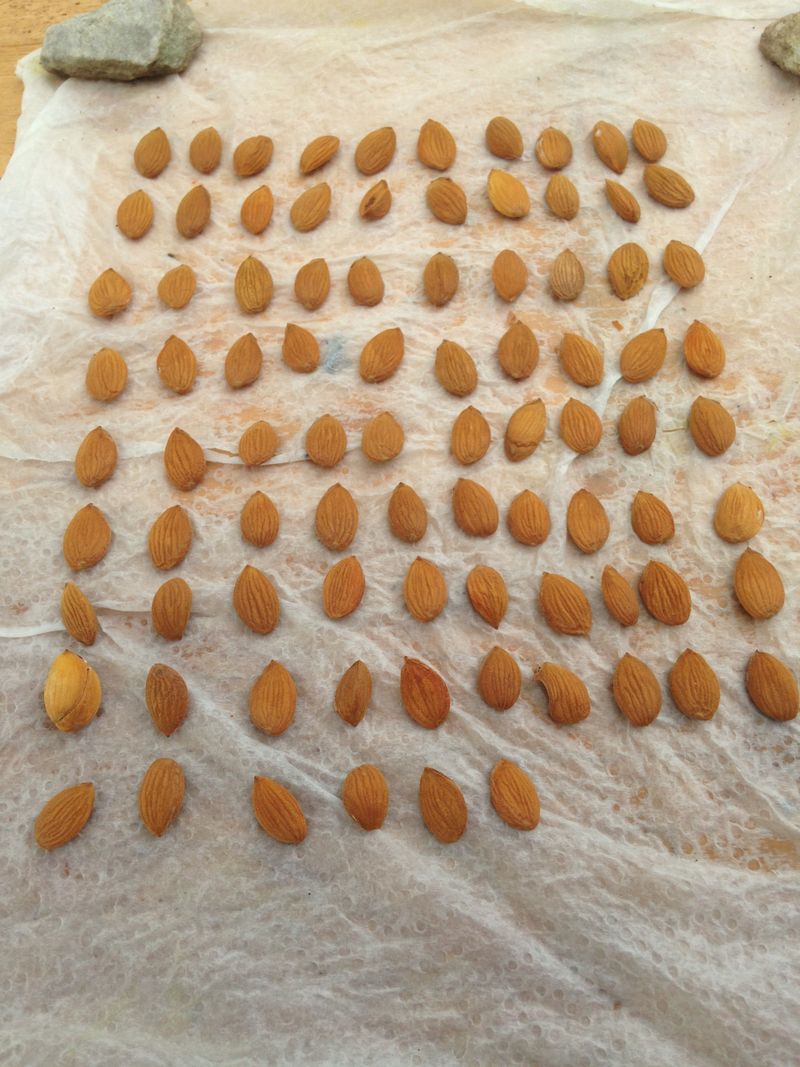
Clean and Dry the Seed
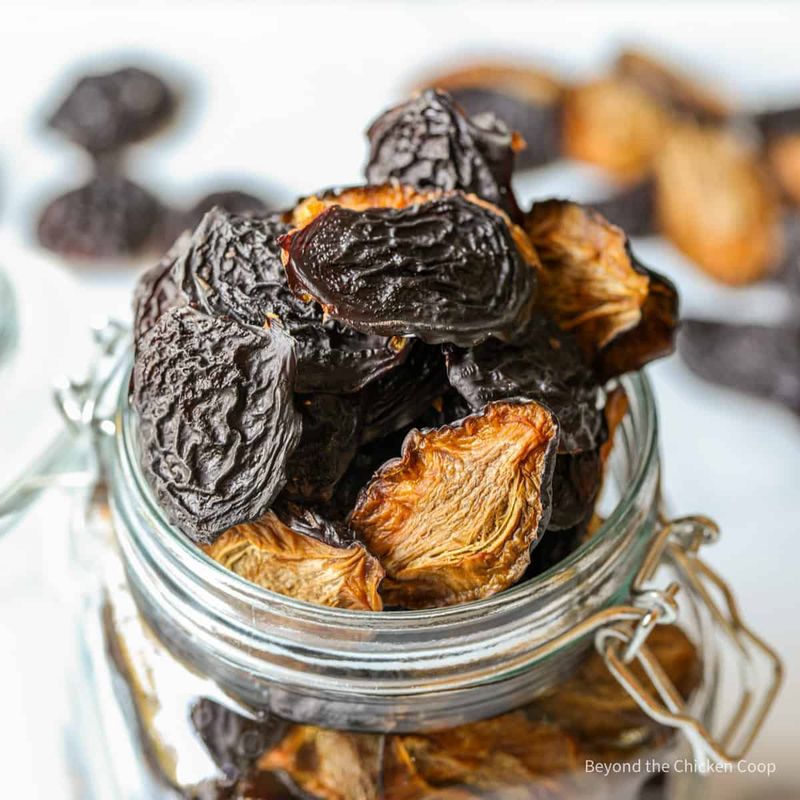
After rinsing the seed, it’s time to dry it thoroughly. Place the seed on a paper towel and allow it to dry for at least a day. Sunlight can aid this process, but avoid direct exposure for extended periods.
A dry seed is less prone to rot during storage. Check the seed’s texture; it should feel firm to the touch. This step is easy and ensures a healthy start for germination.
Remember, the preparation you give at this stage sets the foundation for successful growth.
Cold Stratification
Your plum seed now needs a cold environment to mimic winter weather. This process is called stratification. Place the seed in a container filled with moist sand or a damp paper towel, then store it in the refrigerator for about 6 to 8 weeks.
The cold helps break seed dormancy, signaling it’s time to sprout when conditions warm. Regularly check the moisture level; it should remain damp but not waterlogged.
This patience-testing phase is essential, imitating nature’s cycle and preparing the seed for germination.
Prepare the Soil
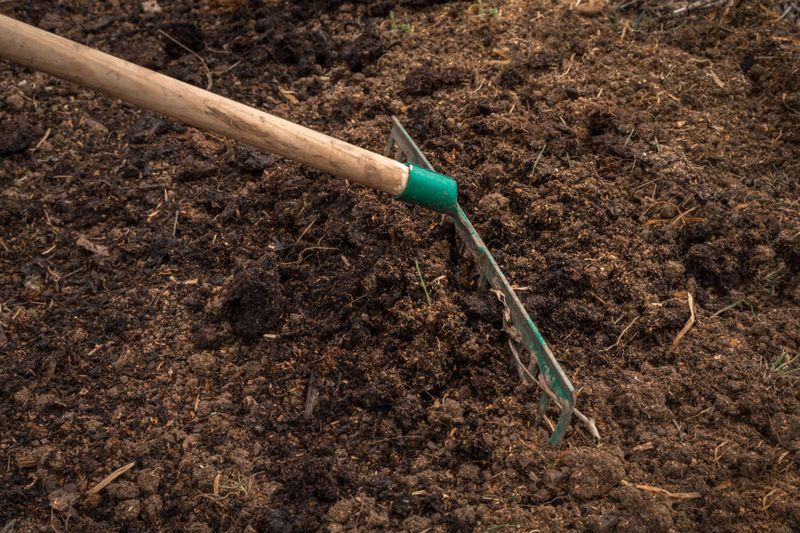
Select soil that’s rich and well-draining. A mix of potting soil and compost creates a nourishing environment for your plum seed. Loosen the soil with a fork to improve drainage and aeration.
Test the soil’s pH level; slightly acidic to neutral soil is ideal for plum trees. Amend the soil as needed with organic matter to reach the desired pH.
Creating the right soil conditions is pivotal for healthy root development, setting your plum tree up for success before it even sprouts.
Plant the Seed
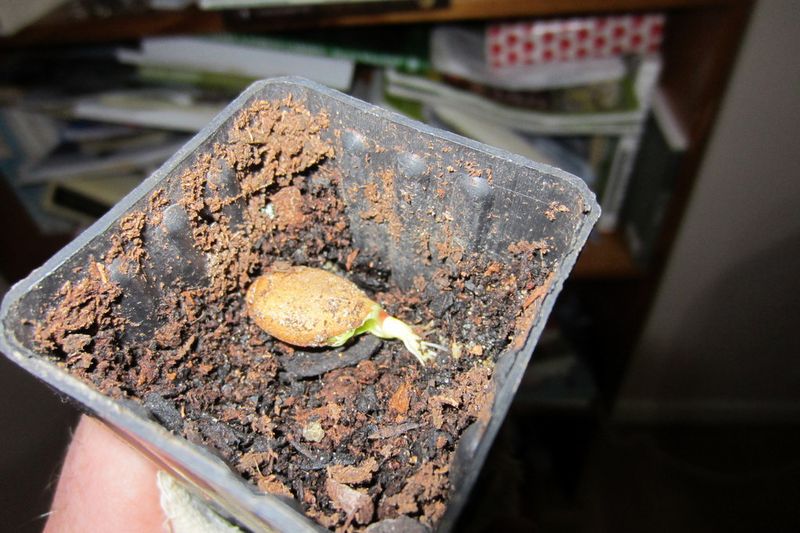
Now it’s planting time! Fill a small pot with your prepared soil, and plant the seed about an inch deep. Cover it gently and water it lightly to settle the soil.
Position the pot in a sunny location, as warmth triggers germination. Keep the soil consistently damp, but be careful not to overwater.
This nurturing environment fosters the first signs of growth, a thrilling moment for any gardener. Witnessing the initial sprout emerge is incredibly rewarding.
Water Consistently

Watering your seed is a delicate task requiring consistency. Too much water can drown a seed, while too little will dry it out. A fine balance is needed.
Water the seed regularly, ensuring the soil remains moist, especially during early growth stages. Use a watering can with a gentle shower to avoid disturbing the soil.
Observing the soil’s moisture level daily helps tailor your watering schedule, encouraging robust seedling development.
Provide Adequate Sunlight
Sunlight is essential for your plum seed’s growth. Place the pot in a location that receives ample sunlight, like a windowsill or greenhouse.
Sunlight not only warms the soil, aiding in germination, but also fuels photosynthesis in young seedlings. Monitor the spot; too much direct sunlight can scorch leaves, while too little may stunt growth.
Adjust the pot’s position as needed to provide balanced light exposure, ensuring your seedling thrives.
Monitor Growth Progress
Patience is key as you await the first signs of growth. Check daily for any changes in the soil’s surface. The moment the seedling breaks through is exhilarating.
As it grows, observe the leaves’ color and texture, ensuring they appear healthy. Yellowing may indicate overwatering, while a lack of growth might suggest insufficient light.
These observations guide your care adjustments, allowing you to nurture a thriving plant.
Transplant the Seedling
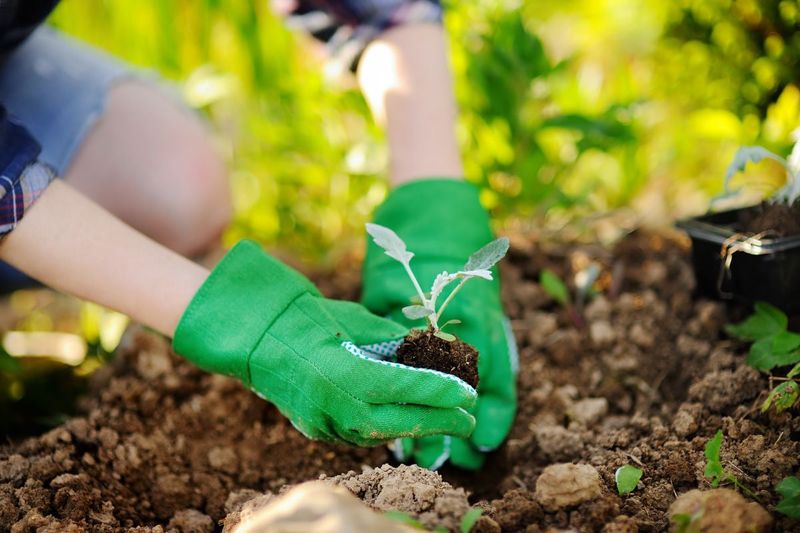
Once the seedling outgrows its initial pot, it’s time to transplant. Choose a larger pot or a suitable garden site. Handle the seedling gently to avoid root damage.
Dig a hole in the new location that accommodates the root ball, and transplant with care. Water immediately after to settle the soil around the roots.
Transplanting allows for continued growth and root expansion, essential for a healthy tree.
Fertilize for Growth
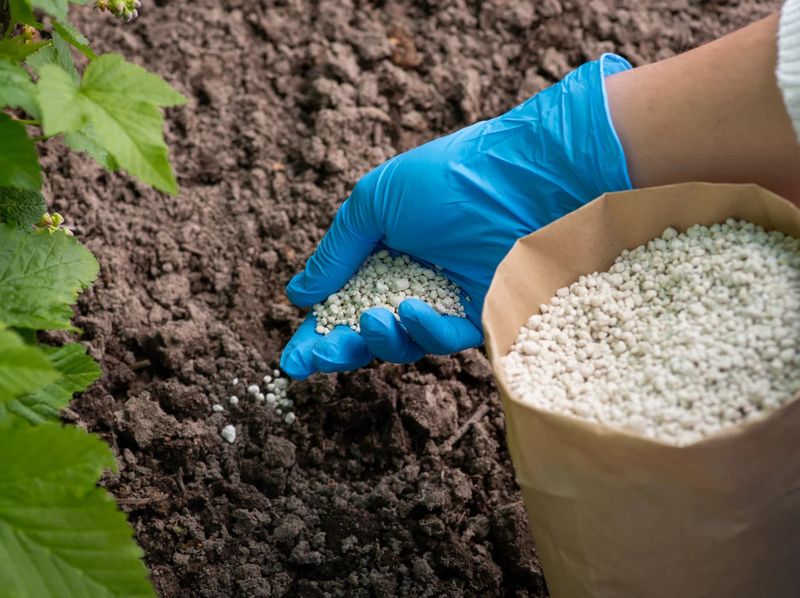
To support your tree’s growth, regular feeding is essential. Use a balanced fertilizer appropriate for fruit trees, and apply it according to package instructions.
Fertilization provides vital nutrients, promoting strong roots and fruitful branches. Be mindful of the quantity; over-fertilizing can harm the plant.
This nutritional boost encourages robust growth, ensuring your plum tree flourishes with time.
Prune Regularly
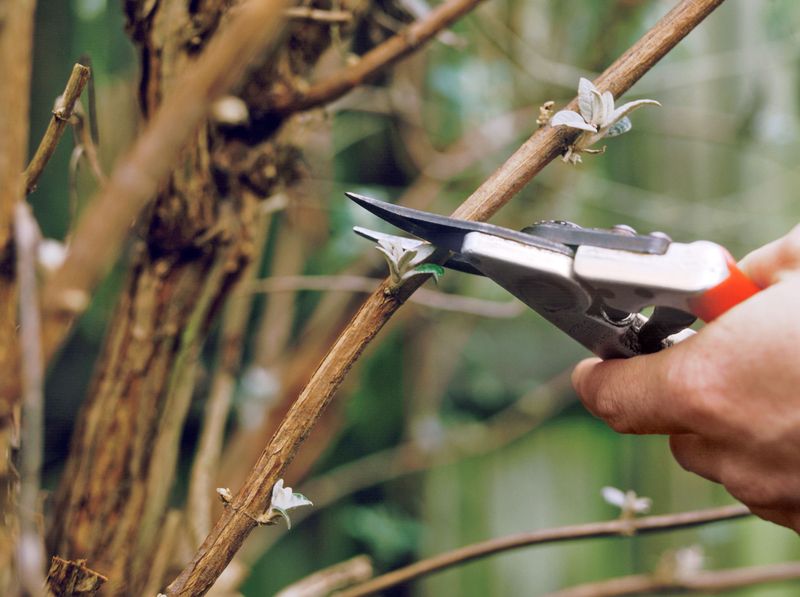
Pruning is a practice that shapes your plum tree, encouraging healthy growth and fruit production. Use sharp pruning shears to remove any dead or diseased branches.
Focus on maintaining an open structure to allow sunlight penetration and air circulation. Regular pruning minimizes disease risk and supports flowering.
With attentive care, pruning becomes a rewarding routine, leading to a productive, well-formed tree.
Watch for Pests
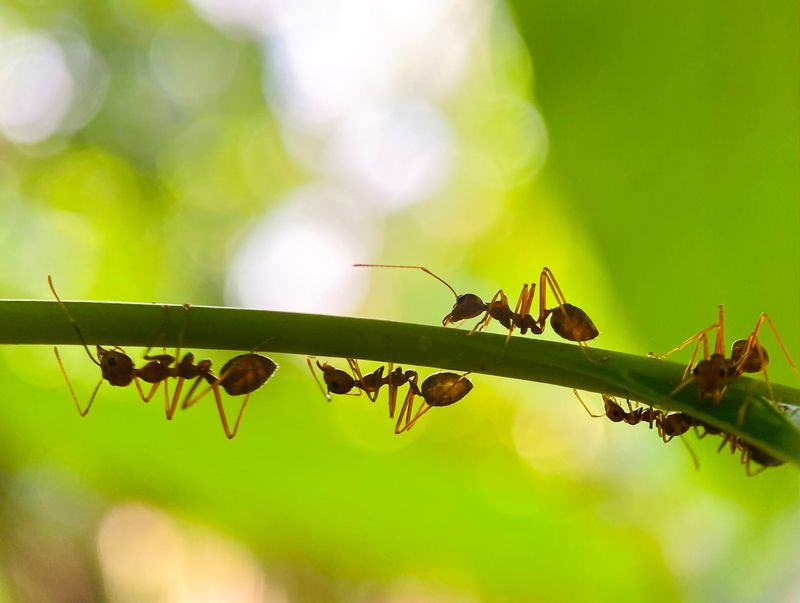
Vigilance against pests is crucial. Examine leaves and branches regularly for signs of infestation, such as holes, discoloration, or visible insects.
Introduce natural predators or use organic pesticides to manage pest populations. Healthy soil and plant diversity can also deter pests.
Early detection and treatment prevent major damage, safeguarding your tree’s health and productivity.
Prepare for Winter
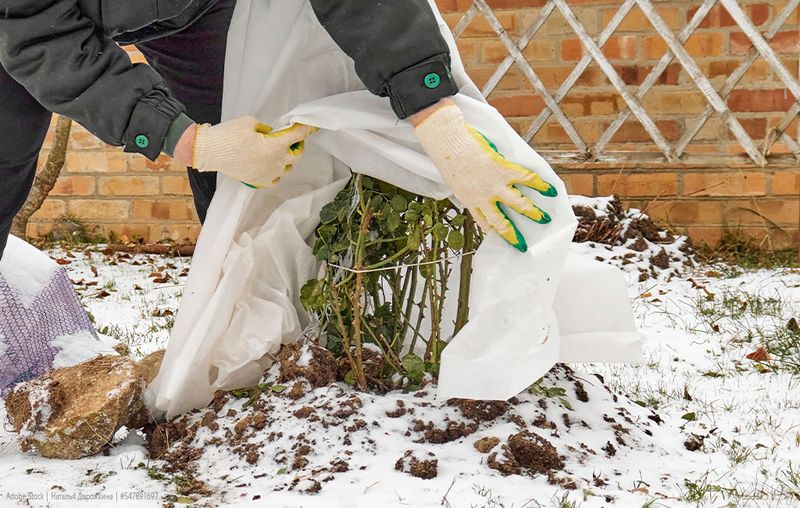
As temperatures drop, prepare your tree for winter. Wrap the trunk in burlap or use mulch at the base to insulate roots. This protection prevents frost damage.
Reduce watering and avoid fertilizing late in the season, as new growth is susceptible to frost. These winter preparations protect your tree, ensuring it emerges strong come spring.
This seasonal care reflects nature’s cycle, enabling your tree to thrive year-round.
Encourage Pollination
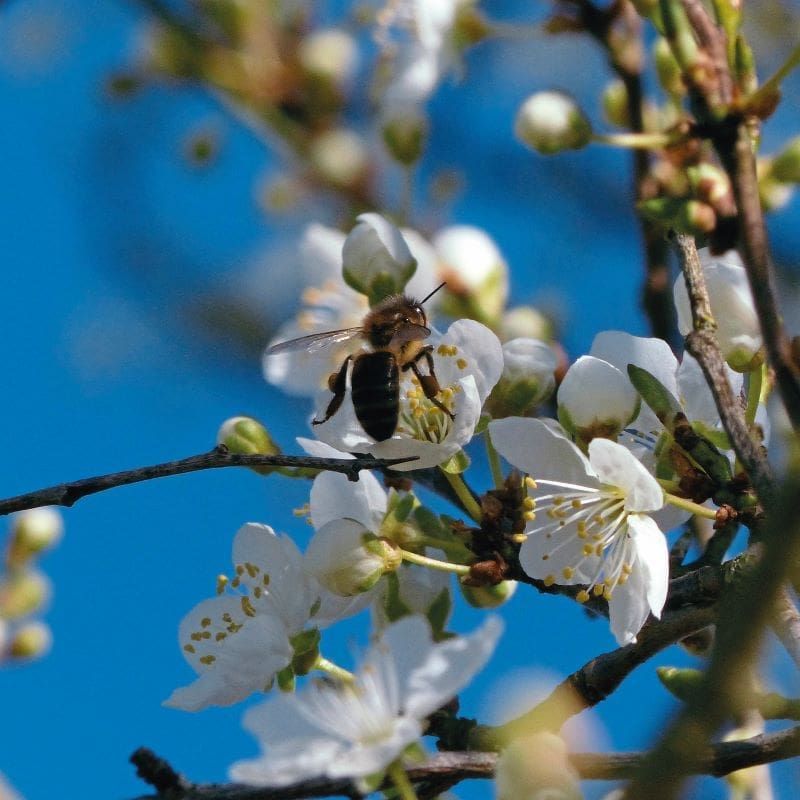
Pollination is essential for fruit production. Encourage pollinators like bees by planting flowers nearby or placing a bee house.
Consider companion plants that attract beneficial insects. During blooming season, monitor flower health and the presence of pollinators.
This natural partnership results in a bountiful harvest, a reward for your attentive care.
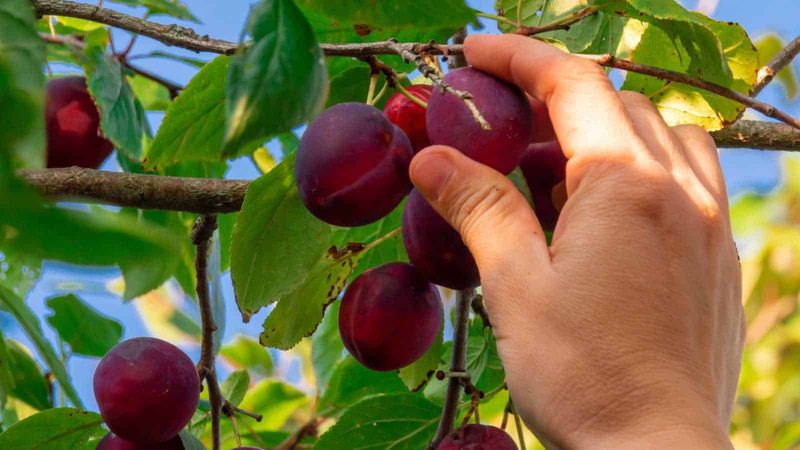
Harvest the Fruit
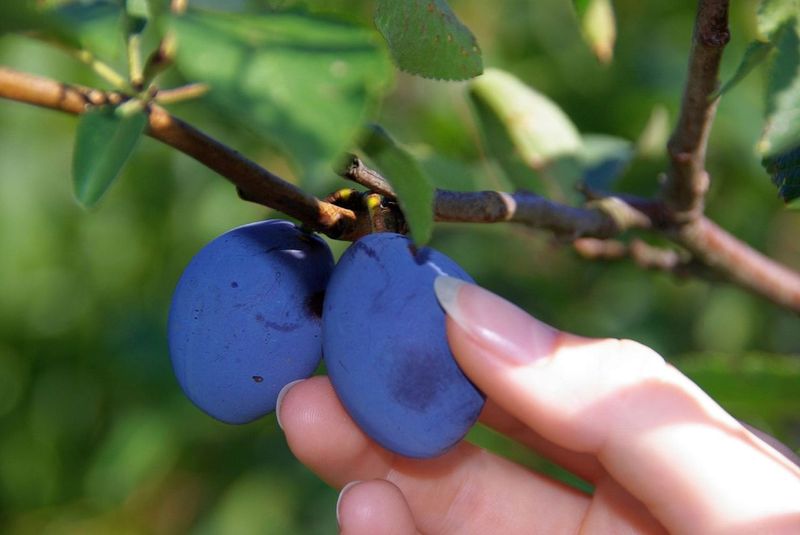
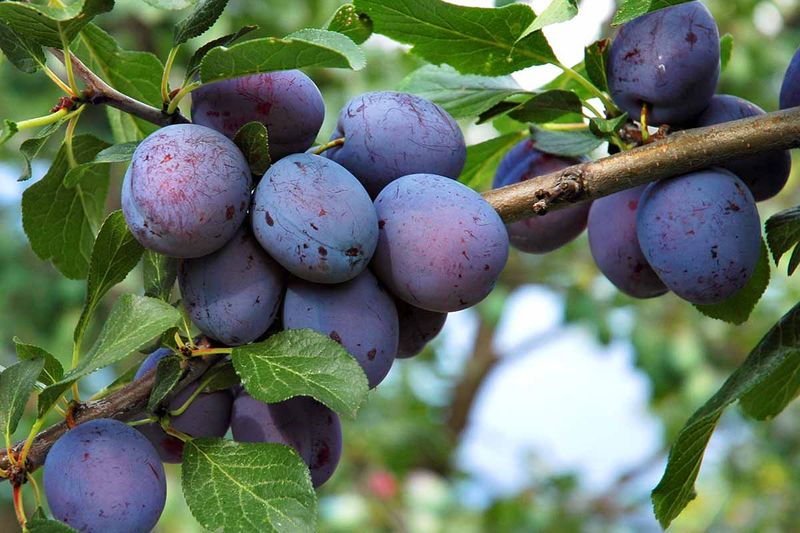
The moment of truth arrives with fruit harvest. Observe the plums’ color and texture; they should be vibrant and slightly soft to touch.
Gently twist each plum off the branch to avoid damage. Harvesting at peak ripeness ensures optimal flavor and juiciness.
This culmination of your efforts is both satisfying and delicious, a testament to your hard work and patience.
With your plums harvested, it’s time to enjoy the fruits of your labor. Share them with family and friends, or create homemade jams and desserts.
Fresh plums are a healthy snack, rich in vitamins and antioxidants. This joy of sharing your homegrown produce adds another layer of fulfillment to the gardening adventure.
The journey from seed to fruit is complete, bringing a sense of accomplishment and delight.
Reflect on the Journey
Pause and reflect on the journey from seed to tree. Document your experiences in a gardening journal, noting observations and lessons learned.
Consider what worked well and areas for improvement in future gardening endeavors. This reflection not only enhances your skills but also deepens your connection to nature.
Cherish this fulfilling experience, knowing you nurtured life from a single seed.